How to Refinish a Wood Table - 7 Steps

Woodworking CraftsMedium9:557 steps

By ShowMeStepByStepPublished Updated

Based on a video by HouseCalls.

Most worn dining tables don't need to be replaced - they need to be refinished. The original finish wears thin, daily plates and cleaning take off the rest, and what's left is bare wood that absorbs water and stains every time you wipe it down.

Ron Hazelton from HouseCalls walks through the full refinish on his neighbor's kitchen table. Strip the old finish off, sand lightly, restore the color with a stain that matches the base, and seal it with a tougher polyurethane top coat that holds up to real kitchen use.

The job takes one afternoon plus a 24-hour drying window. Most of the work is preparation - the actual finishing goes fast once the surface is clean. The biggest tip from Ron: don't skimp on the lacquer-thinner wash between stripping and staining. Without it, wax residue keeps the new finish from bonding.

Step-by-Step Guide

1

Apply Paste Paint Stripper

1:20
Step 1: Apply Paste Paint Stripper

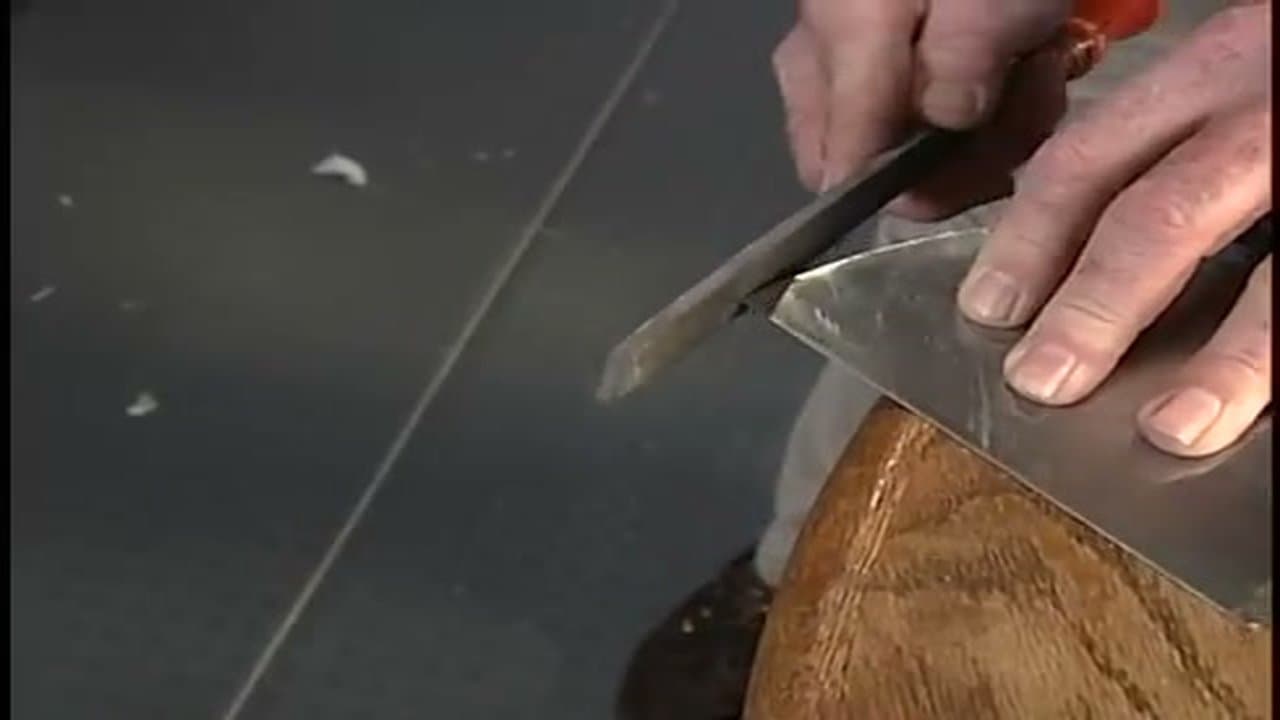
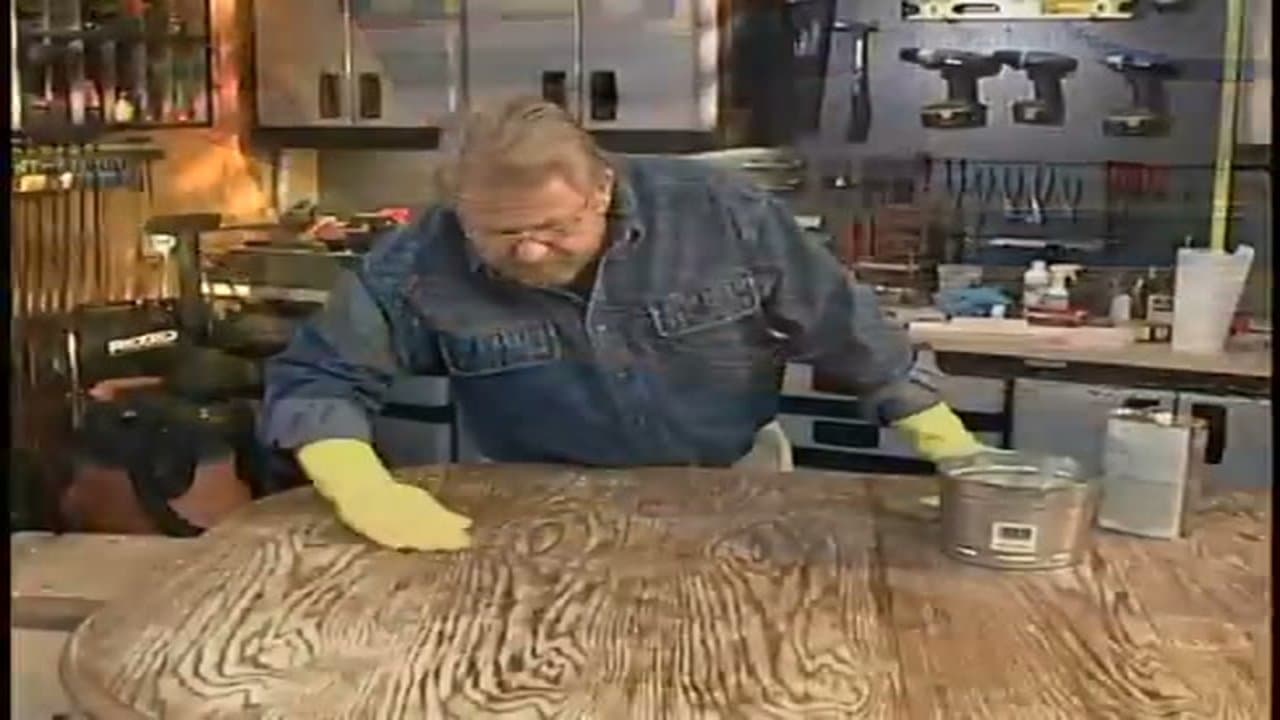
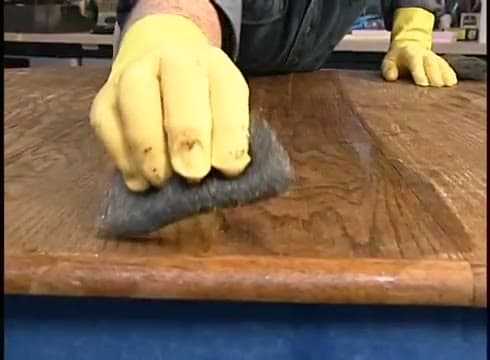
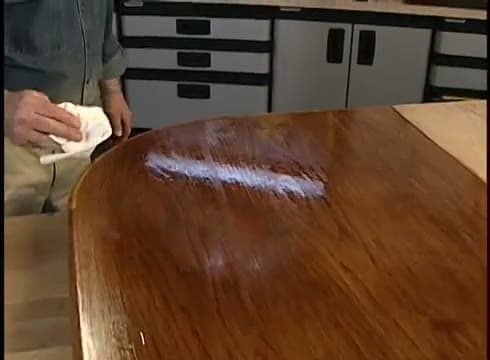
Brush a thick paste paint stripper across the table top with a wide natural-bristle disposable brush. Don't overbrush - the active chemicals are gases, and every stroke lets more escape into the air.

One light coat is enough. Work in small sections at a time so the stripper doesn't dry out before you can scrape it.

Tip

Wear yellow chemical-resistant gloves and work outside or in a garage with the doors open. The fumes are no joke.

2

Scrape Off the Old Finish

2:25
Step 2: Scrape Off the Old Finish

Wait until the finish bubbles and lifts away from the wood, usually 5-10 minutes. Then drag a wide putty knife at a shallow angle to scoop the loosened finish off in one pass.

Round the corners of the putty knife first with a file or coarse sandpaper - sharp corners dig into the wood and leave gouges.

Tip

Set a small box next to your work surface to scrape the residue into. Saves a lot of cleanup compared to dropping it on newspaper.

Products used in this step

3

Apply Liquid Stripper for Residue

3:15
Step 3: Apply Liquid Stripper for Residue

The paste pulls off most of the finish but leaves residue in the wood grain. Brush a liquid stripper liberally across the surface to dissolve what's left.

Work medium-fine steel wool in long strokes with the grain. The wool catches the loosened finish from inside the pores.

Tip

Always sand or scrub with the grain, not against it. Cross-grain scratches show up under the new stain and ruin the look.

4

Wash With Lacquer Thinner

3:50
Step 4: Wash With Lacquer Thinner

Strippers leave wax behind. New finish won't bond to wax, so this step is critical even though it feels redundant.

Brush lacquer thinner across the entire surface, then go over it with fresh fine steel wool. The thinner dissolves the wax and the wool lifts it away.

Tip

This is the step most people skip and the reason most refinishing jobs peel within a year. Do it.

5

Sand Lightly With 220 Grit

4:40
Step 5: Sand Lightly With 220 Grit

Use a finishing sander with 220-grit paper. This is light scuff sanding, not heavy material removal.

If your table has veneer (most factory dining tables do), the veneer is usually less than 1/16 inch thick. Aggressive sanding cuts through it and exposes the cheap substrate underneath.

Tip

Wear a dust mask. Wood dust at 220 grit is fine enough to settle deep into your lungs.

6

Mix and Apply Stain

5:45
Step 6: Mix and Apply Stain

Test stain colors on a scrap board first to match the base of your table. Ron mixes Special Walnut (his base color) with a small amount of Ipswich Pine to lighten it.

Apply the stain with a brush, working in long strokes with the grain. Then wipe off excess with a clean cloth or paper towel. Let it dry at least 24 hours before the top coat.

Tip

If the table base color is hard to match, try one of the gel stains. They sit on top of the wood instead of soaking in, which gives you more control.

7

Apply Polyurethane Top Coat

6:20
Step 7: Apply Polyurethane Top Coat

Stir the polyurethane thoroughly - the flattening agent settles to the bottom of the can and gives you uneven sheen if you don't mix it.

Use a high-quality natural-bristle brush. Pour the poly into a clean container instead of brushing from the can. Apply long strokes with the grain, then tip off with very light strokes to remove brush marks. Two to three coats with light sanding between each.

Tip

Don't skimp on the brush. A premium natural-bristle brush is the difference between a glassy finish and a streaky one. Cheap brushes also drop bristles into the finish.

Products Used

☐ The Checklist

How to Refinish a Wood Table - 7 Steps

Tools
7
Materials
6
Steps
7
Video
10 min

Your Guide

HouseCalls

As an Amazon Associate we earn from qualifying purchases. Links on this page may be affiliate links - clicking them and buying doesn't change your price, but helps support ShowMeStepByStep.

Tags

Related Tutorials