How to Treat a Burn - First Aid in 5 Steps

Health BasicsEasy10:465 steps

By ShowMeStepByStepPublished Updated

Based on a video by ProCPR.

Most burns happen at home and most people get the first 30 seconds wrong. The instinct is to apply ice or grab whatever cloth is closest. Both of those make the burn worse.

This 5-step guide is from ProCPR's first-aid training video and covers what to do in the minutes immediately after a burn happens. The right sequence: identify how deep the burn is, get jewelry off and clothing carefully out of the way, cool the burn under cool tap water for at least 10 minutes, cover it with a non-stick dressing, and call for emergency help if the burn is more than a few square inches or in a sensitive area.

This is not medical advice for severe burns - for any third-degree burn, any burn larger than a palm, or any chemical or electrical burn, call 911 immediately and follow the dispatcher's instructions. This guide gets you through the critical first minutes while help is on the way.

Step-by-Step Guide

1

Step 1: Identify the Degree of the Burn

1:02
Step 1: Step 1: Identify the Degree of the Burn

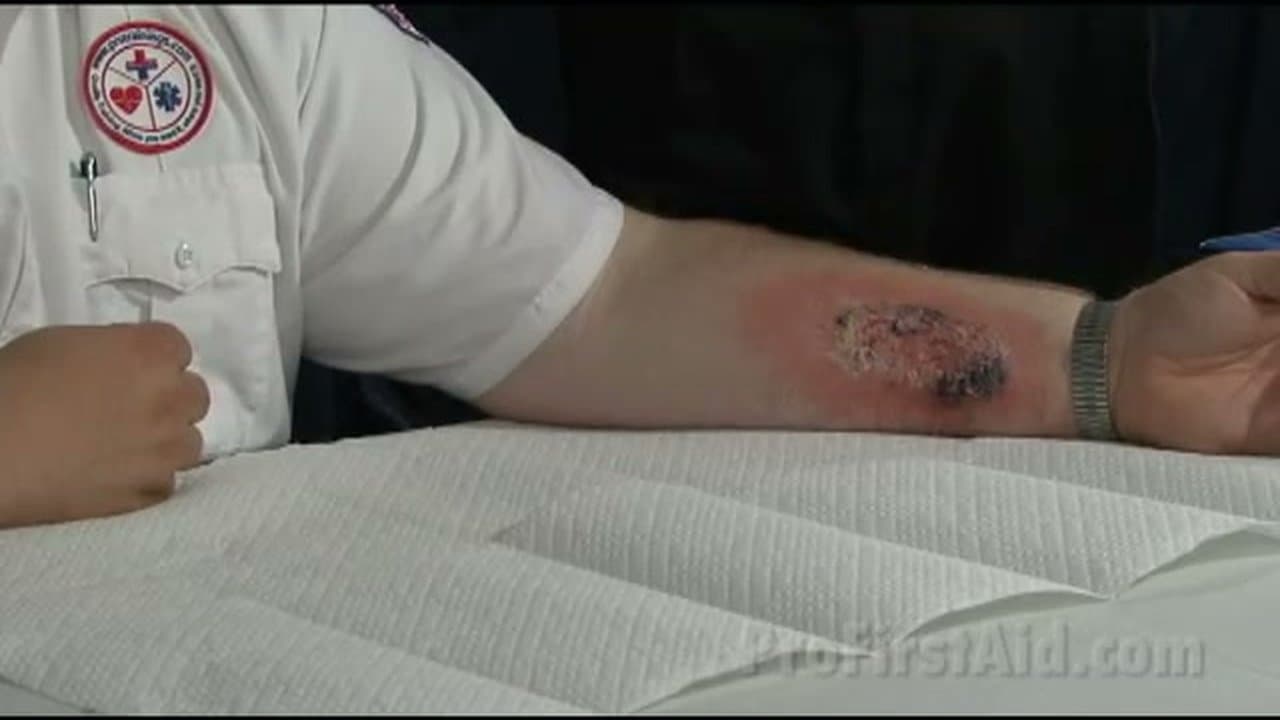
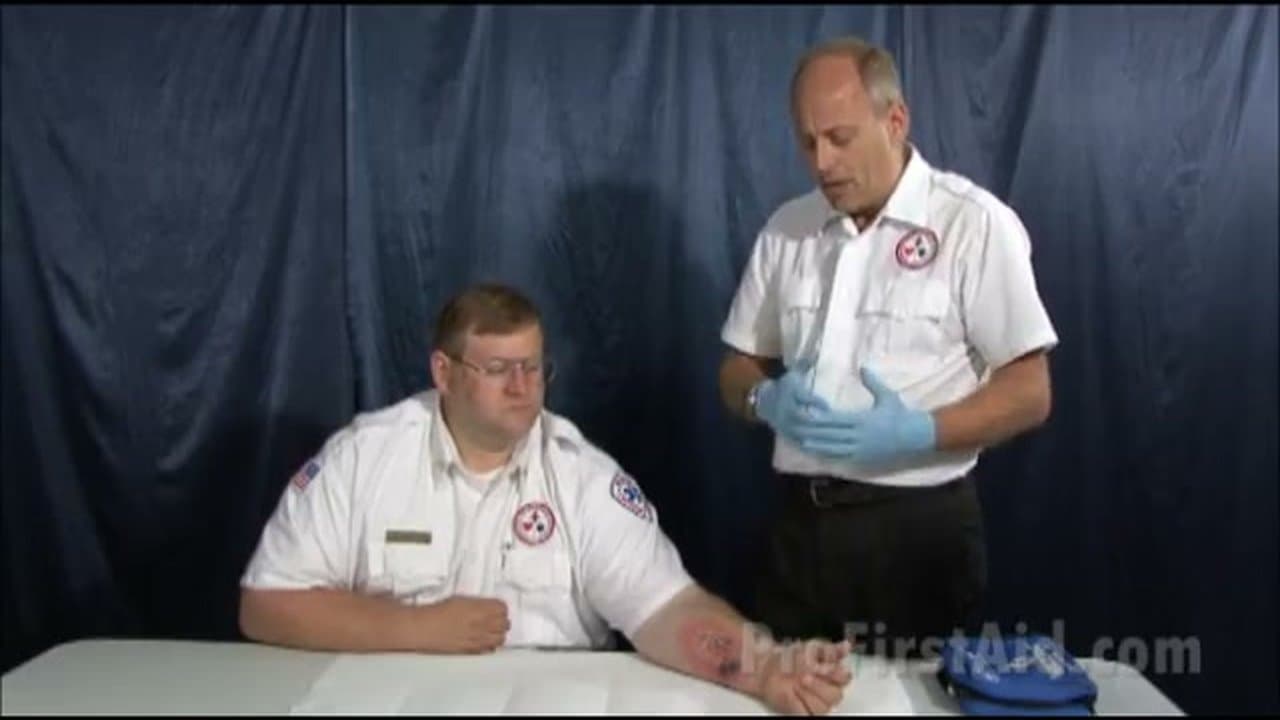
Burns come in three levels of severity, and the level changes what you do next. A first-degree burn is red and painful, like a sunburn - the skin is intact. A second-degree burn is red, blistered, and weeping. A third-degree burn is charred or whitish through the full thickness of skin and may reach into muscle or bone. Third-degree burns are often painless in the center because the nerves are destroyed.

Real burns are almost always mixed. The middle of the wound is the deepest, the edges are the shallowest. Look at the worst part to decide how to respond.

Tip

Don't burst the blisters in a second-degree burn. Blisters form to protect the skin underneath - if you break them you create an open wound for infection.

2

Step 2: Take Fast First Steps - Jewelry, Clothing, and Cold Water

1:35
Step 2: Step 2: Take Fast First Steps - Jewelry, Clothing, and Cold Water

Get jewelry off the burned limb before the swelling starts. Watches, rings, bracelets, anklets - if you wait, you may have to cut them off later. Lift the limb to help blood flow back to the body.

For clothing over the burn: if the fabric is loose, cut it away with scissors. If it's stuck to the burn, leave it alone. Pulling fused fabric tears more skin off with it. The hospital has the right tools to remove stuck clothing safely.

Then run the burn under cool tap water for at least 10 minutes. Not freezing water, not ice - just cool tap water. Most people stop after 30 seconds or a minute and walk away, and the burn keeps cooking from residual heat for several minutes. Ten minutes is the floor, not the goal.

Tip

If you don't have a sink nearby, any source of cool water works - a bottle, a hose, a stream. The point is sustained cooling, not the cleanliness of the water (you can clean the wound later).

3

Step 3: Apply a Water-Gel Burn Dressing

3:05
Step 3: Step 3: Apply a Water-Gel Burn Dressing

If you have a burn kit at work or in a vehicle, this is the moment to open it. Burn kits contain water-gel dressings - gauze pads pre-soaked in a cooling gel that draws heat out of the wound. You can feel the cold through the sealed packet.

Tear the packet open, unfold the dressing, and lay it directly over the burn. Don't wrap it tight - the dressing is doing its job by lying in contact with the skin, not by compression. Burn kits typically include arm-size, hand-size, and face-size dressings. For larger burns, use more than one.

Tip

If there's extra gel left in the packet, pour it over the dressing once it's in place. The dressing only works while it's wet.

4

Step 4: No Burn Kit? Use Cling Film

5:05
Step 4: Step 4: No Burn Kit? Use Cling Film

At home you probably don't have a burn kit. Plain kitchen cling film is the emergency substitute - and it's surprisingly good at the job.

Peel off the first inch from the roll (it may be dusty) and discard. Then wrap the cling film loosely around the burn. Don't pull tight - you're not bandaging it, you're creating a barrier against infection while letting the skin breathe.

Cling film has two real advantages: it doesn't stick to the wound the way cotton or gauze does, and the hospital can remove it cleanly. You can also keep cooling the burn with water right through the cling film, which is something a cotton dressing won't let you do.

Tip

For burns on the hands, never strap the fingers together. The skin between fingers can fuse if they're held in contact. Keep fingers apart - a clean freezer bag over the whole hand works as an emergency burn bag.

5

Step 5: Get Emergency Help and Watch for Shock

6:50
Step 5: Step 5: Get Emergency Help and Watch for Shock

Call 911 (or 999 in the UK) for any burn that meets these criteria: bigger than the palm of the victim's hand, on the face, hands, feet, genitals, or a major joint, caused by chemicals or electricity, or showing full-thickness charring of any size.

While you wait, keep the person warm with a blanket - burn victims lose body heat fast. Monitor their breathing and consciousness. If they become pale, sweaty, weak, or confused, those are signs of shock; lay them down and elevate their legs (unless that's not possible due to the burn location).

For chemical burns, find out what chemical caused the burn before you start washing - some chemicals need specific handling. For powder chemicals, brush off as much as possible before adding water, because some powders become more corrosive when wet.

Tip

Don't apply butter, toothpaste, egg whites, or any other folk remedy. These trap heat in the wound and increase infection risk. The only acceptable substances on a burn are cool water and a clean barrier dressing.

Products Used

☐ The Checklist

How to Treat a Burn - First Aid in 5 Steps

Tools
5
Materials
2
Steps
5
Video
11 min

Your Guide

ProCPR

As an Amazon Associate we earn from qualifying purchases. Links on this page may be affiliate links - clicking them and buying doesn't change your price, but helps support ShowMeStepByStep.

Tags

Related Tutorials