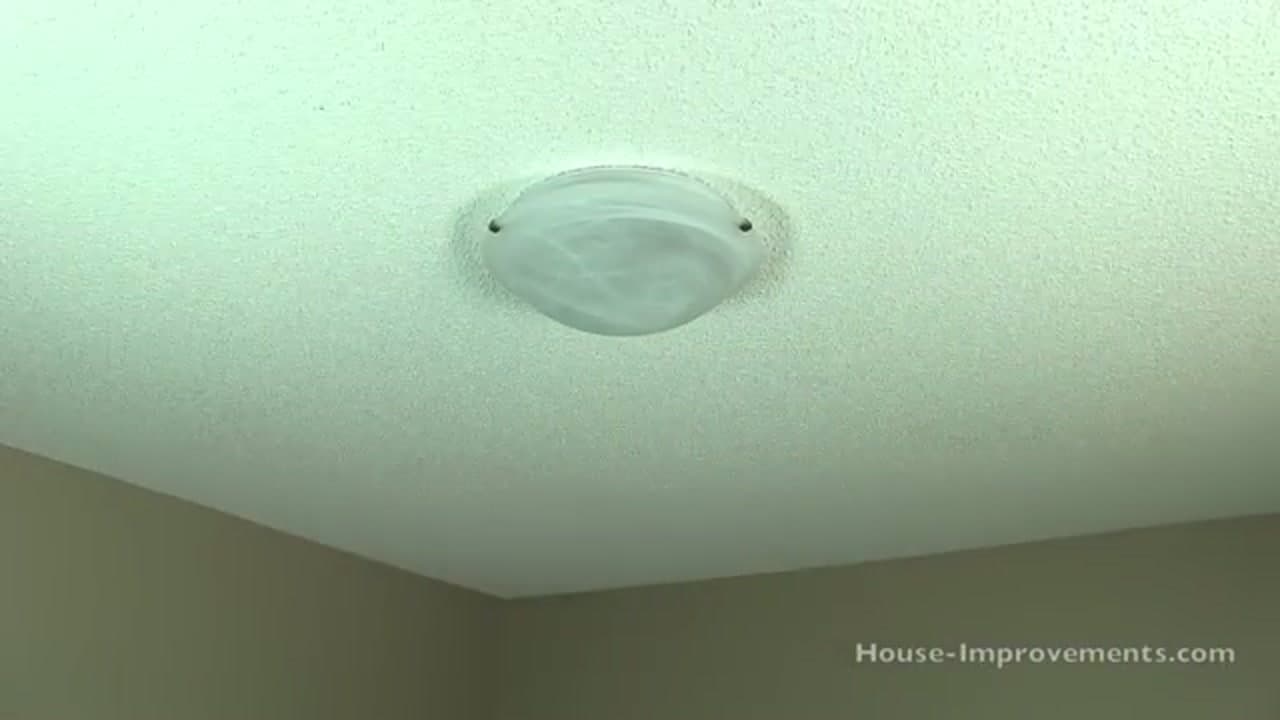
How to Install a Ceiling Light

Home ImprovementMedium12:127 stepsBrowse more →
Also in:Adulting

By ShowMeStepByStepPublished

Based on a video by HouseImprovements.

Changing out a tired ceiling light is one of those jobs that looks harder than it is. Shannon from House-Improvements.com breaks it down into a handful of steps you can follow at your own pace, and the payoff is a bright new fixture that makes the whole room feel fresh.

The most important part happens before you touch a single wire: cutting the power. Get that right and the rest is straightforward. You will remove the old fixture, hang a new mounting strap, connect three wires, and lock the new light in place. It is the same basic wiring skill you would use to replace a light switch or install a dimmer switch.

If your home wiring looks different from the video or you are not sure about your local electrical code, call a licensed electrician. When in doubt, hire it out.

Step-by-Step Guide

1

Step 1: Turn Off the Power and Test It

0:10
Step 1: Step 1: Turn Off the Power and Test It

This is where safety starts. Head to your breaker panel and switch off the circuit that feeds this light. Flipping the wall switch is not enough. Come back and hold a non-contact voltage tester up to the fixture wires to confirm the power is really dead. No beep, no glow, you are good to go. If the tester still lights up, you turned off the wrong breaker.

Tip

Not sure which breaker it is? Leave the light switch on and flip breakers until the bulb goes dark. That is your circuit.
2

Step 2: Remove the Old Fixture

0:40
Step 2: Step 2: Remove the Old Fixture

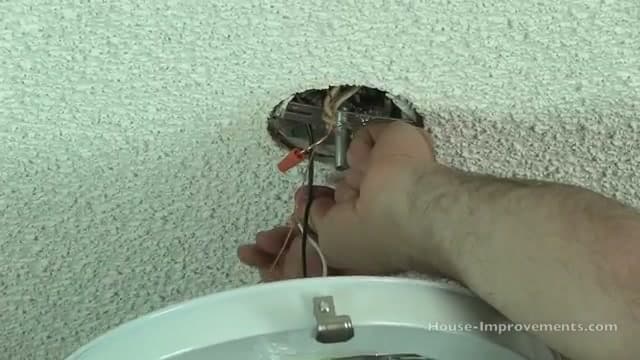
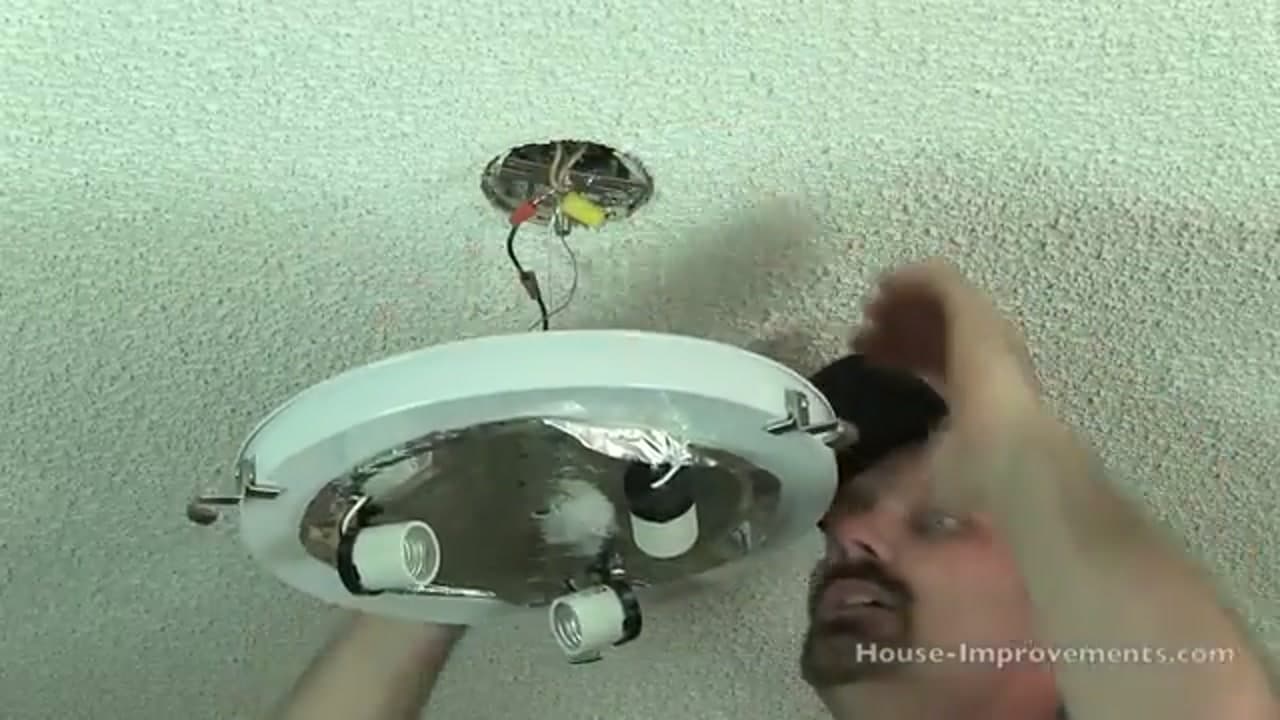
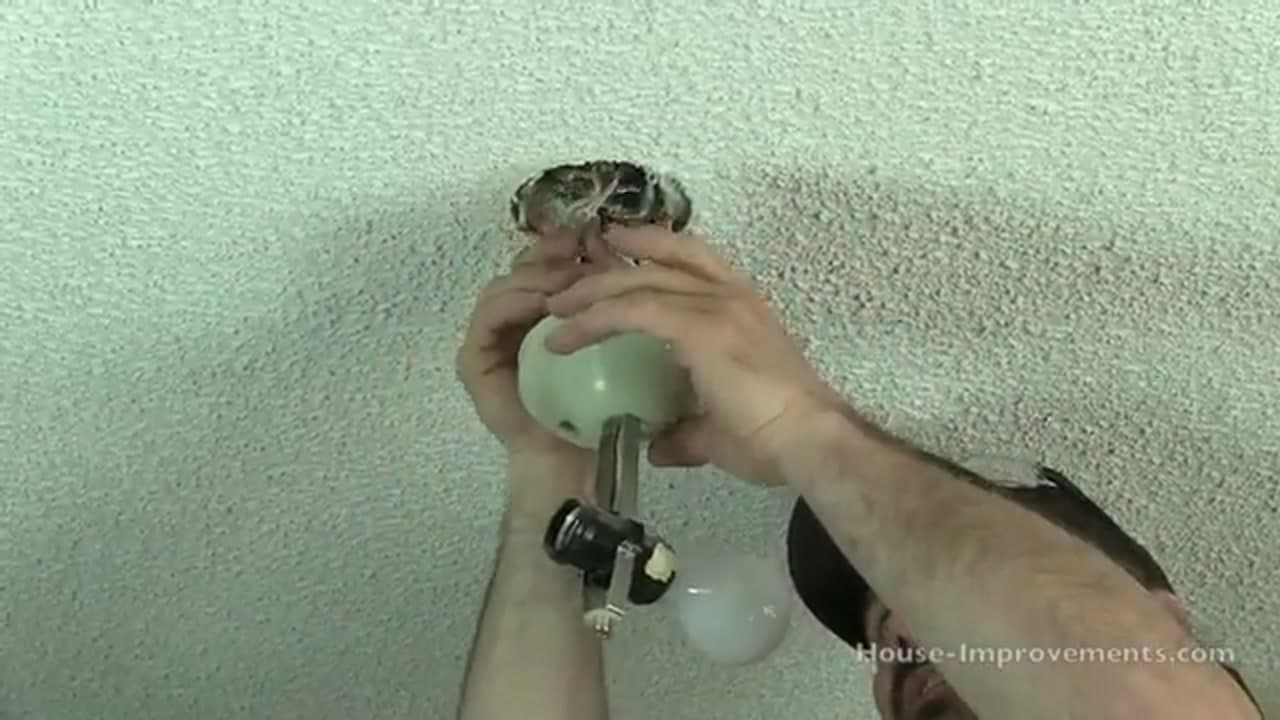
With the power off, take down the old light. Loosen the screws holding the base to the ceiling box and let the fixture drop into your hand. You will see the wire connectors that join the fixture wires to the house wires. Unscrew each one and separate the wires. Set the old fixture aside. Take a quick look at how the wires were connected so you have a reference for the new one.

Products used in this step

3

Step 3: Attach the New Mounting Bracket

3:30
Step 3: Step 3: Attach the New Mounting Bracket

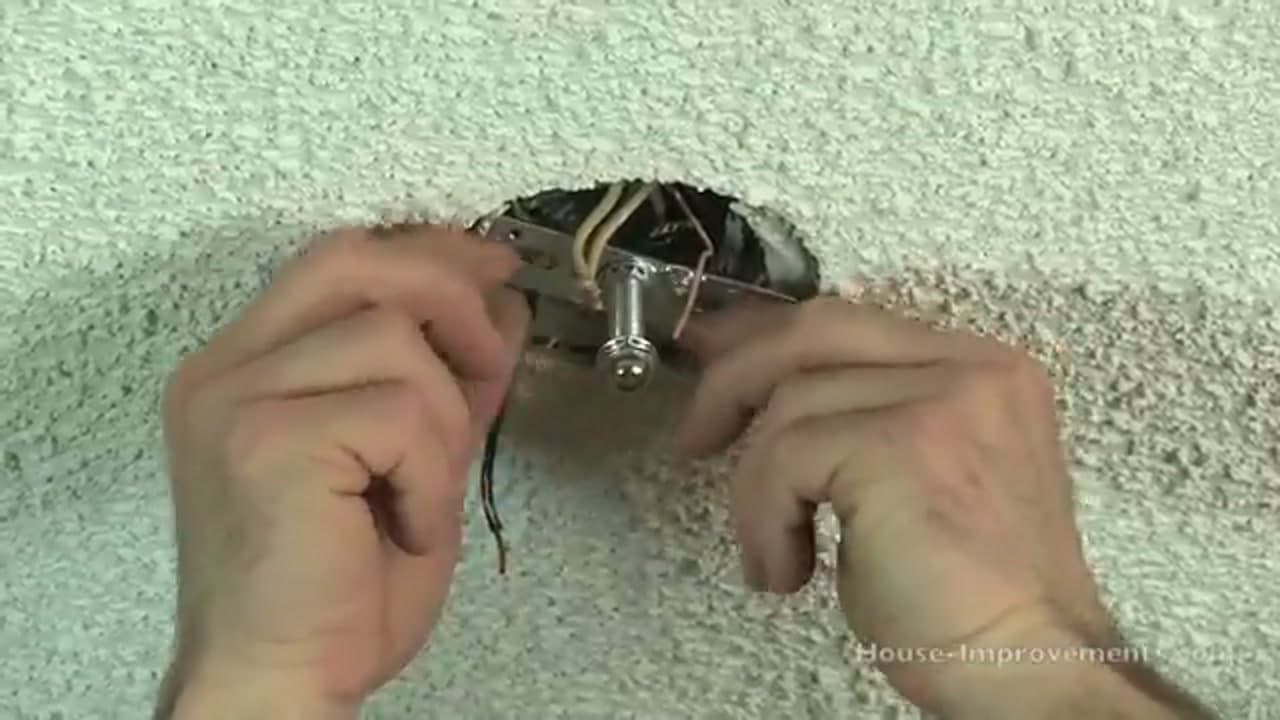
Most new fixtures come with a metal mounting strap. This screws onto the ceiling electrical box and gives the new light something solid to hold onto. Line up the strap holes with the box and drive in the two screws. Many straps have a threaded center stud that the fixture base will thread onto later. Make sure the strap sits flat and tight against the box.

4

Step 4: Connect the Wires

6:50
Step 4: Step 4: Connect the Wires

Here is the part that scares people, and it should not. The colors do the work for you. Twist the black fixture wire to the black house wire, then cap them with a wire nut. Do the same for white to white. The bare copper or green ground wire goes to the green screw or the ground wire in the box. Give each wire nut a firm twist so nothing is loose, then tug gently to check.

Tip

Line up the copper ends evenly before you twist on the wire nut. A clean twist holds far better than a lopsided one.

5

Step 5: Mount the Fixture Base

8:00
Step 5: Step 5: Mount the Fixture Base

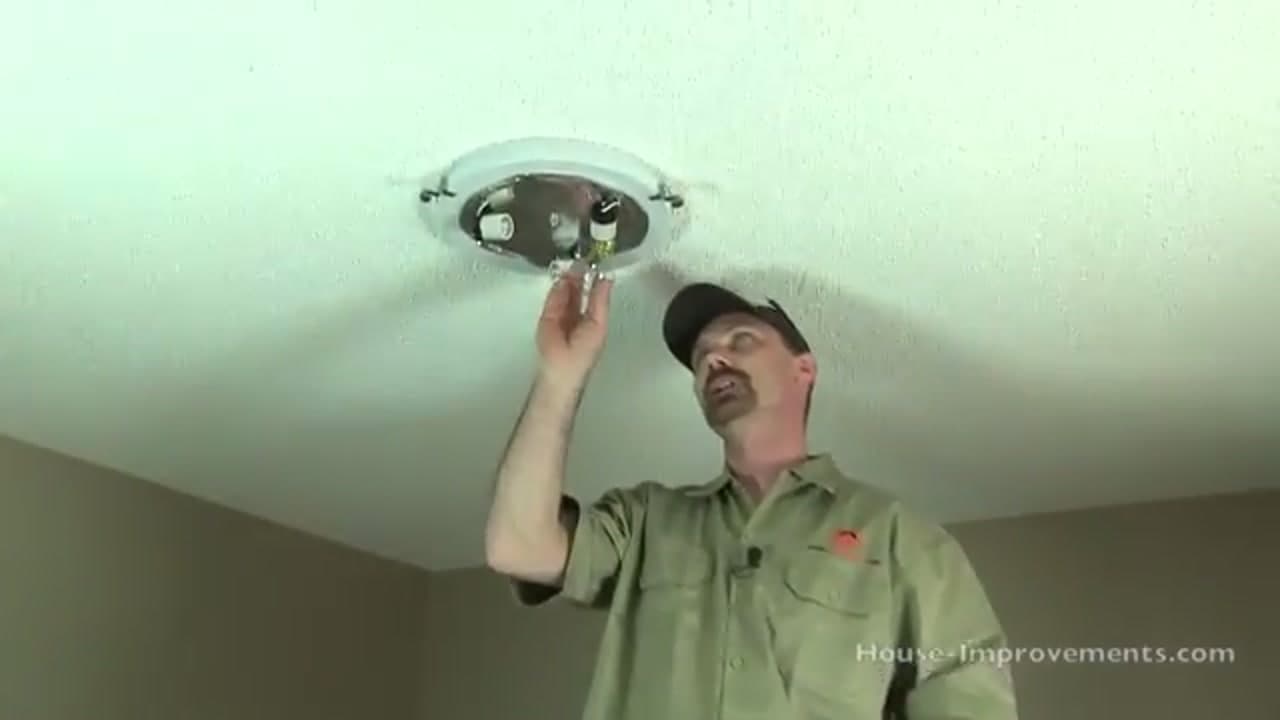
Gently fold the connected wires up into the box so they are out of the way. Then lift the new fixture base up to the ceiling. Depending on your fixture, you either thread it onto the center stud and tighten a cap nut, or line up the keyhole slots over the screws and turn to lock it. Snug the base up until it sits flush against the ceiling with no gap.

Products used in this step

6

Step 6: Add the Bulbs and Shade

9:30
Step 6: Step 6: Add the Bulbs and Shade

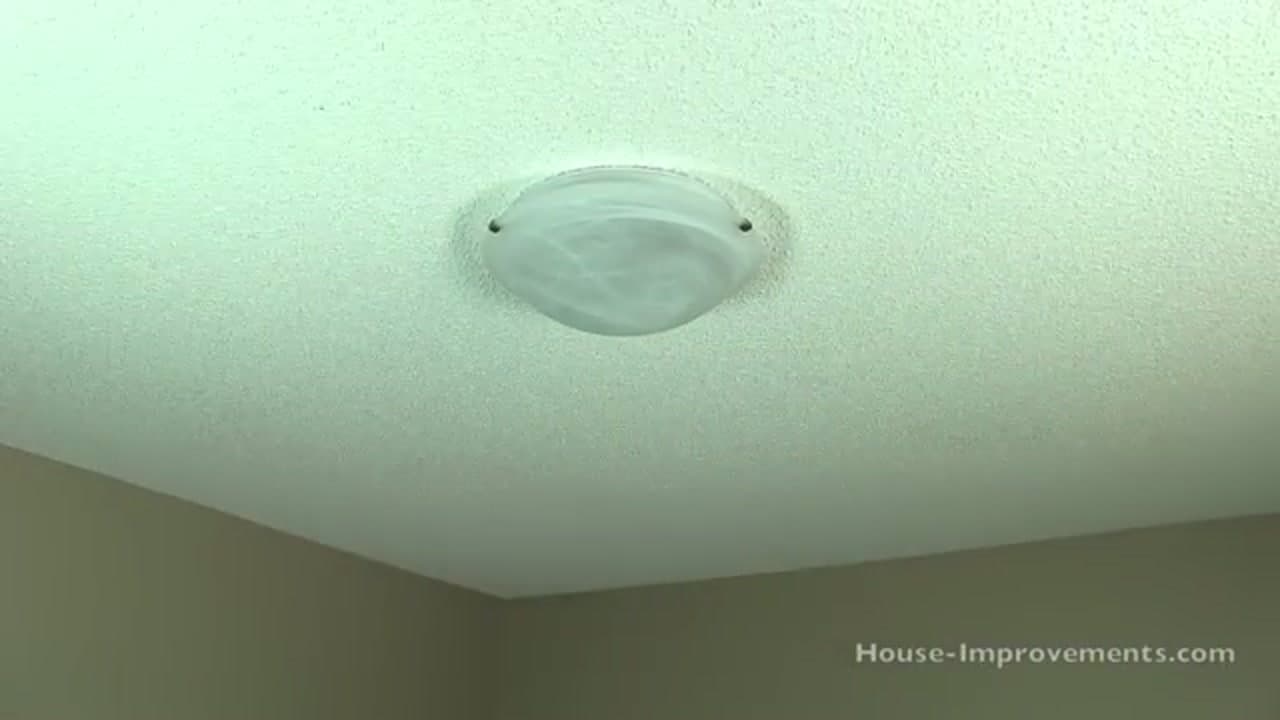
Almost done. Screw a bulb into each socket, snug but not cranked. Check the fixture box for the max wattage and stay under it. Now set the glass shade or globe over the base. Some lock in with a center finial you thread on by hand, others use small side screws. Tighten just enough to hold the shade steady, since glass does not like being over-torqued.

Tip

LED bulbs run cool and last for years. They are worth it in a ceiling fixture you would rather not climb up to change often.

Products used in this step

7

Step 7: Restore Power and Test

10:58
Step 7: Step 7: Restore Power and Test

Back to the breaker panel. Flip the circuit on and go try the wall switch. Your new ceiling light should come to life. If it does not, kill the power again and recheck your wire connections, since a loose wire nut is the usual culprit. Once it works, step back and enjoy the fresh look. That old dated fixture is history. Ready for a bigger upgrade in another room? The same skills carry over when you install a ceiling fan.

Products used in this step

Products Used

☐ The Checklist

How to Install a Ceiling Light

Tools
4
Materials
3
Steps
7
Video
12 min

Your Guide

HouseImprovements

As an Amazon Associate we earn from qualifying purchases. Links on this page may be affiliate links - clicking them and buying doesn't change your price, but helps support ShowMeStepByStep.

Tags

Sunday How-To

New home improvement tutorials, every Sunday

One short email with the week's best step-by-step guides. Free, no spam, unsubscribe anytime.

Did this work for you?

What's next

Related collections

Curated theme pages that include this tutorial.

Weekly Digest

Liked this home improvement tutorial?

Pick the categories you want to hear about. Weekly digest of new step-by-step tutorials. No spam, easy unsubscribe.

Send me tutorials about

We only email about new tutorials. Easy unsubscribe anytime.