Thermostat installation is a beginner-friendly home repair. Install a new thermostat in seven steps and you can replace a worn-out unit, swap in a programmable, or upgrade to a smart thermostat in well under an hour. This walks through how to install a thermostat from power-off to final wire test.
Most thermostat installs follow the same playbook regardless of brand. The wiring conventions are standard across Honeywell, ecobee, Nest, and the budget builder-grade units, so once you learn the label-then-wire-by-color routine you can swap any thermostat. For the rest of the install cluster, see ceiling fan installation, light fixture installation, leaky faucet repair, kitchen faucet install, and how to install an interior door.
Do I need to turn off the breaker before a thermostat install?
Yes. Low-voltage thermostat wiring runs on 24V, but the transformer feeding it is on a 120V breaker. Always cut power at the panel before pulling the old thermostat off the wall.
How long does thermostat installation take?
Plan for 30-60 minutes for a standard swap. A first-time install usually runs an hour. Smart thermostats add 5-10 minutes for the Wi-Fi setup at the end.
What if my wires don't match the new thermostat's labels?
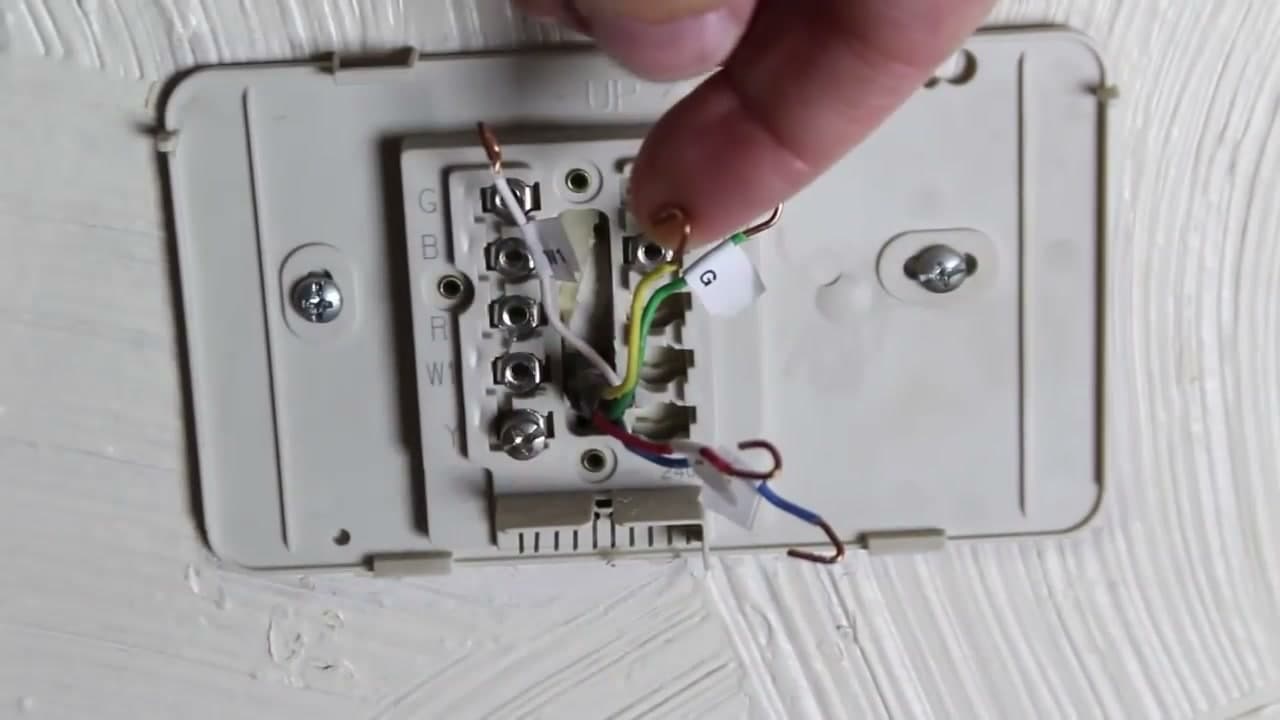
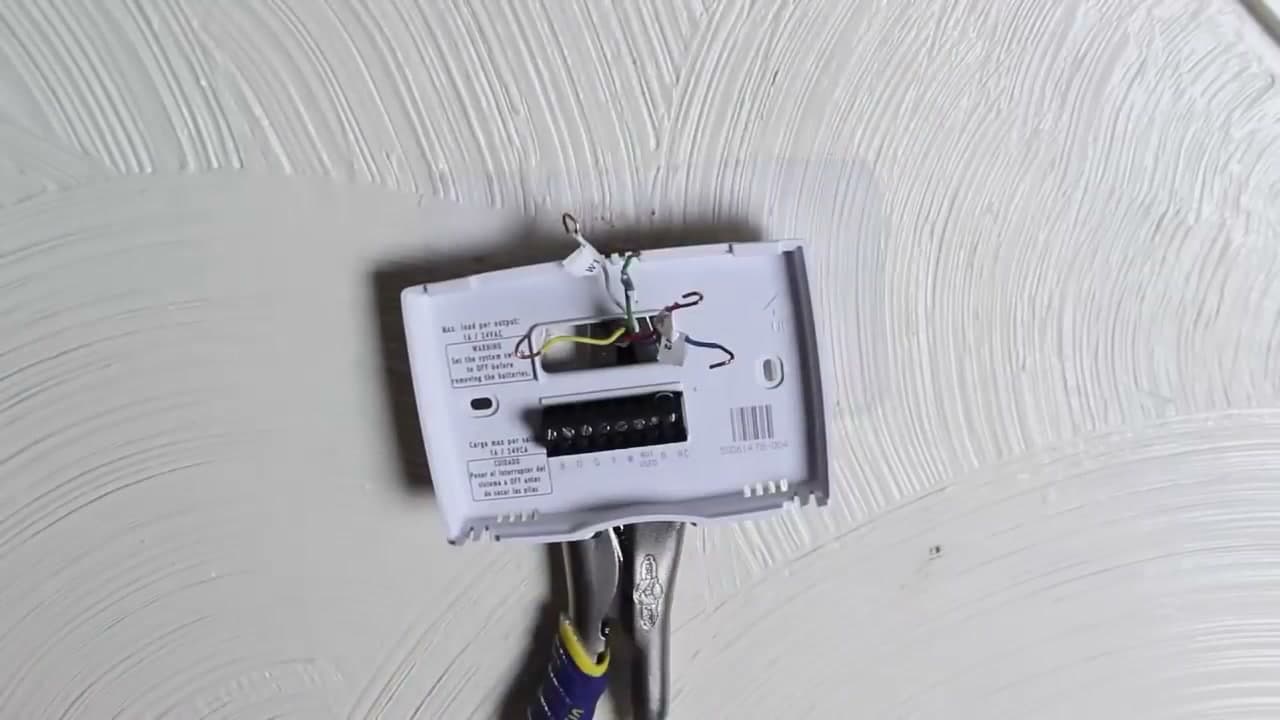
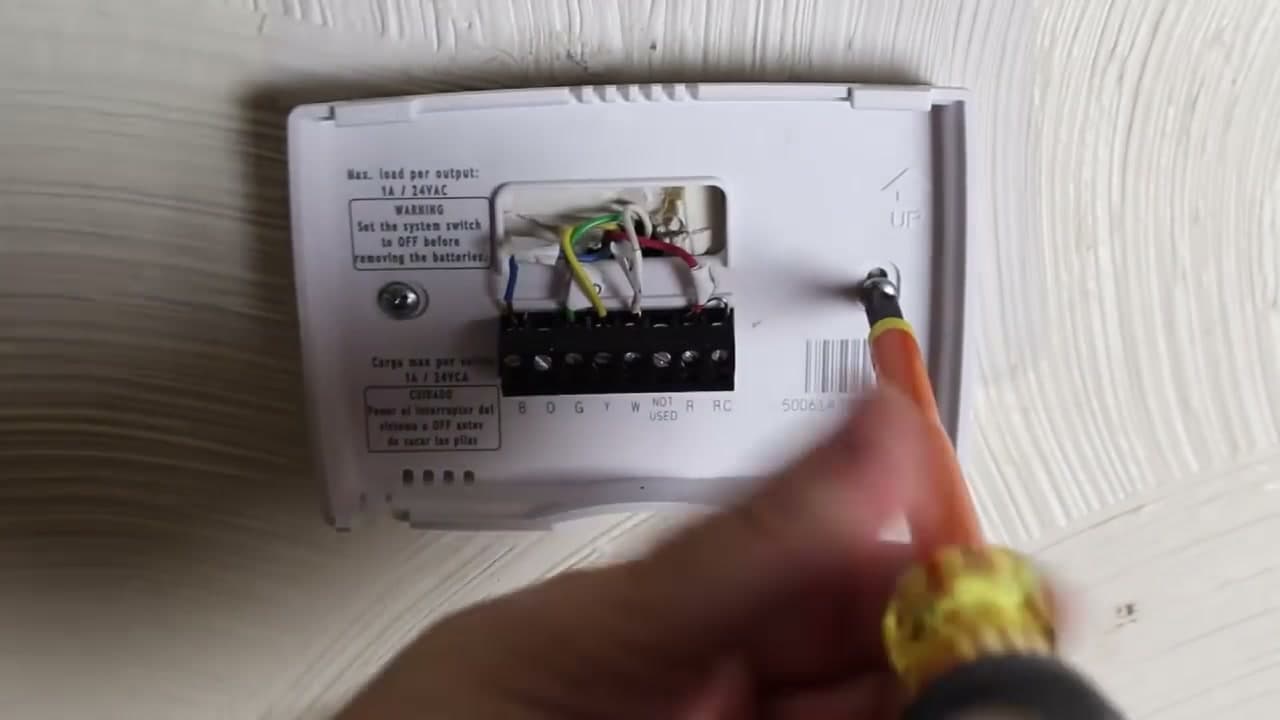
Photograph the original wiring first, then label each wire by the terminal it came from (R, W, Y, G, C). Match those labels to the new thermostat's terminals - same letter, same wire.
Can I install a smart thermostat without a C wire?
Some can, most prefer one. If your wall has only 4 wires (R, W, Y, G), check the smart thermostat's compatibility tool before buying - many include a C-wire adapter in the box.
Thermostat Installation: What You Need to Know First
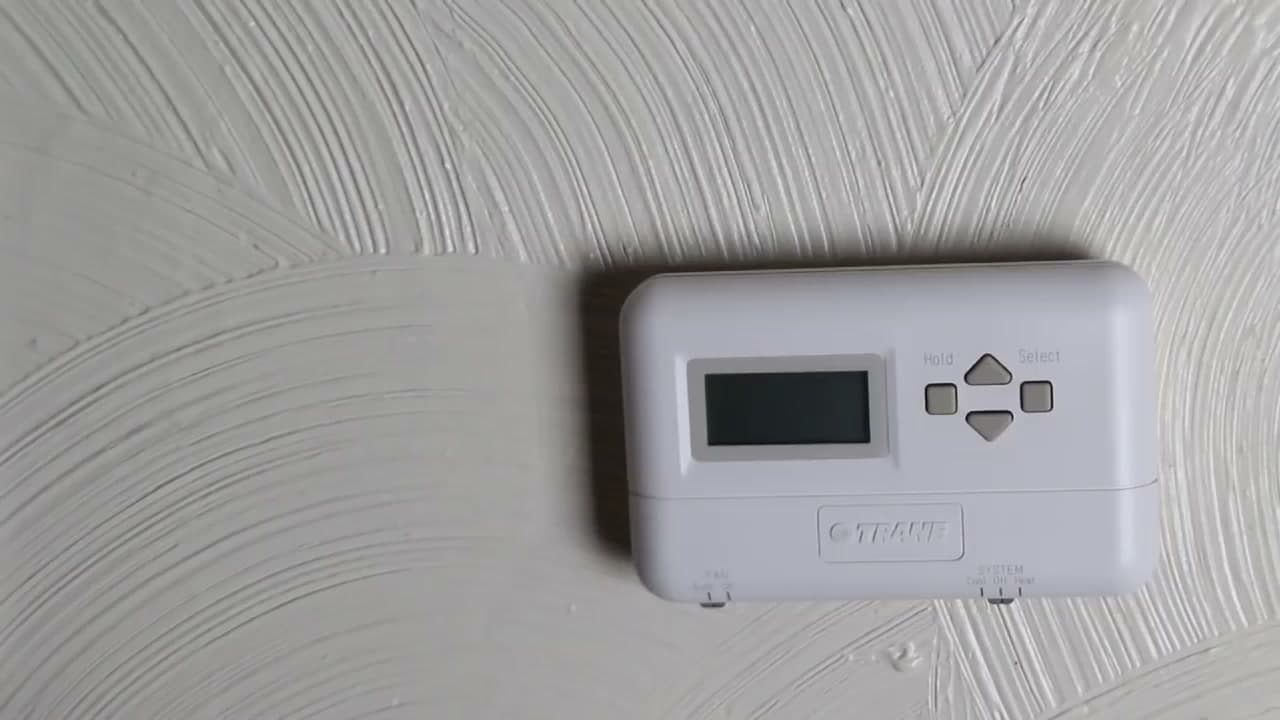
Thermostat installation is a low-voltage job, but the transformer that powers your thermostat sits on a 120V circuit. Cut power at the breaker labeled Furnace, Air Handler, or HVAC before you pull the old unit off the wall. Photograph the existing wiring before you disconnect a single wire - this is the single most useful step in the whole job.
Most homes wire thermostats with 4 or 5 conductors: R (power), W (heat), Y (cool), G (fan), and sometimes C (common). The letter on the terminal matches the letter you label on each wire. If your wall has only R, W, Y, G and you are moving to a smart thermostat, you may need a C-wire adapter or a power-stealing kit. The rest of this thermostat installation guide breaks down the install paths by thermostat type.
For other quick electrical projects in the same skill range, see how to replace a light switch and how to install a dimmer switch.
How to Install a Programmable Thermostat
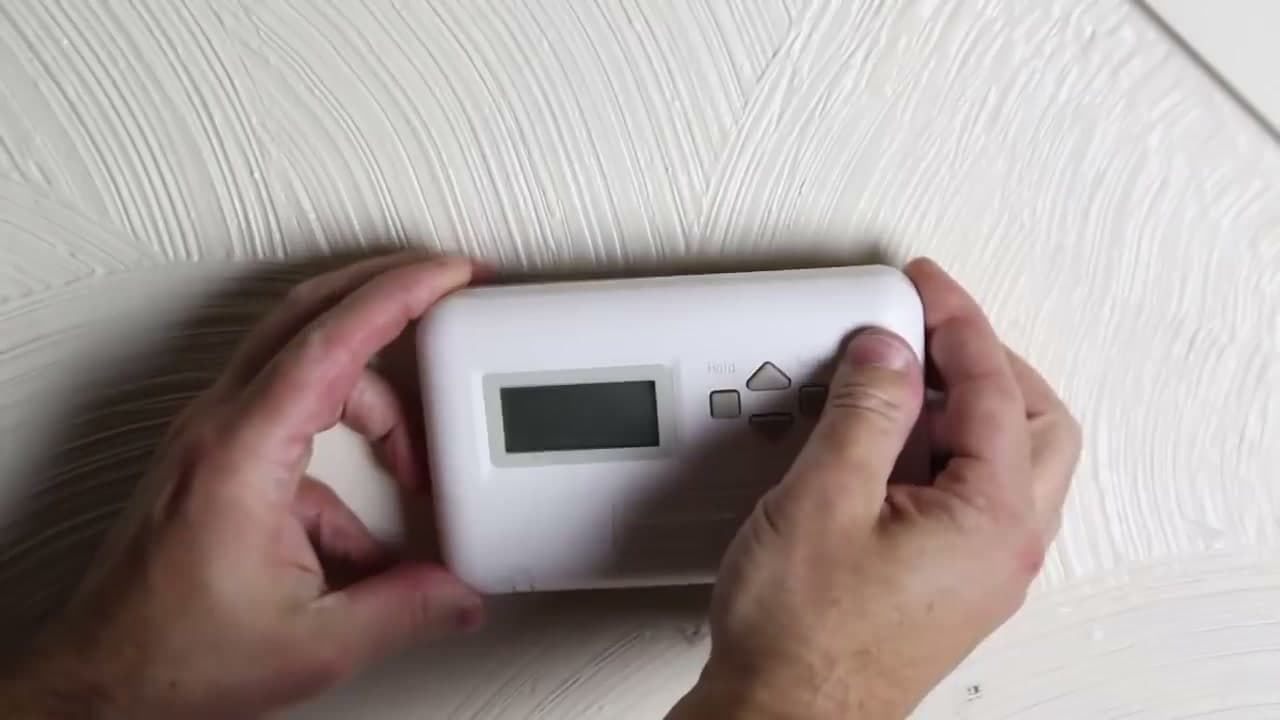
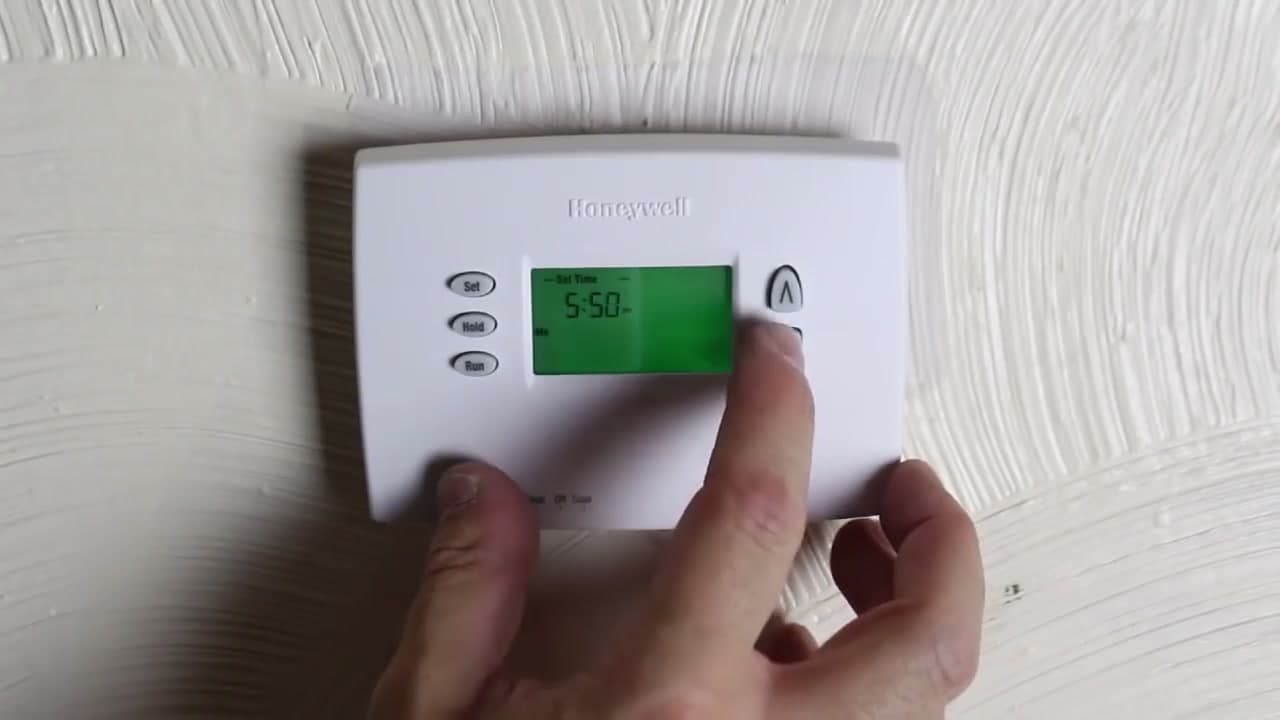
A programmable thermostat install is the simplest swap. Power off, label, pull the old face plate, transfer wires to the new base plate letter-for-letter, install the AAs, and program the time. Honeywell, Emerson, and Lux programmable units all follow the same R/W/Y/G letter convention. No Wi-Fi setup, no app pairing, no C-wire requirement on most models.
Set the fuel switch on the back of the new face plate to Gas/Oil or Electric to match your system - most furnaces are Gas/Oil; electric baseboard and heat pump backup heat are Electric. Skip this and the thermostat will short-cycle your system on the first heat call. Once mounted, set the system switch to Heat or Cool and the Fan switch to Auto, then run a test call for each mode before you walk away.
How to Install a Smart Thermostat: Nest, Honeywell, and ecobee
Smart thermostat installation adds two wrinkles to the standard swap: the C-wire requirement and the Wi-Fi setup. Nest, Honeywell T9 / T10, and ecobee SmartThermostat all need a constant 24V power source. The C-wire (common) provides it. If you have a C-wire in the wall, the install is identical to a programmable - same label-and-wire-by-color routine.
No C-wire? You have three options. ecobee ships a Power Extender Kit in the box that you wire at the furnace control board - it adds the C-wire without running new cable. Nest power-steals across other wires and works on most systems without a C, but expect occasional reboots. Honeywell sells the C-Wire Adapter as an add-on. Read the in-box compatibility checker before you buy.
Heat pump owners: when you wire a smart thermostat to a heat pump, the orange (O) wire is reversing valve and the auxiliary (Aux or E) is emergency electric heat. The thermostat app walks you through this during setup. Confirm the cool call drops the compressor and the heat call energizes O before you trust the schedule.
After wiring is done and the breaker is back on, the thermostat boots into a pairing screen. Connect it to your 2.4 GHz Wi-Fi (most smart thermostats do not support 5 GHz), claim it in the app, and run through the schedule wizard. The whole Wi-Fi step adds about 10 minutes to the install.
How to Install an AC Thermostat or Heat Pump Thermostat
AC thermostat installation differs from a furnace-only install in one place: the Y wire. Y carries the cool call to the condenser. If your old thermostat only ran a furnace, there may not be a Y wire in the bundle at all, which means you need to pull new wire from the air handler to the thermostat before the new unit can run cooling. A 5-conductor or 8-conductor thermostat cable run is the standard fix.
Heat pump thermostats are a different animal. A heat pump uses the same outdoor unit for both heating and cooling, with a reversing valve switched by the O or B wire. When installing a heat pump thermostat, set the system type during initial setup - not as Heat/Cool, but as Heat Pump (O) or Heat Pump (B) depending on your unit. Get this wrong and your heat call will run cooling.
If your home has a separate emergency heat source (electric strip heat in the air handler), the Aux or E terminal handles it. Most smart thermostats auto-detect this during the compatibility test. For other major install jobs in the home-improvement category, see how to install a ceiling fan and how to fix a leaky faucet.
Thermostat Wiring Diagram: Common Setups
The thermostat wiring diagram looks complicated until you map each letter to its job. Here is the short version most installers carry in their head:
- R (red) - 24V power from the transformer. Some systems split this into Rh (heat power) and Rc (cool power) - if you have both, leave the jumper installed unless the new thermostat tells you otherwise.
- W (white) - heat call. Energizes the gas valve or electric heat relay.
- Y (yellow) - cool call. Energizes the outdoor compressor contactor.
- G (green) - fan. Energizes the indoor blower.
- C (blue, usually) - common, the return path that completes the 24V circuit for smart thermostats.
- O or B (orange or dark blue) - reversing valve on heat pumps. O energizes in cooling; B energizes in heating.
- Aux or E (often brown) - auxiliary or emergency electric strip heat on heat pumps.
A standard furnace-and-AC install uses R, W, Y, G, and ideally C. A heat pump install uses R, Y, G, C, O (or B), and W2/Aux. A boiler-only install (no central AC) uses just R and W. Label every wire to its old terminal letter before you touch the new base plate - this is the thermostat DIY shortcut that prevents 90% of the calls to support.
If you only have 4 wires in the wall and need a 5th for the C, the cleanest fix is to run a new 18/8 thermostat cable from the air handler to the thermostat. If that is not practical, ecobee Power Extender or a 24V plug-in transformer at the thermostat are both viable workarounds.