How to Install a Ceiling Fan with Light Kit

Also in:Adulting

By ShowMeStepByStepPublished Updated

Based on a video by Apartment Maintenance.

If you already have a ceiling fan but want overhead light without running new wires, a universal light kit is the easiest add-on in home improvement. Most modern ceiling fans ship with a capped blue wire reserved for exactly this. Pop the trim shroud off the bottom, find the blue and white pigtails, match them to the new kit's black and white leads, and you're 20 minutes from a working pull-chain light.

Turn off power at the breaker, not just at the wall switch - a dual-switch wiring setup can leave one circuit live even when the switch is off. Use a voltage tester to confirm. Skip this step and you'll find out the hard way which wire the blue cap was hiding.

This tutorial follows the Apartment Maintenance channel's hands-on walkthrough on a five-blade pull-chain fan. The process is the same on any fan that has a removable trim shroud and the factory blue light-kit wire. If you don't have the blue wire, your fan was built without a light option and a universal kit won't work without rewiring the canopy. Set aside half an hour for your first install.

This pairs well with our how to install a ceiling fan guide if you're starting from scratch, or our how to install a dimmer switch walkthrough if you want to control brightness from the wall. Plumbing on your weekend list too? See how to fix a leaky faucet.

Step-by-Step Guide

1

Turn Off Power at the Breaker and Test

0:05
Step 1: Turn Off Power at the Breaker and Test

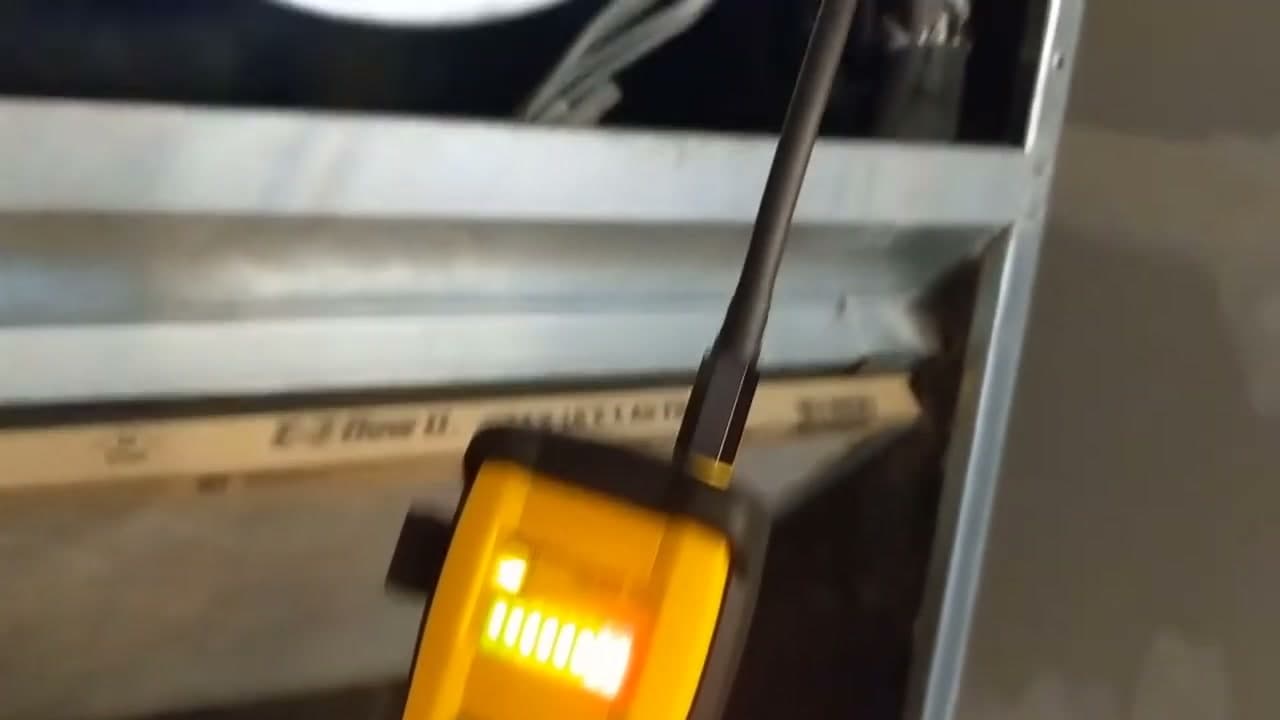
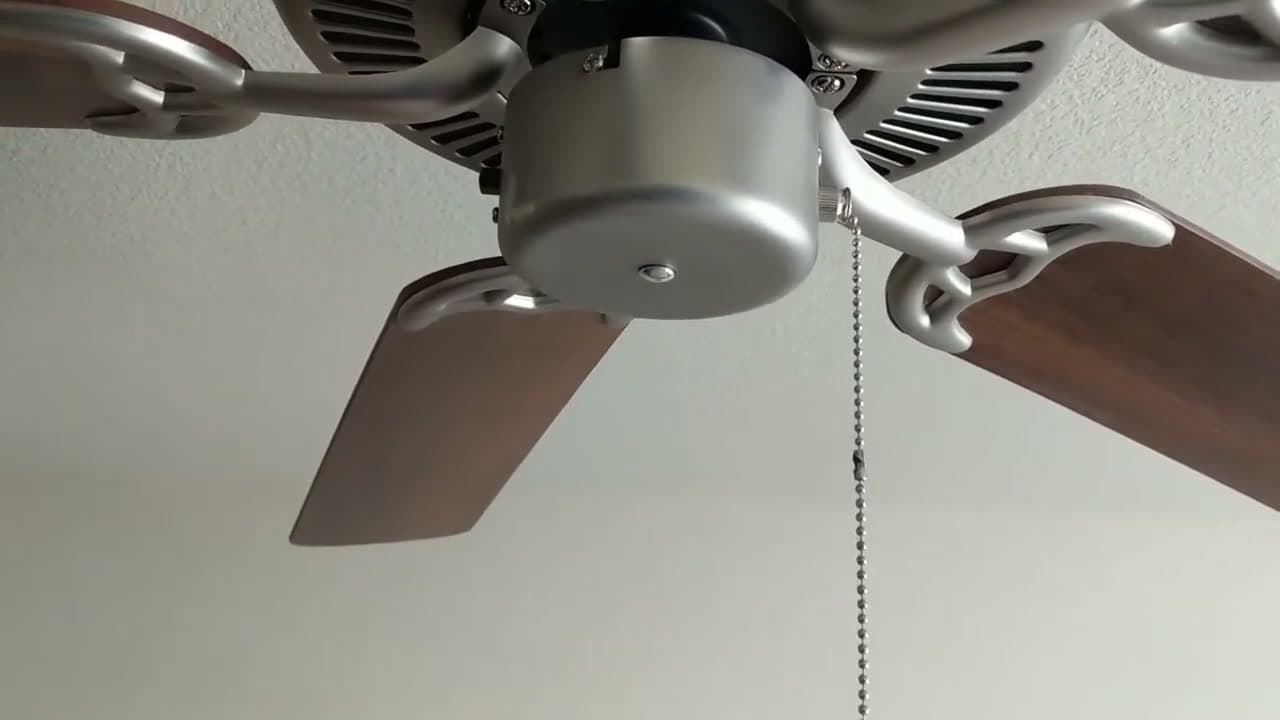
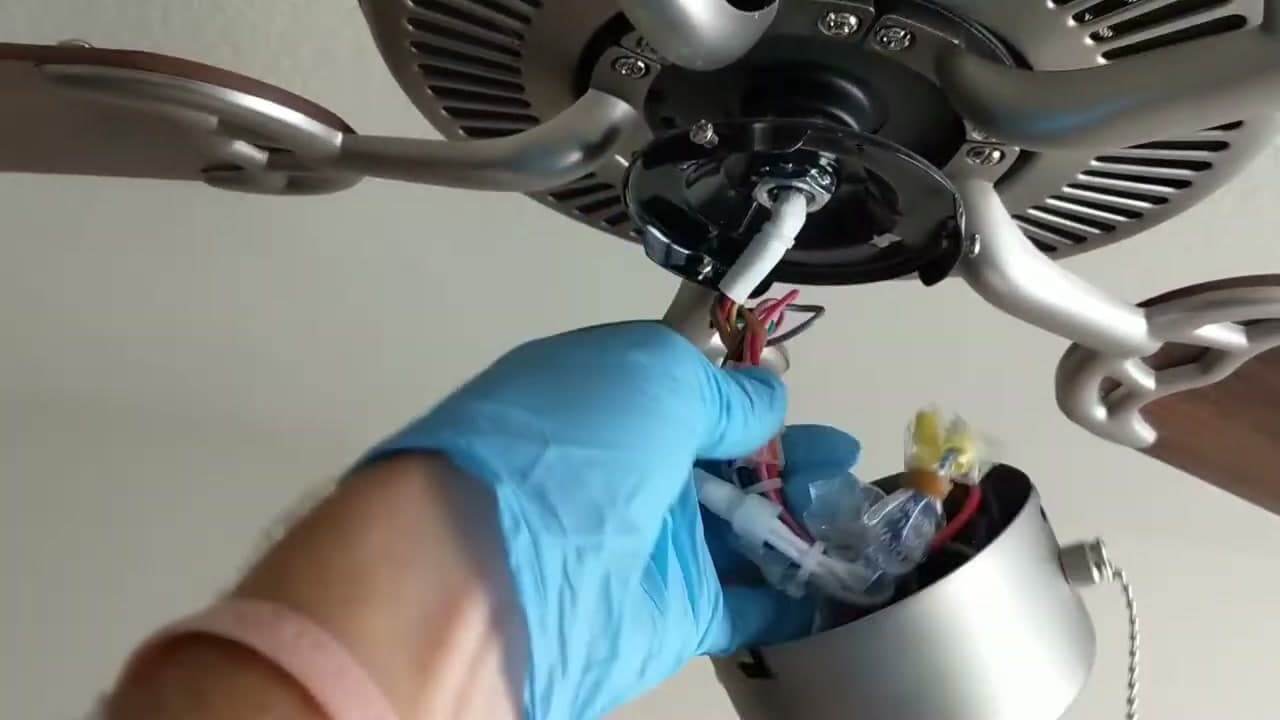
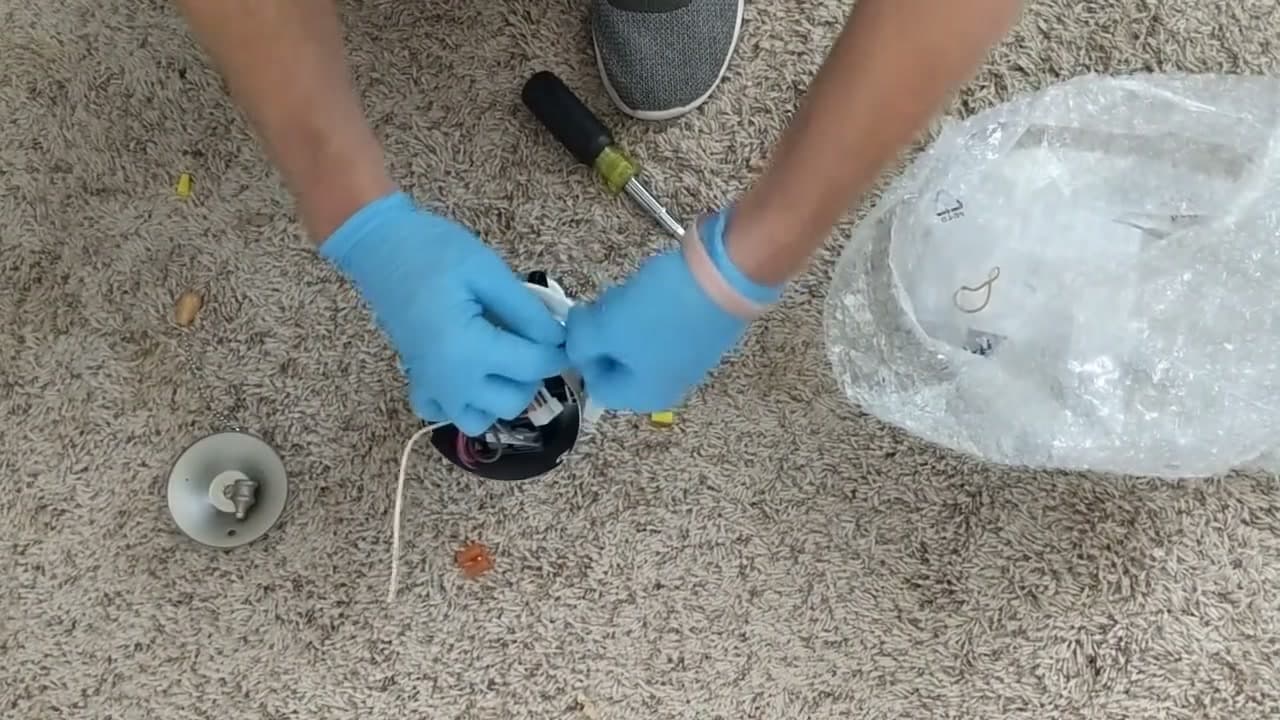
Turn off the power at the breaker, not just at the wall switch. A dual-switch wiring setup can leave one circuit live even when the switch is down. Use a voltage tester to confirm.

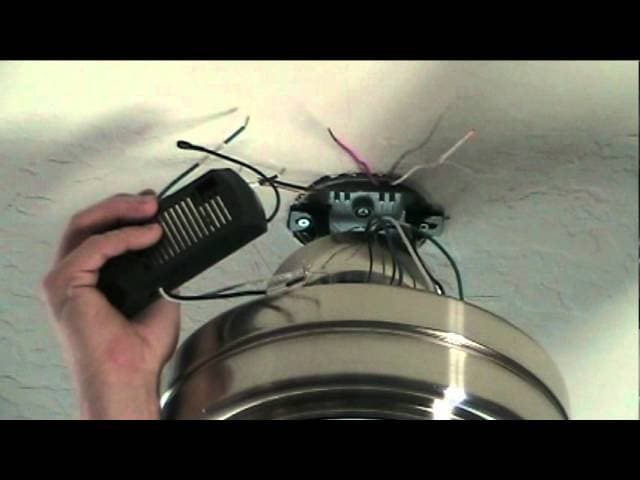
Find the breaker for the room, flip it off, then come back to the fan and press a non-contact voltage tester against the wires you'll be touching. Only continue when the tester stays silent.

If the tester chirps with the breaker off, you're on a circuit you didn't expect. Stop and trace the right breaker before you touch anything else.

Watch this moment in the video.

Tip

Non-contact testers cost about $15 and work right through wire jackets. Klein's NCVT is the standard pen for residential work.

2

Remove the Existing Shroud or Trim Plate

0:25
Step 2: Remove the Existing Shroud or Trim Plate

Most ceiling fans use three screws spaced around the perimeter of the bottom trim. Back each one out with a Phillips screwdriver and keep them in a magnetic tray so they don't roll off the ladder.

Once all three are loose, the shroud drops free in your hand. Lower it gently - there's usually a wiring harness still connecting it to the fan body. Set the shroud and harness on a flat surface where the wires can hang free.

If your fan has a built-in cover plate instead of a shroud, the same idea applies. Look for screws around the perimeter and back them out one at a time.

Watch this moment in the video.

Tip

If a screw spins in place instead of coming out, it's stripped. Switch to a hand-held screwdriver and apply downward pressure as you turn. Avoid an impact driver overhead.

3

Unplug the Wiring Harness

0:40
Step 3: Unplug the Wiring Harness

Most fans use a quick-connect plug instead of bare wires between the shroud and the fan body. Look for a small clip or tab on the side of the connector, press it in, and pull the two halves apart.

Set the shroud somewhere flat where the wires can hang loose while you work overhead. Don't let the shroud dangle by its wires - the strain damages the connector pins over time.

If your fan has hard-wired bare leads instead of a quick-connect, unscrew the wire nuts and separate the connections. Note which color went to which before you take them apart.

Watch this moment in the video.

Tip

Snap a phone photo of the harness orientation before you unplug. Quick-connect plugs are usually keyed so they only fit one way, but the photo saves you on reassembly.

4

Find the Capped Light Kit Wires

0:55
Step 4: Find the Capped Light Kit Wires

The light kit wires are usually tucked behind a small plastic cap on the underside of the fan motor. Pop that cap out with a flathead screwdriver and you'll see two wires - a blue one and a white one.

Blue is the hot lead reserved for the light kit. White is the neutral. Pull them down so you have enough slack to work with the new kit.

If the cap won't pop out, look around the housing for a small access panel or a screw on the underside. Some manufacturers tuck the leads behind a sliding cover instead of a cap.

Watch this moment in the video.

Tip

If you only see a single white wire and no blue, your fan didn't ship with a light-kit option. A universal kit won't work without rewiring the canopy from the ceiling box.

5

Feed Light Kit Wires Through the Center

1:15
Step 5: Feed Light Kit Wires Through the Center

Hold the new light kit body in one hand and push its black and white leads up through the threaded collar in the fan housing.

Thread the locking nut onto the collar from above and snug it by hand. Leave a little room - the pull chain still needs to drop through the same hole cleanly.

Most light kits come with the collar pre-attached to the kit body. If yours is loose, screw it on first before you feed the wires up.

Watch this moment in the video.

Tip

Don't crank the locking nut down with pliers. Hand-tight is enough. Over-tightening cracks the plastic threads on cheaper universal kits.

6

Connect Wires with Wire Nuts

2:45
Step 6: Connect Wires with Wire Nuts

Pair the black wire from the light kit with the blue wire from the fan. Hold the two stripped ends side by side, twist them clockwise about a turn, then spin a yellow or orange wire nut on clockwise until it bites.

Do the same for the whites: white from the light kit to white from the fan, cap with a wire nut.

Tug each connection to confirm it holds. A solid splice doesn't slip. If a wire pulls free from the nut, redo it with a smaller-gauge nut.

Tuck the bundle back up into the housing so nothing pokes out the bottom.

Watch this moment in the video.

Tip

Yellow wire nuts are sized for two 14-gauge wires. Orange handle two 18- or 20-gauge wires (most light-kit leads are 18). Match the nut to the wire combo or the splice slips.

7

Reconnect the Harness and Mount the Light Kit

3:40
Step 7: Reconnect the Harness and Mount the Light Kit

Plug the quick-connect harness back together until it clicks. If you photographed the orientation in step 3, double-check it now.

Lift the light kit body up against the fan, line it up with the three screw holes where the old shroud was, and drive each screw home. Don't overtighten - just snug enough that the kit sits flush against the fan housing.

The pull chain should now hang down through the center of the light kit body.

Watch this moment in the video.

Tip

If the light kit body doesn't sit flush, there's a pinched wire behind it. Pull it back down a quarter inch, tuck the wire deeper into the housing, and re-seat the kit.

8

Mount the Glass Shade and Test

4:45
Step 8: Mount the Glass Shade and Test

Thread the light pull chain down through the center hole in the shade, then line up the second hole with the fan's own pull chain. Lift the shade into place and spin the retaining nut on by hand until it stops.

Twist in your LED bulbs. Match the wattage marked on the kit - going over the rated wattage burns out the socket and can melt the shade.

Restore power at the breaker and pull the chain. The light should come on with a soft click. If it doesn't, kill the breaker again and check the wire nuts on the blue and white splices first - a loose nut is the most common cause.

Watch this moment in the video.

Tip

LEDs in a ceiling fan light kit need to be rated for enclosed fixtures. The trapped heat from a sealed shade kills standard LED bulbs in about a year if they're not rated for it.

Products Used

☐ The Checklist

How to Install a Ceiling Fan with Light Kit

Tools
4
Materials
4
Steps
8
Video
6 min

Your Guide

Apartment Maintenance

As an Amazon Associate we earn from qualifying purchases. Links on this page may be affiliate links - clicking them and buying doesn't change your price, but helps support ShowMeStepByStep.

Tags

Test your knowledge

Did the lesson stick? Find out in 2 minutes.

5 quick questions covering what you just read. No signup, no score saved — just a gut check.

Quick reference

Key takeaways from How to Install a Ceiling Fan with Light Kit

5 questions, answers, and one-line explanations. Tap to expand.

  1. 1.Right safety step before touching wiring?

    Answer: Breaker off + voltage test

    Wall switch alone can miss dual-switch wiring leaving one circuit live. Breaker off + voltage test is the only safe combo.

  2. 2.Which wire color is the light-kit hot?

    Answer: Blue

    Blue is the fan-industry standard for the light-kit hot lead. White is neutral; black is for the fan motor itself.

  3. 3.Which way do you twist under a wire nut?

    Answer: Clockwise turn + cap

    Wire nuts have right-hand threads. Twisting clockwise and capping clockwise keeps the splice tight as the cap drives down.

  4. 4.Why does the wattage rating matter?

    Answer: Over-watt burns socket

    The kit's wires and socket are sized for a max wattage. Exceed it and you get melted plastic or a burnt socket.

  5. 5.What does the shroud quick-connect let you skip?

    Answer: Wire nuts on connection

    Most modern fans plug shroud to body with a snap-in connector instead of bare wires. Press the tab, pull apart, set the shroud aside.

What's next

Related collections

Curated theme pages that include this tutorial.

Weekly Digest

Liked this home improvement tutorial?

Pick the categories you want to hear about. Weekly digest of new step-by-step tutorials. No spam, easy unsubscribe.

Send me tutorials about

We only email about new tutorials. Easy unsubscribe anytime.