How to Install a Screen Door

Home ImprovementMedium7:239 stepsBrowse more →
Also in:Adulting

By ShowMeStepByStepPublished

Based on a video by Colton Crump DIY.

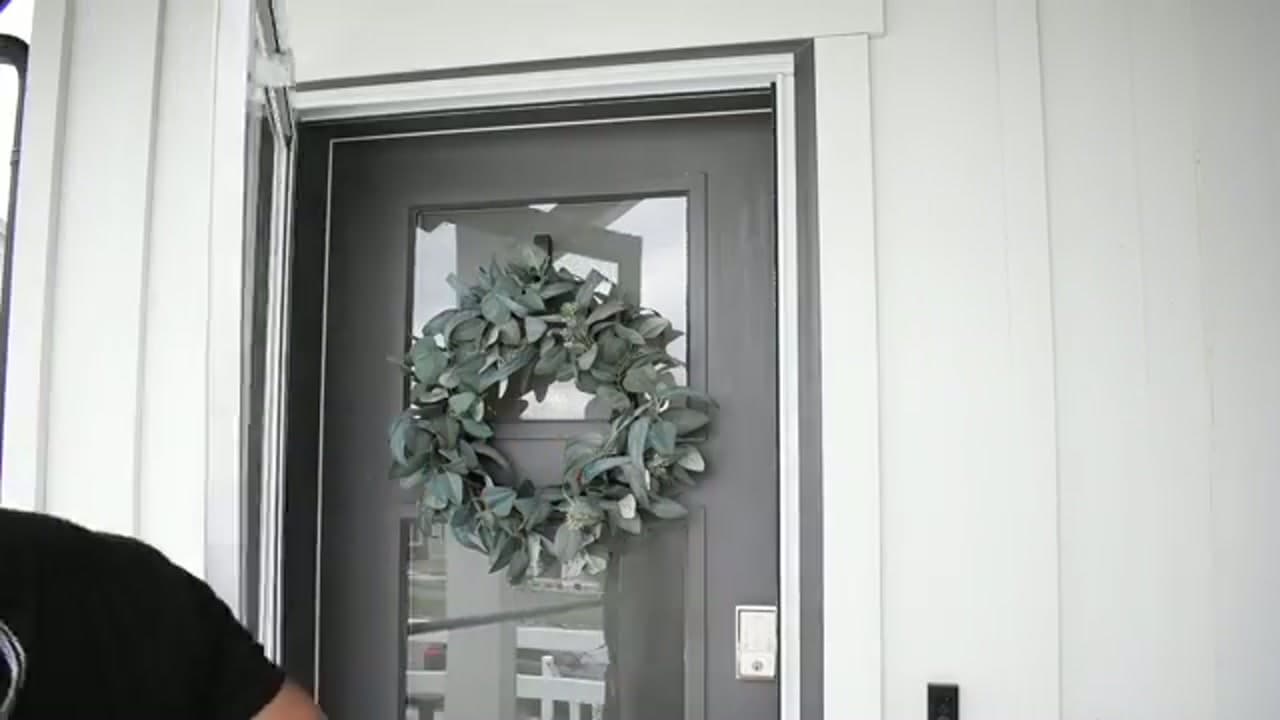
A screen door is one of the few upgrades you can knock out in an afternoon that pays you back every day. It lets the breeze in, keeps the bugs out, and adds a layer of weather protection to your front door. In this project Colton Crump from Colton Crump DIY installs an Andersen 2000 Series storm door, which is the most common style of screen door you will find at Home Depot or Lowe's.

You do not need a contractor for this. Most of the work is measuring carefully, hanging the door square, and taking your time on the hardware. Colton points out the spots where beginners slip up, like the spacers and the top weather stripping, so your door seals and swings right the first time.

Already have a solid entry door and just want the storm door details? Our companion walkthrough on how to install a storm door covers the same kit with a few extra fitting tips.

Step-by-Step Guide

1

Step 1: Measure the Door Opening

0:48
Step 1: Step 1: Measure the Door Opening

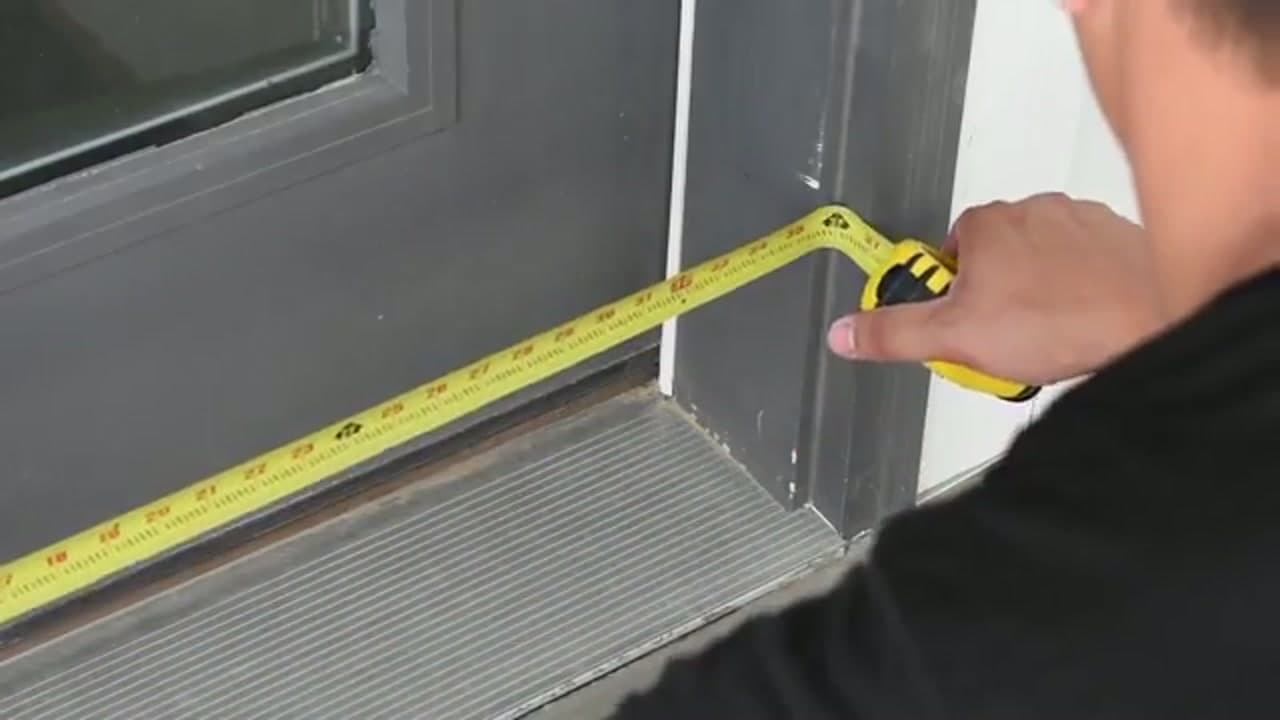
Before you buy anything, measure the opening. Pull your tape across the width at the top, middle, and bottom, then do the same for the height on both sides. Openings are rarely dead square, so go with the smallest number you get. That is the size your screen door needs to clear. Write it down and take it with you to the store so you match the kit to your door.

Tip

Measure the opening itself, not your existing entry door. The two are not the same.

Products used in this step

2

Step 2: Attach the Hinge Rail

2:21
Step 2: Step 2: Attach the Hinge Rail

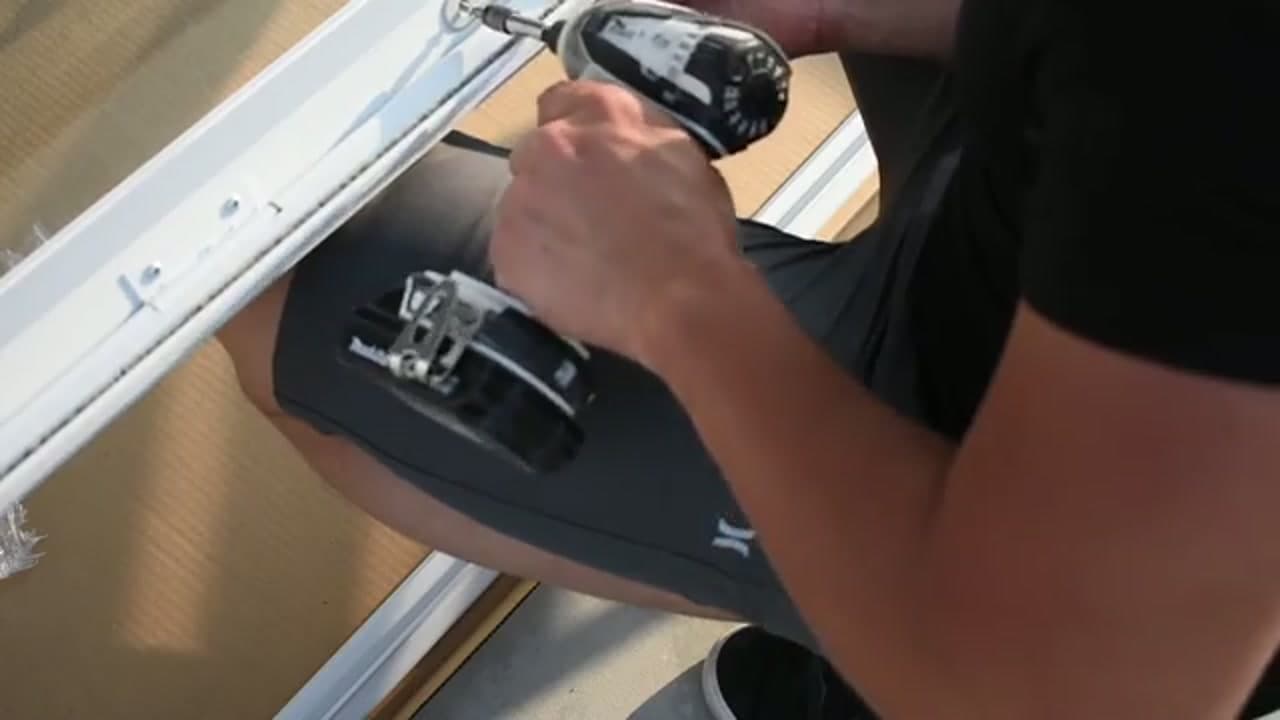
Most kits come with the hinge side as a separate rail that fastens to the door. Line it up along the hinge edge and drive the screws with your drill. These are self-tapping screws, so they cut their own path into the aluminum. Run them in slow and keep steady pressure on the bit so you do not strip the heads. A stripped screw here is a pain to back out later.

Tip

Most of these screws are self-tapping. Let the screw do the work and ease off the trigger as it seats.

3

Step 3: Install the Bottom Sweep

3:10
Step 3: Step 3: Install the Bottom Sweep

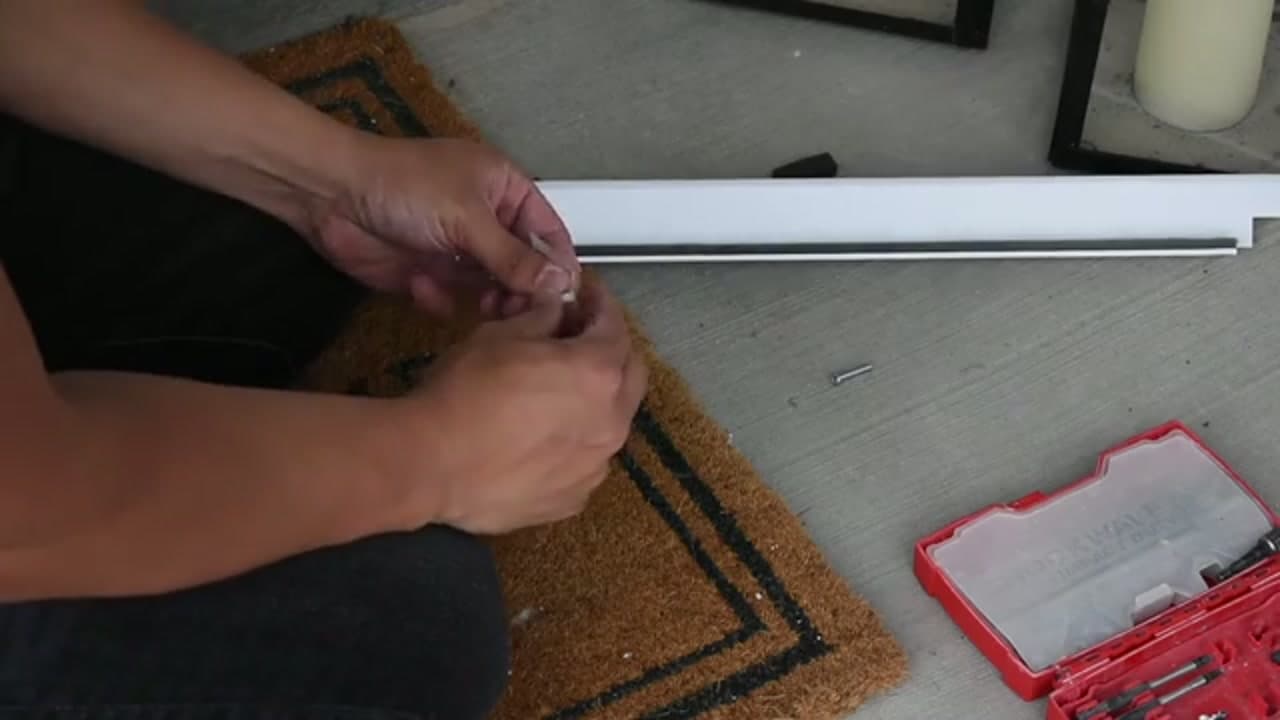
The bottom sweep is the flexible gasket that seals the gap between the door and the threshold. Slide it into the channel along the bottom edge of the door and start the screws by hand so the threads catch clean before you power them in. Getting this on now, while the door is flat on the ground, is far easier than fighting it after the door is hung.

4

Step 4: Hang the Door on the Hinge Side

4:05
Step 4: Step 4: Hang the Door on the Hinge Side

Lift the door into the opening and set it against the frame on the hinge side. Hold it plumb and check the gap down both edges so it sits even top to bottom. When the reveal looks consistent, drive the outside hinge screws to lock the door to the frame. This is the anchor for everything else, so take a second to confirm it is square before you commit the screws.

Tip

Leave the plastic shipping spacers in for now. They hold the correct gap while you fasten the hinge side.

5

Step 5: Seal the Top with Weather Stripping

3:56
Step 5: Step 5: Seal the Top with Weather Stripping

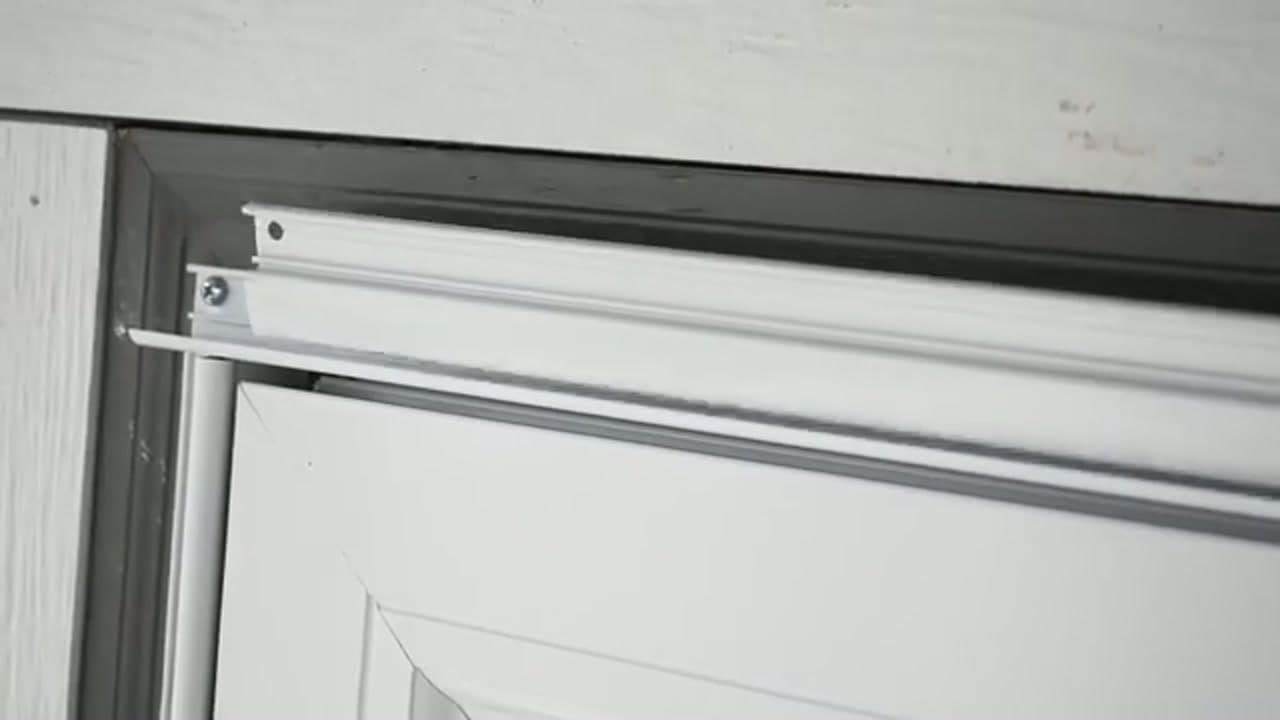
Run the top weather stripping across the header. This piece closes the gap above the door and keeps drafts and rain from sneaking over the top. Seat it tight against the frame while the door hangs level, then screw it down. Do not skip it or rush it. A loose top seal is the difference between a door that keeps the weather out and one that whistles every time the wind picks up.

6

Step 6: Drill the Hardware Holes

4:55
Step 6: Step 6: Drill the Hardware Holes

Your kit includes a paper template for the handle and lock. Tape it to the latch edge of the door, flush with the edge and at the marked height, so both holes land where they should. Then drill through the marks. Go slow and keep the bit straight so the bores come out clean and the hardware sits flush later.

Tip

Do not drill all the way through to the other side. Stop at the depth the template calls for.

7

Step 7: Install the Handle and Lock

5:08
Step 7: Step 7: Install the Handle and Lock

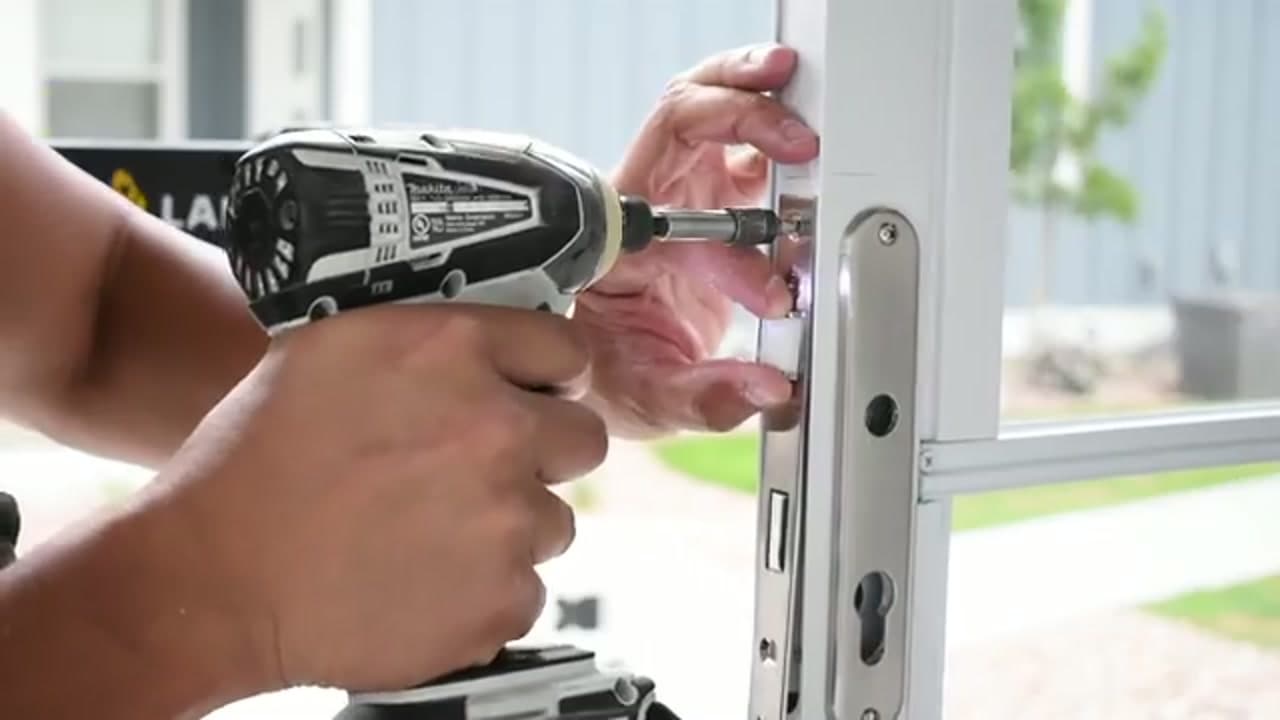
Feed the handle set into the fresh holes and thread the spindle through so the inside and outside pieces meet. Drive the screws to pull them together, then mount the strike plate on the frame side so the latch has something to catch. Snug everything down and give the handle a few turns. It should move smoothly with no play or grinding.

8

Step 8: Mount the Hydraulic Closer

6:48
Step 8: Step 8: Mount the Hydraulic Closer

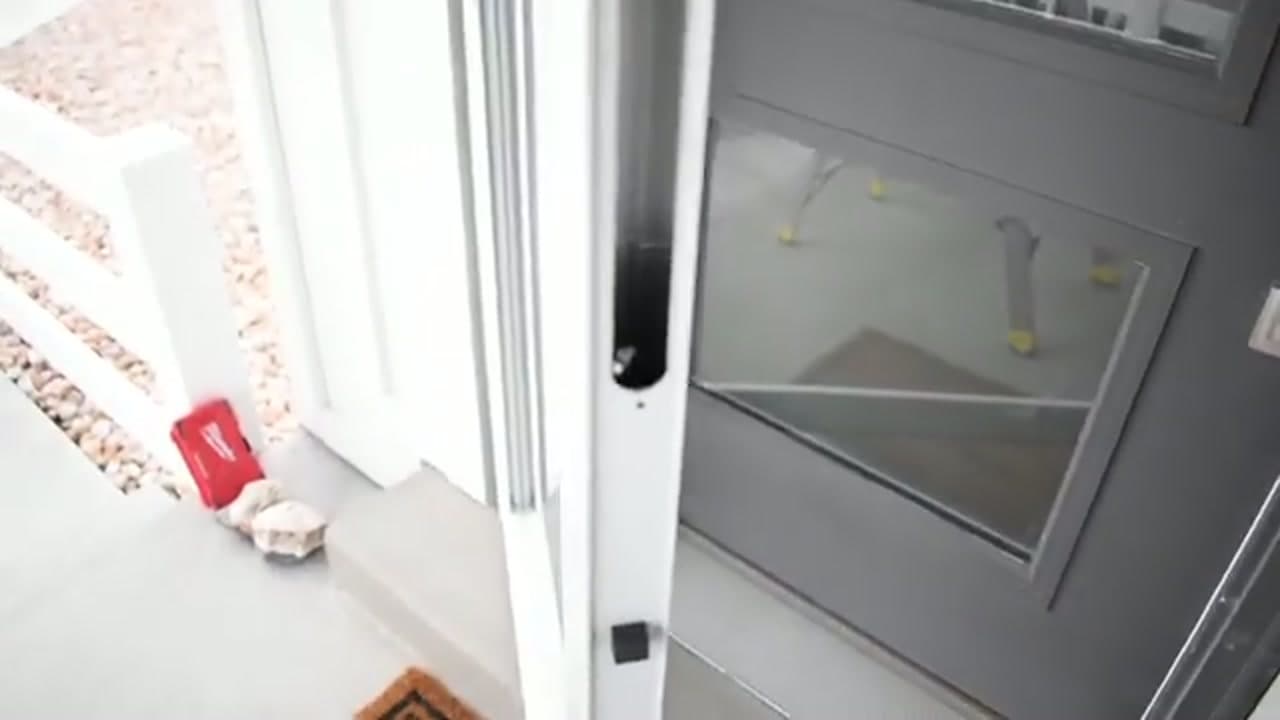
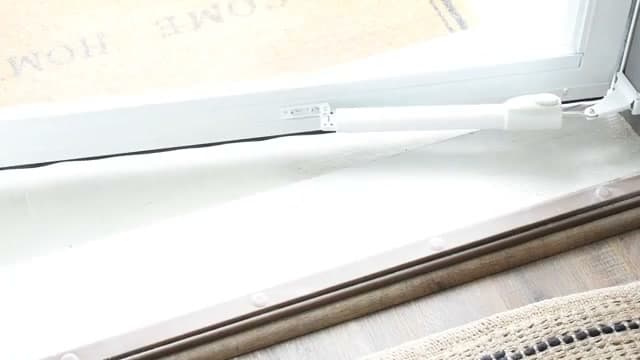
The hydraulic closer is what pulls the door shut behind you so it never slams or hangs open. Screw one bracket to the door jamb and the other to the door itself, then snap the piston arm between the two brackets. There is usually a small screw on the closer body that sets how fast the door swings shut. Leave that adjustment for the end once the door is hung and swinging.

Tip

Adjust the closer speed last. Turn the screw a little at a time until the door closes firm but not hard enough to slam.

Products used in this step

9

Step 9: Test the Door and Finish Up

7:01
Step 9: Step 9: Test the Door and Finish Up

Pull off the plastic shipping spacers, then run a bead of exterior caulk down the outside edges where the frame meets the wall to seal it against water. Open and close the door a handful of times to check the closer speed, confirm the latch catches, and feel for a tight seal all the way around. That is it. Your screen door is installed and ready for the season.

Tip

A thin bead of exterior caulk down the mounting flange keeps water from getting behind the frame.

Products Used

☐ The Checklist

How to Install a Screen Door

Tools
7
Materials
5
Steps
9
Video
7 min

Your Guide

Colton Crump DIY

As an Amazon Associate we earn from qualifying purchases. Links on this page may be affiliate links - clicking them and buying doesn't change your price, but helps support ShowMeStepByStep.

Tags

Sunday How-To

New home improvement tutorials, every Sunday

One short email with the week's best step-by-step guides. Free, no spam, unsubscribe anytime.

Did this work for you?

What's next

Related collections

Curated theme pages that include this tutorial.

Weekly Digest

Liked this home improvement tutorial?

Pick the categories you want to hear about. Weekly digest of new step-by-step tutorials. No spam, easy unsubscribe.

Send me tutorials about

We only email about new tutorials. Easy unsubscribe anytime.