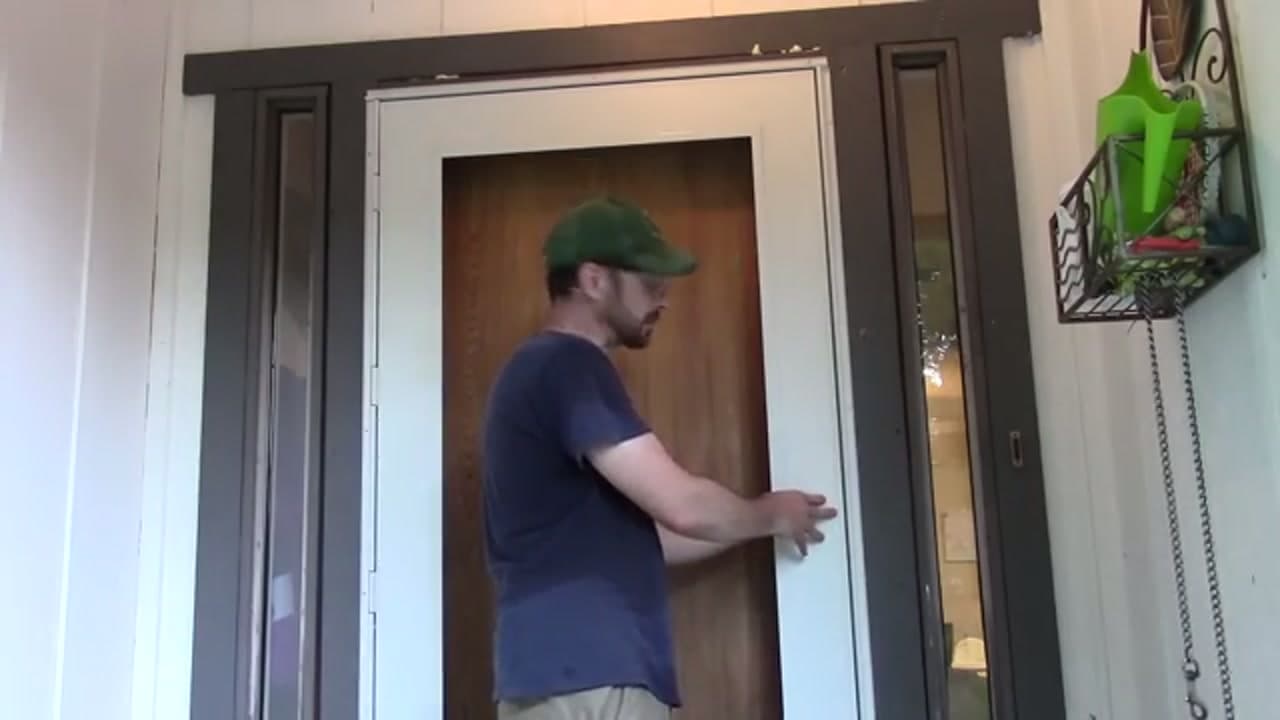
How to Install a Storm Door

Home ImprovementMedium12:277 stepsBrowse more →
Also in:Adulting

By ShowMeStepByStepPublished

Based on a video by Country Living Experience: A Homesteading Journey.

A storm door adds a layer of protection to your entry and lets you crack the front door for a breeze without letting bugs in. This install uses the Larson EasyHang system, which hangs the door on a mounting rail so one person can handle most of it.

Thanks to Country Living Experience for the walkthrough. You will fit the hinge-side rail, drop the door into the opening, screw down the frame, add the handle and closer, then test the swing. Plan on a couple of hours if your doorway is square.

Grab your drill and level and take it one rail at a time. If you have already tackled a deadbolt install, this is a very similar level of work.

Step-by-Step Guide

1

Step 1: Gather Your Tools and Unbox the Door

0:30
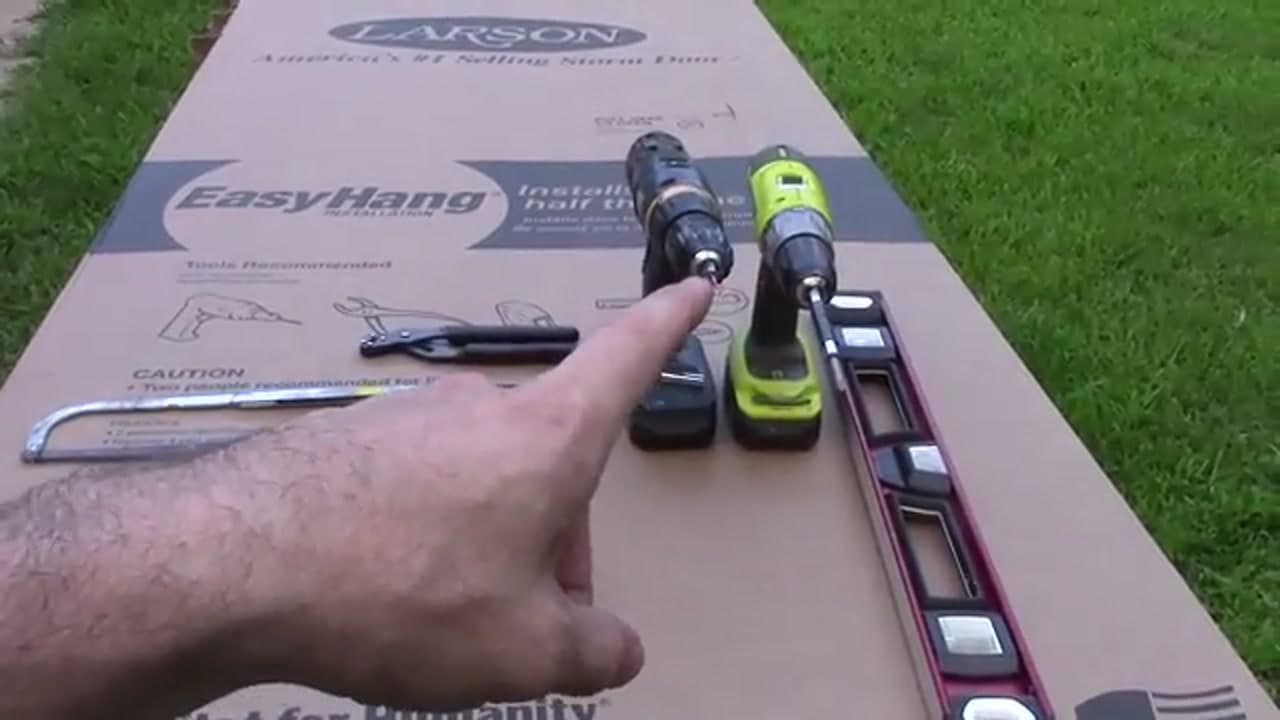
Step 1: Step 1: Gather Your Tools and Unbox the Door

Lay everything out before you start. You need a cordless drill, a driver, a level, a tape measure, a pencil, and the hex key that ships in the box. Set them on the flat carton so nothing rolls off into the grass. Read the tools-recommended panel printed right on the packaging - Larson lists exactly what the EasyHang install calls for.

Tip

Charge both drill batteries the night before. Swapping to a fresh pack mid-install beats stopping to charge.
2

Step 2: Fit and Mark the Hinge-Side Rail

3:20
Step 2: Step 2: Fit and Mark the Hinge-Side Rail

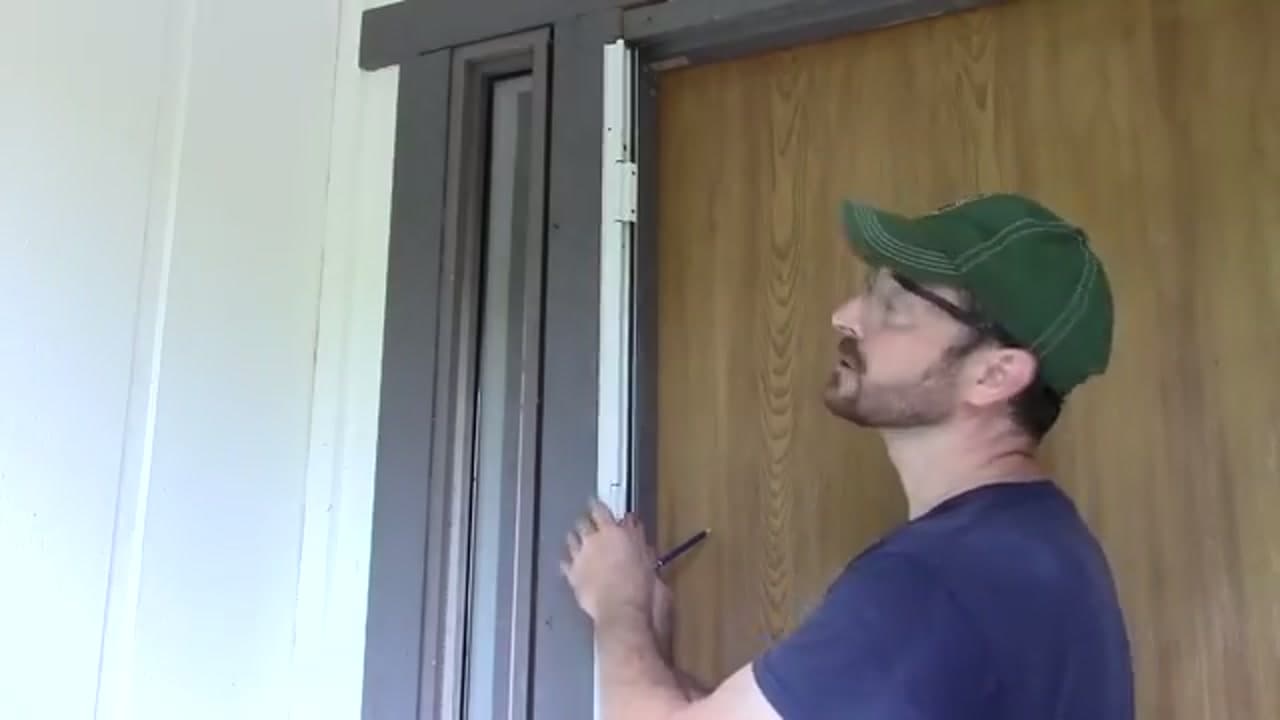
Hold the hinge-side mounting rail, the Z-bar, up against the door frame. The EasyHang rail hangs in place so you can check the fit before a single screw goes in. Get the top square to the frame, then run a pencil down the rail and mark each screw spot on the jamb. Take your time here. A straight rail is what makes the whole door hang true.

Tip

Check the rail with your level as you mark. A rail that leans even a little will throw the door out of square later.

3

Step 3: Attach the Rail to the Door

4:45
Step 3: Step 3: Attach the Rail to the Door

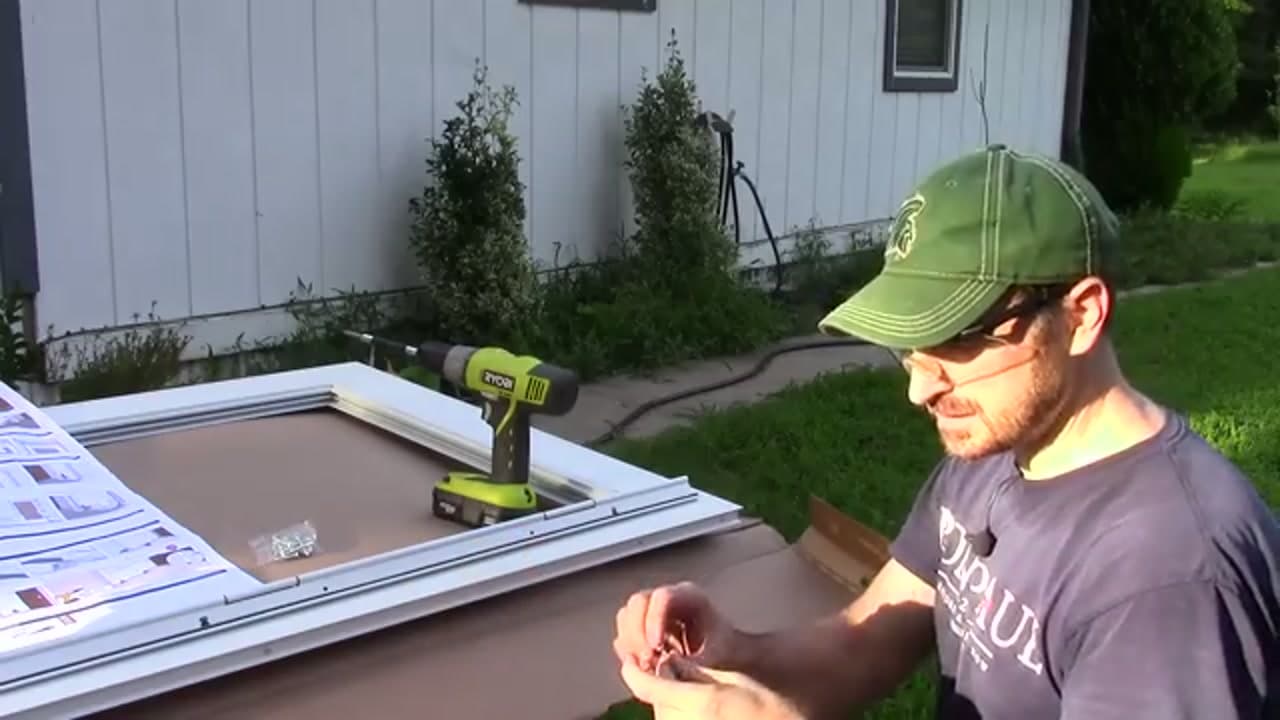
Lay the door flat on the carton and drive the rail onto the door edge with your drill. The pre-set holes line the rail up for you, so you drop a screw in each one and snug it down. Keep the driver straight so the heads sit flush against the metal. Work down the rail in order and don't overtighten - you want them firm, not stripped.

4

Step 4: Set the Door and Screw the Bottom Rail

7:45
Step 4: Step 4: Set the Door and Screw the Bottom Rail

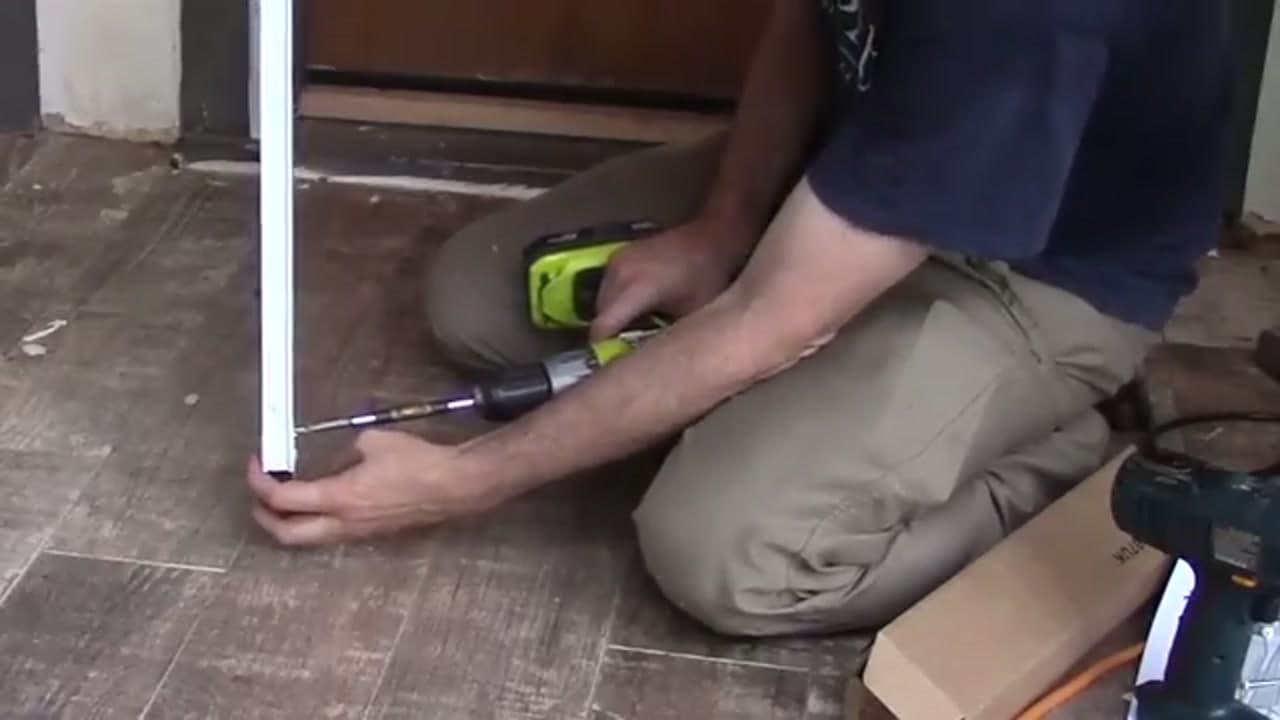
Set the door into the opening and check that it sits square. Then kneel at the base and screw the bottom rail into the sill. Work along the threshold and sink each screw so the frame pulls tight to the doorway. This is the step that locks the whole door to the opening, so make sure the gap along the sides stays even as you go.

Tip

Open and close the door once before you drive the last screws. If it rubs, nudge the frame while the screws are still loose.

5

Step 5: Install the Handle and Latch

8:40
Step 5: Step 5: Install the Handle and Latch

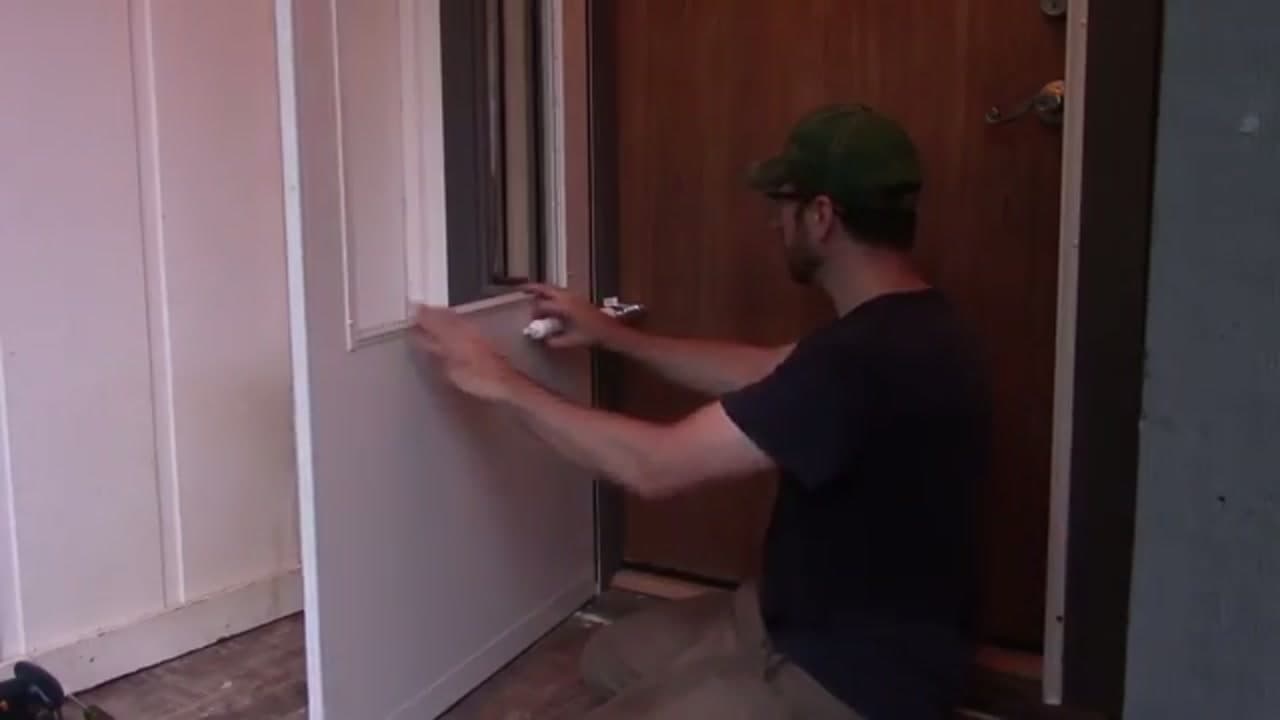
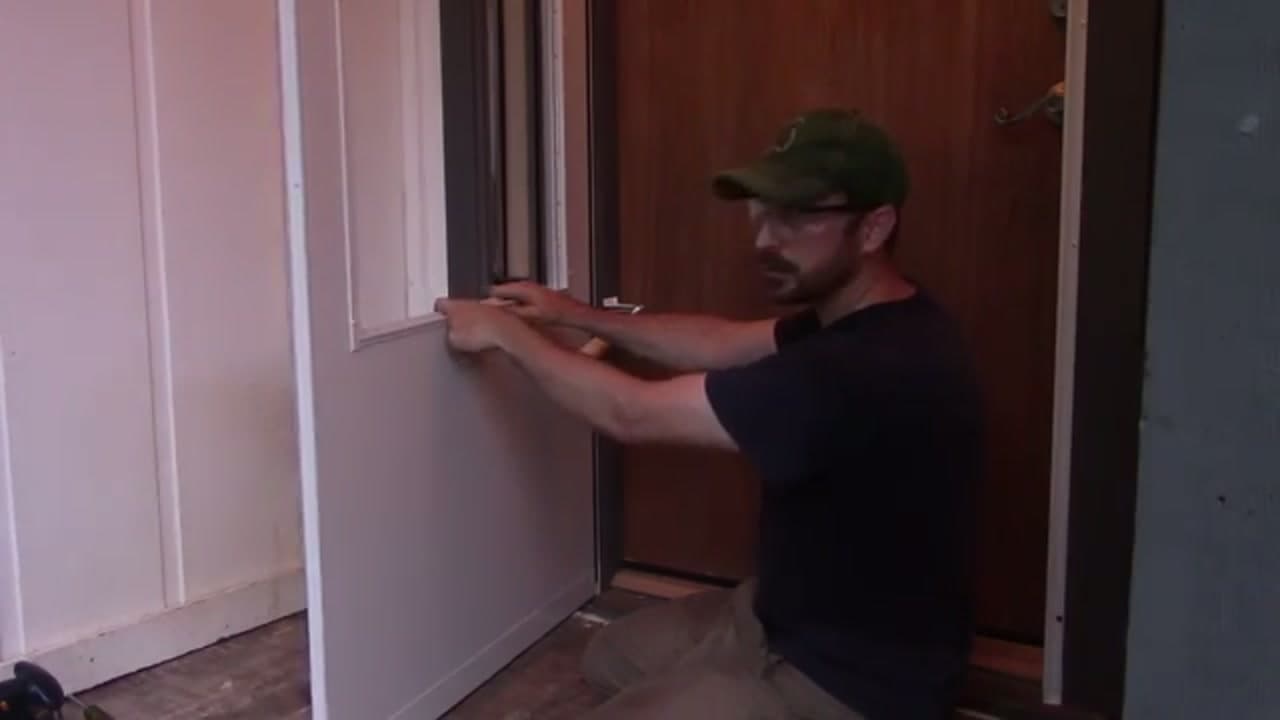
Fit the handle and latch hardware onto the door face. Hold the outside handle plate in place with one hand, then thread the mounting screws through from the inside. Get both hands on it so the plate does not shift while you start the screws. Line the two halves up before you tighten anything, or the handle will bind when you go to turn it.

Products used in this step

6

Step 6: Finish the Latch and Add the Closer

9:15
Step 6: Step 6: Finish the Latch and Add the Closer

Finish the latch set and mount the closer bracket. Line the latch body up with the strike on the frame and drive the last screws home. The closer is the pneumatic arm that pulls the door shut behind you. Attach it at the top per the instructions, then check that the handle turns freely and the latch catches when you push the door to.

Tip

Most closers have an adjustment screw on the end cap. Turn it to slow or speed up how fast the door swings shut.

7

Step 7: Test the Swing and Seal the Edges

6:16
Step 7: Step 7: Test the Swing and Seal the Edges

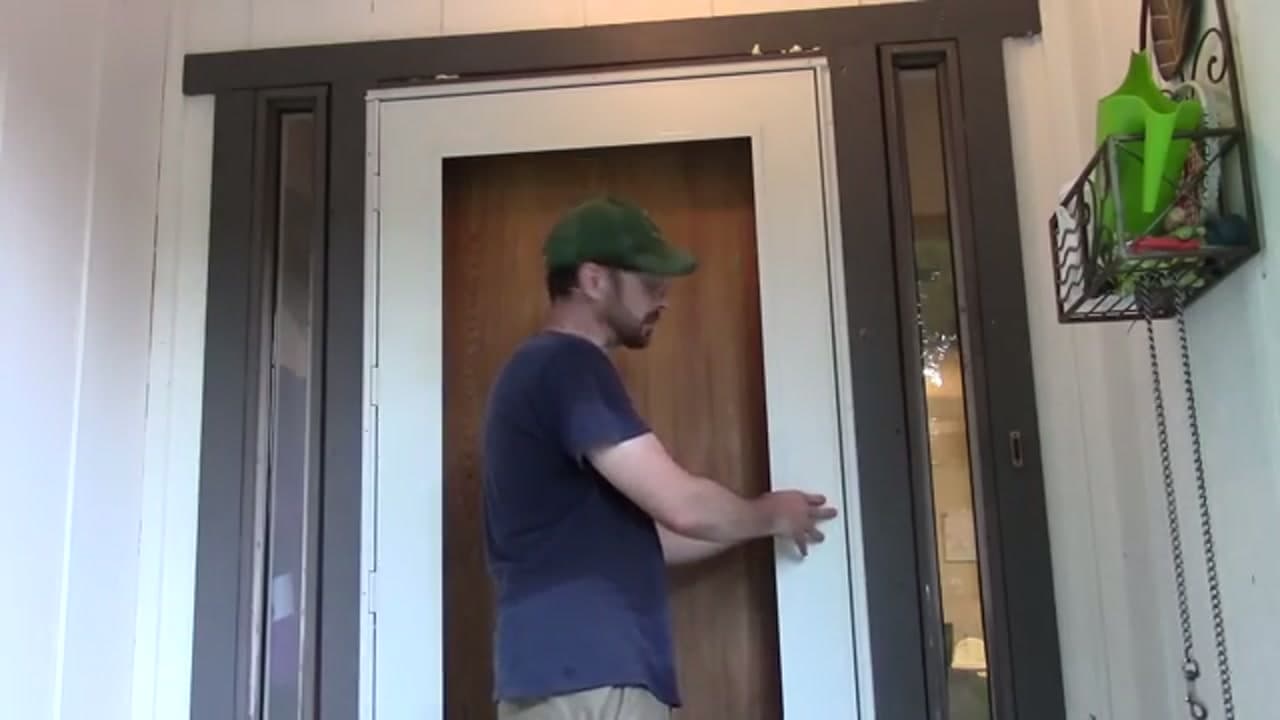
Swing the door a few times. Make sure it clears the frame, latches clean, and sits square in the opening. Run a bead of caulk down the outside edges of the rails where they meet the trim to keep water out. That is a fully installed storm door, ready to take the weather and give you years of use.

Tip

Caulk in a smooth, continuous line and tool it with a wet finger so water sheds instead of pooling at the seam.

Products Used

☐ The Checklist

How to Install a Storm Door

Tools
6
Materials
3
Steps
7
Video
12 min

Your Guide

Country Living Experience: A Homesteading Journey

As an Amazon Associate we earn from qualifying purchases. Links on this page may be affiliate links - clicking them and buying doesn't change your price, but helps support ShowMeStepByStep.

Tags

Sunday How-To

New home improvement tutorials, every Sunday

One short email with the week's best step-by-step guides. Free, no spam, unsubscribe anytime.

Did this work for you?

What's next

Related collections

Curated theme pages that include this tutorial.

Weekly Digest

Liked this home improvement tutorial?

Pick the categories you want to hear about. Weekly digest of new step-by-step tutorials. No spam, easy unsubscribe.

Send me tutorials about

We only email about new tutorials. Easy unsubscribe anytime.