How to Install a Deadbolt Lock (DIY Door Security in 1 Hour)

Also in:Adulting

By ShowMeStepByStepPublished

Based on a video by Silver Eagle Locksmith.

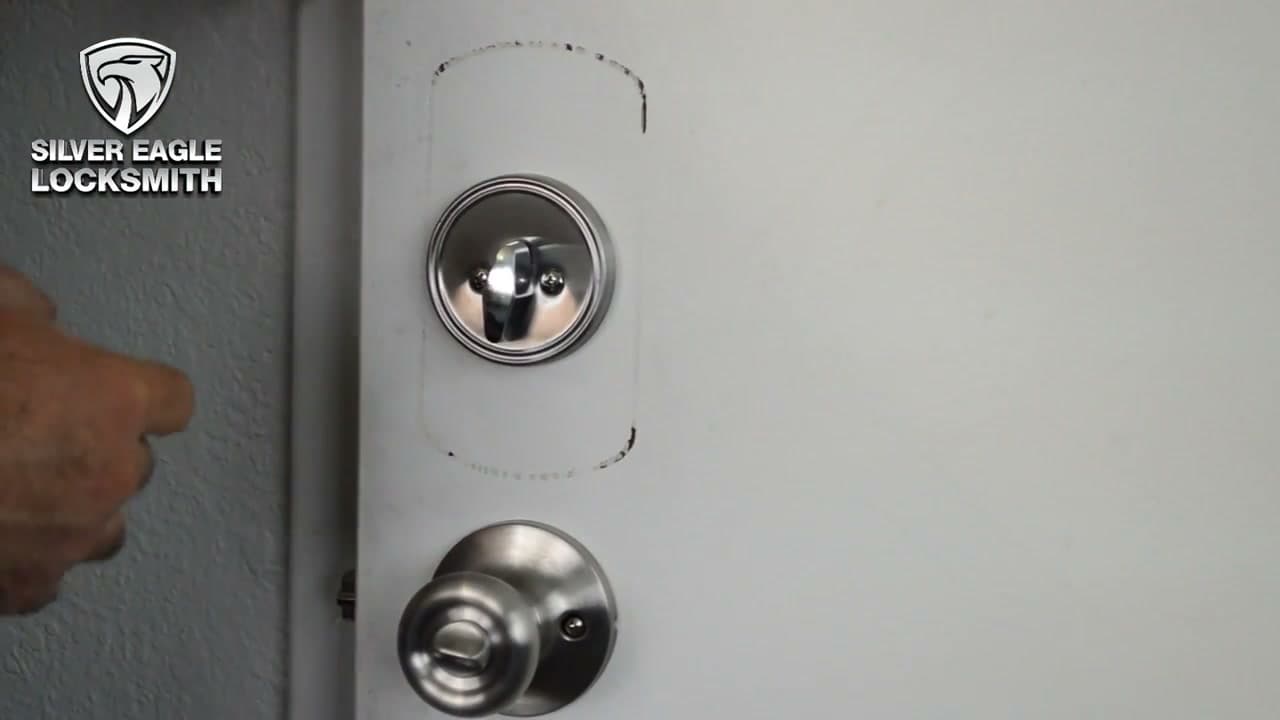
A deadbolt is the difference between a door that latches and a door that's actually locked. The knob lock on most front doors will pop with one good shoulder shove. A real deadbolt with a 3-inch screw strike plate? It takes a battering ram.

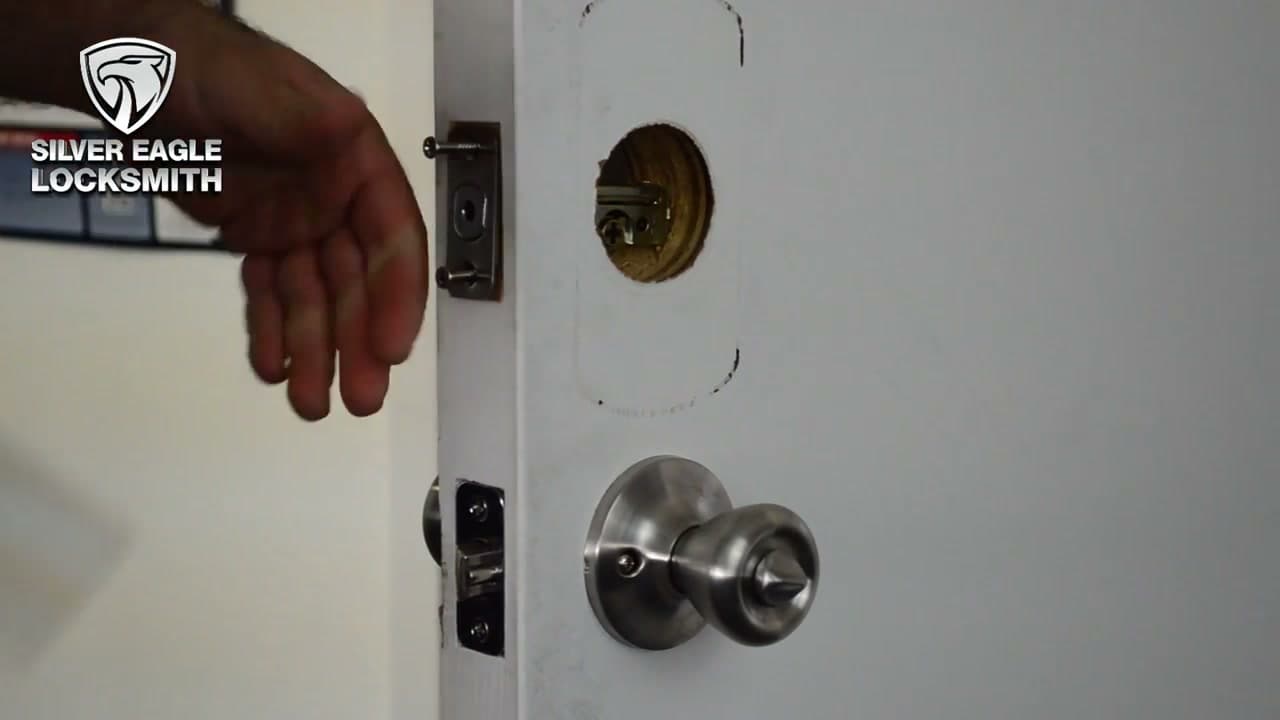
The good news: installing one yourself is about a one-hour job if your door already has the holes drilled. Even if it doesn't, a basic install kit and a hole saw turn it into an afternoon project. No locksmith. No appointment. Just you, a Phillips screwdriver, and a drill.

This tutorial follows Silver Eagle Locksmith's walk-through of a standard deadbolt install on a pre-bored door. You'll see which grade of lock to buy (the answer is not the cheapest one on the hardware store shelf), how to align the latch and cylinder, and the one upgrade that matters more than the lock itself: the strike plate screws.

For other door projects on the site, see how to install an interior door. For more first-time-homeowner basics, the adulting category has the rest of the survival kit.

Step-by-Step Guide

1

Step 1: Pick the Right Deadbolt Grade

2:48
Step 1: Step 1: Pick the Right Deadbolt Grade

Don't just grab the cheapest deadbolt off the hardware store shelf. Locks are graded - Grade 3 is the basic builder-grade, Grade 2 residential is a step up, and Grade 2 commercial is the sweet spot for most homes.

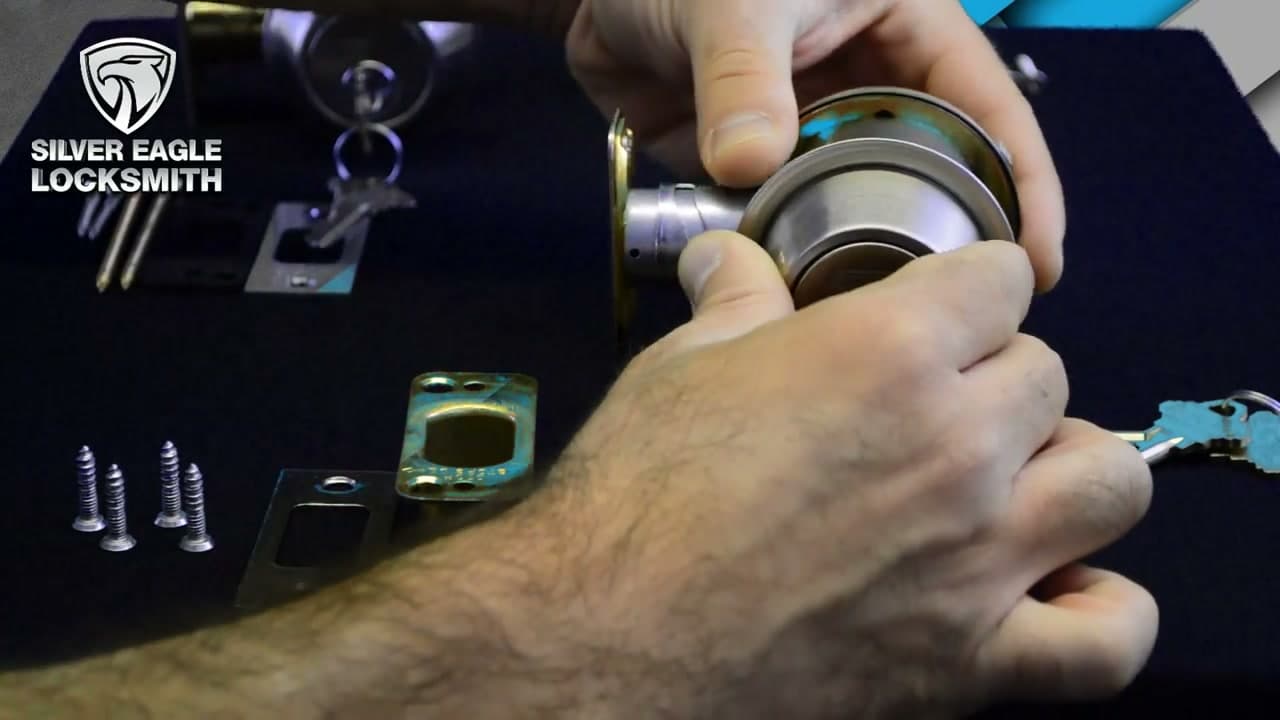
A Grade 2 commercial deadbolt has heavier internals, a six-pin cylinder, and 3-inch screws for the strike plate. The 3-inch screws are the part that actually matters. The lock body could be made of gold and it wouldn't matter if the strike plate is held in with the standard 3/4-inch screws that come with most kits.

Tip

Skip anything labeled Grade 3 unless it's for an interior door you don't care about. The price difference between Grade 3 and Grade 2 commercial is usually $15-$25 and it's the best $20 you'll spend on your house.
2

Step 2: Adjust the Latch Backset

5:35
Step 2: Step 2: Adjust the Latch Backset

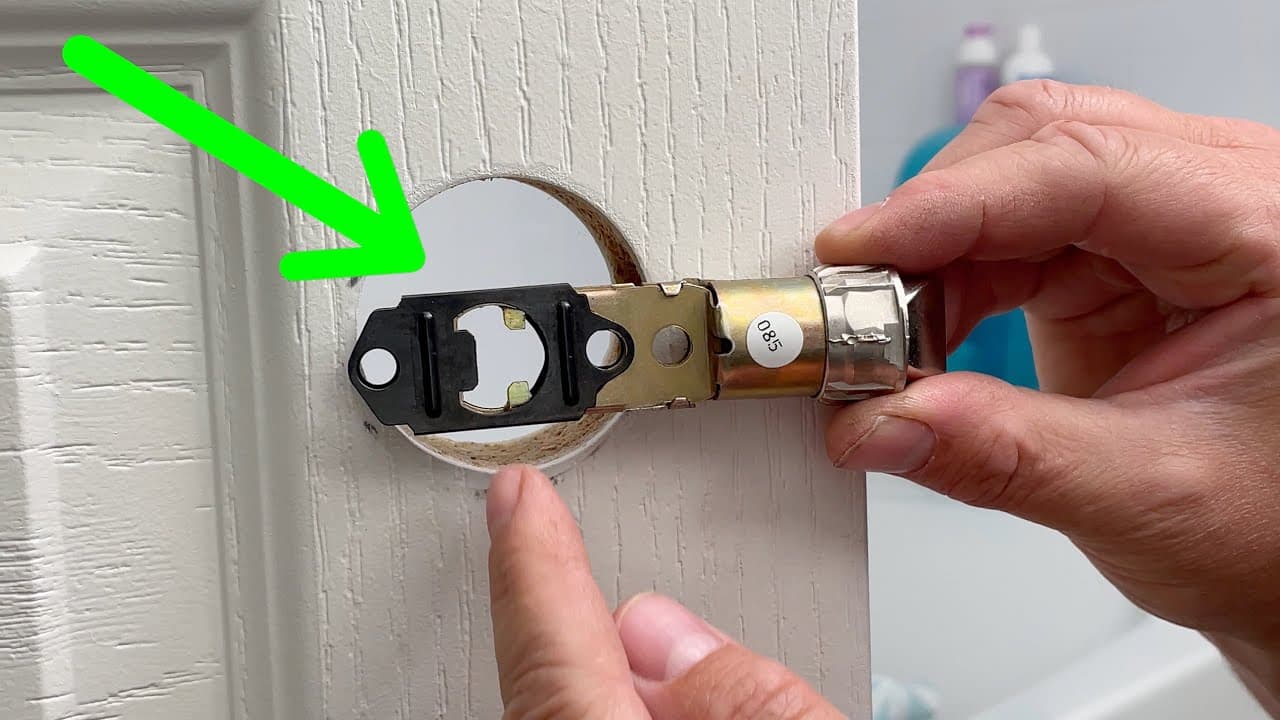
The latch (the piece that slides through the edge of the door) is adjustable on almost every modern deadbolt. It switches between 2-3/8 inch and 2-3/4 inch by sliding or rotating a collar on the bolt.

Backset is the distance from the door edge to the center of the bore hole. Measure yours with a tape - hold it from the edge of the door to the middle of the round hole on the face. If it's 2-3/8 inch, set the latch short. If 2-3/4 inch, set it long. Getting this wrong means the latch won't reach the slot inside the cylinder housing.

Tip

Most US homes built after 1980 use the 2-3/8 inch backset. Older homes and commercial doors often use 2-3/4 inch. If you're not sure, measure twice.

3

Step 3: Install the Latch in the Door Edge

5:54
Step 3: Step 3: Install the Latch in the Door Edge

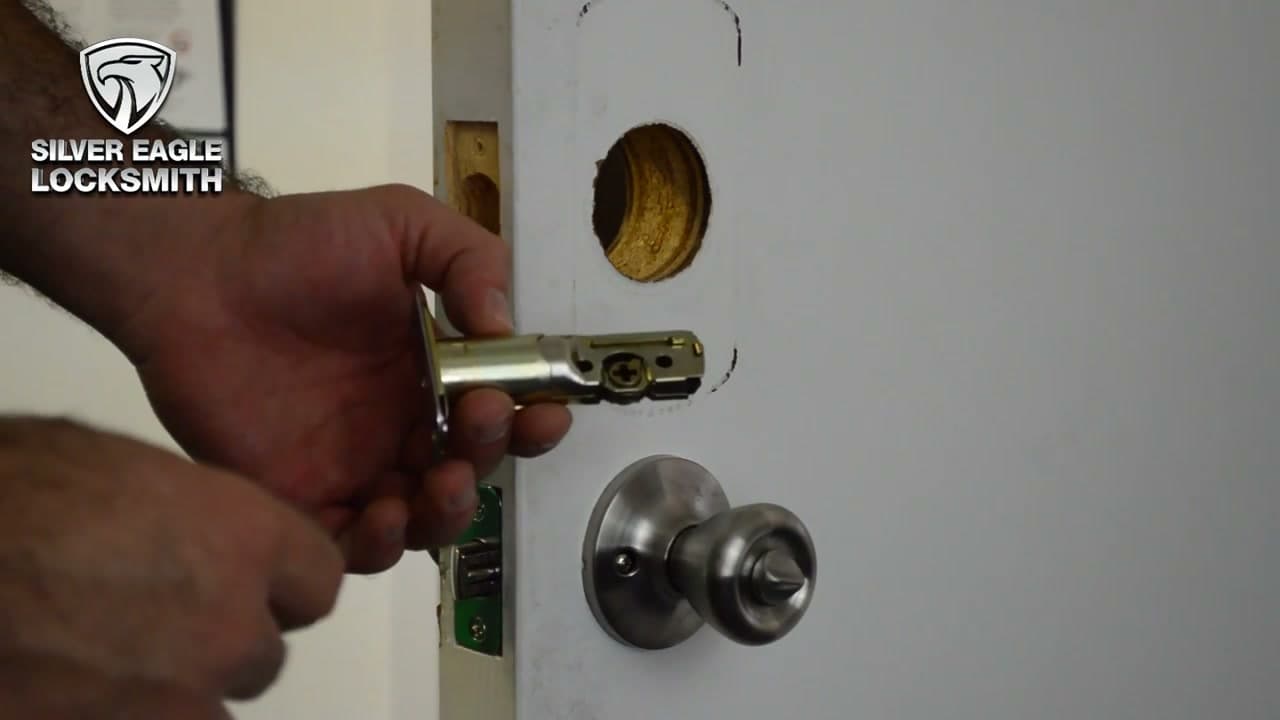
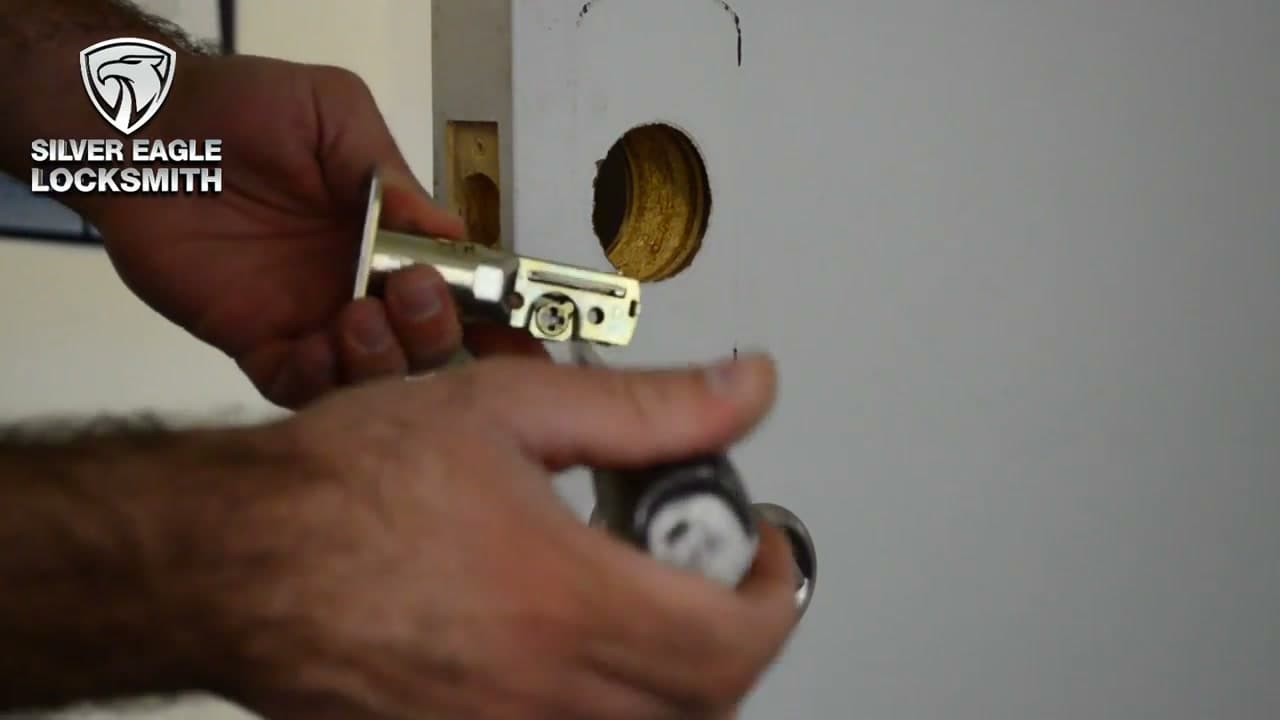
Slide the latch into the hole on the edge of the door, faceplate flush against the wood. The bolt itself should pull and push freely - that's how you know it's seated right.

Drive the two latch screws into the pre-drilled pilot holes on the door edge. Phillips screwdriver, or a drill with the clutch dialed back. Don't crank these down hard. The faceplate should sit flush, not bite into the wood.

Tip

If the faceplate sits proud of the door edge, the mortise (the recessed pocket cut for the faceplate) is too shallow. Chisel a few more shavings out with a sharp wood chisel until the plate drops flush.

4

Step 4: Insert the Exterior Cylinder

6:28
Step 4: Step 4: Insert the Exterior Cylinder

Now the lock itself. The exterior side has the keyway - that's the side that goes on the outside of your door, facing the street.

Twist the tail piece (the small flat metal tab sticking out the back of the cylinder) so it's horizontal. Slide the whole cylinder through the round bore hole on the door, threading the tail piece through the matching slot in the latch you just installed. The decorative ring should sit flat against the door face.

Tip

If the tail piece won't go through the latch slot, the latch is rotated wrong. Pull the cylinder back out, look down the bore hole, and turn the slot so it's horizontal before you try again.

5

Step 5: Attach the Interior Thumbturn

6:32
Step 5: Step 5: Attach the Interior Thumbturn

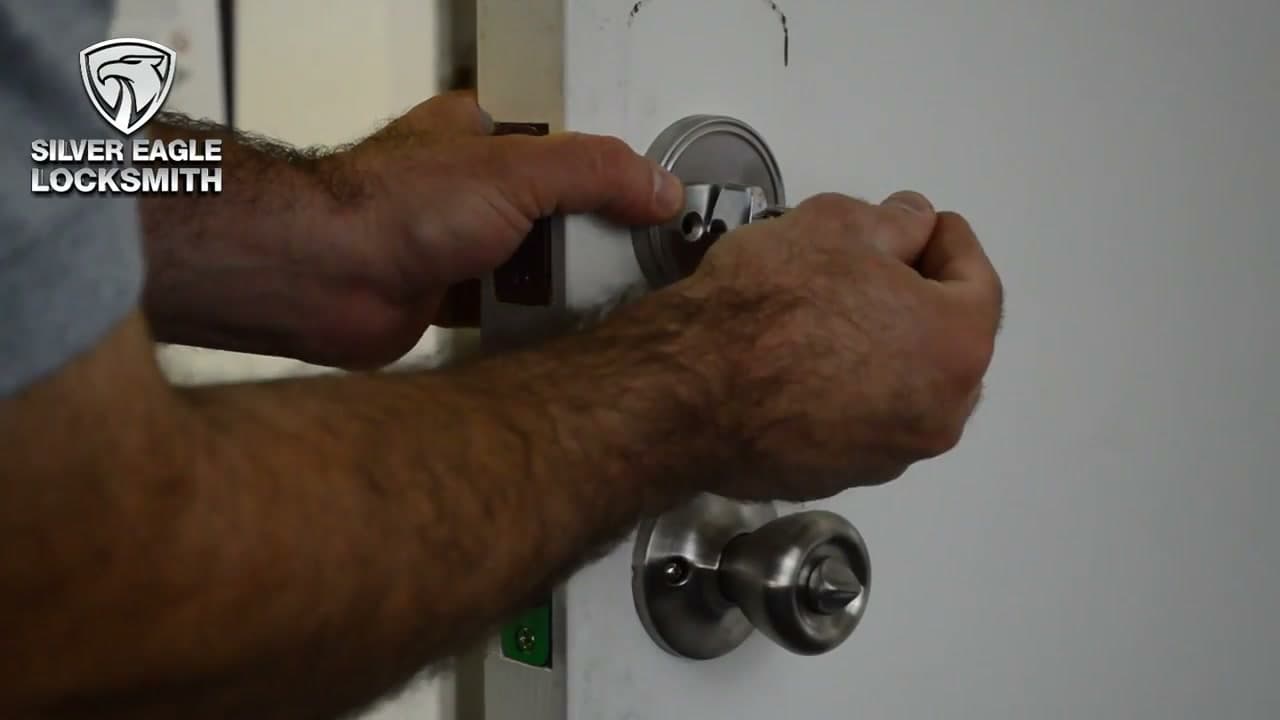
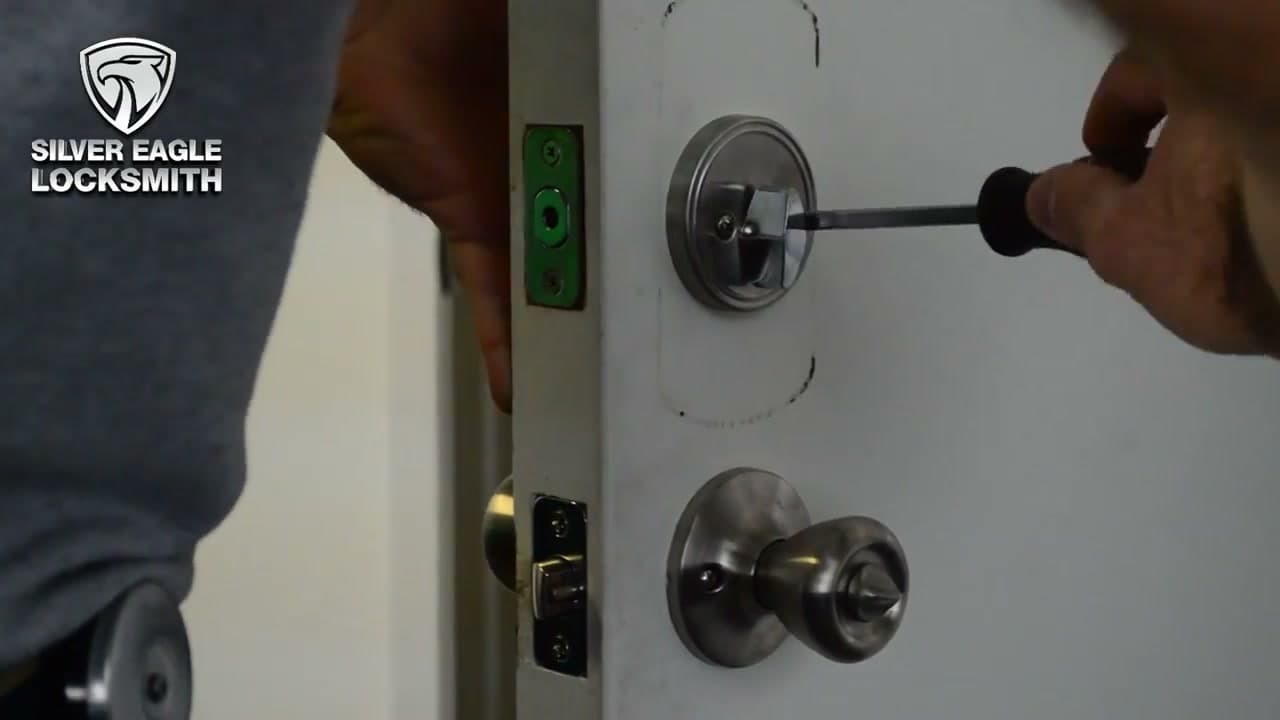
Hold the exterior cylinder square against the door with one hand. With the other, line up the interior back plate (the side with the thumbturn) and slip it onto the two posts coming through from the front.

Drive the two connecting screws through the back plate into those posts. Tighten them alternately - a couple turns on the left, a couple on the right - so the lock pulls together evenly. Crank one all the way down first and you'll bind the cylinder.

Tip

The connecting screws are the longest screws in the box. Don't confuse them with the latch screws or the strike plate screws.

6

Step 6: Test the Lock Action

6:48
Step 6: Step 6: Test the Lock Action

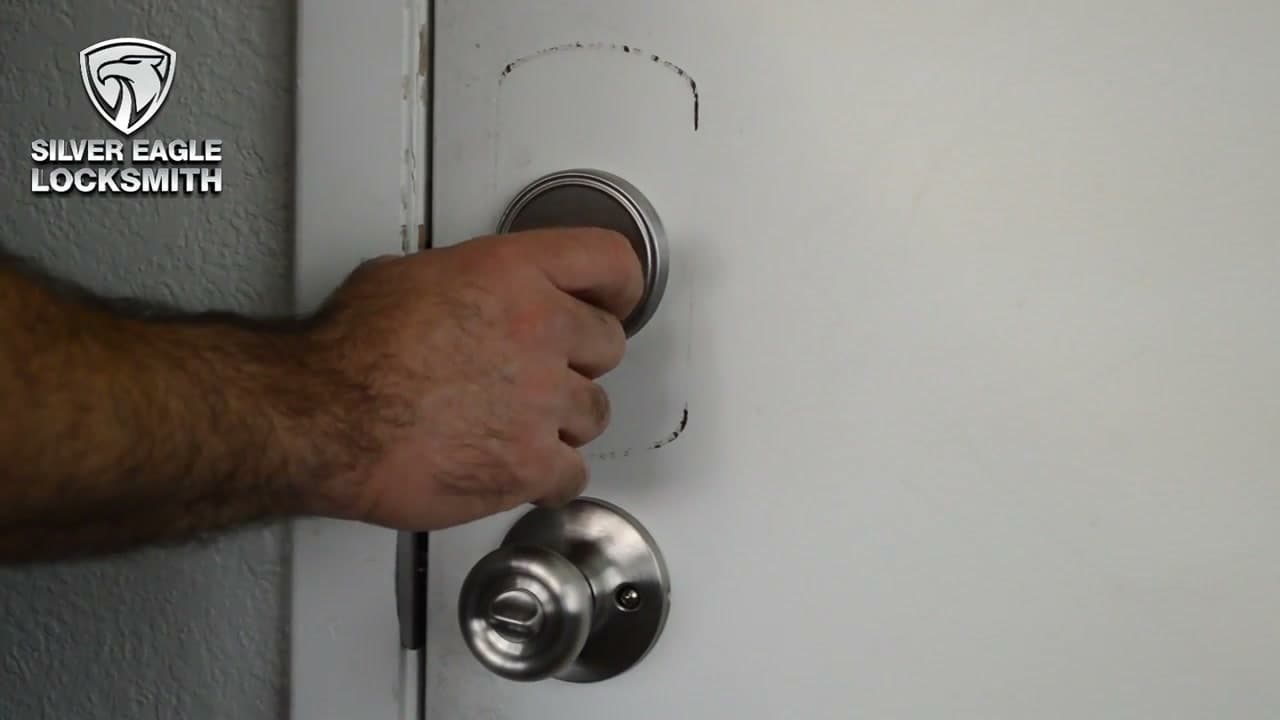
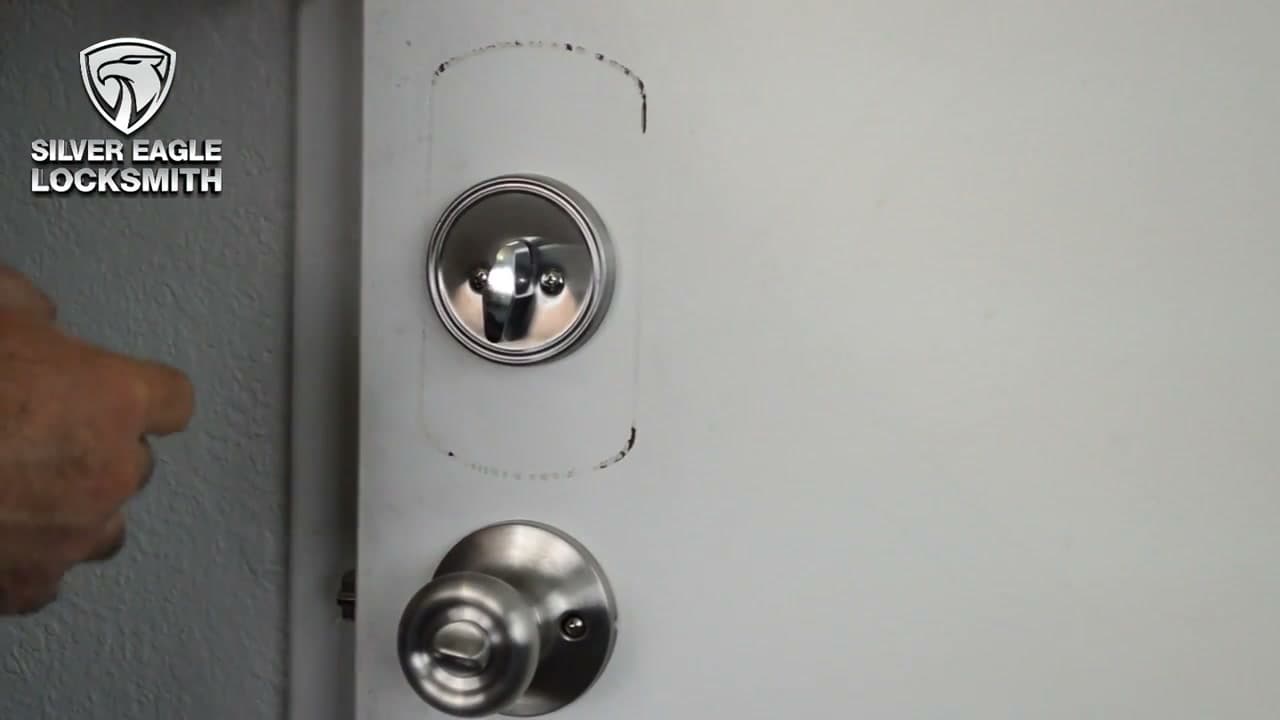
Before you fully torque anything down, test the lock. Turn the thumbturn back and forth. Then try the key from the outside. The bolt should slide in and out smoothly with light pressure.

If it sticks, grinds, or feels stiff, back the connecting screws off about a quarter-turn each. Over-tightening is the number one reason a brand-new deadbolt feels notchy. The cylinder needs a tiny bit of float to spin freely.

Tip

Test the key from both inside and outside if you have a double-cylinder model. Single-cylinder (key outside, thumbturn inside) is fine for most homes - double-cylinder is only needed when there's glass within 36 inches of the lock.

7

Step 7: Drill Pilot Holes in the Door Jamb

7:13
Step 7: Step 7: Drill Pilot Holes in the Door Jamb

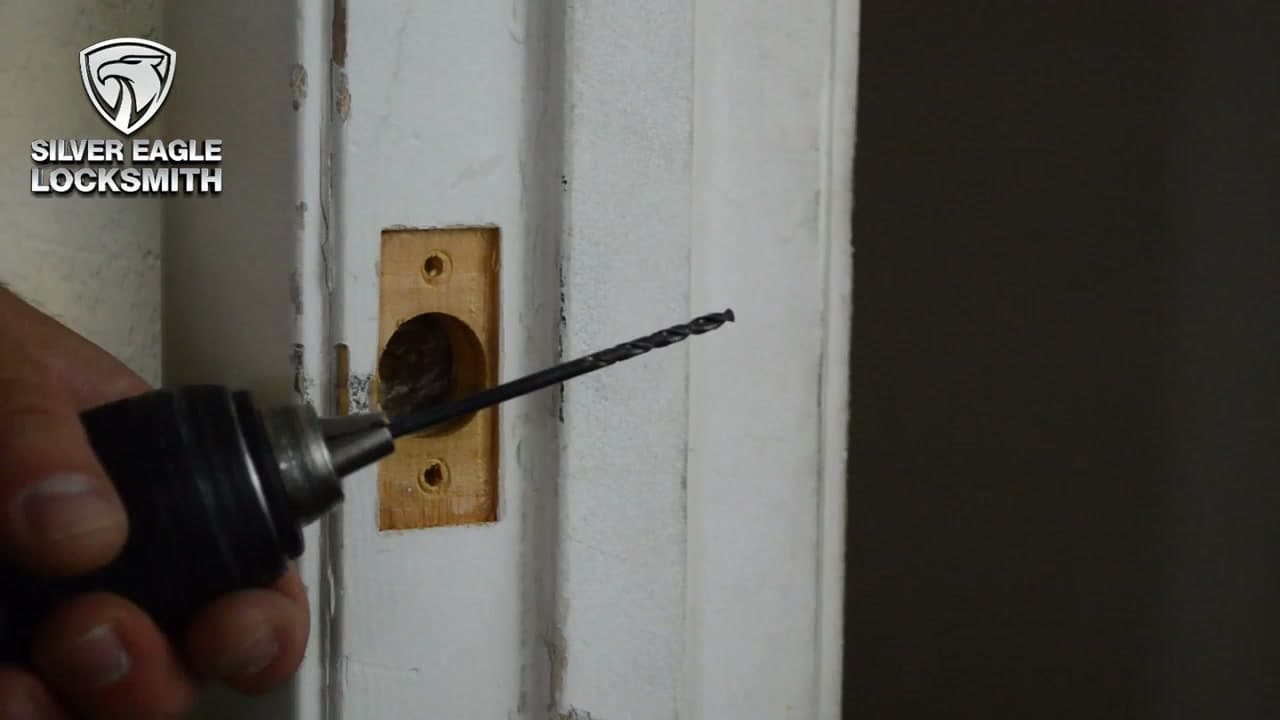
Open the door and find the spot on the door jamb where the bolt lines up. The existing strike plate (the small metal plate on the jamb) marks the spot. Pop it off and look at the cavity behind it.

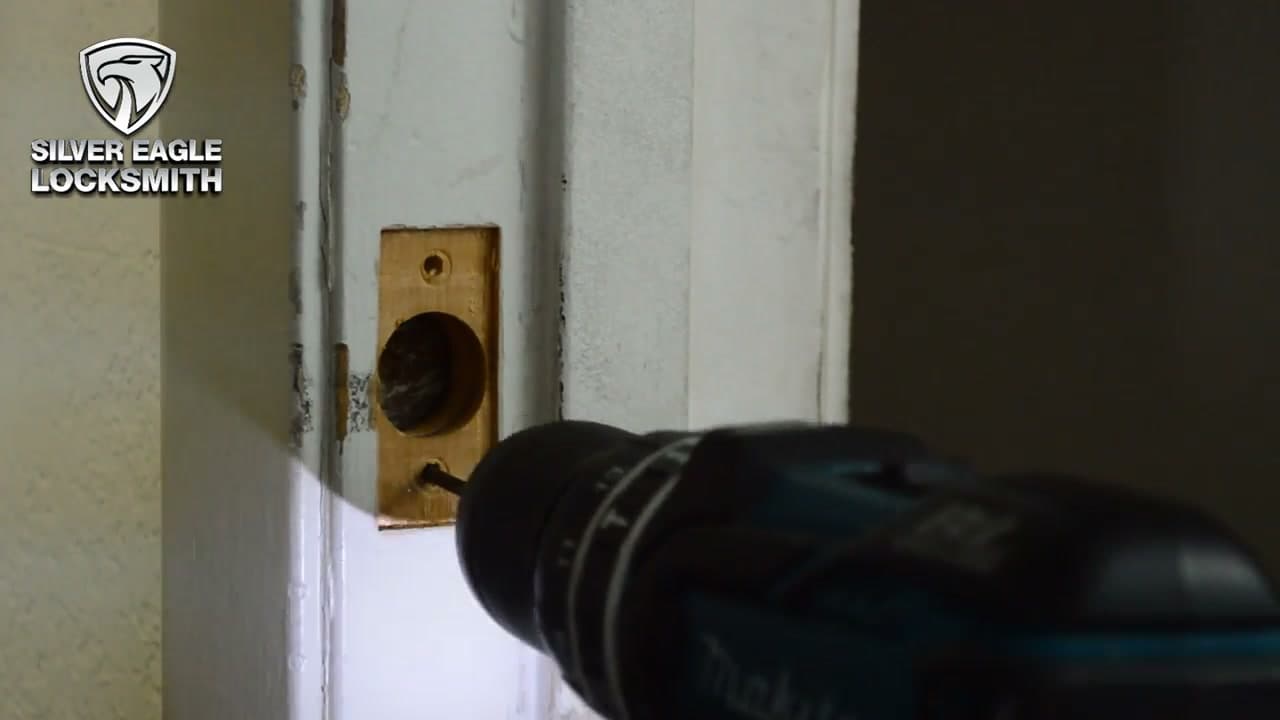
Chuck a 1/8-inch bit in your drill and bore two pilot holes inside that cavity - one near the top, one near the bottom. Go straight in, about 2-1/2 inches deep. The pilot holes prevent the door jamb from splitting when you drive the long screws.

Tip

Aim the drill slightly toward the stud behind the jamb - usually that means angling a degree or two outward. The 3-inch screws need to bite into framing lumber, not just the thin jamb trim.

Products used in this step

8

Step 8: Install the Strike Plate with 3-Inch Screws

7:40
Step 8: Step 8: Install the Strike Plate with 3-Inch Screws

Set the new strike plate over the cavity and drive the 3-inch screws through it into the pilot holes you just drilled. This is the single most important step in the whole install.

The screws that come with most basic deadbolt kits are only about 3/4-inch long. They bite into the jamb trim and nothing else - one good kick and the whole plate rips out. The 3-inch screws push through the jamb and anchor into the framing stud behind it. That's what turns your door from "kickable" into "actually locked."

Tip

If your kit didn't include 3-inch screws, buy a pack at any hardware store for about $4. While you're there, grab a reinforced strike plate too - thicker steel, four screw holes instead of two. Twenty dollar upgrade, massive security improvement.

9

Step 9: Close the Door and Throw the Bolt

8:10
Step 9: Step 9: Close the Door and Throw the Bolt

Close the door and turn the thumbturn. The bolt should slide all the way out into the strike plate cavity. Fully extended - not stopping halfway, not hanging at an angle.

A partially extended bolt is the same as no bolt. Any push on the door will compress the spring and pop it back in. If the bolt only goes part way, something inside the strike cavity is in the way. That's the next step.

10

Step 10: Shave the Strike Cavity if the Bolt Binds

8:42
Step 10: Step 10: Shave the Strike Cavity if the Bolt Binds

If the bolt hits wood inside the strike plate cavity, you'll need to chisel out a little extra room. Mark the spot where it's hitting (a strip of pencil lead on the bolt tip, throw the bolt, see where the mark transfers).

Take a sharp wood chisel and shave small bites out of the cavity. Re-test after every pass. You want the bolt to drop fully into place under its own weight, not be forced in. Once it does, you're done. Your door is genuinely locked now, not just latched.

Tip

Test the lock again after every chisel pass. Take wood off slowly - you can always remove more, but you can't put it back. While you're at it, this is a good time to check the rest of your door hardware. See our interior door install for the rest of the door setup.

Products used in this step

Products Used

☐ The Checklist

How to Install a Deadbolt Lock (DIY Door Security in 1 Hour)

Tools
9
Materials
4
Steps
10
Video
9 min

Your Guide

Silver Eagle Locksmith

As an Amazon Associate we earn from qualifying purchases. Links on this page may be affiliate links - clicking them and buying doesn't change your price, but helps support ShowMeStepByStep.

Tags

What's next

Related collections

Curated theme pages that include this tutorial.

Weekly Digest

Liked this home improvement tutorial?

Pick the categories you want to hear about. Weekly digest of new step-by-step tutorials. No spam, easy unsubscribe.

Send me tutorials about

We only email about new tutorials. Easy unsubscribe anytime.