How to Install a Ring Video Doorbell

Home ImprovementEasy14:398 stepsBrowse more →
Also in:Adulting

By ShowMeStepByStepPublished

Based on a video by One Hour Smart Home.

A video doorbell is one of the easiest home upgrades you can do yourself, and the Ring Battery Doorbell makes it even simpler because it runs on a built-in battery. No wiring, no breaker, no calling anyone. If you can charge a phone and drive a couple of screws, you can put this up.

This walkthrough comes from One Hour Smart Home, who takes it from the box to a working doorbell on the wall. You'll charge the battery, pair it in the Ring app, connect it to Wi-Fi, then mount the bracket and hang the doorbell. At the end you test the live camera feed to make sure it all works.

Adding a doorbell camera pairs well with the rest of your entry security. If you're upgrading your front door, take a look at how to install a deadbolt and how to install a smoke detector while you have the drill out.

Step-by-Step Guide

1

Step 1: Unbox and Lay Out the Parts

0:40
Step 1: Step 1: Unbox and Lay Out the Parts

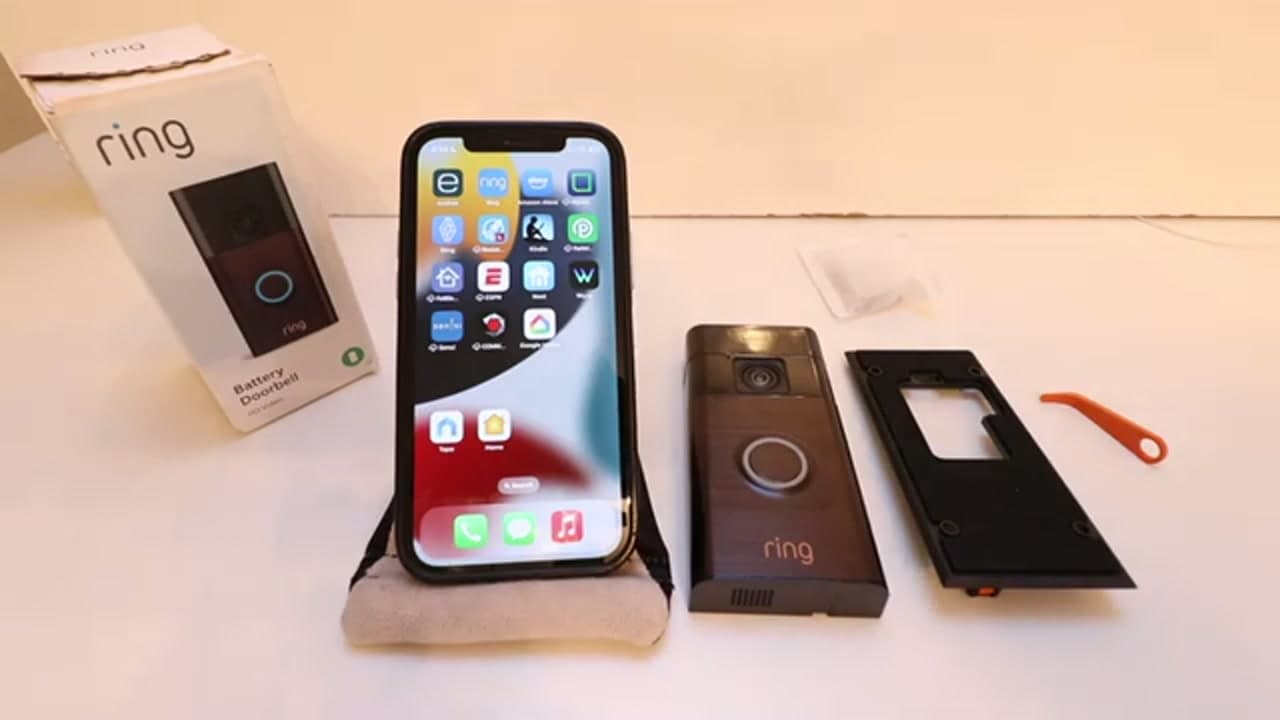
Open the box and set everything out so you know what you're working with. You get the doorbell itself, the mounting bracket, a USB-C charging cable, wall anchors and screws, and a little orange security screw tool. It's a short parts list. Taking a minute to spot each piece now means you won't be digging through packaging later when your hands are full at the wall.

Tip

Hang onto that small orange tool. It's the only thing that removes the doorbell from the bracket once it's locked on, so tape it inside a drawer where you'll find it again.

Products used in this step

2

Step 2: Charge the Battery

2:45
Step 2: Step 2: Charge the Battery

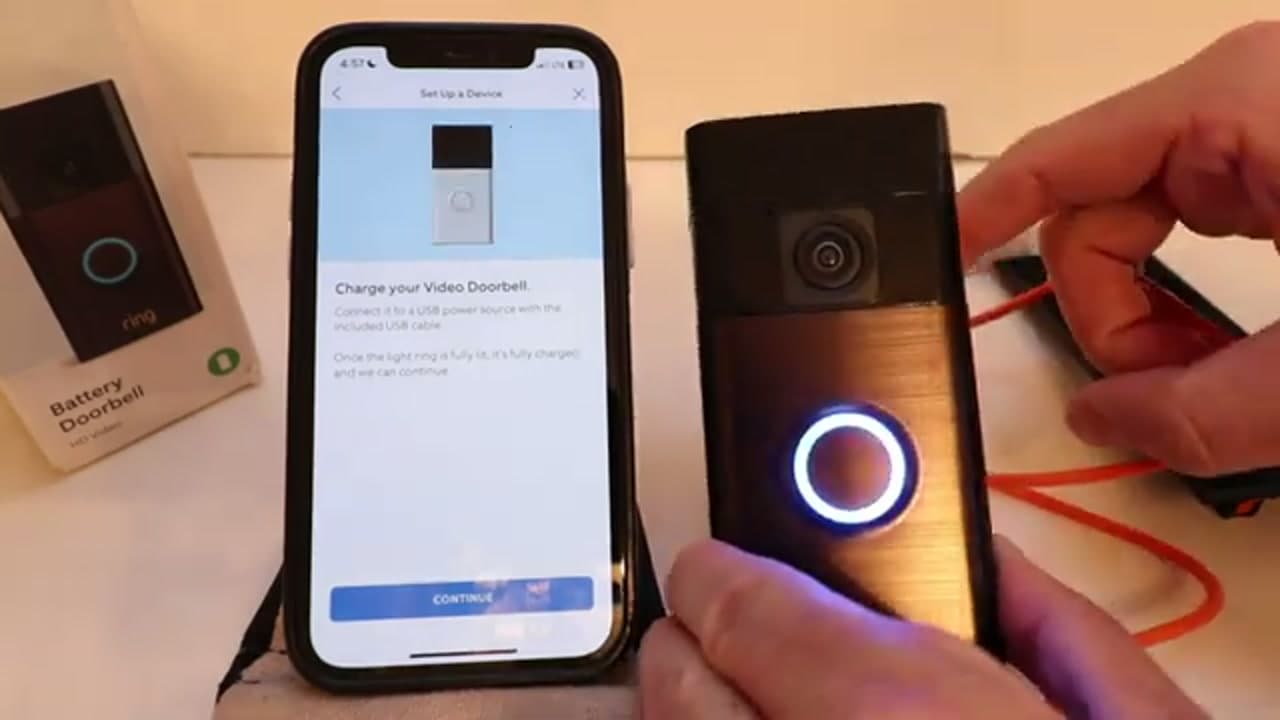
Charge it before you do anything else. On this generation the battery is built in, so there's nothing to pop out. Plug the included USB-C cable into the port on the back and let it run until the light ring on the front glows solid. A full charge up front means you set the doorbell once and leave it on the wall instead of pulling it back down in a week.

Tip

A full charge from empty can take several hours. Start it charging while you download the app and set up your account so you're not standing around waiting.

Products used in this step

3

Step 3: Set It Up in the Ring App

1:30
Step 3: Step 3: Set It Up in the Ring App

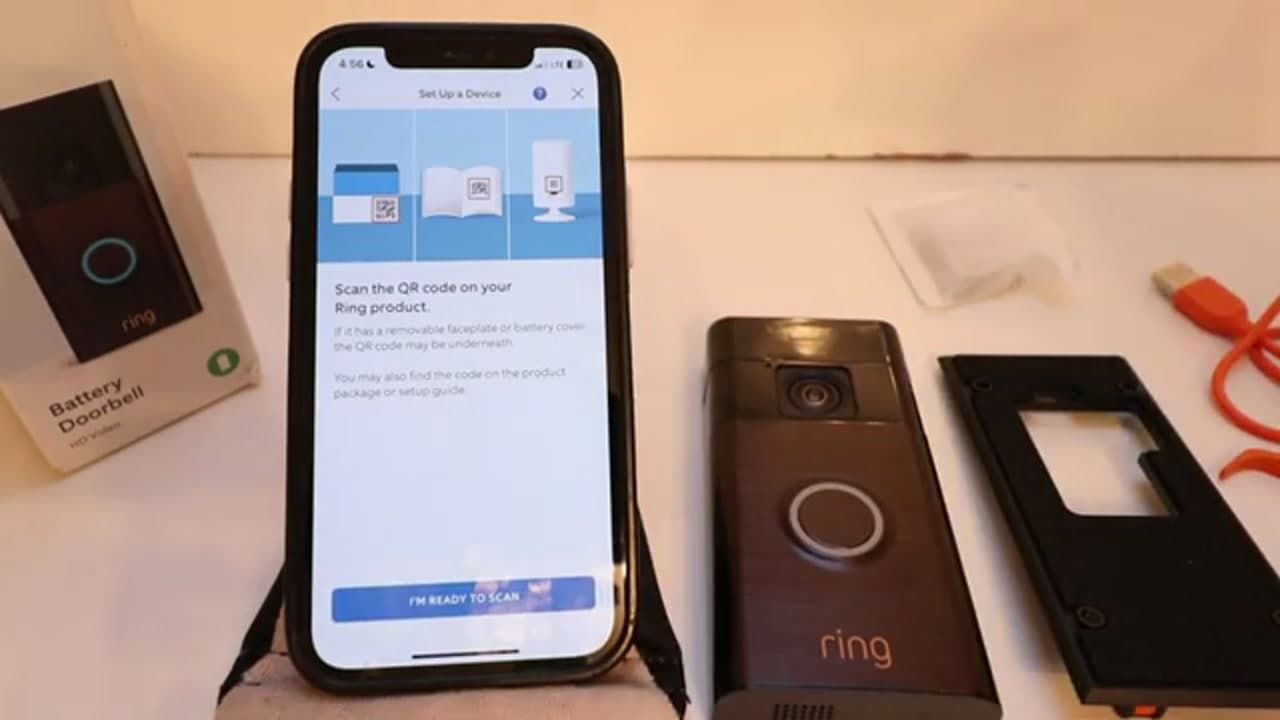
Download the Ring app, sign in, and choose to set up a new device. The app asks you to scan the QR code on the doorbell, so hold your phone camera over it and let it read. From there you name the device and tell it which door it's on. Labeling it now, like Front Door, keeps your alerts clear once you have the camera live.

Tip

The QR code is on the front of the doorbell or under the faceplate. If your camera won't focus on it, back off a few inches and give it good light.

4

Step 4: Connect It to Wi-Fi

4:30
Step 4: Step 4: Connect It to Wi-Fi

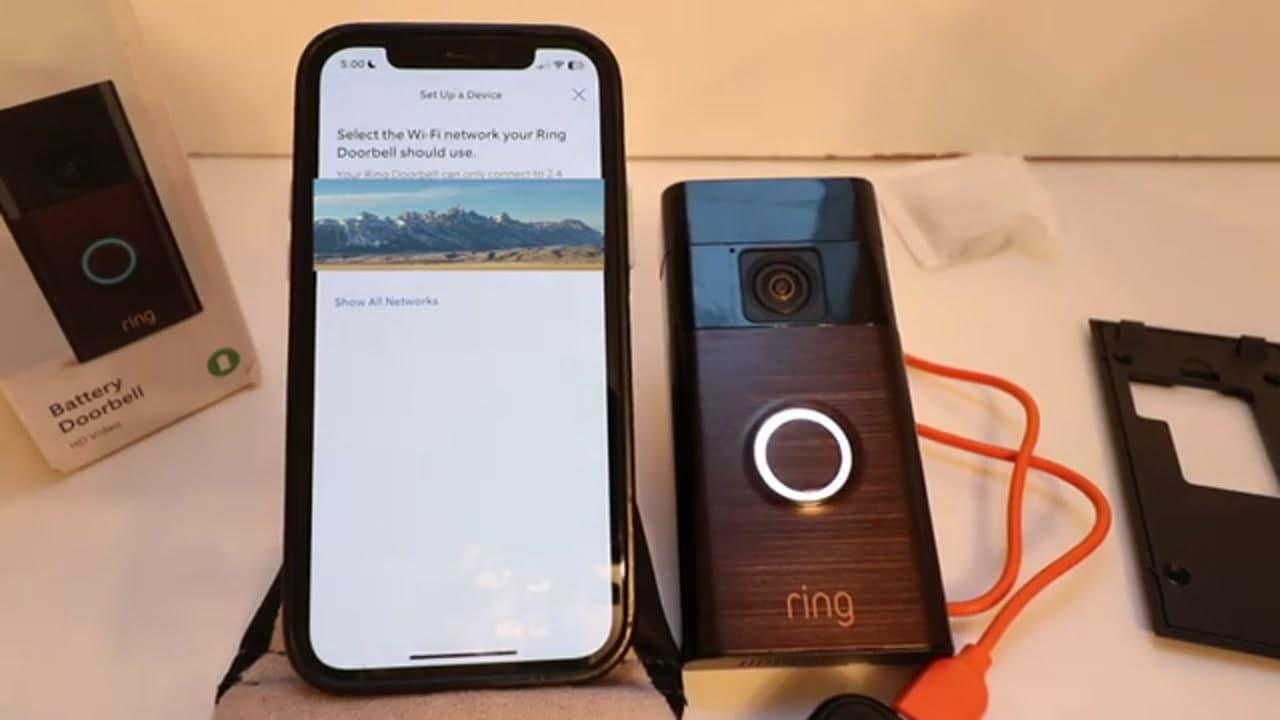
The app now asks you to pick a Wi-Fi network. Choose your home network and type in the password. One thing worth knowing: Ring doorbells connect on the 2.4GHz band, not 5GHz, so if your router splits the two you'll want the 2.4GHz name. Give it a moment and the light ring confirms it's online and talking to your network.

Tip

Set it up close to your router first, then move it to the door. A weak signal at the front of the house causes laggy video and missed motion alerts.

5

Step 5: Position the Bracket and Drill

6:35
Step 5: Step 5: Position the Bracket and Drill

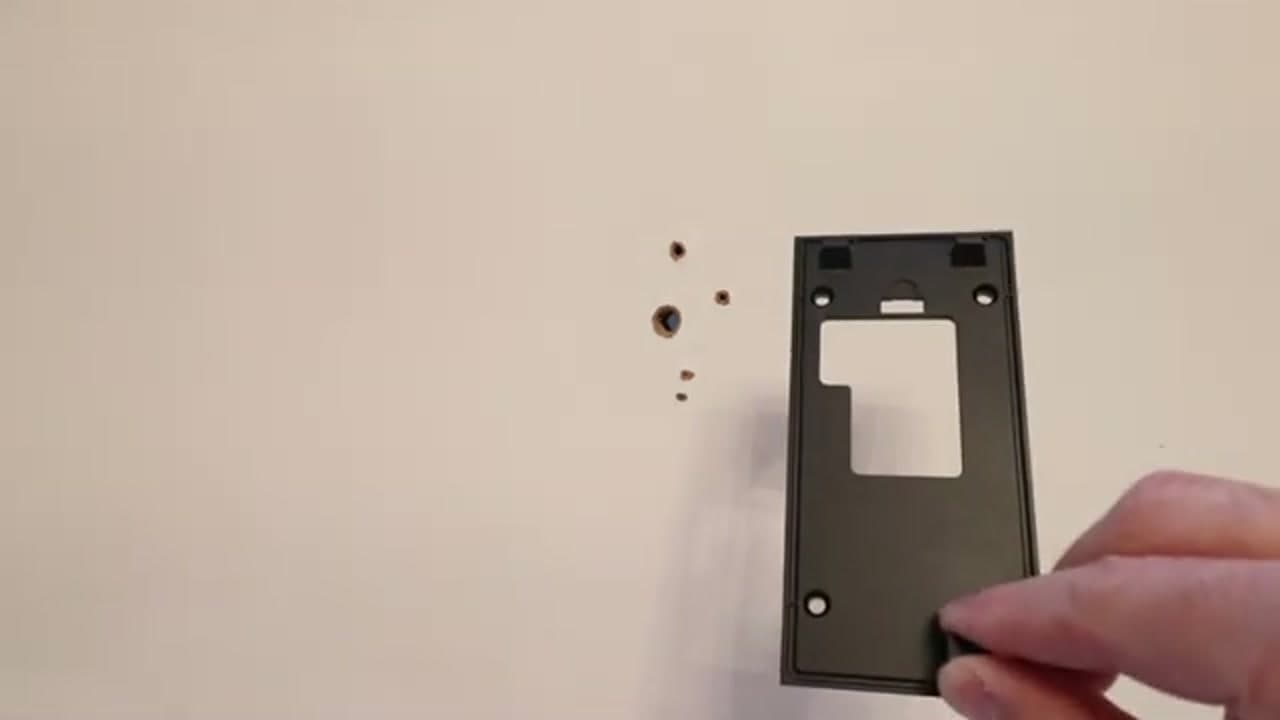
Time to mount it. Hold the bracket flat against the wall where you want the doorbell, around 48 inches off the ground, and mark your screw holes with a pencil. A level here keeps it straight. Drill the holes, and if you're going into drywall, brick, or stucco, tap the wall anchors in flush. The bracket lines right up with those holes when you're ready.

Tip

Forty-eight inches puts the camera at chest height so it captures faces, not just the tops of heads. Check it's level before you commit to the holes.

6

Step 6: Screw the Bracket to the Wall

6:55
Step 6: Step 6: Screw the Bracket to the Wall

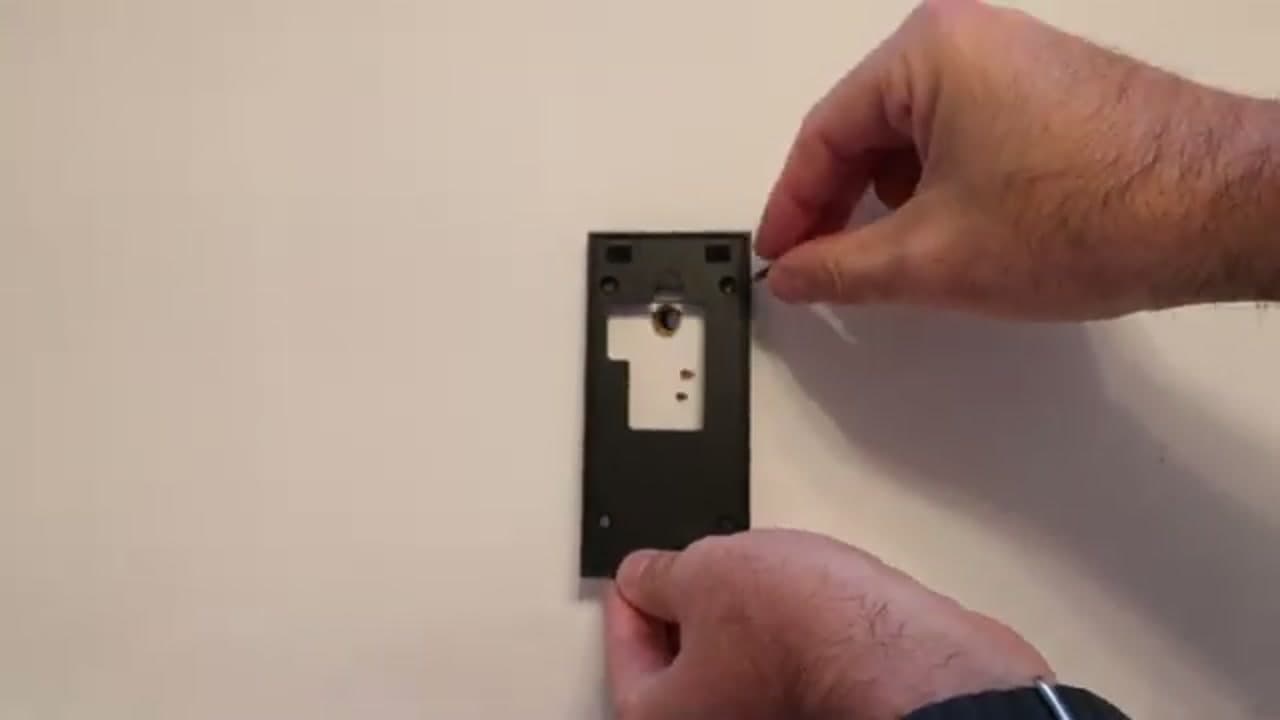
Drive the mounting screws through the bracket into your anchors and snug them down until the bracket sits tight and flat against the wall. Give it a wiggle when you're done. This is the piece that holds all the weight, so a solid, flush bracket is what keeps the doorbell from sagging or working loose over time. Take the extra ten seconds to get it firm.

Tip

Don't overtighten into drywall anchors or you'll strip them. Firm and flush is the goal, not cranked down as hard as you can.

7

Step 7: Hang the Doorbell on the Bracket

8:00
Step 7: Step 7: Hang the Doorbell on the Bracket

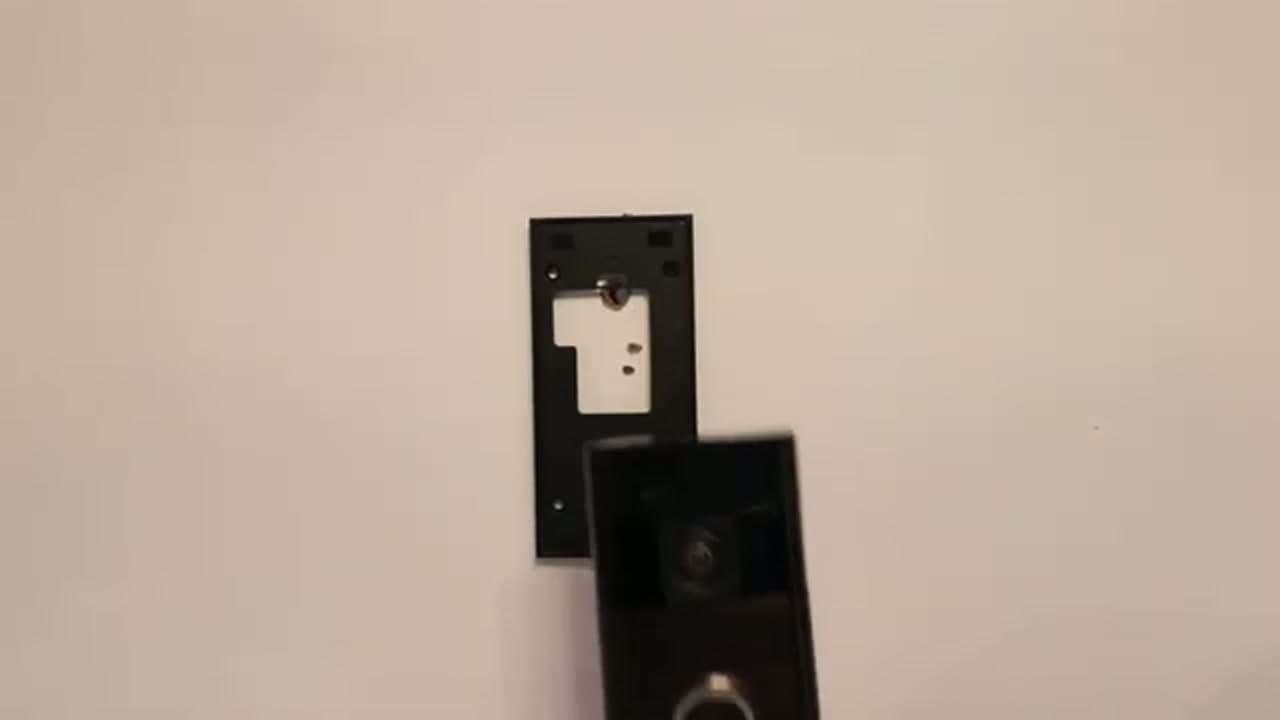
With the bracket set, line the doorbell up over it and press it down onto the tabs until it seats into place. It should sit flush against the wall with the camera up top and the button centered. Step back and eyeball it to make sure it's straight before you lock it down. This part clicks together fast once the bracket is solid underneath it.

Tip

If it feels like it's fighting you, back it off and recheck the top of the bracket is seated right. It slides on cleanly when it's aligned.

8

Step 8: Secure It and Test

8:42
Step 8: Step 8: Secure It and Test

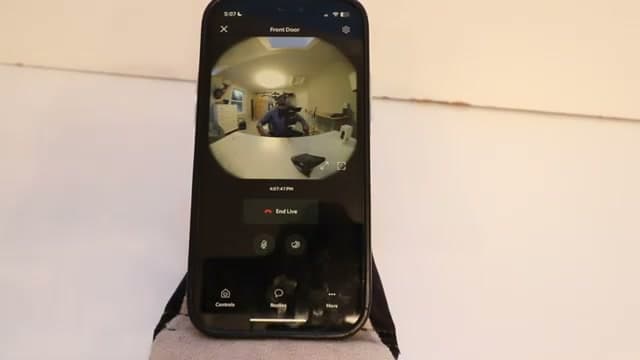
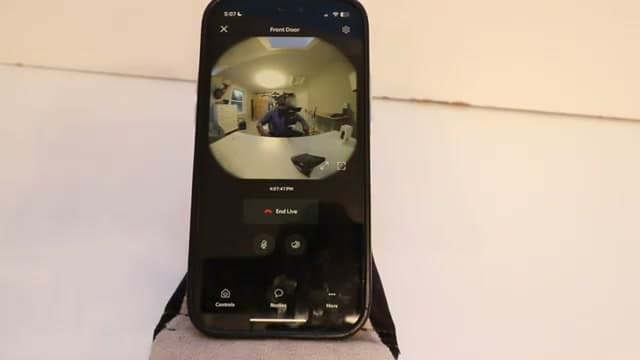
Slide the orange security screw into the slot at the bottom and tighten it so nobody can lift the doorbell off the wall. Now the fun part. Open Live View in the Ring app and check that the camera feed comes through clean, then press the button to make sure the chime sounds. Once you see the video and hear the ring, your doorbell is up and working.

Tip

Walk in front of the camera and watch for a motion alert on your phone. If you get it, motion detection is working and you're fully set up.

Products Used

☐ The Checklist

How to Install a Ring Video Doorbell

Tools
5
Materials
4
Steps
8
Video
15 min

Your Guide

One Hour Smart Home

As an Amazon Associate we earn from qualifying purchases. Links on this page may be affiliate links - clicking them and buying doesn't change your price, but helps support ShowMeStepByStep.

Tags

Sunday How-To

New home improvement tutorials, every Sunday

One short email with the week's best step-by-step guides. Free, no spam, unsubscribe anytime.

Did this work for you?

What's next

Related collections

Curated theme pages that include this tutorial.

Weekly Digest

Liked this home improvement tutorial?

Pick the categories you want to hear about. Weekly digest of new step-by-step tutorials. No spam, easy unsubscribe.

Send me tutorials about

We only email about new tutorials. Easy unsubscribe anytime.