How to Unclog a Kitchen Sink

Home ImprovementEasy8:238 steps5-question quiz at endBrowse more →

By ShowMeStepByStepPublished Updated

Based on a video by Roger Wakefield Plumbing Education.

Step 1 of 5 inHome Survival Basics

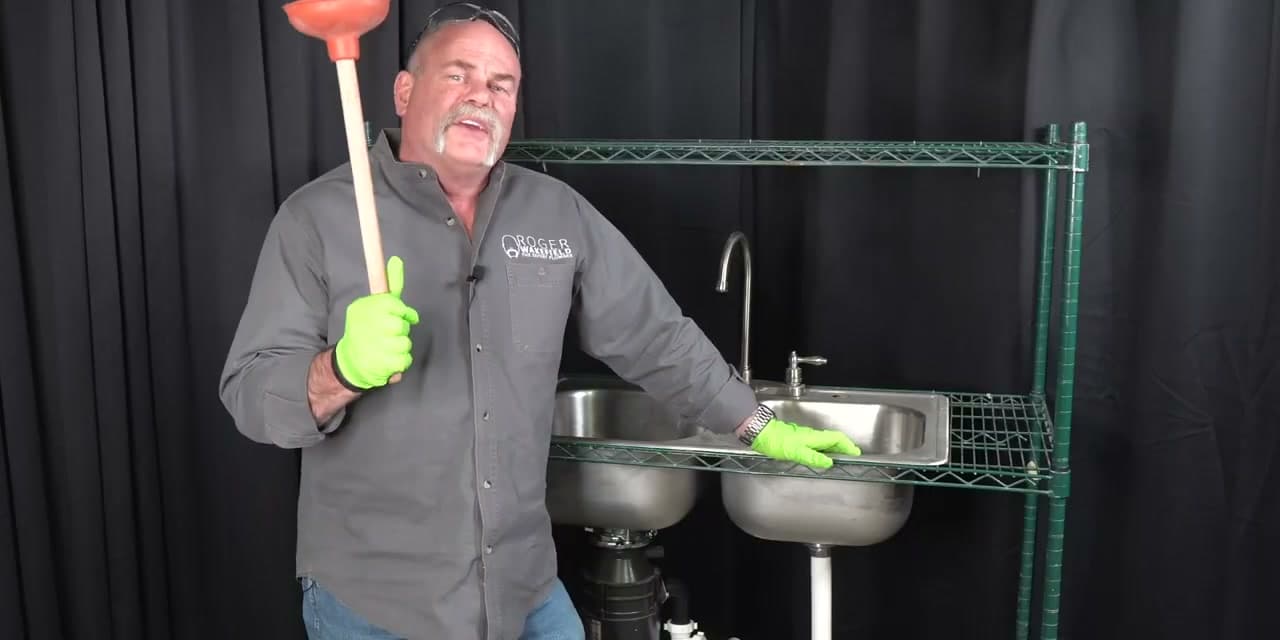
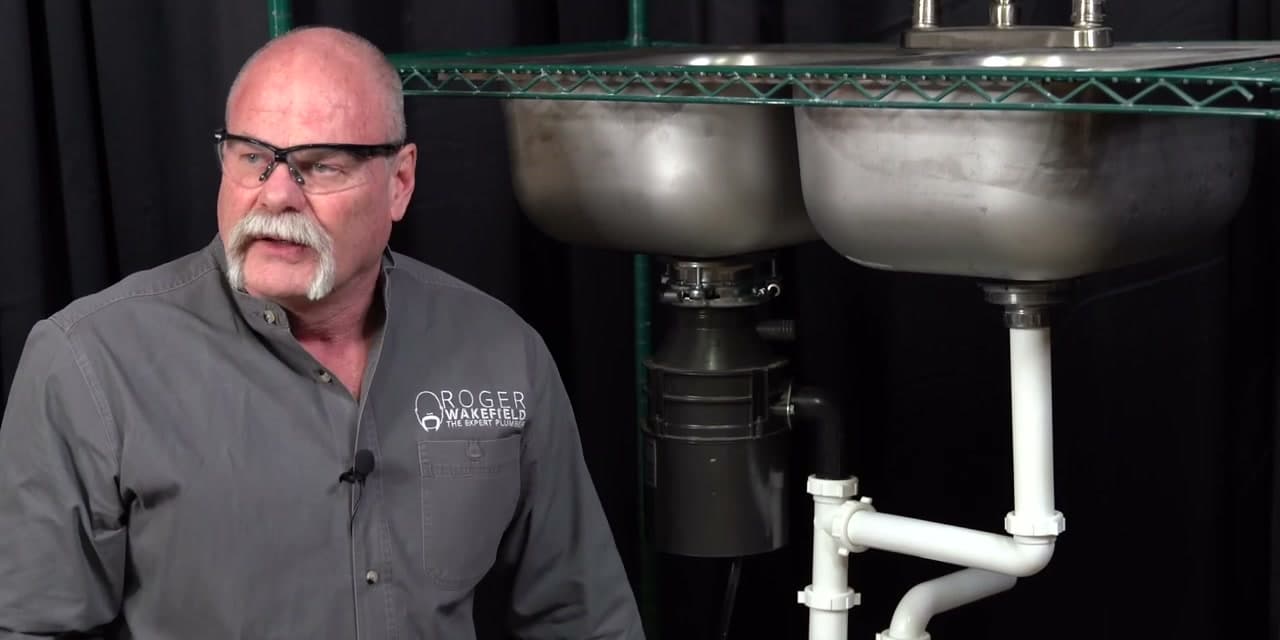
A clogged kitchen sink doesn't always mean a plumber. Roger Wakefield, a licensed master plumber, walks through four methods that go from easiest to most involved - starting with a plunger and ending with the P-trap. Most kitchen sink clogs clear before you get to step four.

While you are already working under the sink, check the faucet for drips. If it leaks, see how to fix a leaky faucet to stop the waste in about 30 minutes.

Step-by-Step Guide

1

Step 1: Identify Which Side Is Clogged

0:28
Step 1: Step 1: Identify Which Side Is Clogged

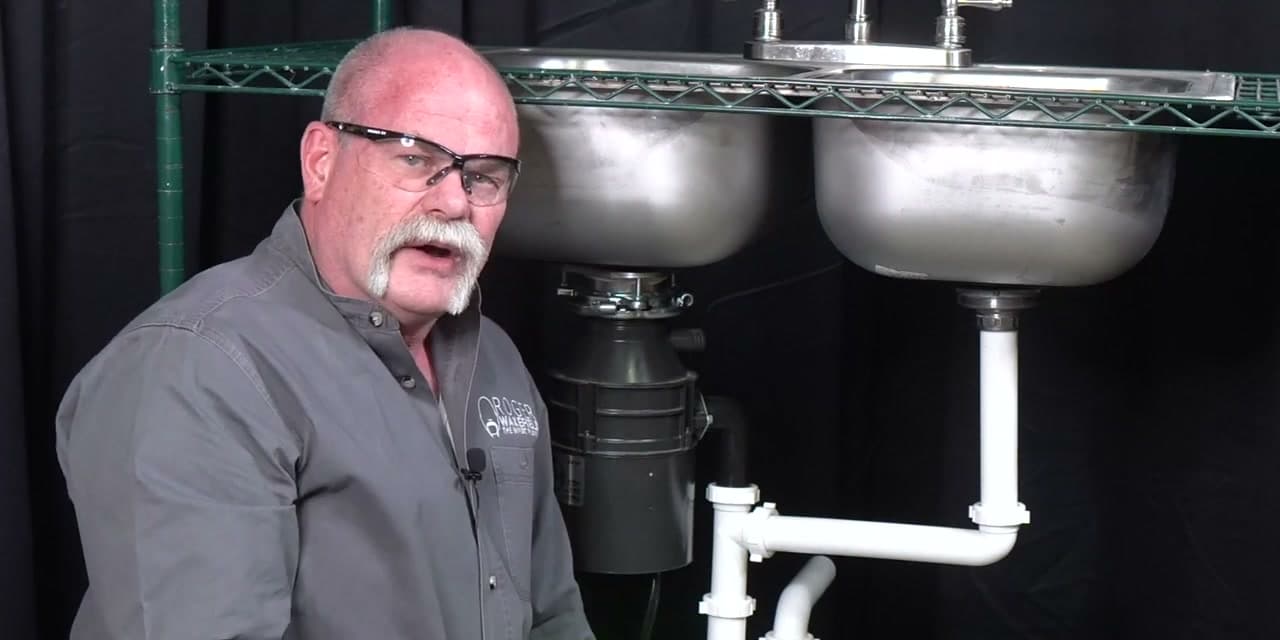
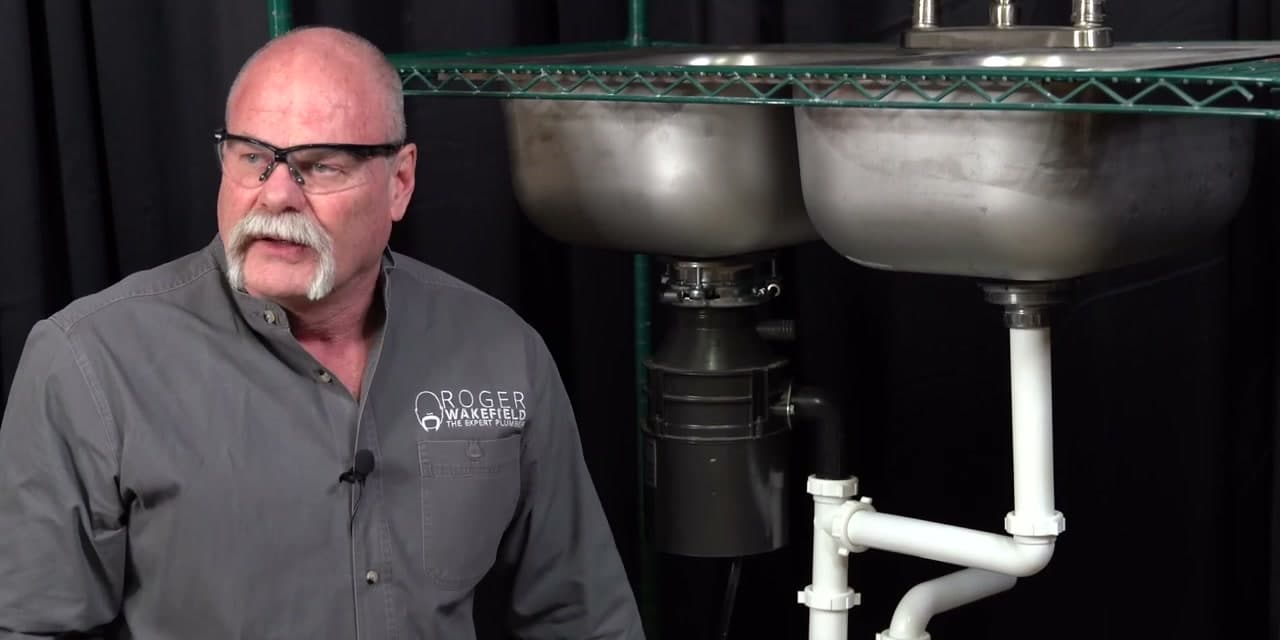
Run water on both sides of the sink and watch what happens. If the garbage disposal side drains fine but the other side has standing water, the blockage is probably in the riser pipe directly below the basket strainer. Look down through the strainer - you may spot a straw, a wad of food debris, or a buildup of grease that's narrowed the opening. Knowing which side is clogged tells you exactly where to start.

Tip

Wear rubber gloves if the water looks murky or if you've added any drain chemicals. Safety glasses are worth grabbing too - especially if you plan to plunge.
2

Step 2: Plunge the Clogged Side

1:05
Step 2: Step 2: Plunge the Clogged Side

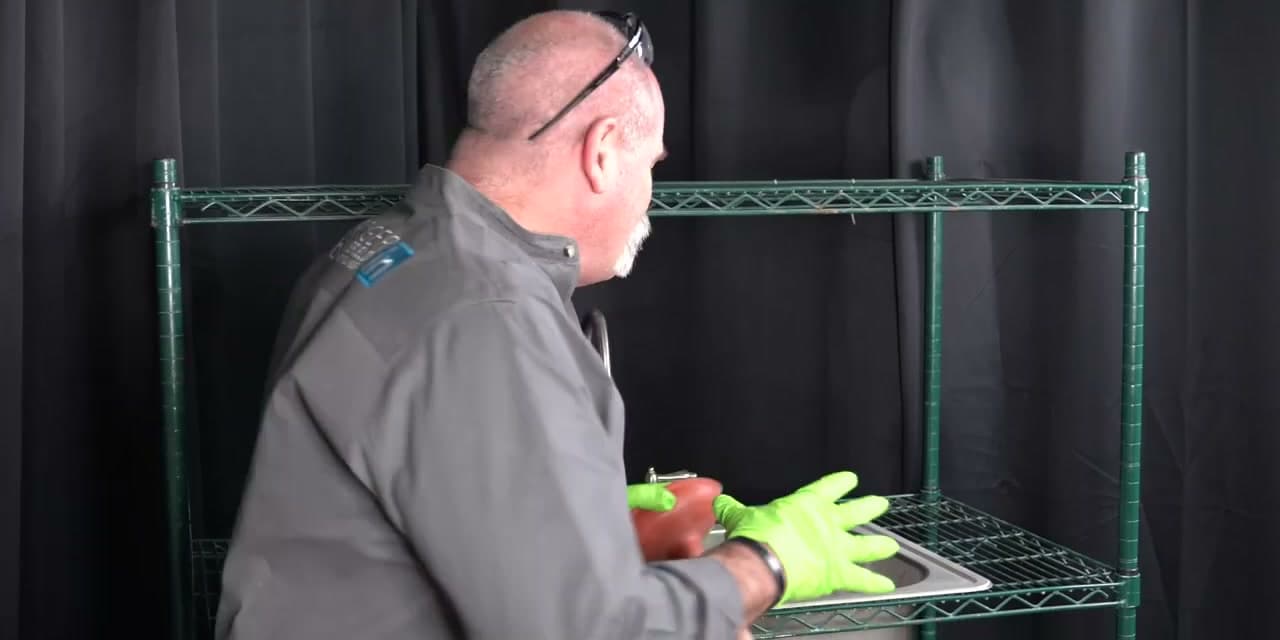
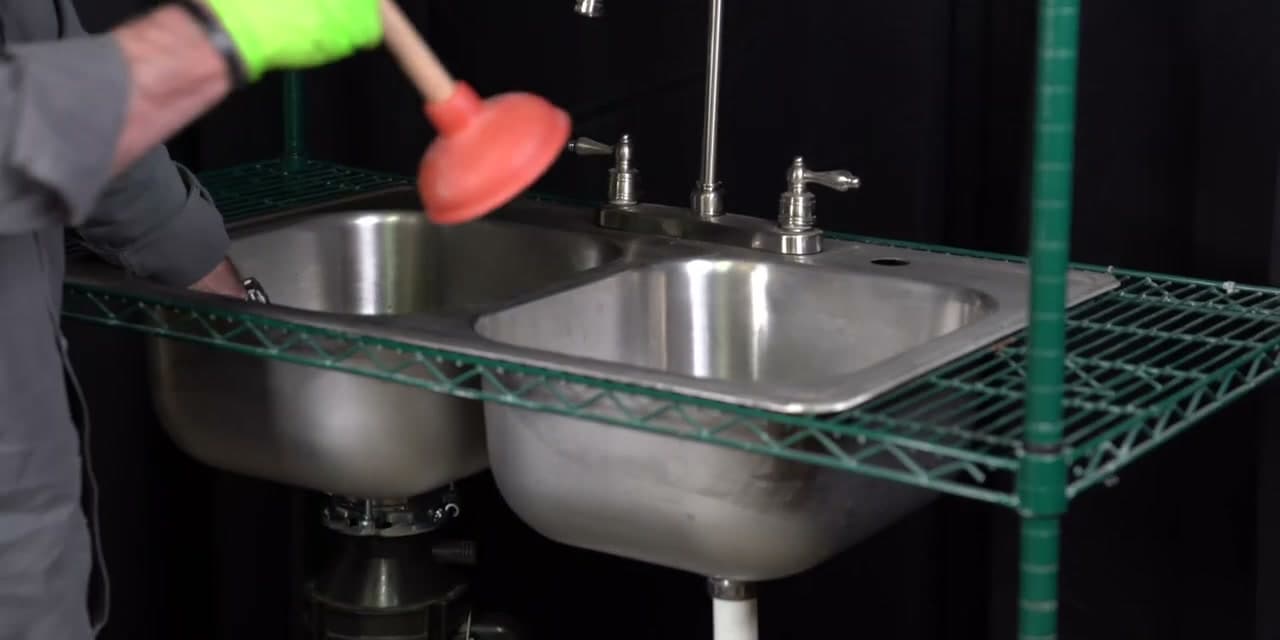
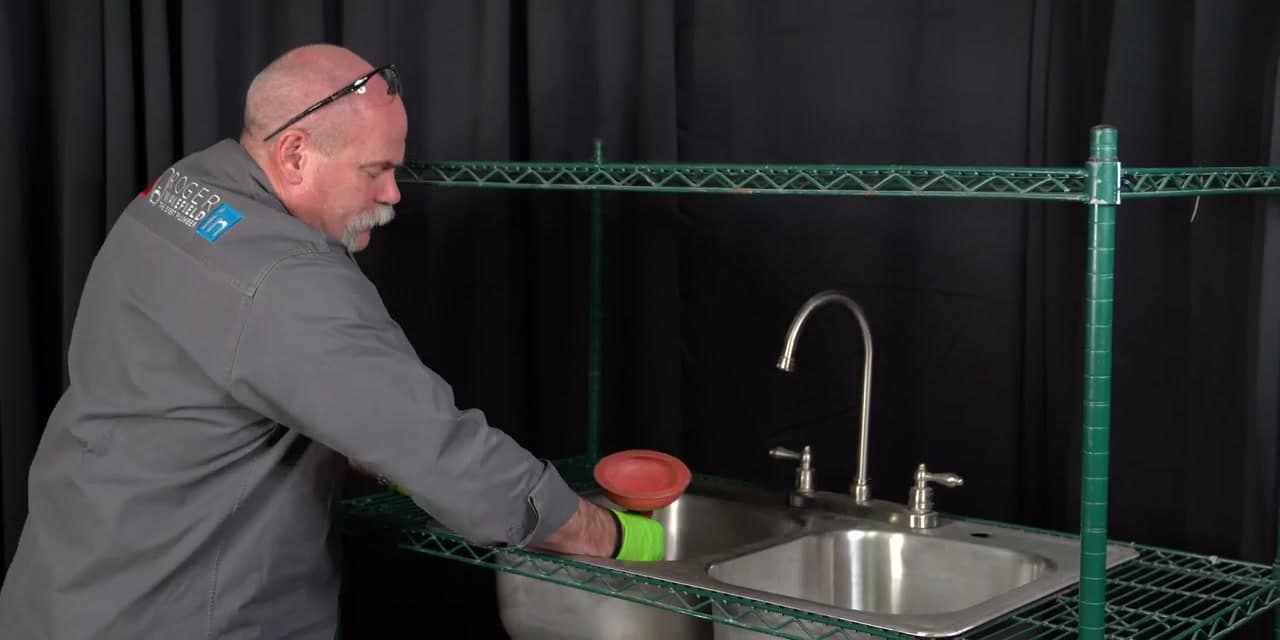
Get a flat-cup sink plunger - the kind made for flat surfaces, not a toilet plunger. Plug the garbage disposal drain with a stopper or a rag to seal it shut. Set the plunger over the basket strainer so it seats against the sink bottom and covers the drain opening completely. Push down firmly and repeatedly. What you're doing is forcing water pressure against whatever is blocking the pipe. It may take several hard pushes. If the blockage breaks loose, you'll feel the resistance give and the water will drain.

Tip

Make sure the plunger forms a real seal before you push. If it's sitting crooked or there's a gap at the edge, you're just splashing water around rather than building pressure.

3

Step 3: Clear the Garbage Disposal Side

3:05
Step 3: Step 3: Clear the Garbage Disposal Side

If the clog is on the garbage disposal side, move the plug to the basket strainer side to seal it off. Then insert the handle end of the plunger into the disposal opening and manually spin the grinding plate to break up whatever jammed it. If the disposal is completely unresponsive, reach underneath and press the reset button on the bottom of the unit - it pops out when the motor overloads. Press it back in and try again. Avoid putting your hand into the grinding chamber.

Tip

The reset button is a small red or black button on the bottom center of the garbage disposal. If it's sticking out even slightly, that's why the unit isn't running.

4

Step 4: Place a Bucket and Remove the P-Trap

3:53
Step 4: Step 4: Place a Bucket and Remove the P-Trap

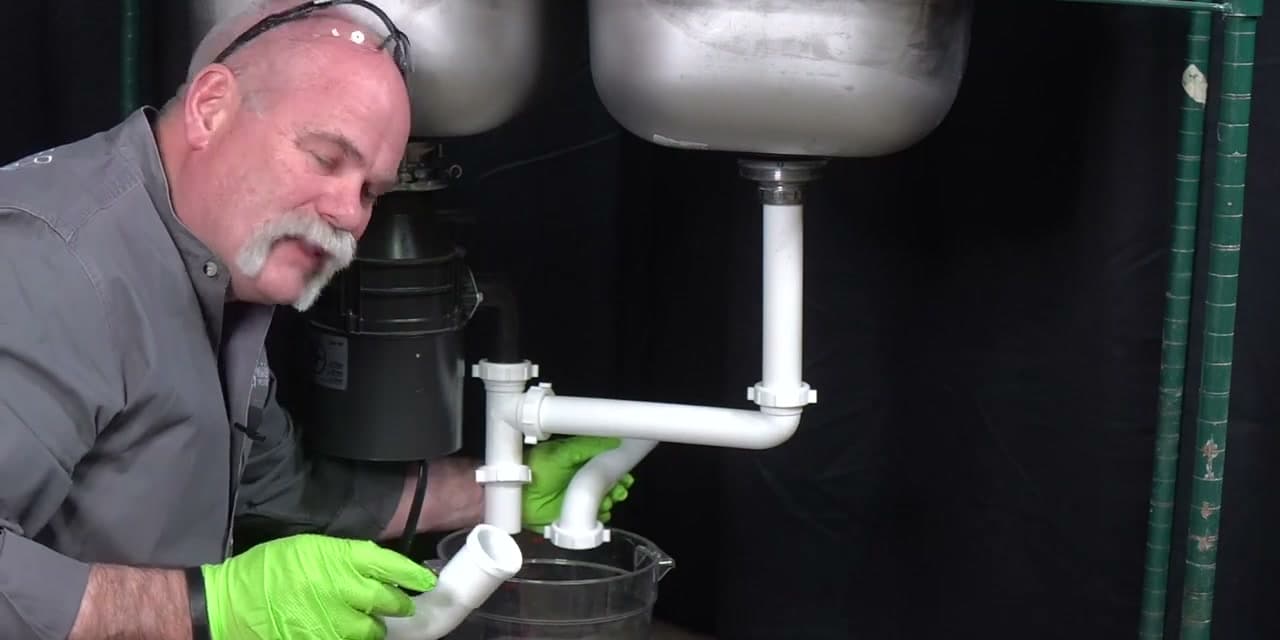
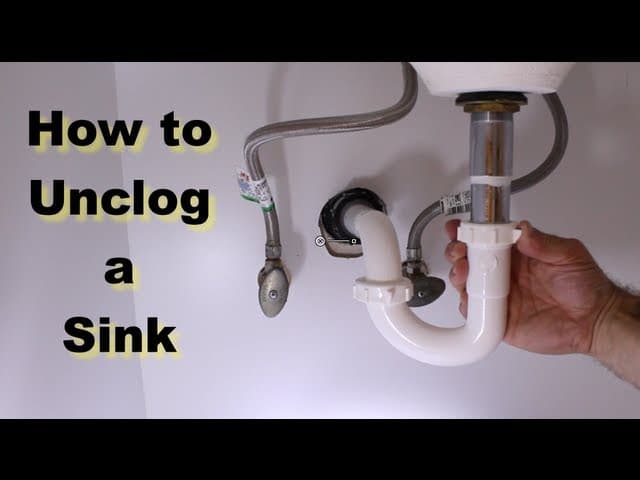
When both sides are backed up or the plunger isn't moving anything, the clog is likely sitting in the P-trap - the curved pipe directly under the sink. Place a bucket underneath it before touching anything. The P-trap holds a full cup or more of standing water and it will all come out when the connection releases. Unscrew the slip joint nuts by hand, working slowly. If they won't budge by hand, use channel-lock pliers - but go easy, these are usually plastic.

Tip

Keep one hand on the trap as you loosen the last nut. The P-trap comes free suddenly and you don't want to drop it or spill dirty water across the cabinet floor.

5

Step 5: Inspect and Clean the P-Trap

5:05
Step 5: Step 5: Inspect and Clean the P-Trap

With the P-trap removed, look inside it. Grease, food scraps, and hair collect in the curved section over time and can completely block flow. Clean it out over the bucket, then run water through it to clear it fully. Also check the horizontal trap arm - the pipe that runs from the sink into the wall. If water pours back out of the wall when you pull the arm free, the clog is further in and you'll need a drain snake. Check the rubber washers inside each fitting before putting everything back together.

Tip

Hold each washer up to the light and look for cracks or flat spots. A worn washer will drip even if the nut is tightened - and you won't notice until you see wet cabinet shelves the next day.

6

Step 6: Reassemble the Drain Connections

6:40
Step 6: Step 6: Reassemble the Drain Connections

Thread the slip joint nuts back on by hand and snug them up just until they stop - hand-tight only. Over-tightening plastic nuts cracks them, and a cracked nut is a slow leak waiting to happen. Line up the pipes carefully before tightening so nothing is under lateral stress. Work from the trap arm at the wall toward the sink, threading each connection before tightening any of them.

Tip

If a nut cross-threads and won't go on smoothly, back it off completely and start over. Forcing a cross-threaded plastic nut strips it. Replace any nut that feels gritty or damaged.

7

Step 7: Test the Drain and Check for Leaks

7:11
Step 7: Step 7: Test the Drain and Check for Leaks

Turn on the hot water and watch the sink. If it starts filling up and not draining, shut the water off - the clog is still in the trap arm or further back in the wall. If it drains freely, let the hot water run for a minute, then reach under and check every slip joint nut with your fingers. Lay a few paper towels flat across the cabinet floor, run a full sink of dishes, then check the towels the next morning. Any drip at all will show on the paper before it ever damages the cabinet wood.

Tip

Don't skip the paper towel check. A slow drip at a slip joint can go unnoticed for weeks and quietly rot the cabinet floor. The few seconds to lay down towels is worth it.

8

Step 8: Use a Drain Snake for Deep Clogs

7:45
Step 8: Step 8: Use a Drain Snake for Deep Clogs

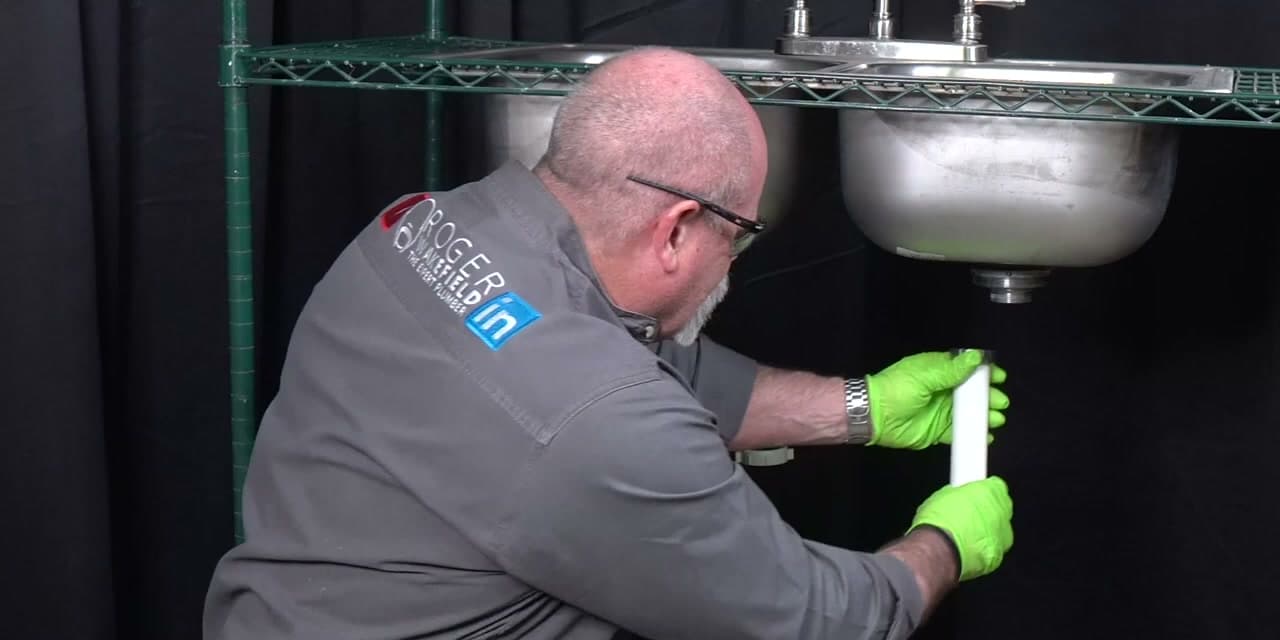
If you've cleared the P-trap and the sink still won't drain, the clog is deeper in the wall - past where hand tools can reach. Feed a drain snake into the trap adapter opening where the arm goes into the wall. Crank it until you feel resistance, then work back and forth until it breaks through. For a clog that won't move, a power drain machine from a rental store is the right tool. If you're not comfortable working in the wall drain, calling a plumber is the practical choice.

Tip

Wear safety glasses when using a drain snake. The cable spins and can flick dirty water or debris. Keep your face back from the drain opening while cranking.

Products Used

☐ The Checklist

How to Unclog a Kitchen Sink

Tools
4
Materials
2
Steps
8
Video
8 min

Your Guide

Roger Wakefield Plumbing Education

As an Amazon Associate we earn from qualifying purchases. Links on this page may be affiliate links - clicking them and buying doesn't change your price, but helps support ShowMeStepByStep.

Tags

Sunday How-To

New home improvement tutorials, every Sunday

One short email with the week's best step-by-step guides. Free, no spam, unsubscribe anytime.

Test your knowledge

Did the lesson stick? Find out in 2 minutes.

5 quick questions covering what you just read. No signup, no score saved — just a gut check.

Quick reference

Key takeaways from How to Unclog a Kitchen Sink

5 questions, answers, and one-line explanations. Tap to expand.

  1. 1.Which plunger is the right tool for a clogged kitchen sink?

    Answer: A flat-cup plunger made for flat surfaces

    A flat-cup plunger seats against the flat sink bottom; a toilet plunger's flange won't seal there.

  2. 2.Before plunging one bowl of a double sink, what do you do to the other drain?

    Answer: Seal it shut with a stopper or rag

    Sealing the second drain keeps your plunging pressure from escaping out the other side.

  3. 3.Why put a bucket under the P-trap before you remove it?

    Answer: It holds a cup or more of standing water that spills out

    The curved P-trap always holds standing water, and all of it pours out the moment you open it.

  4. 4.How tight should the plastic slip-joint nuts be when you reassemble the trap?

    Answer: Hand-tight only, just until they stop

    Over-tightening cracks plastic nuts, and a cracked nut becomes a slow leak.

  5. 5.You cleaned the P-trap but the sink still won't drain. Where is the clog now?

    Answer: Deeper in the wall, past the trap arm

    If the trap is clear, the blockage is farther down the line, which is what a drain snake reaches.

Did this work for you?

What's next

Related collections

Curated theme pages that include this tutorial.

Weekly Digest

Liked this home improvement tutorial?

Pick the categories you want to hear about. Weekly digest of new step-by-step tutorials. No spam, easy unsubscribe.

Send me tutorials about

We only email about new tutorials. Easy unsubscribe anytime.