How to Install a Sump Pump

Home ImprovementMedium9:388 stepsBrowse more →

By ShowMeStepByStepPublished

Based on a video by Apple Drains.

A sump pump is the one piece of gear standing between a wet basement and a dry one. When groundwater rises, the pump kicks on and pushes it out before it ever reaches your floor. Robert from Apple Drains Drainage Contractors has been doing this since 1997, and in this video he sets up a complete system on a Zoeller M53 pump so you can see every connection up close.

You will set the basin liner into the pit, thread a PVC adapter onto the pump, add a check valve so water cannot fall back in, cut and fit the discharge pipe, drill the lid, and seal it up. The whole job uses hand tools and a drill. If you can handle a hacksaw and a socket, you can handle this.

Water problems rarely travel alone. If you are already chasing leaks around the house, take a look at how to fix a leaky faucet while you have the tools out.

Step-by-Step Guide

1

Set the Basin Liner in the Pit

1:50
Step 1: Set the Basin Liner in the Pit

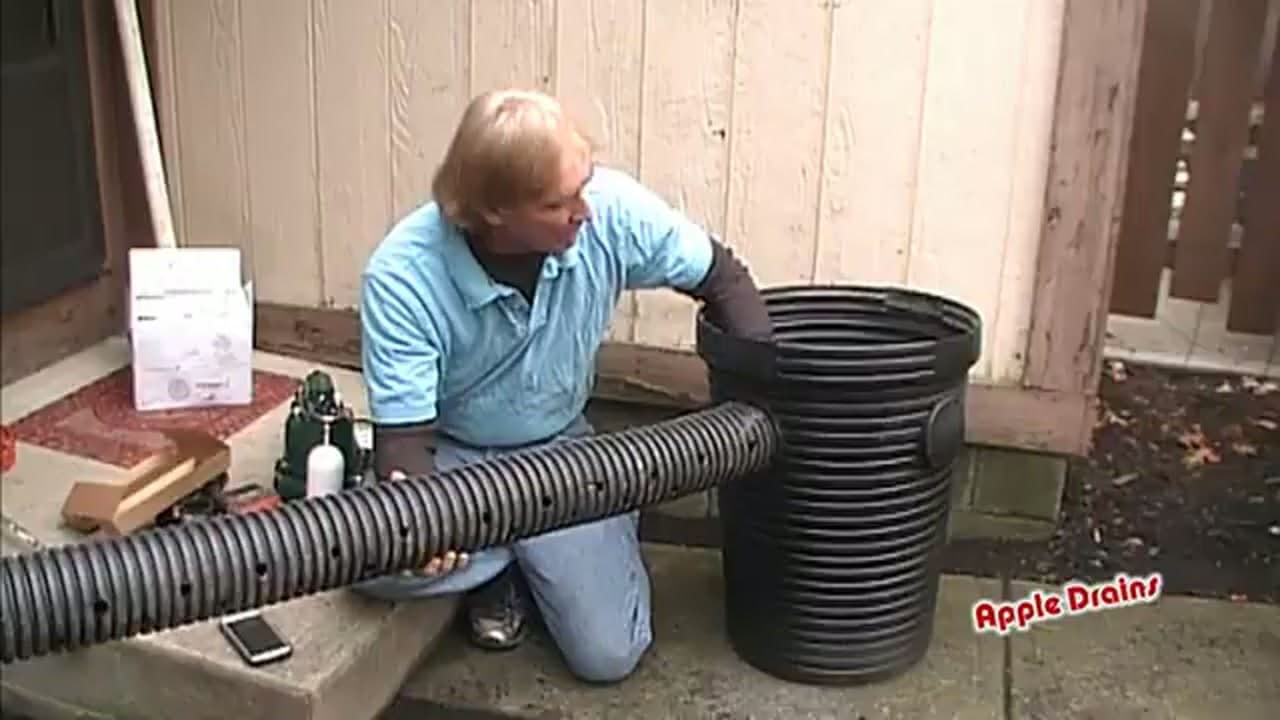
Start with the pit. Dig it deep enough that the basin sits below the floor line, then drop the perforated basin liner in. Robert ties the incoming drain line into the side of the basin so groundwater collects where the pump can reach it. The perforations let water in from all around, not just the top. Get the basin sitting level before anything else goes in.

Tip

Set a few inches of gravel under the basin so it drains evenly and does not settle over time.

Products used in this step

2

Thread the PVC Adapter onto the Pump

2:35
Step 2: Thread the PVC Adapter onto the Pump

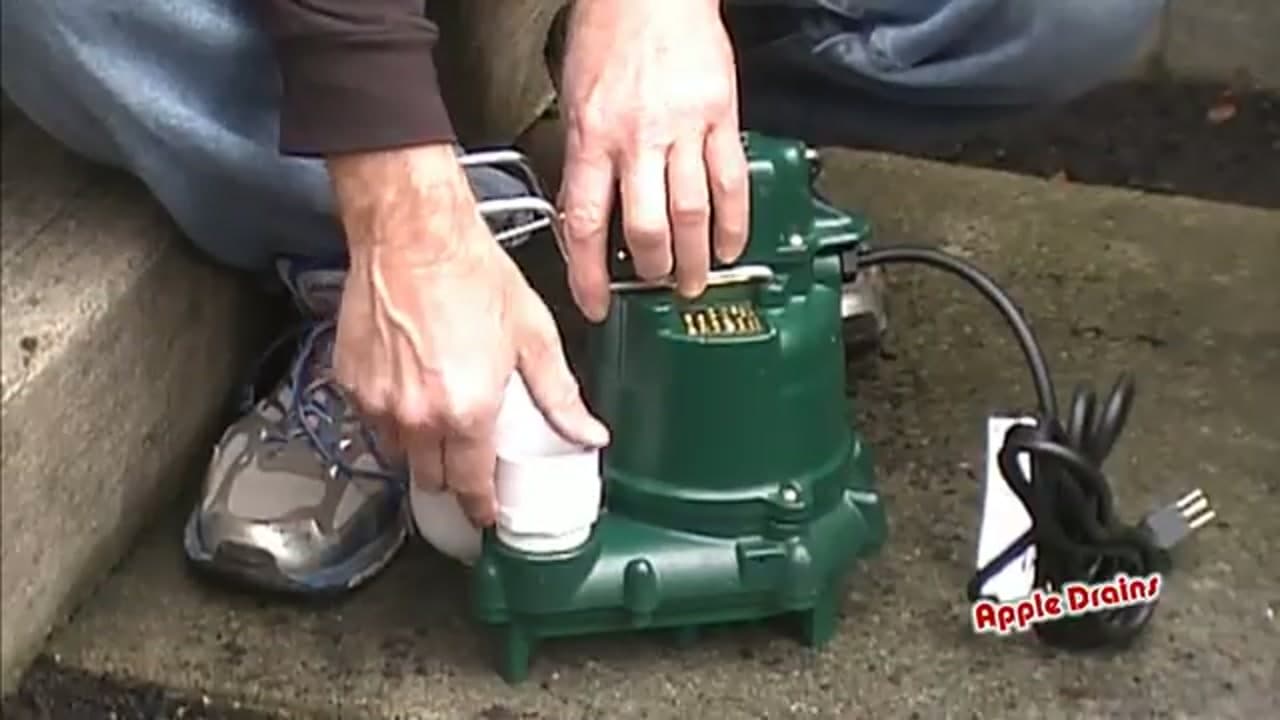
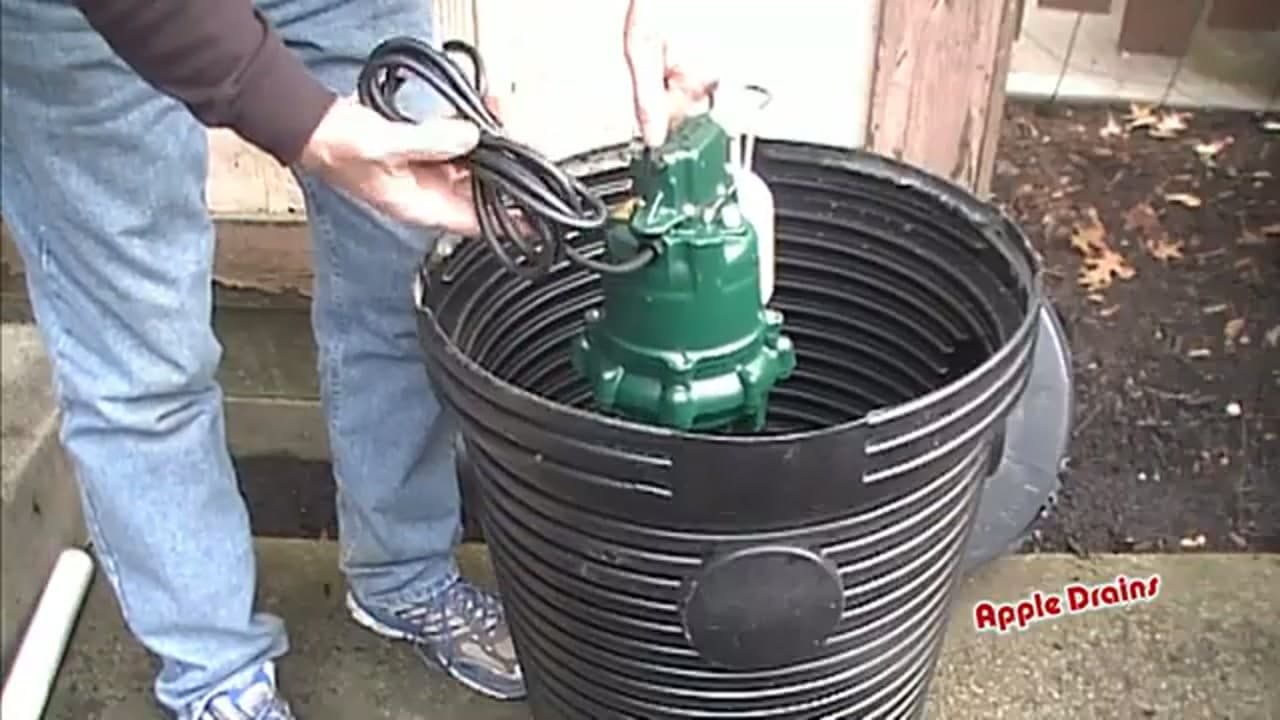
The Zoeller M53 has a threaded discharge on top. Wrap the threads with tape, then hand-thread the 1 1/2 inch PVC male adapter into it and snug it down. This adapter is what the whole discharge riser builds off of, so take a second to get it straight and tight. Cross-thread it here and the leak follows you all the way up.

3

Add the Check Valve

3:05
Step 3: Add the Check Valve

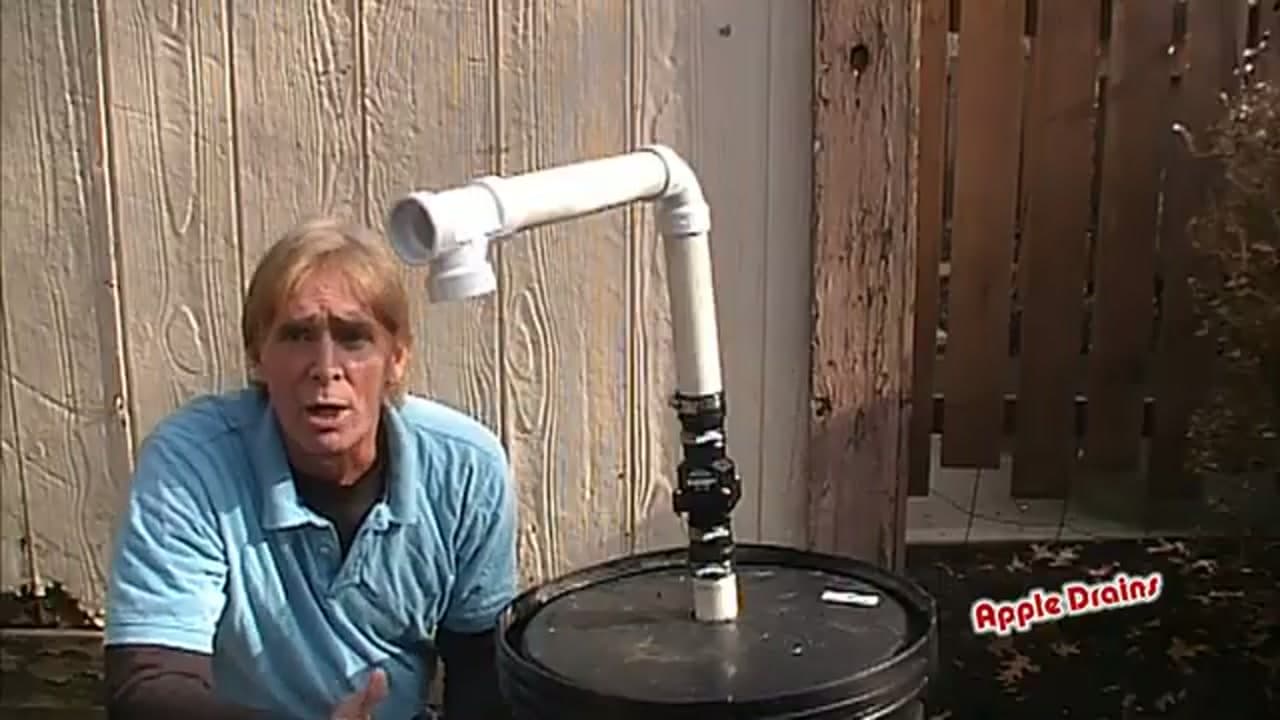
Above the pump goes the check valve. This is the part that keeps the water in the pipe from draining back into the pit every time the pump shuts off. Without it, the pump short-cycles and burns out early. Robert sets it inline on the discharge riser with the arrow pointing up, in the direction the water flows. Tighten the clamps so it holds under pressure.

Tip

Check the arrow on the valve body before you clamp it. Backward and it blocks flow completely.

Products used in this step

4

Cut the PVC Discharge Pipe

3:35
Step 4: Cut the PVC Discharge Pipe

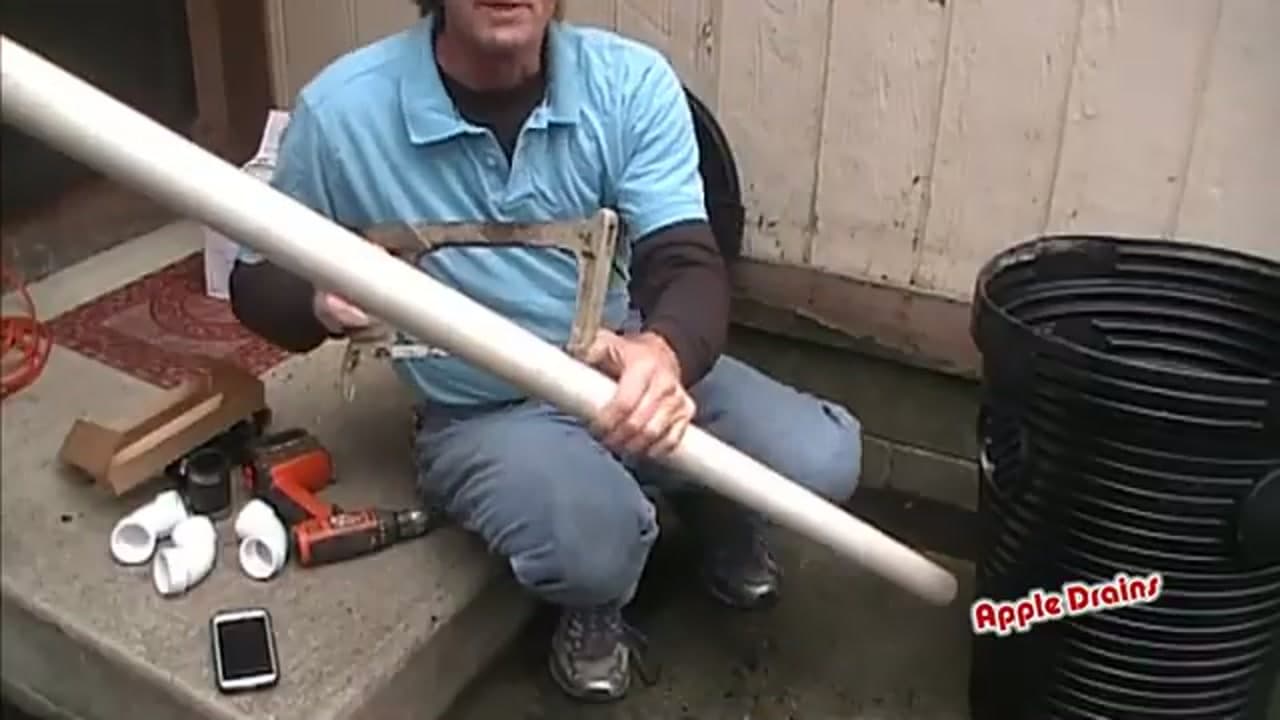
Now measure your discharge run. You want the pipe long enough to reach from the pump, up past the basin rim, and out through the foundation wall. Robert marks it and cuts it clean with a hacksaw. Take the burr off the cut end with a knife or sandpaper so the fitting seats fully. A rough end means a weak glue joint later.

5

Set the Pump in the Basin

5:20
Step 5: Set the Pump in the Basin

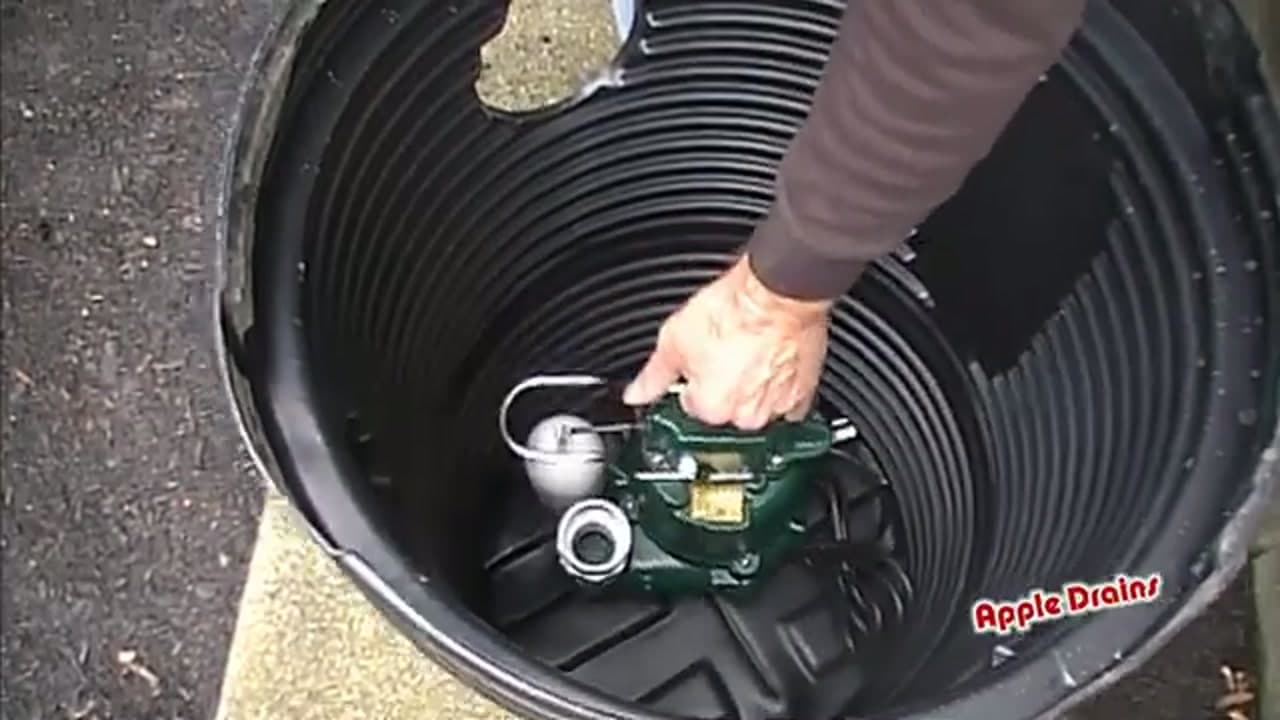
Lower the pump onto the flat bottom of the basin by its handle. Keep the power cord and float switch clear of the wall so the float can swing up and down freely. That float is what tells the pump when to run. If it hangs up on the side, the pump either never starts or never stops. Give it room and check it moves before you move on.

Tip

Rest the pump on a brick or the built-in stand so silt on the basin floor does not clog the intake.

Products used in this step

6

Drill the Basin Lid

5:05
Step 6: Drill the Basin Lid

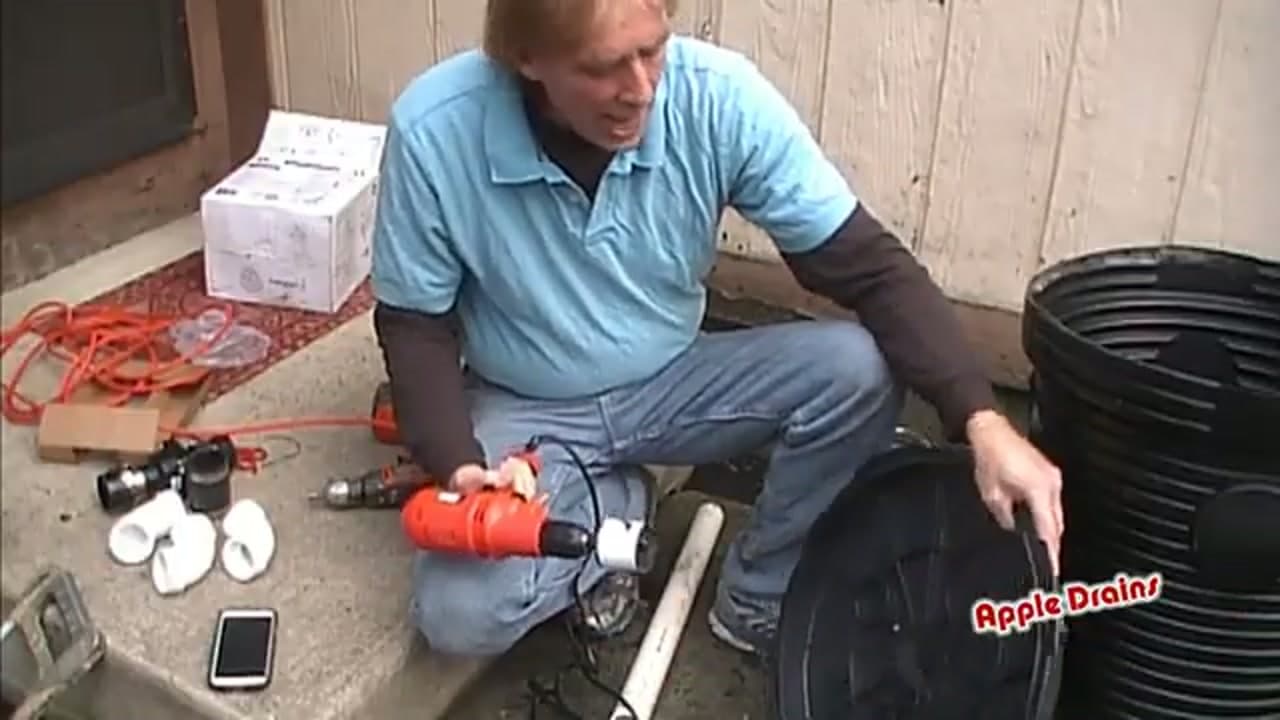
The lid needs two openings. Use a hole saw to cut a pass-through for the discharge pipe and a second, smaller hole for the pump cord and float wiring. Robert lines the pipe hole up with where the riser lands so the lid drops on straight. Go slow with the hole saw and let it do the work rather than forcing it through the plastic.

7

Seal the Lid in Place

5:58
Step 7: Seal the Lid in Place

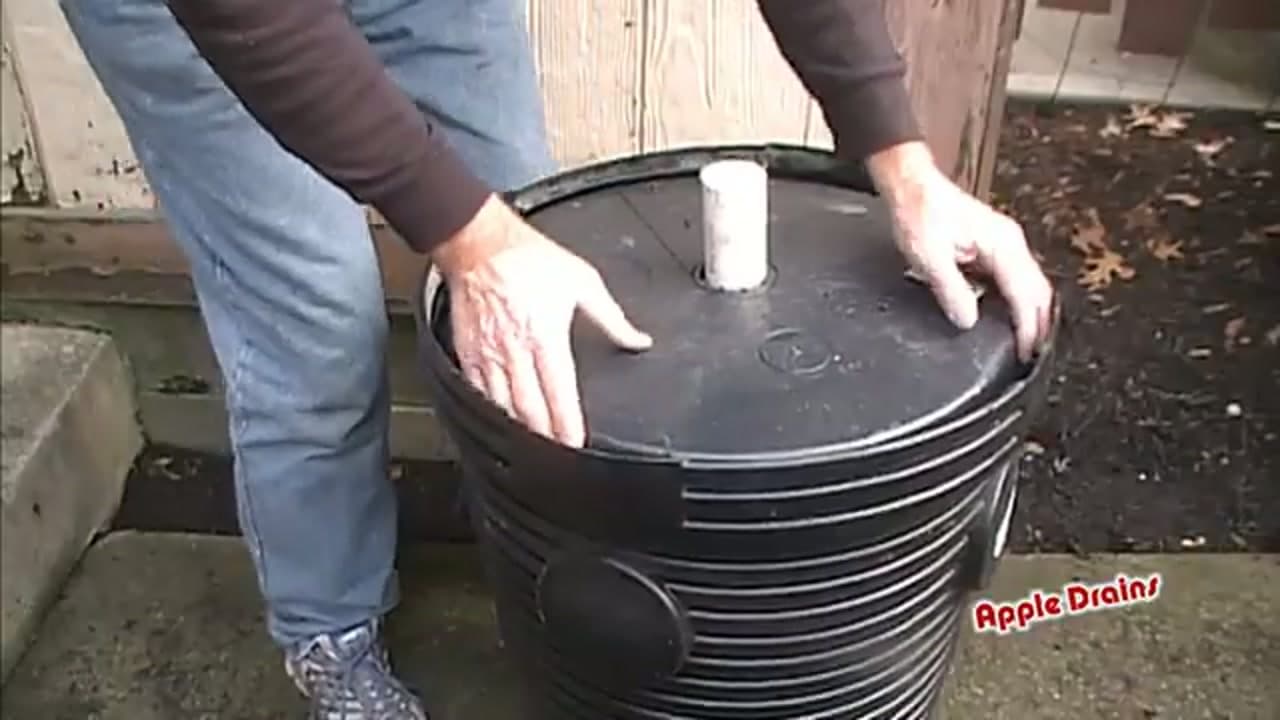
Feed the discharge pipe up through the lid and press the lid down onto the basin rim. A sealed lid does two jobs. It keeps debris, kids, and pets out of an open pit, and it cuts down on the gurgle you hear every time the pump runs. Push it down evenly all the way around so it seats flush. Some lids have a gasket that snugs the seal.

Tip

Run a bead of silicone around the pipe pass-through if you want to seal out radon and basement humidity.

8

Route the Discharge and Test

8:38
Step 8: Route the Discharge and Test

Finish the run out through the wall and away from the house so the water does not circle right back. Plug the pump into a GFCI outlet. Then pour a bucket of water into the pit and watch. The float should rise, the pump should kick on, and water should shoot out the discharge. Listen for the check valve seating with a light thunk when it shuts off. That thunk means it is working.

Tip

Add a length of pipe or a splash block at the outlet so the discharge drains at least six feet from the foundation.

Products used in this step

Products Used

☐ The Checklist

How to Install a Sump Pump

Tools
5
Materials
5
Steps
8
Video
10 min

Your Guide

Apple Drains

As an Amazon Associate we earn from qualifying purchases. Links on this page may be affiliate links - clicking them and buying doesn't change your price, but helps support ShowMeStepByStep.

Tags

Sunday How-To

New home improvement tutorials, every Sunday

One short email with the week's best step-by-step guides. Free, no spam, unsubscribe anytime.

Did this work for you?

What's next

Related collections

Curated theme pages that include this tutorial.

Weekly Digest

Liked this home improvement tutorial?

Pick the categories you want to hear about. Weekly digest of new step-by-step tutorials. No spam, easy unsubscribe.

Send me tutorials about

We only email about new tutorials. Easy unsubscribe anytime.