How to Install an Electric Water Heater

Home ImprovementAdvanced6:108 stepsBrowse more →
Also in:Adulting

By ShowMeStepByStepPublished

Based on a video by The Home Depot.

An electric water heater lasts about 10 to 15 years, and when yours starts to fail you don't always need to call a pro. In this video from The Home Depot, working with This Old House, you follow a real swap from start to finish in a basement.

The order matters here. Power and water come off first, the old tank gets drained and pulled, then the new tank goes in, gets plumbed and wired, and finally gets filled and leak-checked. Take it one step at a time and you can handle this yourself in an afternoon.

Safety comes first on this one. The power stays off at the breaker until the very end, and you verify it with a voltage tester before you touch a single wire.

Step-by-Step Guide

1

Step 1: Cut the Power and Water, Then Drain the Old Tank

1:55
Step 1: Step 1: Cut the Power and Water, Then Drain the Old Tank

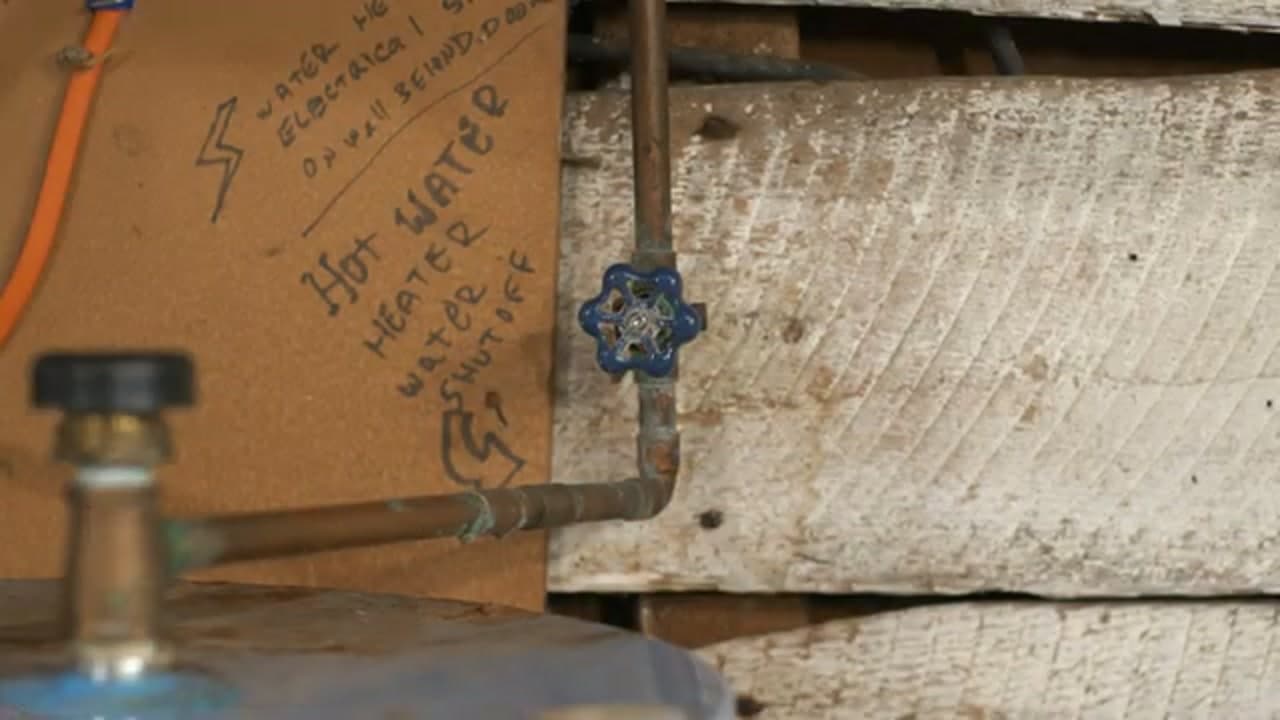
Head to the main panel and shut off the breaker feeding the water heater. Remove any fuses too. Then close the cold-water shutoff valve on the line above the tank. In the video it's labeled right on the wall, which is a smart move if you ever need to find it fast. Hook a garden hose to the drain valve at the bottom, run it to a floor drain, and open a hot faucet somewhere in the house so the tank empties instead of holding a vacuum.

Tip

Open a hot-water faucet upstairs while the tank drains. It breaks the vacuum and the water flows out a lot faster.
2

Step 2: Disconnect and Remove the Old Heater

1:18
Step 2: Step 2: Disconnect and Remove the Old Heater

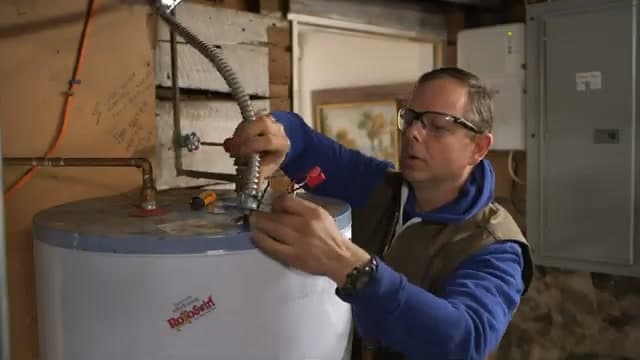
With the tank empty and the power off, pull the cover on the electrical junction at the top and disconnect the wires. Loosen the flex conduit connector and free the cable. Then unthread the hot and cold water connectors with a pipe wrench. Once everything is loose, the old tank is free to roll out of the way. It's lighter now that it's drained, but it can still be awkward, so take your time getting it clear of the space.

Tip

Snap a quick photo of the wiring before you disconnect anything. It makes hooking up the new tank much easier.

Products used in this step

3

Step 3: Set the New Tank on a Drain Pan and Level It

3:25
Step 3: Step 3: Set the New Tank on a Drain Pan and Level It

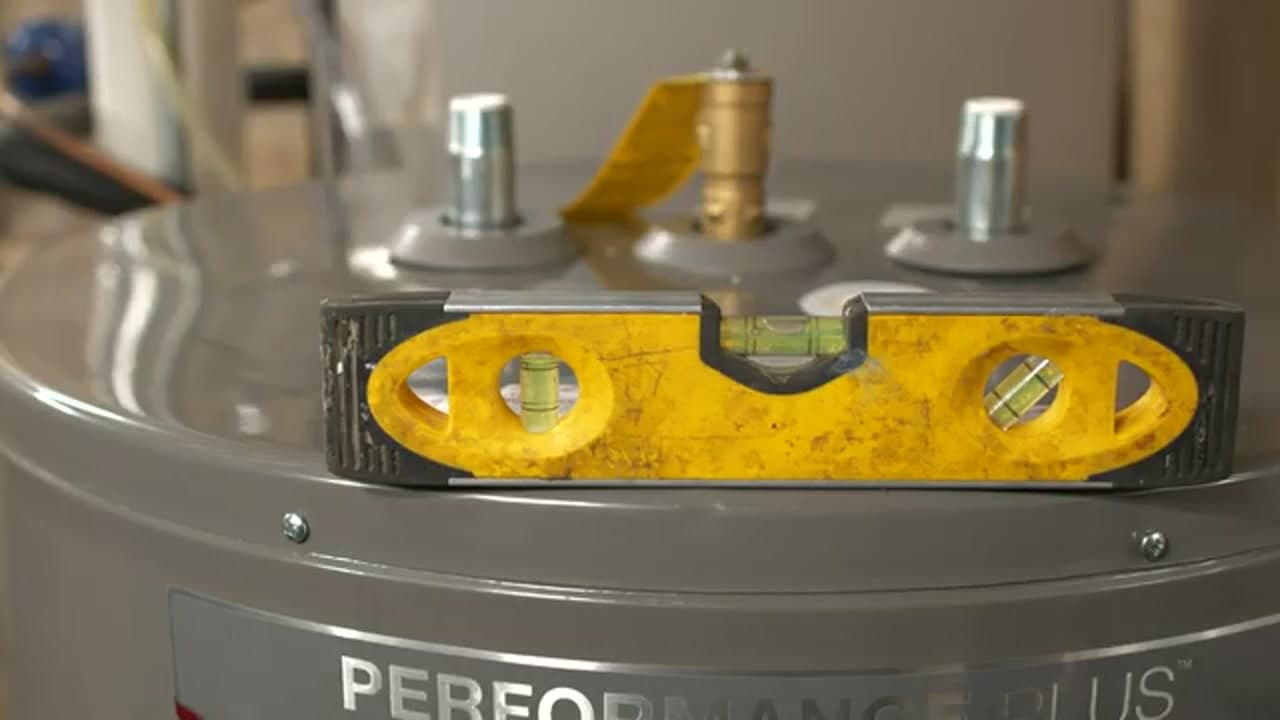
Slide a drain pan into position and set the new tank on top of it. The pan catches drips and small leaks so they don't end up on your floor. Now put a torpedo level across the top and check side to side. A tank that sits level heats evenly and puts less strain on the connections. Shim under the base if it rocks or leans. Get this right before you start plumbing, because moving a connected tank is no fun.

4

Step 4: Wrap the Fittings with Teflon Tape

4:25
Step 4: Step 4: Wrap the Fittings with Teflon Tape

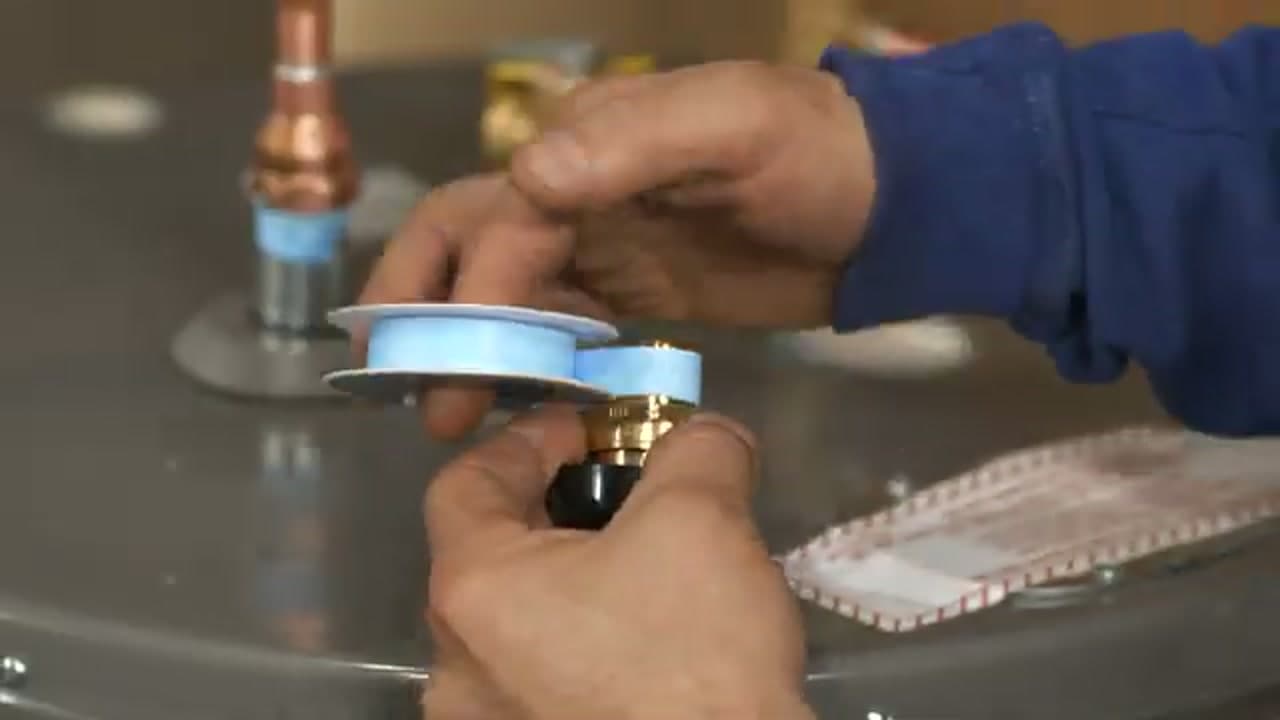
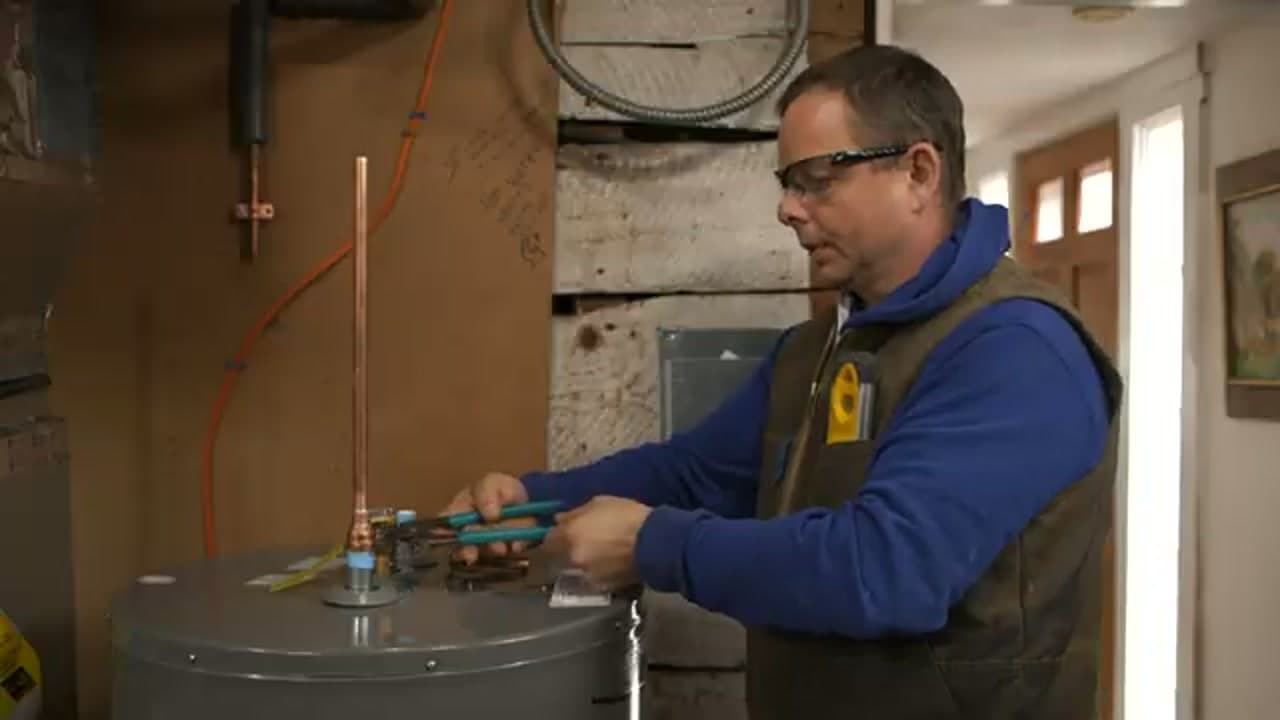
Before you connect any water lines, wrap the threaded nipples with Teflon tape. A few turns in the direction the fitting tightens gives you a clean, leak-free seal. The installer in the video uses color-coded dielectric nipples, blue for cold and red for hot, which also protects against corrosion where copper meets steel. Keep the tape snug and even, and don't run it over the very first thread so nothing shreds into the line.

Tip

Wrap the tape clockwise, the same way the fitting threads on. Wrap it the wrong way and it just unravels as you tighten.

Products used in this step

5

Step 5: Connect and Tighten the Water Lines

4:15
Step 5: Step 5: Connect and Tighten the Water Lines

Now bring the hot and cold lines to the tank. Flexible water connectors make this a lot easier than trying to fit rigid copper into a tight spot, and they let you nudge the tank without stressing the joints. Thread each connector onto its port and snug it down with a wrench. Don't crank on it. Firm and snug is enough, and overtightening can crack a fitting. Match hot to hot and cold to cold, which the color coding makes easy to track.

6

Step 6: Wire the Electrical Connections

5:15
Step 6: Step 6: Wire the Electrical Connections

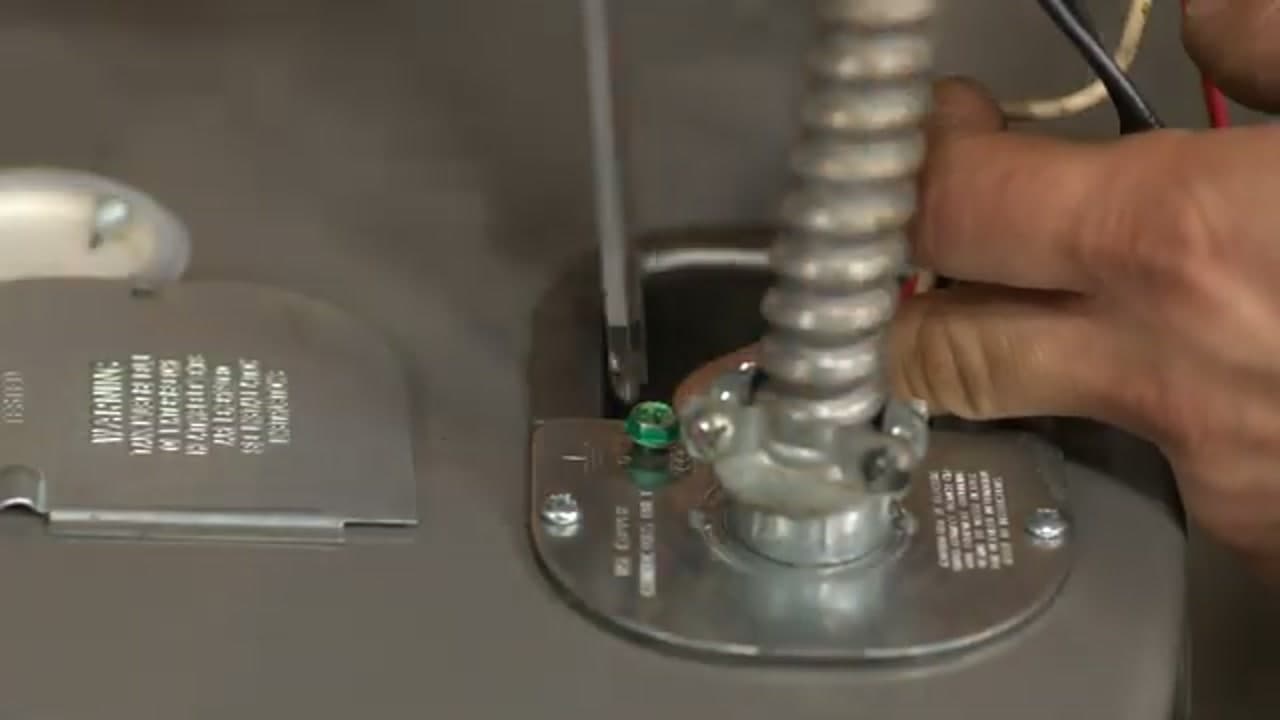
Double-check the breaker is still off and touch a voltage tester to the wires to confirm no power is present. Feed the cable through the connector on top of the tank and land the wires. Match the colors to the tank's leads and secure them with wire connectors. Don't skip the ground. Fasten the bare or green wire to the green ground screw. A solid ground is what keeps the tank safe if a wire ever works loose inside.

Tip

Never trust that the breaker is off just because someone flipped it. Confirm with the voltage tester every single time.

7

Step 7: Install the T&P Relief Valve and Discharge Pipe

3:35
Step 7: Step 7: Install the T&P Relief Valve and Discharge Pipe

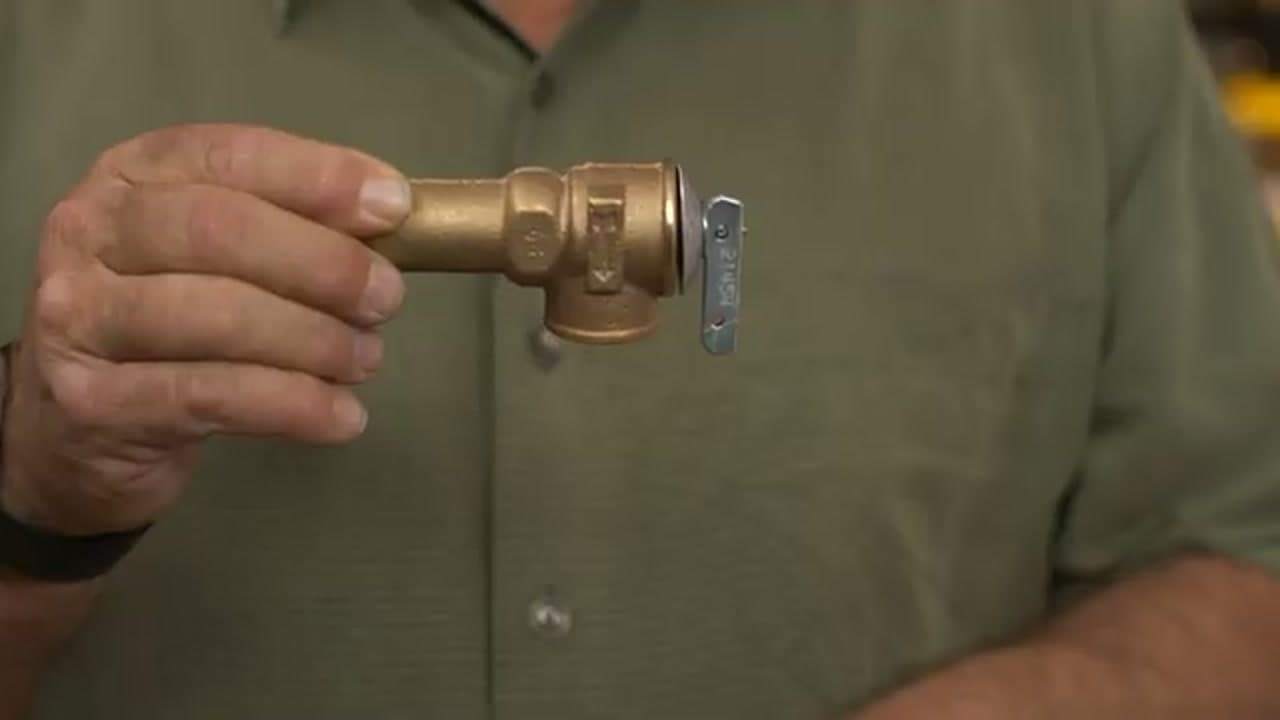
The temperature and pressure relief valve is the tank's safety release. Wrap its threads with tape and screw it into the port on the tank. Then run a discharge pipe from the valve down to within a few inches of the floor. That pipe carries hot water safely down and away if the valve ever opens, instead of spraying out at eye level. This part isn't optional. Code requires it, and it's the piece that keeps a failing tank from becoming a hazard.

8

Step 8: Fill the Tank, Then Restore Power and Check for Leaks

4:55
Step 8: Step 8: Fill the Tank, Then Restore Power and Check for Leaks

Open the cold-water valve and let the tank fill. Keep a hot faucet open somewhere in the house so trapped air can push out. When water runs steady and smooth with no sputtering, the tank is full and the air is purged. Now, and only now, go back to the panel and switch the breaker on. Walk the connections one more time and look for drips at every fitting. A tank that's still bone dry after 20 minutes of heating is a job well done. If you liked this, our guide to installing a dishwasher is a good next project.

Tip

Do not flip the breaker until the tank is completely full. Powering a dry electric element burns it out in seconds.

Products Used

☐ The Checklist

How to Install an Electric Water Heater

Tools
6
Materials
7
Steps
8
Video
6 min

Your Guide

The Home Depot

As an Amazon Associate we earn from qualifying purchases. Links on this page may be affiliate links - clicking them and buying doesn't change your price, but helps support ShowMeStepByStep.

Tags

Sunday How-To

New home improvement tutorials, every Sunday

One short email with the week's best step-by-step guides. Free, no spam, unsubscribe anytime.

Did this work for you?

What's next

Related collections

Curated theme pages that include this tutorial.

Weekly Digest

Liked this home improvement tutorial?

Pick the categories you want to hear about. Weekly digest of new step-by-step tutorials. No spam, easy unsubscribe.

Send me tutorials about

We only email about new tutorials. Easy unsubscribe anytime.