How to Install a Dishwasher in 7 Steps

Also in:Adulting

By ShowMeStepByStepPublished Updated

Based on a video by The Excellent Laborer.

A new dishwasher install sounds intimidating because there are three utilities to wrangle - water, drain, and electric - but the job is just plumbing-on-rails. The dishwasher slot is a standard 24 inches, the supply line is 3/8 inch, the drain hose snaps onto a disposer or tailpiece, and the wire is a dedicated 20-amp GFI circuit. Once you've seen the connections, the rest is patience.

This walkthrough is a hardwired install. If your dishwasher came with a power cord instead, you'll have an outlet under the sink and you'll skip the junction-box wiring step. Everything else is the same. Budget half a day end to end, more if you've never done electrical and want to take it slow at the panel box.

While you're under the sink, check the shutoff valves and the drain trap. If either looks corroded, fix it now - you don't want to chase a slow leak two weeks after the install. Related plumbing reads: how to install a kitchen faucet, how to fix a leaky faucet, and how to unclog a sink the right way are the three most common follow-on jobs.

One pro-vs-DIY call to make up front: if your kitchen doesn't already have a dedicated dishwasher circuit, that means running new wire from the panel and tying into a breaker. Adding the circuit is usually a permit job. If you're walking into a slot that already has a wire poking through the cabinet and a shutoff under the sink, you're squarely in DIY territory.

Step-by-Step Guide

1

Step 1: Shut Off the Breaker and Confirm No Power

1:55
Step 1: Step 1: Shut Off the Breaker and Confirm No Power

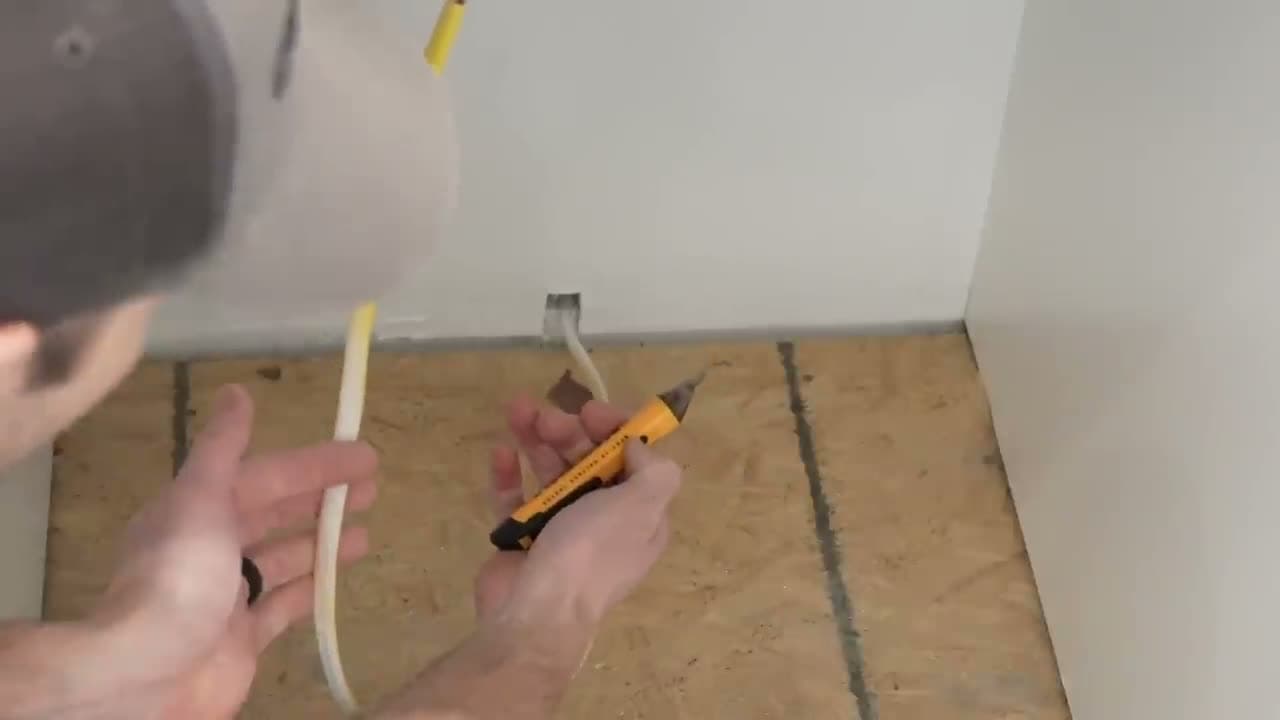
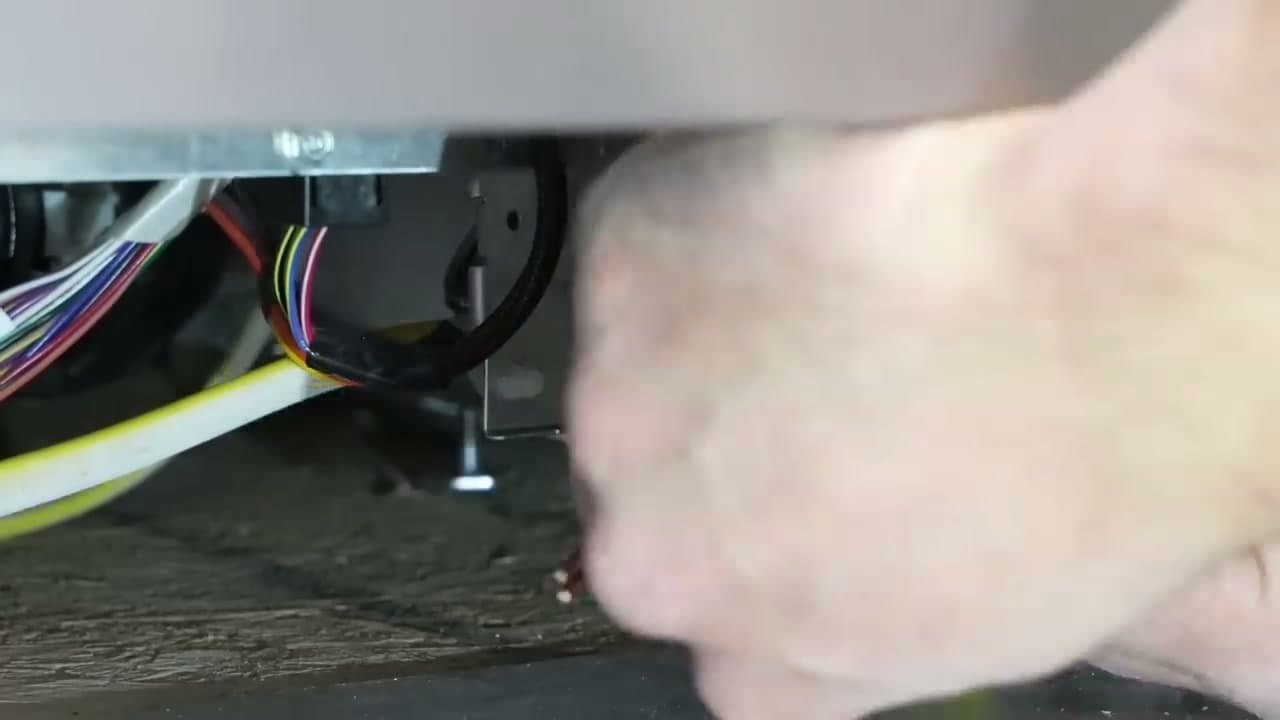
Open your electrical panel and find the breaker for the dishwasher circuit. It should be a dedicated 20-amp GFI breaker, often with a purple test button on it. Flip it to OFF. If your panel takes a lockout clip, slide it on so nobody flips the breaker back while you're working. Watch at 1:55. Then take a non-contact voltage tester to the dishwasher's hot wire under the sink and confirm there's zero power before you touch anything else.

Tip

Cheap testers fail silently. Touch your tester to a live outlet first to confirm it lights up, then test the dishwasher wire.

2

Step 2: Drill the Access Hole Through the Cabinet Wall

3:15
Step 2: Step 2: Drill the Access Hole Through the Cabinet Wall

The supply line, drain hose, and wire all need to pass from the dishwasher cavity into the sink cabinet. Open the cabinet door and look at how far back the sink basin extends - you want to drill clear of it. Mark the upper back corner for the drain hose and the lower back corner for the supply line. Use a 1.5-inch hole saw bit for the drain hose hole. Watch at 3:15. Drop down to a 3/4-inch standard bit for the water supply line in the bottom corner.

Tip

Always check the underside of the countertop with a flashlight before drilling. A bracket or fastener hidden up there will eat your bit.

3

Step 3: Attach the Drain Hose Extension and Mount the Brackets

4:20
Step 3: Step 3: Attach the Drain Hose Extension and Mount the Brackets

Pull the spring clamp back on the dishwasher's factory drain hose, slip the extension over the fitting, and slide the clamp into place where the two pieces overlap. Squeeze the clamp tabs with pliers to release it back onto the joint. Watch at 4:20. Then look at the two sets of mounting brackets that came with the unit - one has tabs that lock into the top of the frame, the other doesn't. Pick the style that fits your cabinet and snap each bracket into the side slots. Bend the locking tab over with a wrench so the bracket stays seated.

Tip

If the bracket tab is in the way of your countertop, snap it off with a wrench before you install it. Easier than fighting it later.

4

Step 4: Lay the Dishwasher Down and Thread the Water Elbow

5:45
Step 4: Step 4: Lay the Dishwasher Down and Thread the Water Elbow

Carefully lay the dishwasher on its back so you can reach the brass inlet valve at the front of the base. Take the 90-degree water elbow from the connector kit and thread it onto the inlet by hand first - the threads are plastic-on-brass and they cross-thread easily. Watch at 5:45. Once you've started it square, finish with two or three turns of a crescent wrench. Snug, not gorilla-tight. Then flip the unit upright and turn out each of the four leveling feet about a half inch from the frame.

Tip

Position the elbow facing the back of the dishwasher so the supply line has a clean run when you slide the unit into the cabinet.

5

Step 5: Slide the Dishwasher Into the Cabinet and Level It

7:25
Step 5: Step 5: Slide the Dishwasher Into the Cabinet and Level It

Feed the supply line, drain hose, and 12/2 wire through the holes you drilled so they end up under the sink, not pinched behind the dishwasher. Walk the unit back into the slot slowly, watching the hoses as you go. Watch at 7:25. Open the door and set a two-foot level across the floor of the tub. Then turn the level 90 degrees and check side to side across the open door. Spin the feet up or down until both axes read flat.

Tip

A dishwasher that's even half a bubble off won't drain properly. Take the time to get it dead level on both axes.

Products used in this step

6

Step 6: Anchor the Dishwasher to the Underside of the Counter

8:05
Step 6: Step 6: Anchor the Dishwasher to the Underside of the Counter

Open the door and drop the top rack out of the way. Look up along each side of the inner frame and you'll see the bracket holes lined up against the underside of the counter. Use a 1/16-inch bit to pre-drill a pilot hole through each bracket and up into the cabinet wood - the pilot prevents the screw from splitting the counter. Watch at 8:05. Drive the small wood screws that came in the hardware bag. Snap the cosmetic plugs into the screw holes when you're done.

Tip

Stone counters get a different anchor - L-bracket to the cabinet side wall, not screws into the underside. Check your dishwasher manual for the stone-counter kit before you drill.

7

Step 7: Hook Up Water, Electric, and Drain, Then Run a Cycle

10:15
Step 7: Step 7: Hook Up Water, Electric, and Drain, Then Run a Cycle

Under the sink, thread the 3/8-inch supply line onto the dishwasher shutoff valve by hand, then finish with a crescent wrench. Watch at 10:15. At the junction box on the front of the dishwasher, strip the 12/2 wire, slide it through the Romex connector, and twist your wire nuts: bare copper to green, white to white, black to black. Snap the junction box cover back on. Slip the drain hose over the disposer tailpiece, slide a hose clamp into place, and tighten. A dab of pipe dope on the tailpiece helps the hose seat. Open the shutoff valve, flip the breaker back on at the panel, start a full cycle, and watch every joint for leaks for the first 15 minutes.

Tip

Keep the drain hose high - loop it up to the underside of the counter with a clamp before it drops to the disposer. The high loop prevents sink water from siphoning back into the dishwasher.

Products Used

☐ The Checklist

How to Install a Dishwasher in 7 Steps

Tools
12
Materials
9
Steps
7
Video
13 min

Your Guide

The Excellent Laborer

As an Amazon Associate we earn from qualifying purchases. Links on this page may be affiliate links - clicking them and buying doesn't change your price, but helps support ShowMeStepByStep.

Tags

Test your knowledge

Did the lesson stick? Find out in 2 minutes.

5 quick questions covering what you just read. No signup, no score saved — just a gut check.

Quick reference

Key takeaways from How to Install a Dishwasher in 7 Steps

5 questions, answers, and one-line explanations. Tap to expand.

  1. 1.What's the very first step before any wiring or plumbing under the sink?

    Answer: Cut power at the breaker and confirm with a voltage tester

    Power off and verified - skipping this is how DIYers get hurt.

  2. 2.A dishwasher typically gets its own breaker. What size and type?

    Answer: 20-amp GFI

    Dedicated 20-amp GFI is the standard for under-sink dishwashers.

  3. 3.When threading the brass water elbow onto the inlet valve, why hand-start it first?

    Answer: Plastic-on-brass threads cross-thread easily; hand-start prevents stripping

    Start the threads square by hand; finish snug (not gorilla-tight) with a wrench.

  4. 4.After sliding the dishwasher in, what should you check with a level?

    Answer: Front-to-back AND side-to-side across the tub floor

    Both axes - water needs to drain evenly and the door needs to swing true.

  5. 5.At the wire nuts in the junction box, what wires connect to what?

    Answer: Black-to-black, white-to-white, bare copper to green ground

    Same as any 120V load - hot, neutral, ground each go to their matching color.

What's next

Related collections

Curated theme pages that include this tutorial.

Weekly Digest

Liked this home improvement tutorial?

Pick the categories you want to hear about. Weekly digest of new step-by-step tutorials. No spam, easy unsubscribe.

Send me tutorials about

We only email about new tutorials. Easy unsubscribe anytime.