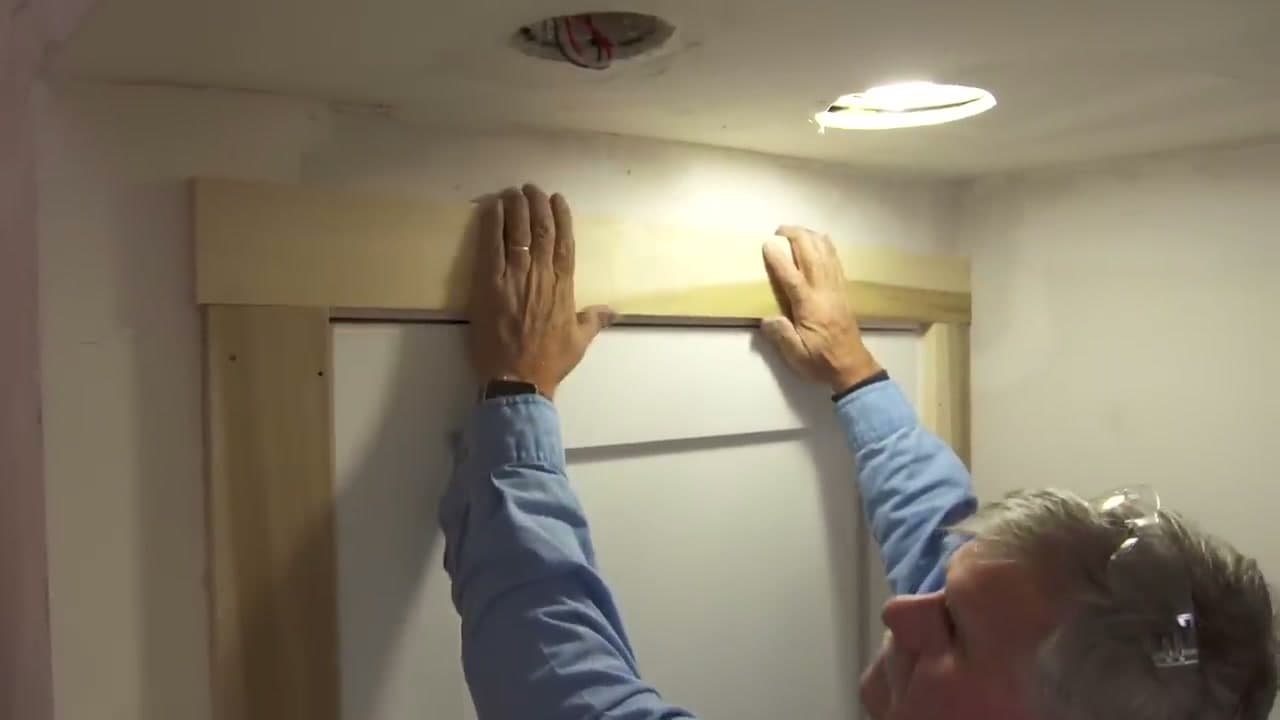
How to Install an Interior Door

Also in:Adulting

By ShowMeStepByStepPublished

Based on a video by This Old House.

Hanging an interior door looks intimidating, but a pre-hung unit does most of the hard work for you. The jamb, hinges, and door are already assembled. Your job is to get the opening level and plumb, slide the unit in, shim it true, and screw it tight.

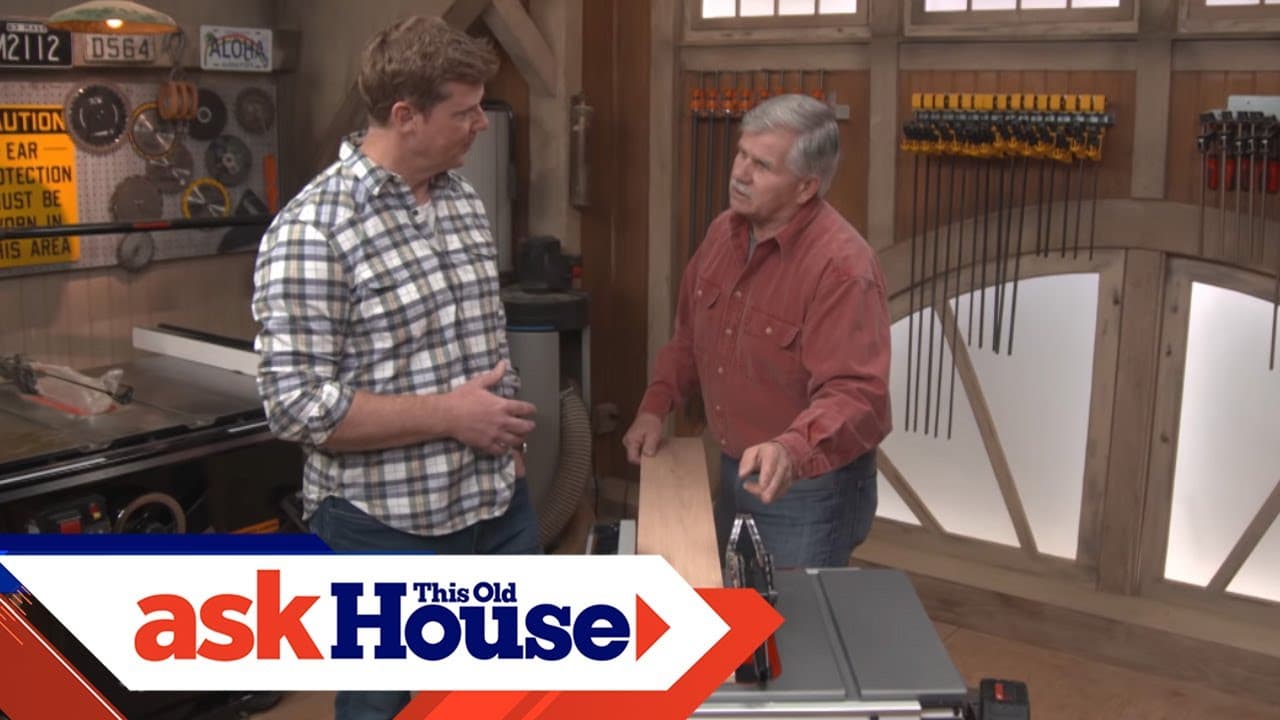
This walkthrough follows Tom Silva from Ask This Old House installing a pre-hung two-panel door in an old closet opening where the floor is a full inch out of level. If you can do it in that opening, you can do it in yours.

Allow yourself a couple of hours for your first one. Once you've done it twice, you'll knock out a door in 45 minutes.

Step-by-Step Guide

1

Find a Level Reference Line Across the Opening

0:55
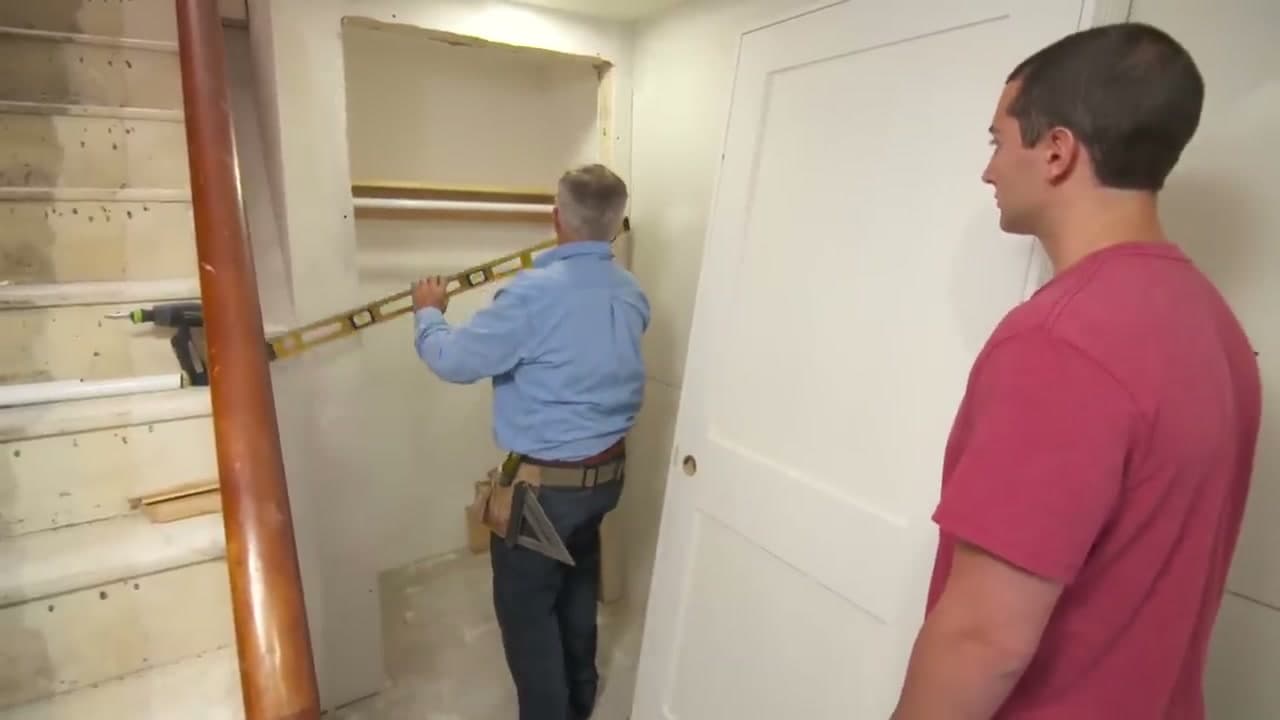
Step 1: Find a Level Reference Line Across the Opening

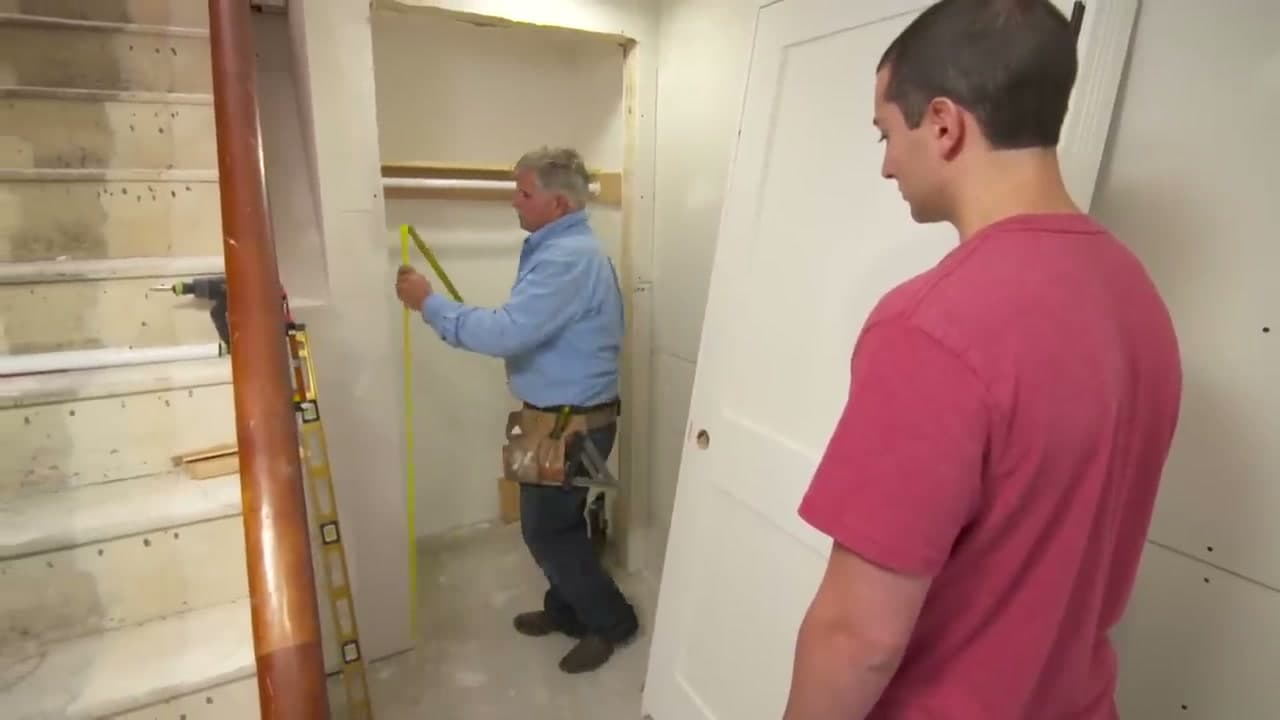
Hold a 4-foot level across the rough opening and adjust until the bubble is centered. Mark a pencil line on each side of the opening along the top edge of the level. This line becomes your reference for everything that follows.

Old houses rarely have level floors, so don't use the floor as your starting point. The level line is what keeps the door square. Trust the bubble, not the slab.

Tip

Use the longest level you have. A short level on an uneven floor will lie to you about what's actually level.

Products used in this step

2

Measure Down to the Floor on Both Sides

1:25
Step 2: Measure Down to the Floor on Both Sides

Hook your tape measure on the level reference line and measure straight down to the floor on the hinge side. Write the number down. Do the same on the striker side and write that down too.

In Tom's opening the hinge side measured 58 and 1/4 inches, the striker side measured 59 and 1/4 inches. That one-inch difference is exactly how out of level the floor is and how much you'll have to trim off one of the jambs.

Tip

If you're planning to add flooring or tile after the door goes in, factor that thickness in now. Tom slides his mark down 7/16 of an inch to leave room for tile.

Products used in this step

3

Transfer Measurements and Cut the Jamb

2:55
Step 3: Transfer Measurements and Cut the Jamb

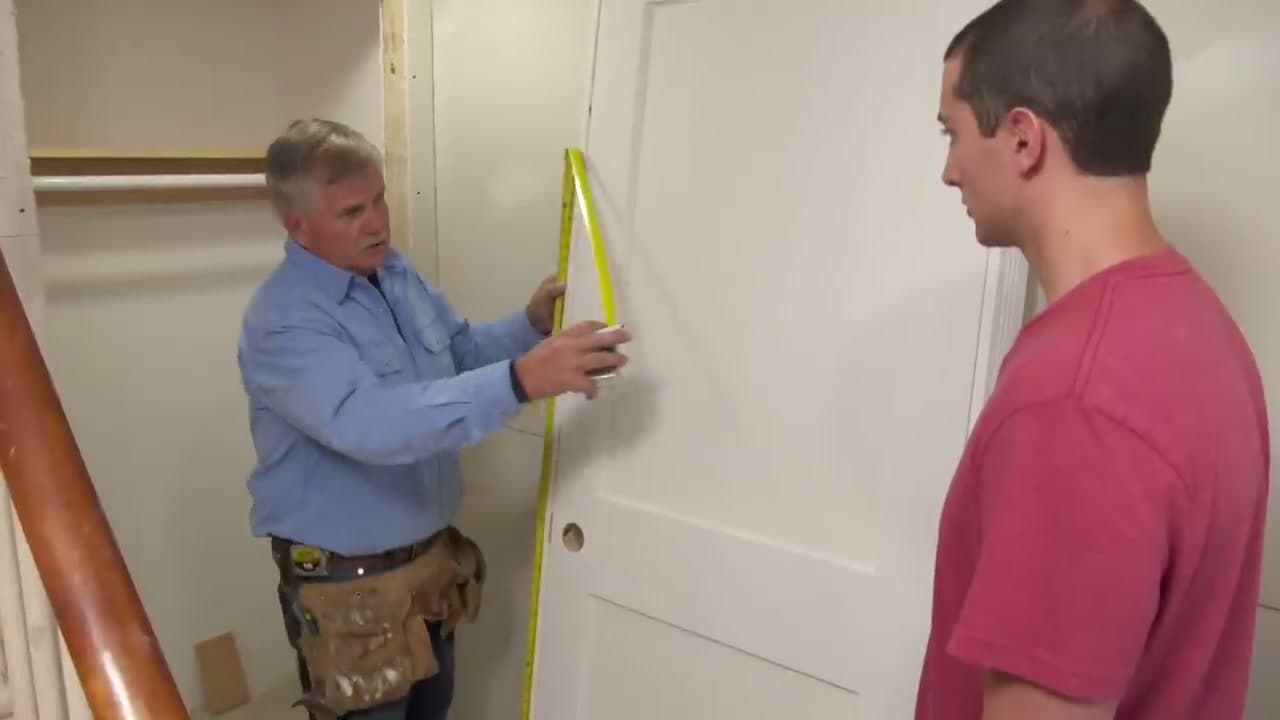
Lay the pre-hung door flat. Hook your tape on the bottom of the door on the hinge side and mark the height you measured earlier, then slide the mark down 7/16 of an inch for flooring clearance.

Measure from your mark up to the top of the header. Take that same distance and mark it on the striker side. Hook your tape under the bottom of the striker jamb and check what's there. If the gap is small enough that flooring will cover it, you don't have to cut that side. Use a circular saw to trim the jamb (or jambs) to the marks.

Tip

Cut a hair proud of your mark and test-fit before going for the final length. You can always shave more off.

Products used in this step

4

Check the Rough Opening for Plumb and Shim

3:30
Step 4: Check the Rough Opening for Plumb and Shim

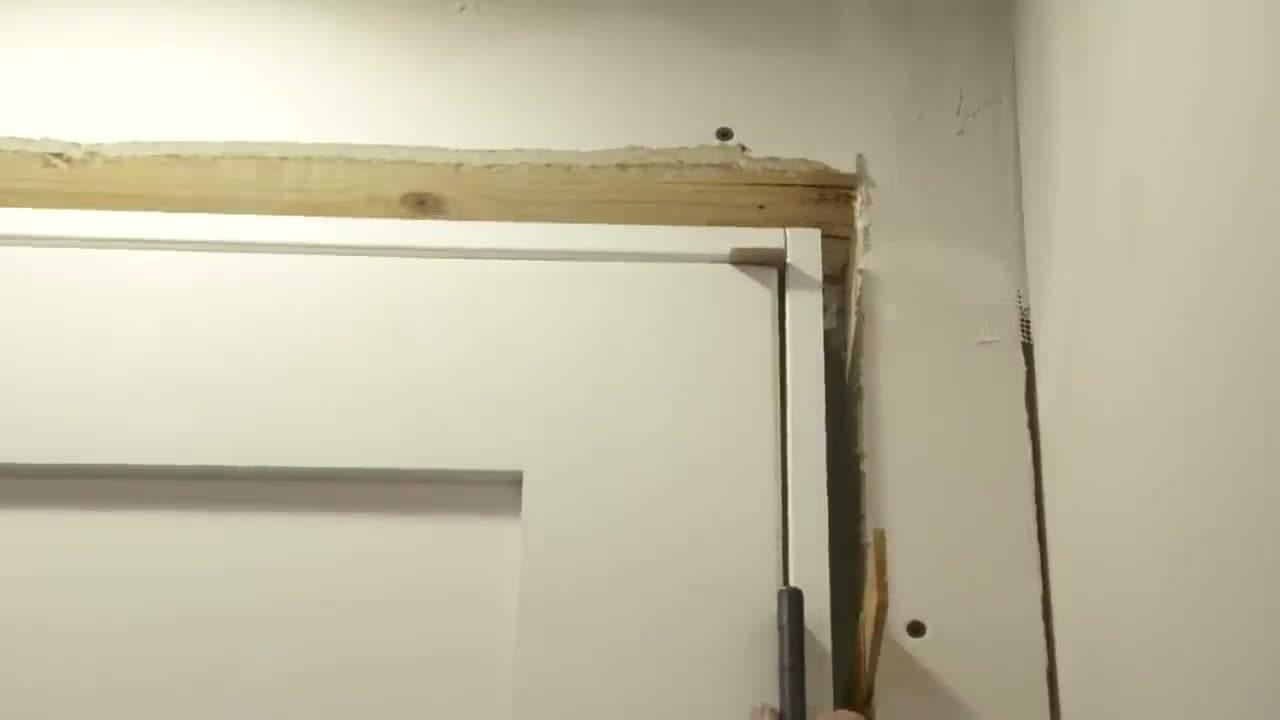
Stand your level vertically against the hinge-side stud, foot on the bottom, push the top against the framing. If the bubble is off, the rough opening isn't plumb. The opening has to be plumb on the hinge side or the door will swing open or closed on its own.

Tap a pair of cedar shims between the stud and the framing right where the top hinge will sit. Drive them in opposite directions so they fill evenly without crushing anything. Keep checking the level until the bubble centers. Tack the shims in place with a small nail so they don't shift when you load the door.

Tip

Cedar shims come in long tapered packs at any hardware store. Buy a big bundle, you'll go through them faster than you expect.

Products used in this step

5

Set the Door in the Opening

4:10
Step 5: Set the Door in the Opening

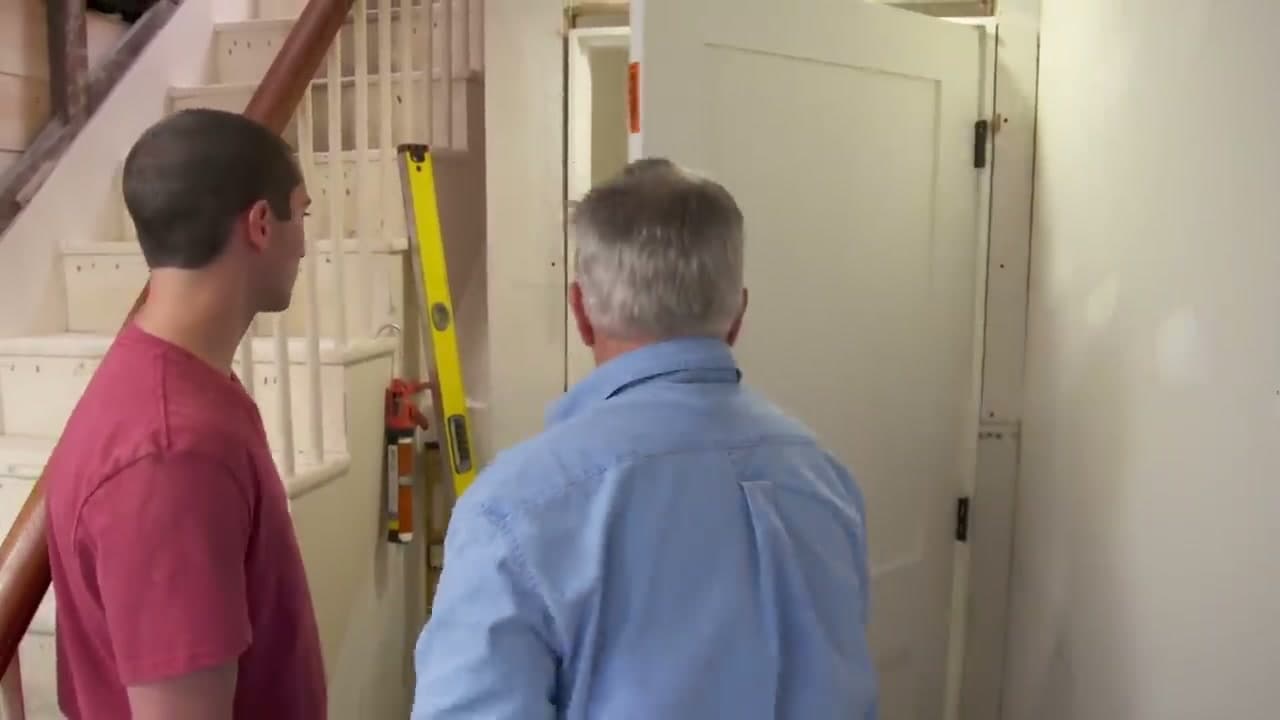
Lift the pre-hung door unit into the opening. Keep the jamb flush with the wall on the outside. Open the door all the way so it doesn't swing while you work, or have a helper hold it steady.

Line up your pencil reference mark on the jamb with the line on the wall. Push the jamb tight against the shims you tacked in place at the top hinge. The door should now be sitting roughly where it needs to be, with the hinge side resting against your plumbed shims.

Tip

Pre-hung units are heavy and awkward. A second set of hands makes this five times easier and saves your back.

Products used in this step

6

Pre-Drill and Screw the Hinge Side

4:55
Step 6: Pre-Drill and Screw the Hinge Side

Pre-drill a hole through the jamb at the top hinge location, right through the shims and into the framing behind. Drive a 3-inch wood screw through the jamb and into the stud. Don't crank it all the way home yet.

Hold a level against the jamb and confirm it's still plumb. If it reads true, finish driving the screw and add more screws at each hinge location down the jamb. Two or three screws per hinge is plenty. The hinge side is now locked in.

Tip

Pre-drilling stops the jamb from splitting and lets you sink the screw head flush so the hinge mortise sits flat.

Products used in this step

7

Shim and Secure the Striker Side

6:00
Step 7: Shim and Secure the Striker Side

Move to the striker side. The two reference marks on the jamb and the wall need to line up. Lift the jamb slightly until they meet, then slide a shim under the bottom to hold the height. Once it's there, the header across the top will be level.

Close the door and check the gap across the top of the door. It should be even from corner to corner. Drive one screw partway in near the top to hold the jamb temporarily. Now shim down the length of the striker jamb, sliding cedar pairs in at each hinge level on the opposite jamb, until the gap around the door is consistent from top to bottom. Drive a 3-inch screw through each shim location into the framing. Snap the shims off flush with a utility knife.

Tip

A nickel makes a great gap spacer. Slide one between the door and the jamb at each shim point to keep the reveal consistent.

Products used in this step

8

Install the Trim and Hardware

6:40
Step 8: Install the Trim and Hardware

Nail the casing trim around the jamb on both sides of the wall. A finish nail gun is fastest, but a hammer and finish nails work fine. Tack the top piece first, then miter the side pieces to meet it. Snug everything tight against the jamb so there's no gap to fill later.

Install the door-knob hardware. The pre-hung door comes mortised for the latch and the bore is already drilled. Slip the latch in, screw the strike plate to the jamb, and assemble the knob.

Finish by sanding the door and jamb lightly, priming any bare wood, filling the screw and nail holes with wood filler, and applying a coat of paint to match the trim. Done.

Tip

Caulk the gap between the trim and the wall before painting. It hides any tiny gaps and gives the install a finished look that lasts.

Products used in this step

Products Used

☐ The Checklist

How to Install an Interior Door

Tools
7
Materials
8
Steps
8
Video
7 min

Your Guide

This Old House

As an Amazon Associate we earn from qualifying purchases. Links on this page may be affiliate links - clicking them and buying doesn't change your price, but helps support ShowMeStepByStep.

Tags

What's next

Weekly Digest

Liked this home improvement tutorial?

Pick the categories you want to hear about. Weekly digest of new step-by-step tutorials. No spam, easy unsubscribe.

Send me tutorials about

We only email about new tutorials. Easy unsubscribe anytime.