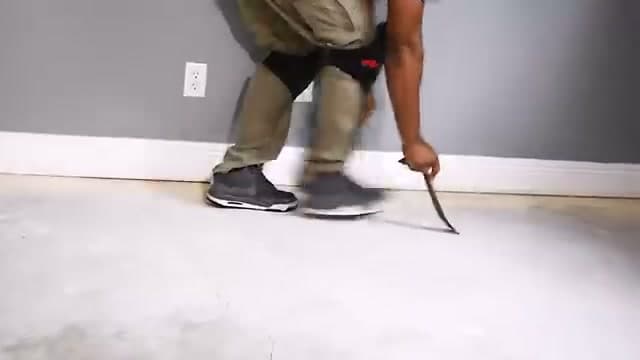
Laminate flooring installation is one of the most forgiving DIY upgrades you can tackle in a weekend. The click-lock system snaps planks together without glue or nails, the cuts are straightforward, and a single bedroom comes together with about $20 worth of tools you may not already own. Pull the floor back up later if you ever want to, and the subfloor underneath is exactly as you left it.
This 10-step beginner's guide follows DIY Creators through a complete bedroom installation on a concrete slab. Every step is covered, from ripping out the old carpet nails to caulking the quarter round at the end. If you're swapping carpet for laminate, or laying laminate over an existing hard surface, this is the same procedure.
The biggest mistakes beginners make: skipping the underlayment moisture barrier, forgetting the 1/4-inch expansion gap at the walls, and tightening the click-lock joints with a hammer instead of a tapping block. This tutorial flags every one of those before you make them. For other home-improvement basics, see how to install a ceiling fan, how to fix holes in drywall, and how to install gutters.
Frequently Asked Questions
Do I need underlayment for laminate flooring?
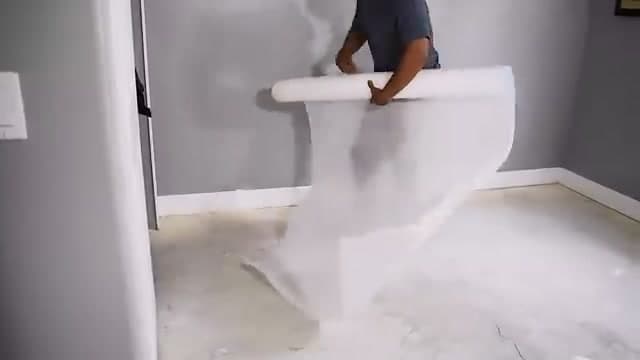
Yes, in nearly every case. Underlayment cushions the planks against the subfloor, dampens sound, and adds a moisture barrier between the laminate and the concrete or wood below. Some laminate brands come with foam pre-attached to each plank, but most don't, and skipping a separate underlayment is the number-one beginner mistake. Roll it out the full width of the room before you set the first plank.
Do I need to let laminate flooring acclimate before installation?
Yes. Most manufacturers ask you to leave the unopened boxes lying flat in the room where they'll be installed for 48 to 72 hours before opening them. The planks adjust to the room's temperature and humidity, which prevents gaps and buckling after install. Stack them flat, not on their sides, and keep them away from heating vents.
Should you leave a gap around the edges?
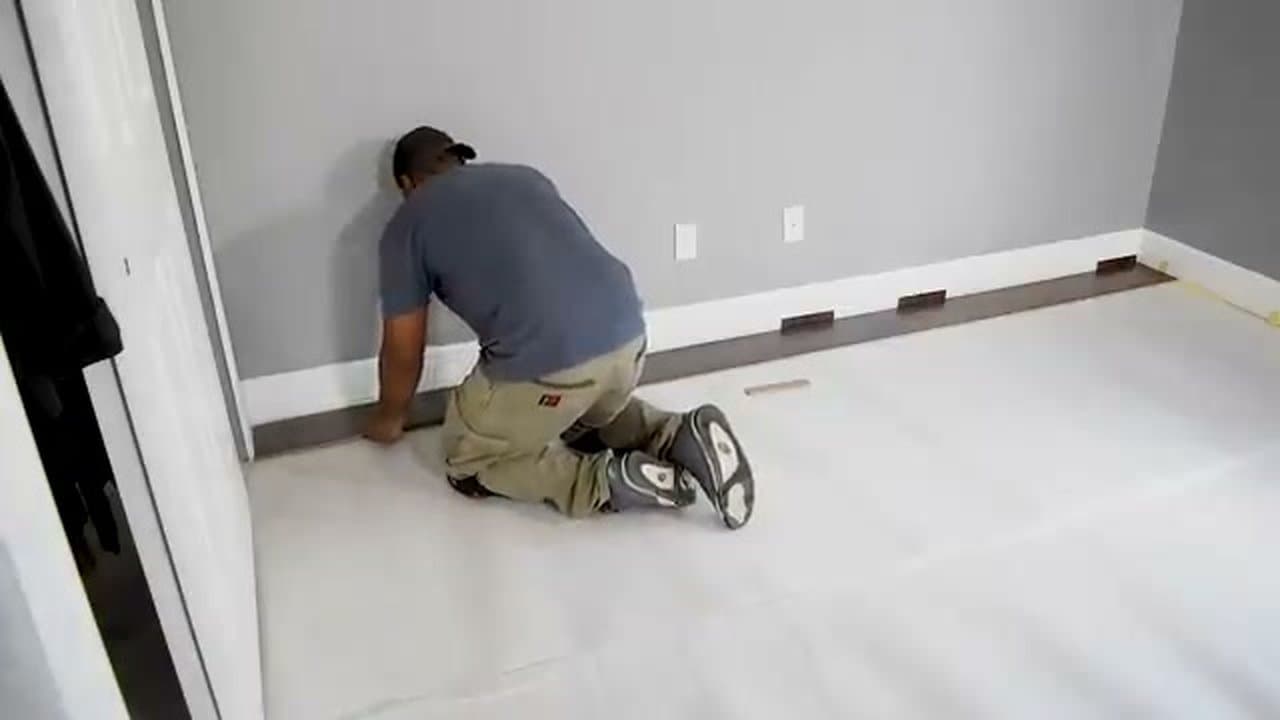
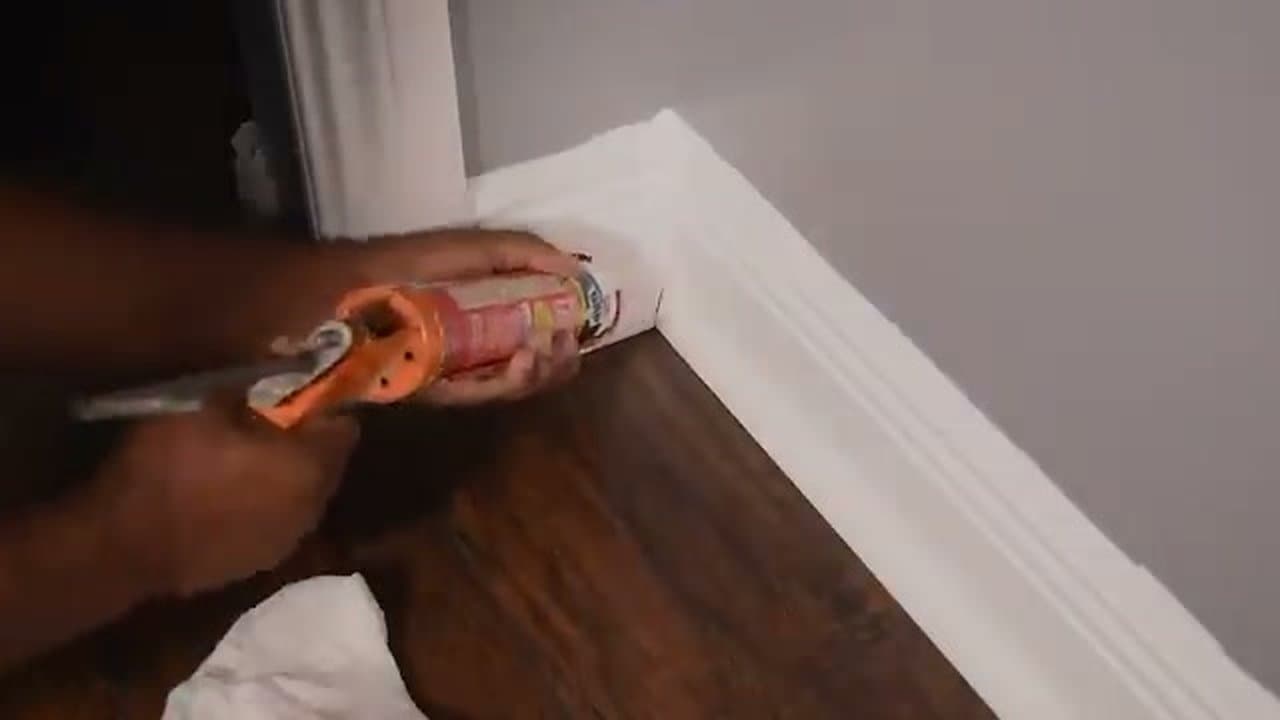
Always. Laminate expands and contracts with temperature changes, and a 1/4-inch expansion gap at every wall, doorway, and cabinet edge lets that movement happen without buckling the floor. The spacers in this tutorial handle that automatically. Just don't forget them. Quarter round molding in Step 8 covers the gap after install.
Can you install laminate flooring over concrete?
Yes, and that's exactly what this tutorial shows. The only requirement is a moisture-barrier underlayment between the concrete slab and the planks, because water vapor passes through concrete and will warp laminate from below. Make sure the slab is level. Fill any low spots and grind down any high spots before laying underlayment.
Which direction should laminate planks run?
Run the planks perpendicular to the longest wall, or parallel to the longest run of light coming in from a window. The first choice makes the room feel larger; the second hides the seams between planks. Either is fine. Pick the one that fits the look you want.
Do you need to stagger the seams?
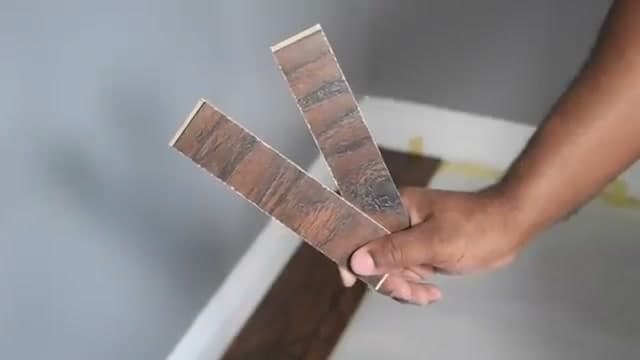
Yes, by at least 12 inches. Lining up the end seams of two adjacent rows creates a weak point in the floor and looks unprofessional. Cut the first plank of every other row in half so the seams alternate.
Can you install laminate under appliances or cabinets?
Under heavy appliances like a refrigerator or stove, yes. The floor floats and they sit on top. Under built-in cabinets, no. Install the cabinets first and let the floor butt up against them with the standard expansion gap. Laminate that's pinned under cabinets can't expand or contract.
How long does it take to install laminate flooring?
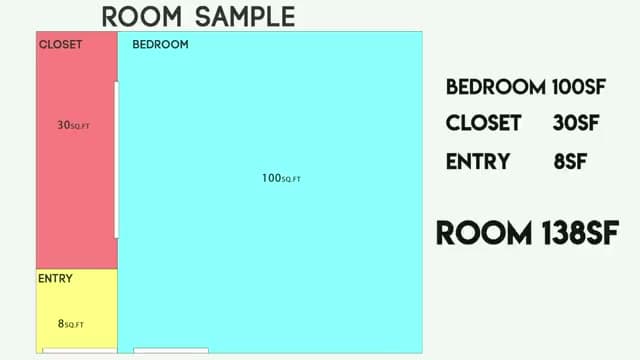
A 12 by 12 bedroom takes most beginners a full weekend. Saturday for prep and the first half, Sunday for finishing the rows and installing quarter round. Larger rooms or those with cuts around door frames, vents, and closets take proportionally longer. Plan on 8 to 12 hours for a typical bedroom.
Is laminate flooring waterproof?
Standard laminate is water-resistant, not waterproof. The HDF core swells if water sits on it for more than a few hours, so wipe spills quickly. For bathrooms, laundry rooms, or basements that flood, choose waterproof laminate (often labeled WPC or rigid core) or switch to vinyl plank. For a bedroom or living room like the one in this tutorial, standard laminate is fine. See how to install a dishwasher for tips on protecting flooring near appliances that can leak.
How much does it cost to install laminate flooring yourself?
Materials run $1.50 to $4 per square foot for the planks, $0.30 to $0.60 per square foot for underlayment, plus about $50 to $80 in tools if you don't already own them (tapping block, pull bar, spacers, knee pads). A 12 by 12 bedroom costs roughly $300 to $700 in materials. Hiring a pro adds $2 to $5 per square foot in labor, so DIY saves $300 to $700 on the same room.
Do you need a vapor barrier under laminate on concrete?
Yes, always over concrete. Concrete passes water vapor even when it looks dry, and that moisture will warp laminate planks from below within a few months. Buy underlayment with the vapor barrier built in (sometimes labeled "2-in-1" or "3-in-1") or roll out a separate 6-mil polyethylene sheet first, then standard foam underlayment on top. Overlap seams by 8 inches and tape them.
Can you install laminate flooring on stairs?
You can, but it's a different skill from a flat floor install and not what this tutorial covers. Stairs need stair-nose trim pieces glued and nailed to each tread, and the click-lock system doesn't apply on the vertical risers. If a beginner wants laminate stairs, learn the flat-floor process first on a bedroom, then tackle stairs as a second project. For other beginner-level home upgrades, see how to install a doorknob and how to install an interior door.
Laminate vs Vinyl Plank vs Hardwood
Laminate is the budget-friendly middle ground. It costs $1.50 to $4 per square foot, looks like wood from a few feet away, and the click-lock system is the easiest of the three to install. The weak point is water - standing water for more than an hour will swell the core. Best for bedrooms, living rooms, and hallways above grade.
Vinyl plank (luxury vinyl plank or LVP) costs $2 to $7 per square foot and is fully waterproof, which makes it the right call for bathrooms, kitchens, laundry rooms, and basements. It installs almost identically to laminate but the planks are softer and quieter underfoot. The downside is it dents under heavy furniture and can fade in direct sunlight.
Hardwood runs $5 to $15 per square foot for solid, $4 to $10 for engineered. It lasts decades and can be refinished multiple times, which neither of the other two can. Install is harder - solid hardwood needs to be nailed to a wood subfloor, so it doesn't work over concrete without extra subfloor prep. Pick hardwood if resale value matters and the budget allows; pick laminate if you want a clean wood look for a third of the price; pick vinyl plank if water is a risk. For a kitchen upgrade pairing with new flooring, also see how to install peel-and-stick tile backsplash.
Common Mistakes and Fixes
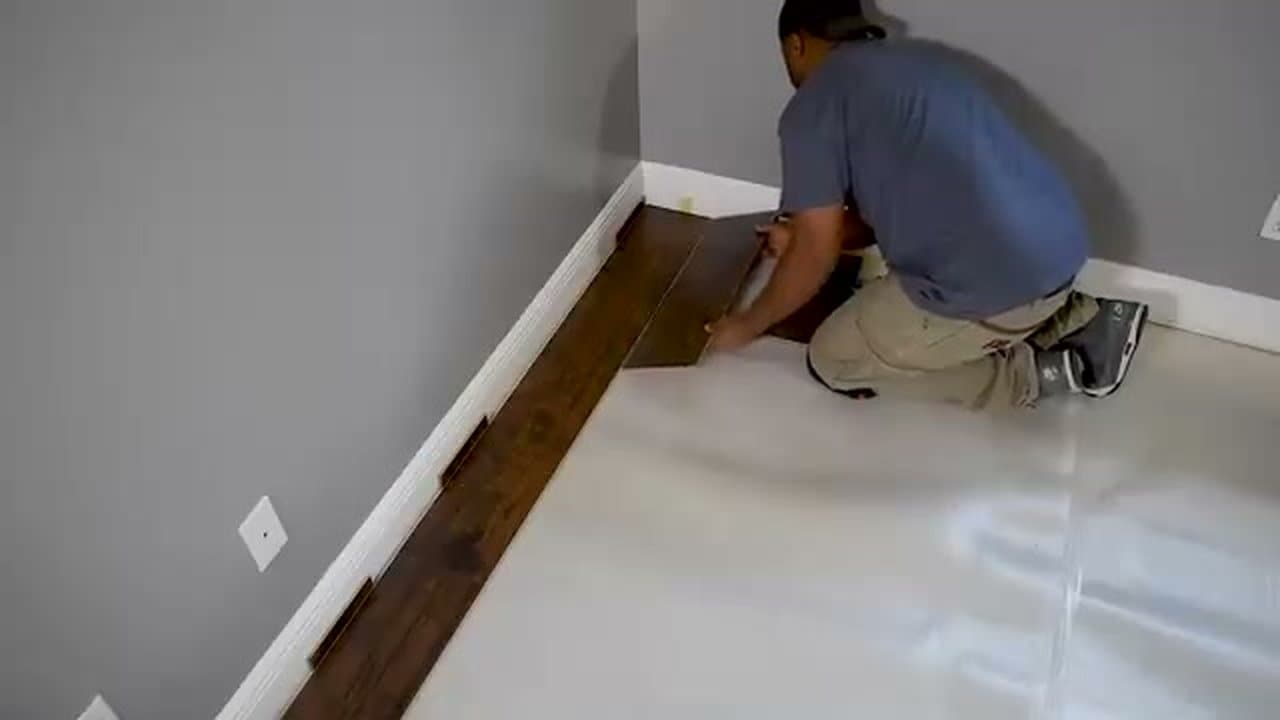
Planks aren't clicking flat. Either the click-lock joint is dirty (sawdust collects fast; wipe both edges) or you're not using a tapping block. Tapping directly on the edge with a hammer crushes the click profile. Always seat the plank into the lock at an angle, then press down. That's the geometry the system is designed for.
Gaps appearing a week later. Almost always the acclimation step was skipped. There's no good fix after the fact except to pull the affected row and re-lay it. Next install: let the boxes sit unopened in the room for at least 48 hours.
The floor squeaks where you walk. The subfloor underneath has a high spot or a loose board. Pull the laminate back up, re-screw any loose subfloor boards, sand any high spots flat, and re-lay.
Buckling in the middle of the room. You either ran out of expansion gap or the underlayment moisture barrier failed. Pull the buckled section, verify the 1/4-inch gap is in place, and if you're on concrete, swap the underlayment for one with a thicker vapor barrier.
Tool Notes
The tapping block and pull bar are non-negotiable. A hammer directly on the plank edge will crush the click-lock profile, and those two tools cost under $20 combined. For the circular saw vs jigsaw decision, the circular saw is faster on long cuts but the jigsaw handles the cuts around door frames and vents. If you only buy one, get the jigsaw. Spacers are cheap, about $5 for a pack of 50; buy two packs because you'll always need more than you think.
For other DIY projects in the same room, see how to paint a room like a pro (do this before the flooring) and how to install floating shelves with hidden anchors.
Tools You Need for Laminate Installation
The laminate installation kit is short and cheap. Most of it costs under $50 total if you don't already own it, and the two non-negotiable pieces (tapping block and pull bar) run about $20 combined.
- Tapping block - seats the click-lock joint without crushing the plank edge
- Pull bar - pulls the final row tight against the wall where a tapping block won't fit
- Rubber mallet - drives the tapping block; a regular hammer is too hard
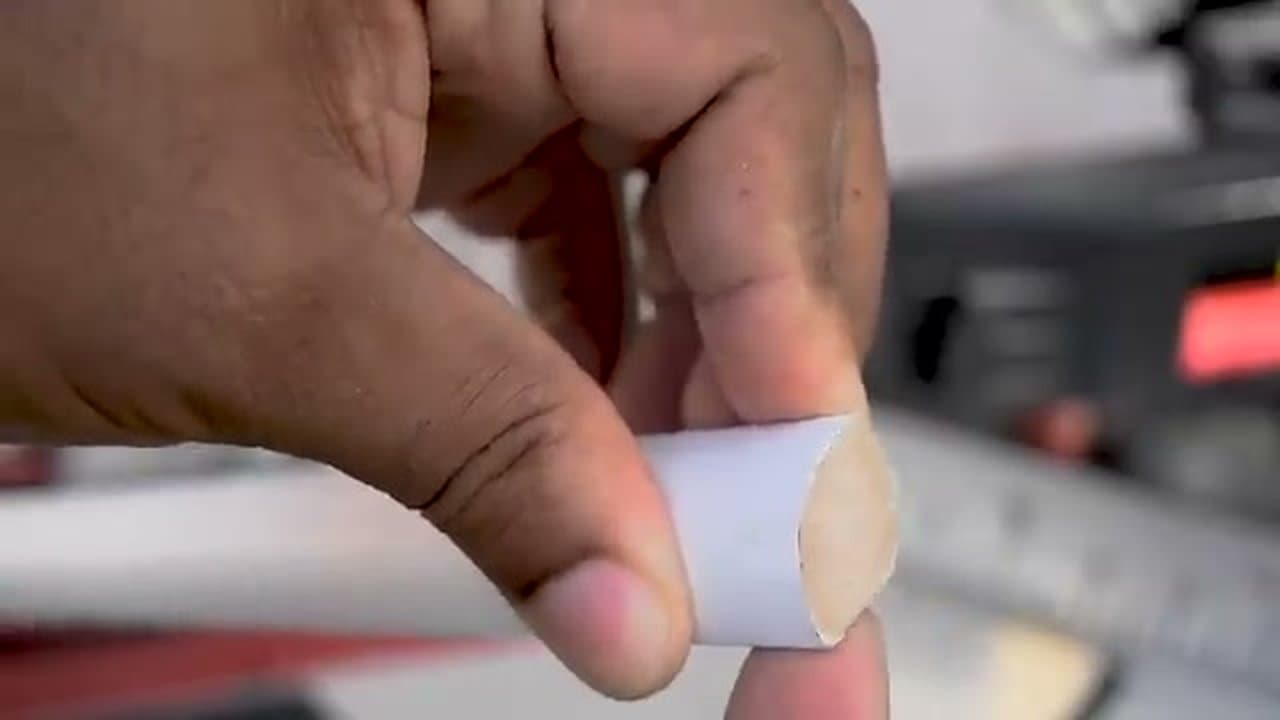
- Expansion spacers - 1/4-inch wedges that hold the gap at every wall and doorway
- Jigsaw or oscillating tool - cuts around door frames, vents, and toilet flanges
- Miter saw or circular saw - clean crosscuts on the ends of planks (a hand saw works in a pinch)
- Utility knife - scores the underlayment and trims overhang
- T-square or framing square - keeps cuts at 90 degrees
- Measuring tape and pencil - for marking cut lines
- Knee pads - you'll be on the floor for hours
- Safety glasses - laminate chips fly when you cut it
- Shop vac or broom - sawdust in the click-lock joint stops the planks from snapping flat
If the budget only stretches to one saw, get the jigsaw. It handles the awkward cuts around door frames and floor vents that a circular saw can't reach.
Click-Lock Direction: Which Way to Lay the Planks
The plank direction decision happens before you cut a single board, and it changes how the finished room feels. Two rules cover almost every room.
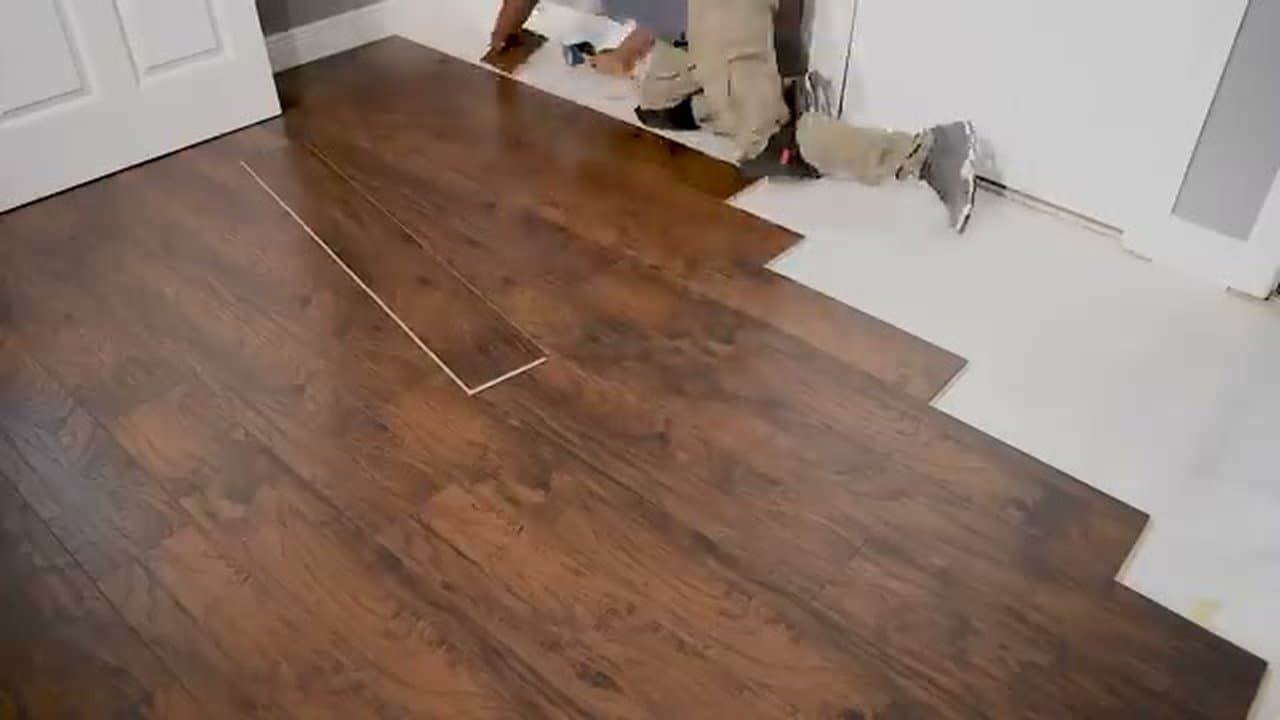
Rule 1: Run the planks parallel to the longest wall. Long planks down the long axis of a room makes the floor look continuous and the room feel longer. Planks running across the short axis chop the floor into visual strips and make the room feel smaller. In a 10 by 14 bedroom, that means planks running in the 14-foot direction.
Rule 2: Run the planks perpendicular to the main light source. If a big window or sliding door is on one wall, lay the planks so they cross the light from that window. The seams between planks shimmer in the right light, and that's distracting if the planks run with the light instead of across it.
When the two rules conflict (a long room with the window on the long wall), Rule 1 wins for most beginners. The visual proportion matters more than the seam shimmer. In a narrow hallway, always run the planks the long way - planks across a 3-foot-wide hall look choppy.
Transition Strips and T-Molding Between Rooms
The floor stops at every doorway, and you need a transition piece to cover the gap. Three pieces handle 95 percent of beginner installs.
T-molding sits between two hard floors of the same height - laminate to laminate, laminate to tile of the same thickness, laminate to hardwood. The cross-section is shaped like a T: the vertical stem drops into the gap, the horizontal top covers the expansion gaps on both sides. Use one between every two laminate rooms.
Reducer strip handles the transition from laminate down to a thinner floor like vinyl sheet or short-pile carpet. One edge is flush with the laminate, the other slopes down to the lower surface. Get the height difference right by measuring both finished floors before you buy.
Threshold or end cap covers the edge where laminate meets the bottom of an exterior door or a sliding glass door track. It's a one-sided piece - laminate on one side, no floor on the other.
Every transition piece sits over a track that screws or glues to the subfloor in the doorway. The track holds the strip in place but lets both floors expand and contract underneath. Don't skip the 1/4-inch expansion gap on either side of the doorway. The transition piece covers the gap, but the gap still has to be there.
Cutting Around Doorframes
Door jambs (the vertical molding around a doorway) are the one cut where beginners get hung up. The trick is the undercut: instead of notching the laminate plank to fit around the jamb, you trim the bottom of the jamb so the plank slides under it. The result looks finished and professional, and the cut is easier.
Take a scrap of laminate plus a scrap of underlayment, stack them on the floor against the jamb, and use them as a guide. Run a pull saw or oscillating tool flat across the top of the stack and cut the jamb at exactly the right height. Pull the scraps out, slide the actual plank under the jamb when you get to that row, and the laminate disappears under the molding with no visible cut. Skip this and you'll spend an hour trying to notch the plank to wrap around the jamb, and it will never look right.
How to Replace a Single Damaged Laminate Plank
One of the perks of a floating laminate floor is that you can swap out a scratched or water-damaged plank without tearing up the whole room. If the bad board is near a wall, the easiest fix is to unclick the rows back to it: pull off the baseboard, lift the end of the last row, and angle each row up to release the joints until you reach the damaged plank. Swap it, then click everything back down and reset the trim.
If the plank is stranded in the middle of the floor, you don't have to dismantle half the room. Draw a rectangle about an inch inside the edges of the bad plank, plunge-cut along those lines with a circular saw set to the plank depth, and pry out the cut center and the leftover edges. Trim the bottom lip off the grooves of a replacement plank, run a bead of wood glue along the tongues, drop it in, and weight it overnight. The repaired board sits flush and the seam disappears once the floor settles.
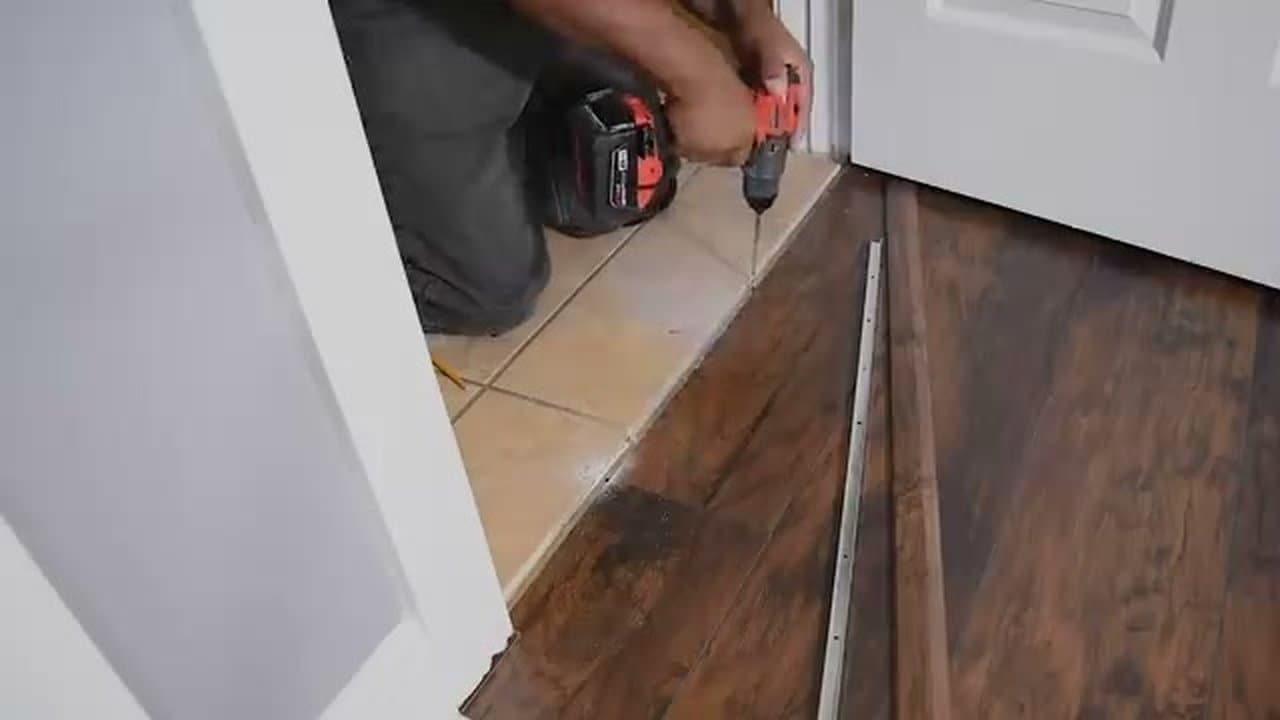
Can you install laminate flooring over tile?
Usually yes. Because laminate floats on top of the subfloor, it goes over existing ceramic tile, vinyl, or sheet flooring as long as the surface is solid, flat, and dry. Fill deep grout lines with a leveling compound first so they don't telegraph through as faint lines, and check that the extra height still lets your doors clear the new floor when they swing.
Do you glue laminate flooring planks together?
No, not for a standard click-lock floor. The tongue-and-groove edges snap together and hold without adhesive, which is what makes laminate so beginner-friendly. The only time glue comes in is a spot repair in the middle of the floor, or an older glued-seam product that most manufacturers have moved away from.
Still deciding on a floor? Compare this guide with how to install vinyl plank flooring, which holds up better in bathrooms and basements. Once the planks are down, finish the room with new baseboards to cover the expansion gap.