How to Install a Smart Lock

Home ImprovementMedium7:287 stepsBrowse more →
Also in:Adulting

By ShowMeStepByStepPublished

Based on a video by Dave Wirth.

Ditching your keys for a keypad is one of the easier upgrades you can make to a door. In this walkthrough, Dave Wirth from his YouTube channel takes an old brass deadbolt off an exterior door and puts a keyless TEEHO keypad lock in its place. Most of it is straight screwdriver work, and the whole swap took him under an hour.

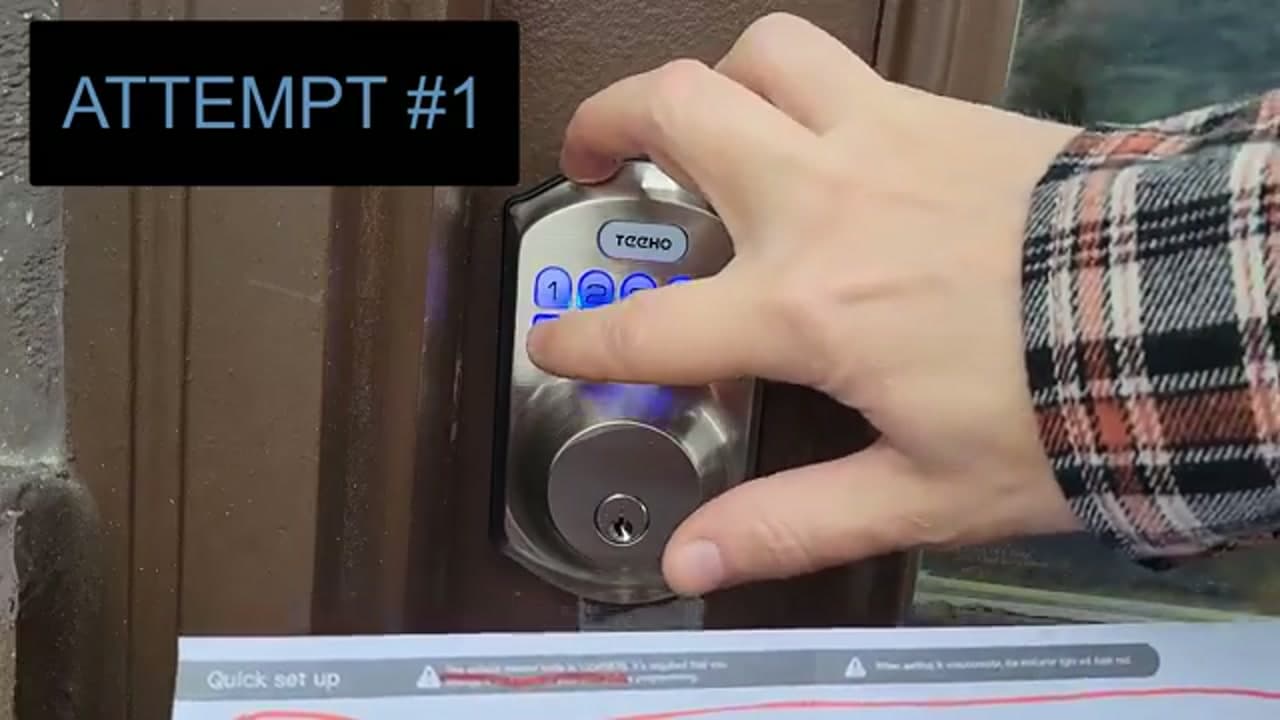
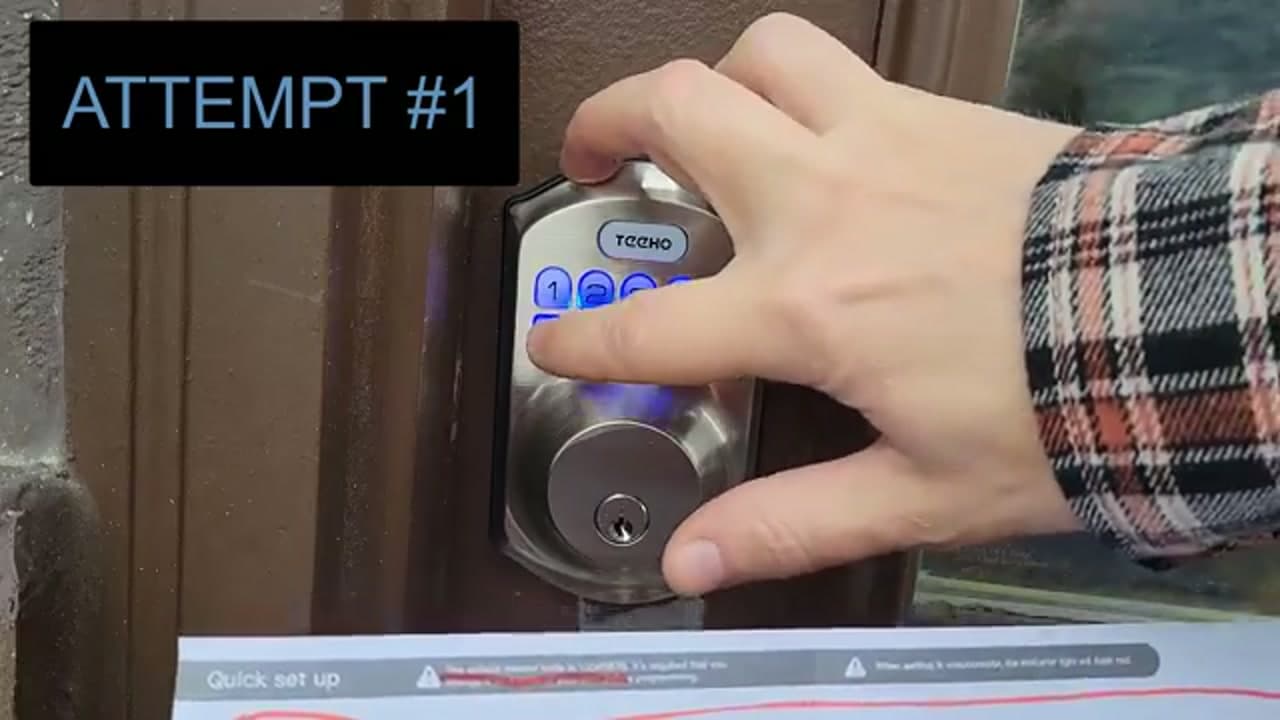
The one part that trips people up is programming the code. Dave is honest about needing a few tries to get the master code to stick, so you will know what to watch for. If you have ever changed a doorknob, you already have the skills for this.

Locking down entry is a big part of keeping a house running. If you are working through other entry upgrades, pair this with our guide on how to install a Ring doorbell for a full front-door setup.

Step-by-Step Guide

1

Step 1: Remove the Old Latch Bolt

0:45
Step 1: Step 1: Remove the Old Latch Bolt

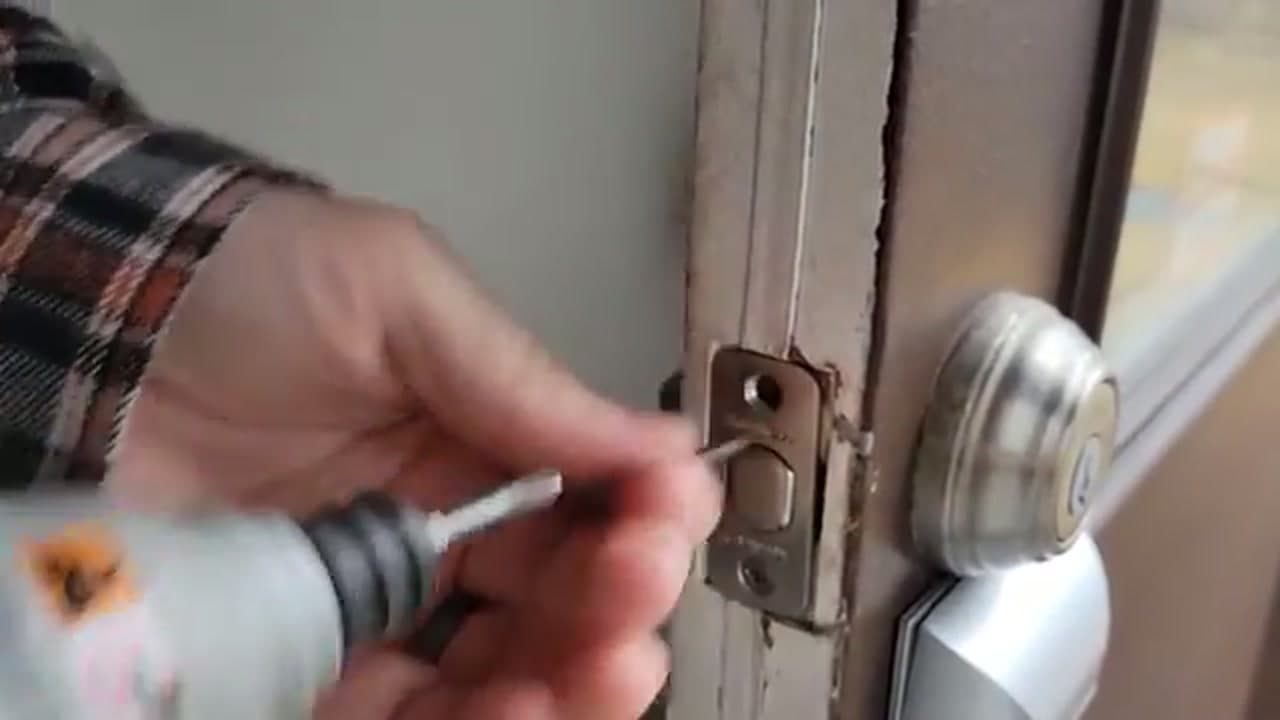
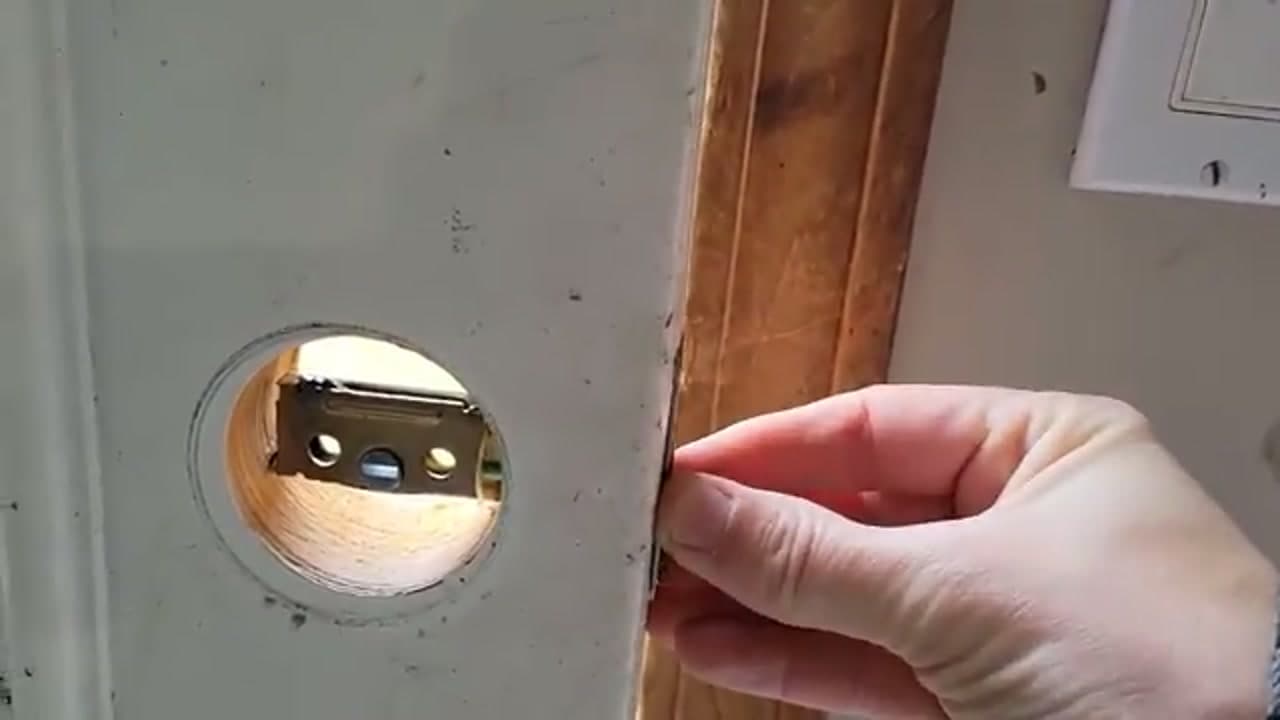
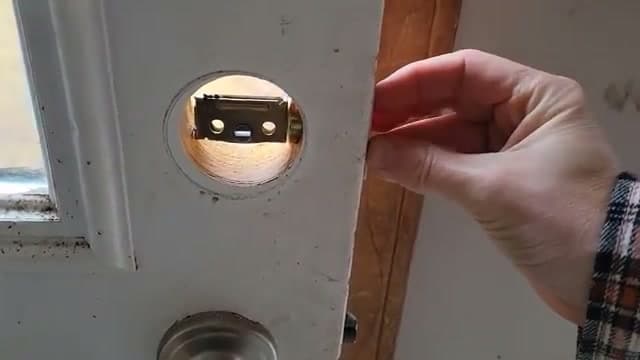
Start on the edge of the door. Back out the two screws holding the old latch faceplate, then pull the latch bolt straight out of its slot. Keep the screws in a cup so they don't roll off the porch. With the latch gone, the deadbolt body should loosen up and you can move to the flat face of the door.

Tip

Take a photo of the old setup before you touch it. If the new lock ever needs to come off, you'll remember how it all fit.
2

Step 2: Pull Out the Old Lock Body

1:35
Step 2: Step 2: Pull Out the Old Lock Body

Now clear the round bore hole. Loosen the mounting screws on the interior side and separate the two halves of the old deadbolt so they slide out of the door. You should be left with a clean bore and an empty edge slot. Wipe out any grit so the new hardware seats flush.

Products used in this step

3

Step 3: Install the New Latch Bolt

2:10
Step 3: Step 3: Install the New Latch Bolt

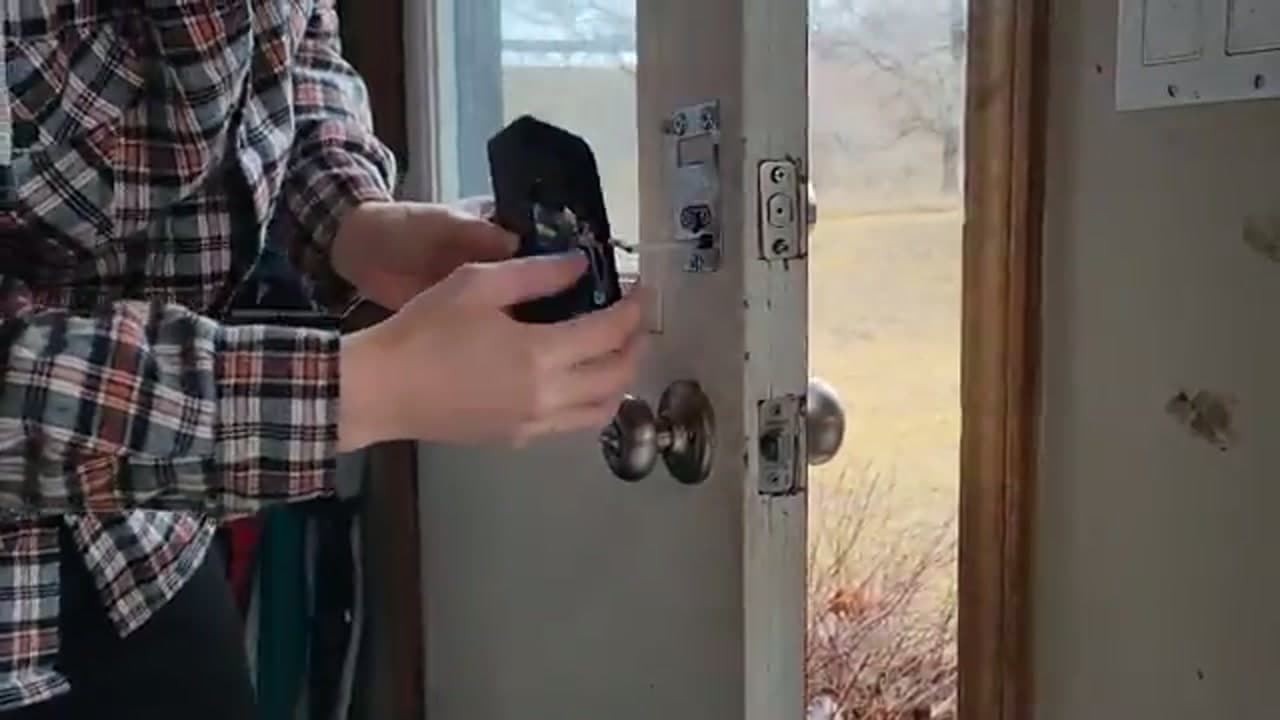
Feed the new latch bolt into the edge of the door, curved side facing the direction the door closes. Push it back until the faceplate sits flat against the door edge, then drive the two included screws to hold it. Check that the little hole in the latch lines up with the center of the bore. That's where the keypad post has to pass through.

Tip

If your door has a shallow backset, most keyless kits ship an adjustable latch. Slide the collar to match before you screw it down.

4

Step 4: Mount the Exterior Keypad

2:50
Step 4: Step 4: Mount the Exterior Keypad

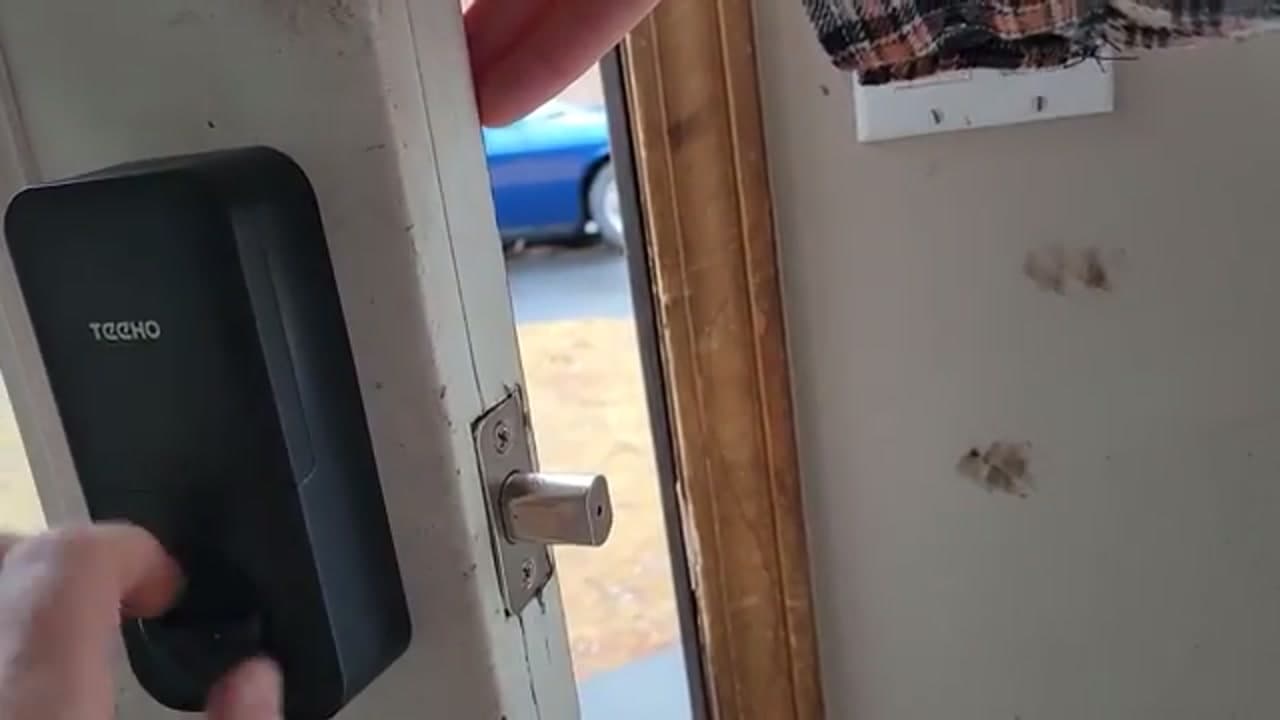
Hold the keypad against the outside of the door and slide its square post and cable through the latch and out the interior side. Keep the keypad level while you do this so the numbers sit straight. Have a hand ready on the inside to catch the post so nothing pinches or twists as it comes through.

5

Step 5: Attach the Interior Body and Batteries

3:20
Step 5: Step 5: Attach the Interior Body and Batteries

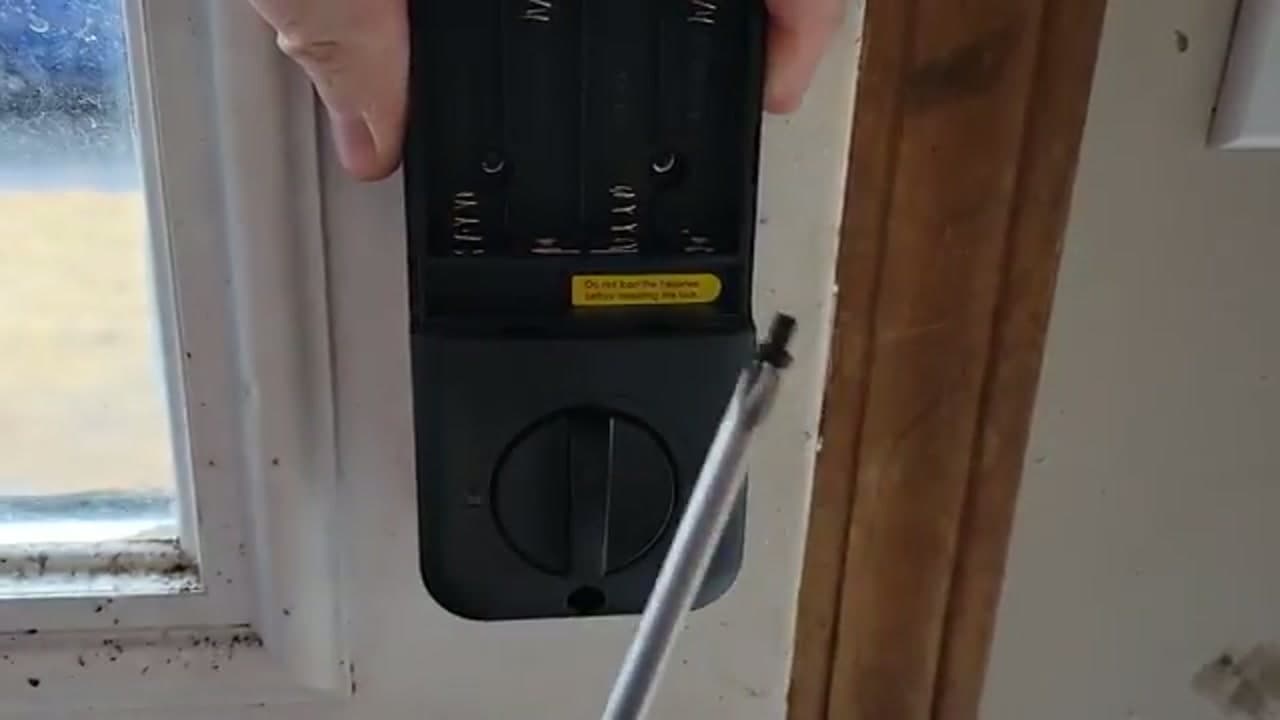
Set the interior body over the post and mounting plate, then drive the through-bolts to sandwich the door tight. Don't crank them all the way yet. Snug them so the lock still moves freely. Pop the cover and load the AA batteries into the tray. The keypad should light up once power hits it.

Tip

Dave found that fully tightening the side latch screws made the bolt bind. Back them off a touch if the deadbolt drags.

6

Step 6: Test the Deadbolt Throw

4:10
Step 6: Step 6: Test the Deadbolt Throw

Before you program anything, turn the interior thumb-turn by hand. The bolt should slide in and out smoothly, with no grinding. Then close the door and check that the bolt lines up with the strike plate on the frame. If it catches, loosen the mounting bolts and shift the body slightly until the throw is clean.

7

Step 7: Program Your Master Code

5:10
Step 7: Step 7: Program Your Master Code

Grab the quick-start card. Enter the factory master code, press the brand button, then type the new code you want and confirm. Wait for the green light before you let go. Dave hit a few red flashes here, and found that typing four or five digits quickly worked better than going slow. Once it takes, test the code from the outside and lock up.

Tip

A red flash means the code didn't register. Wait for the keypad to reset, then re-enter the sequence at a steady, quick pace.

Products Used

☐ The Checklist

How to Install a Smart Lock

Tools
4
Materials
2
Steps
7
Video
7 min

Your Guide

Dave Wirth

As an Amazon Associate we earn from qualifying purchases. Links on this page may be affiliate links - clicking them and buying doesn't change your price, but helps support ShowMeStepByStep.

Tags

Sunday How-To

New home improvement tutorials, every Sunday

One short email with the week's best step-by-step guides. Free, no spam, unsubscribe anytime.

Did this work for you?

What's next

Related collections

Curated theme pages that include this tutorial.

Weekly Digest

Liked this home improvement tutorial?

Pick the categories you want to hear about. Weekly digest of new step-by-step tutorials. No spam, easy unsubscribe.

Send me tutorials about

We only email about new tutorials. Easy unsubscribe anytime.