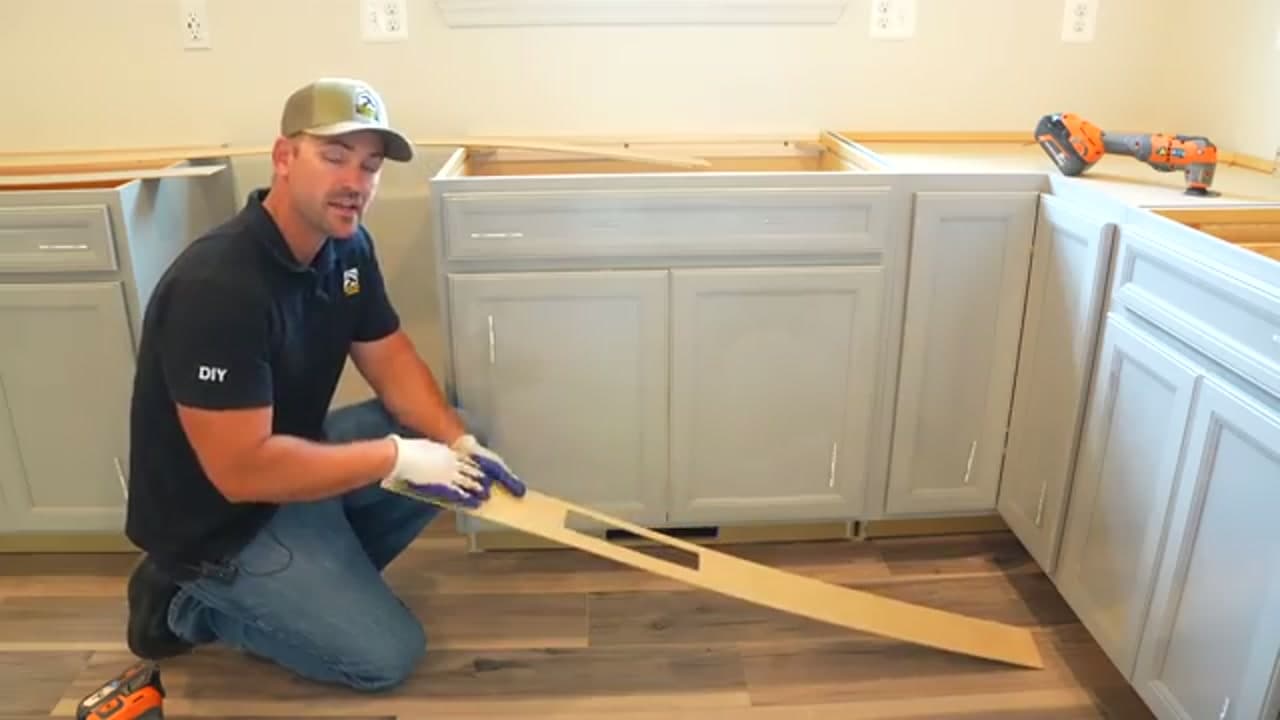
How to Install Kitchen Cabinets

Home ImprovementAdvanced19:068 stepsBrowse more →
Also in:Adulting

By ShowMeStepByStepPublished

Based on a video by The Excellent Laborer.

Installing your own kitchen base cabinets looks intimidating, but it comes down to a handful of repeatable moves: find level, set the corner, shim, clamp, and screw. Get those right and the whole run lines up.

This walkthrough follows DIY builder The Excellent Laborer as he installs a full run of gray shaker base cabinets, including the tricky corner and sink base. He keeps it beginner-friendly and shows the small tricks that make a big difference.

Once your boxes are set, you can move on to the wall cabinets and countertop. If you are fitting out the rest of the room, our guides on installing floating shelves with hidden anchors and mounting a TV on the wall use the same stud-finding and leveling skills.

Step-by-Step Guide

1

Step 1: Set a Level Reference Line

1:40
Step 1: Step 1: Set a Level Reference Line

Before a single cabinet goes in, find your level line. Set up a laser level and shoot a line all the way around the room. Then find the highest point of the floor and measure up to where the cabinet tops need to land. Floors are never dead flat, so you build off the high spot and shim everything else up to meet it. Mark that line clearly. It becomes the target for the whole run.

Tip

No laser? A good 4-ft level and a chalk line will get you there. It just takes an extra set of hands.

2

Step 2: Read the Kitchen Layout Plan

2:10
Step 2: Step 2: Read the Kitchen Layout Plan

Pull out the layout drawing and match every cabinet code to a real box on the floor. The plan tells you which cabinet goes where, how wide each one is, and where your gaps land for the sink, range, and dishwasher. Lay the cabinets out roughly in place first. It is a lot easier to catch a mistake now than after you have screwed three boxes to the wall.

Tip

Mark the wall lightly with the cabinet names so you never lose track of which box goes where.

3

Step 3: Find and Mark the Studs

5:40
Step 3: Step 3: Find and Mark the Studs

Run your level line onto the wall and mark it, then track down the studs behind the drywall. Cabinets hang off screws driven into solid framing, not just the drywall, so you need to know exactly where each stud sits. Mark them above your line where the marks stay visible once the cabinet is in place. A tape measure and a stud finder make quick work of it.

Tip

Studs usually sit 16 inches on center. Find one and the rest fall into a predictable rhythm.

4

Step 4: Set the Corner Base Cabinet

3:40
Step 4: Step 4: Set the Corner Base Cabinet

Always start in the corner. Slide the corner base cabinet into position and set a level across the top, checking it front to back and side to side. The corner anchors everything that ties into it, so if it sits crooked, the whole run drifts off. Nudge it around and get it dialed in before you touch another box. This one is worth the extra few minutes.

Tip

Keep the front face of the cabinet flush with your layout line so the doors end up on the same plane.

5

Step 5: Shim Each Cabinet Level

10:20
Step 5: Step 5: Shim Each Cabinet Level

Lay a 4-ft level across the tops and start shimming. Tap tapered shims under the low corners until the bubble sits dead center and the tops of neighboring cabinets line up flush. Check level in both directions. This is the step that separates a clean install from doors that never quite hang right, so take your time and re-check as you go.

Tip

Slide shims in from the front and back of the base so you can adjust without lifting the cabinet.

Products used in this step

6

Step 6: Clamp the Cabinets Together

11:20
Step 6: Step 6: Clamp the Cabinets Together

Bring the next cabinet snug against the one you just set and clamp the two face frames together with bar clamps. Line up the front edges so they sit dead flush before you fasten anything. The clamps hold everything steady and pull the frames tight, which gives you clean, even gaps between the doors once they go on. Two quick-grip clamps handle most joints.

Tip

Slip a shim between the clamp jaw and the finished face so the clamp does not dent the wood.

Products used in this step

7

Step 7: Screw the Cabinets to the Wall

13:20
Step 7: Step 7: Screw the Cabinets to the Wall

With the boxes clamped and level, drive screws through the back mounting rail into the studs you marked. This locks each cabinet to the wall. Then run screws through the face frames to join neighboring cabinets so the whole run behaves as one solid unit. Use screws long enough to bite deep into the framing but not so long they blow through into the next room.

Tip

Predrill the mounting rail so the screws drive straight and you do not split the cabinet back.

8

Step 8: Cut and Install the Toe Kick

17:20
Step 8: Step 8: Cut and Install the Toe Kick

Last piece is the toe kick, the trim that closes off the recessed space under the cabinets. Measure the length of the run, cut the toe kick to fit, and scribe it to the floor if the flooring rises and falls. Snap it into place or fasten it with a few finish screws. It hides the shims and the gap under the boxes, and it makes the whole install look finished.

Tip

Cut it a hair long and shave it down for a tight fit. You can always trim, you can never add.

Products Used

☐ The Checklist

How to Install Kitchen Cabinets

Tools
9
Materials
4
Steps
8
Video
19 min

Your Guide

The Excellent Laborer

As an Amazon Associate we earn from qualifying purchases. Links on this page may be affiliate links - clicking them and buying doesn't change your price, but helps support ShowMeStepByStep.

Tags

Sunday How-To

New home improvement tutorials, every Sunday

One short email with the week's best step-by-step guides. Free, no spam, unsubscribe anytime.

Did this work for you?

What's next

Related collections

Curated theme pages that include this tutorial.

Weekly Digest

Liked this home improvement tutorial?

Pick the categories you want to hear about. Weekly digest of new step-by-step tutorials. No spam, easy unsubscribe.

Send me tutorials about

We only email about new tutorials. Easy unsubscribe anytime.
