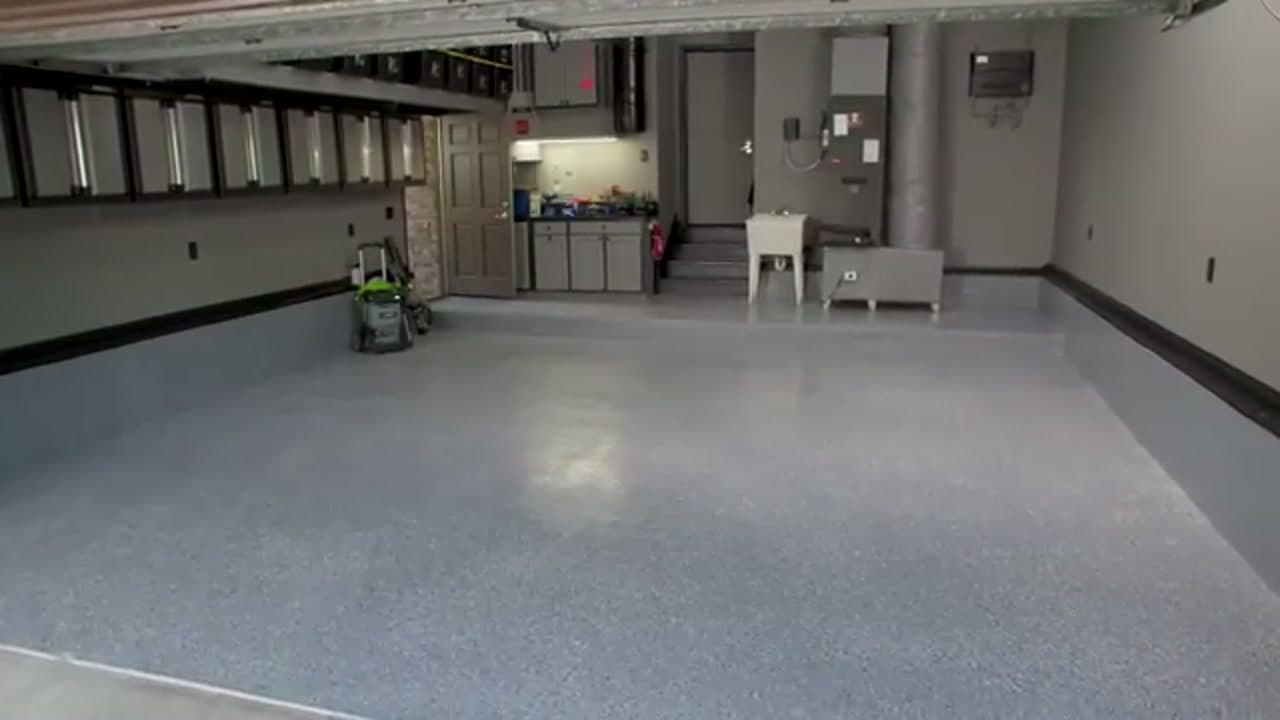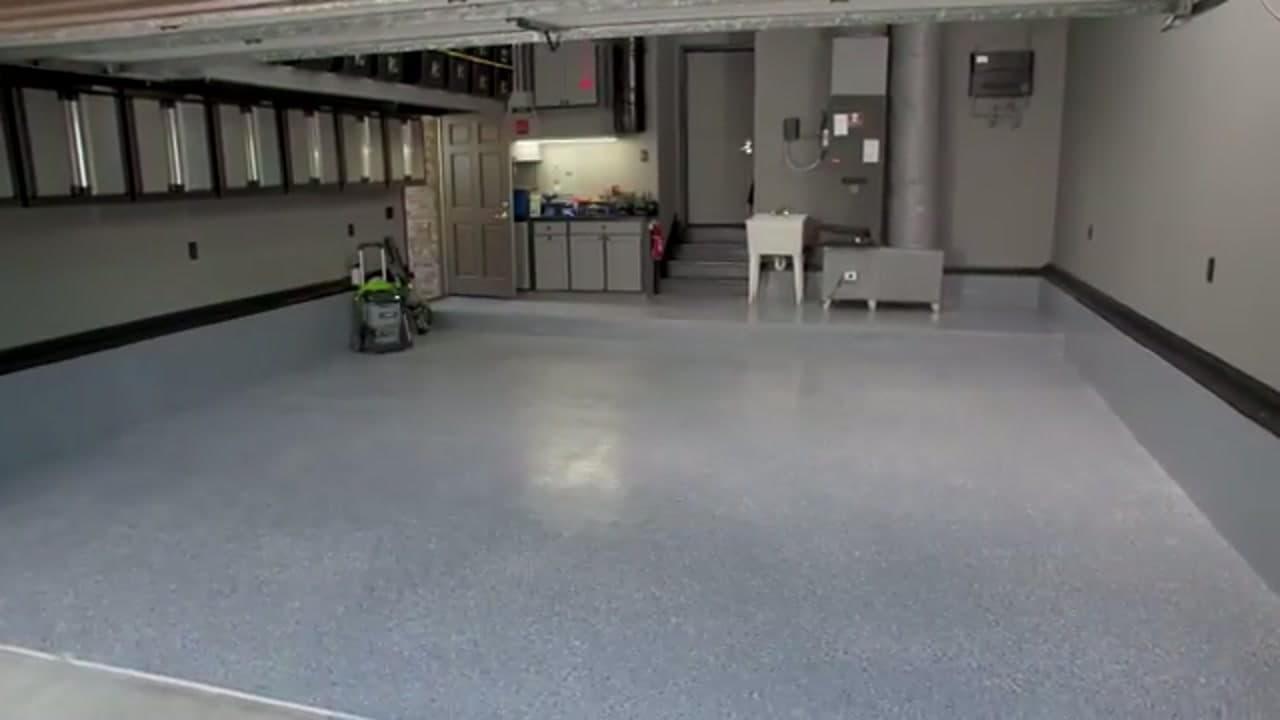
How to Epoxy a Garage Floor

Home ImprovementMedium8:279 stepsBrowse more →
Also in:Adulting

By ShowMeStepByStepPublished

Based on a video by Lowe's Home Improvement.

A bare concrete garage floor stains, dusts, and cracks over time. An epoxy coating fixes all of that: it seals the slab, wipes clean when you spill oil, and gives the space a finished look that holds up to cars and foot traffic for years.

This guide follows the how-to from Lowe's Home Improvement. Most of the work is in the prep - clean, patch, and etch the concrete so the epoxy actually bonds - and then the rolling goes fast. Plan for a full weekend so the coating has time to cure between steps.

Working on other outdoor concrete too? Once you own the pressure washer, take a look at how to pressure wash a driveway to keep the whole entrance looking sharp.

Step-by-Step Guide

1

Step 1: Measure and Plan the Floor

1:15
Step 1: Step 1: Measure and Plan the Floor

Start by measuring the whole floor with a tape measure so you know the square footage. That number tells you how many epoxy kits to buy, and running short halfway through a coat is a mess you do not want. While you are down there, look for low spots, cracks, and any signs of moisture coming up through the slab. Damp concrete will not hold a coating, so sort that out before you go any further.

Tip

Buy a little more epoxy than the coverage chart says. Rough or porous concrete drinks up more than a smooth slab.

Products used in this step

2

Step 2: Fill Cracks and Gaps

1:35
Step 2: Step 2: Fill Cracks and Gaps

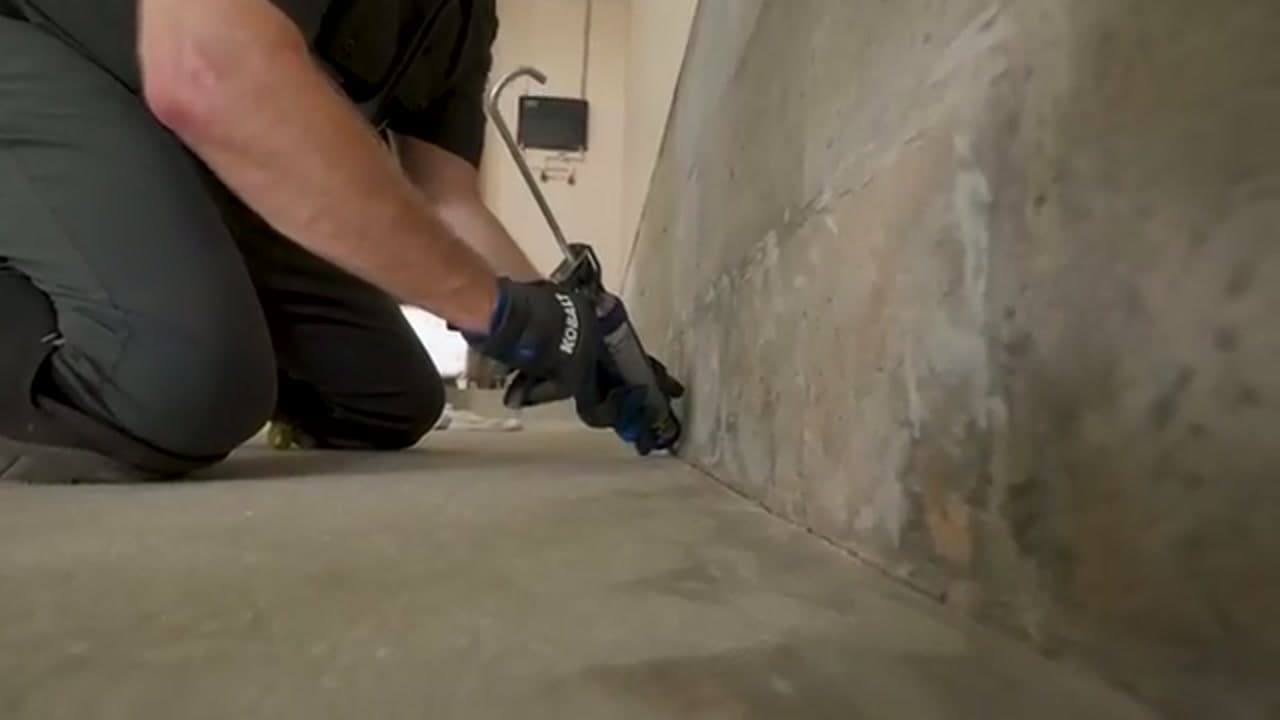
Load a tube of concrete filler and sealant into a caulk gun and work along the base of the walls and across any cracks in the slab. Run a steady bead into each gap, then tool it smooth so it sits flush with the surface. Epoxy will telegraph every crack you leave behind, so take your time here. Let the filler set up fully before you move on to cleaning.

Tip

Push the caulk gun rather than pull it. Pushing forces filler down into the crack instead of just riding over the top.

3

Step 3: Sweep the Floor Clean

2:35
Step 3: Step 3: Sweep the Floor Clean

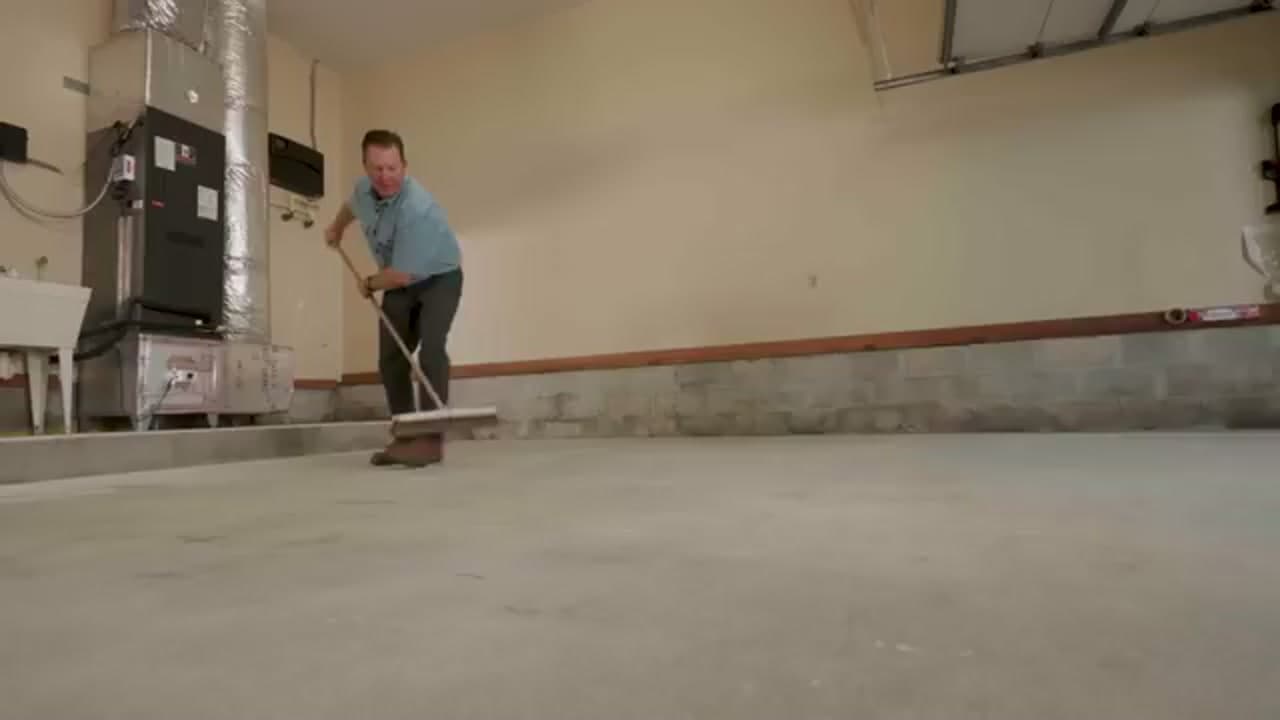
Grab a stiff push broom and sweep the entire floor, corners included. You are pulling up loose dirt, dust, and grit that would otherwise get trapped under the coating. A clean surface is the whole difference between epoxy that bonds for years and epoxy that peels in a season. Sweep it into a pile and get it out of the garage before you wet anything down.

Products used in this step

4

Step 4: Degrease the Concrete

2:55
Step 4: Step 4: Degrease the Concrete

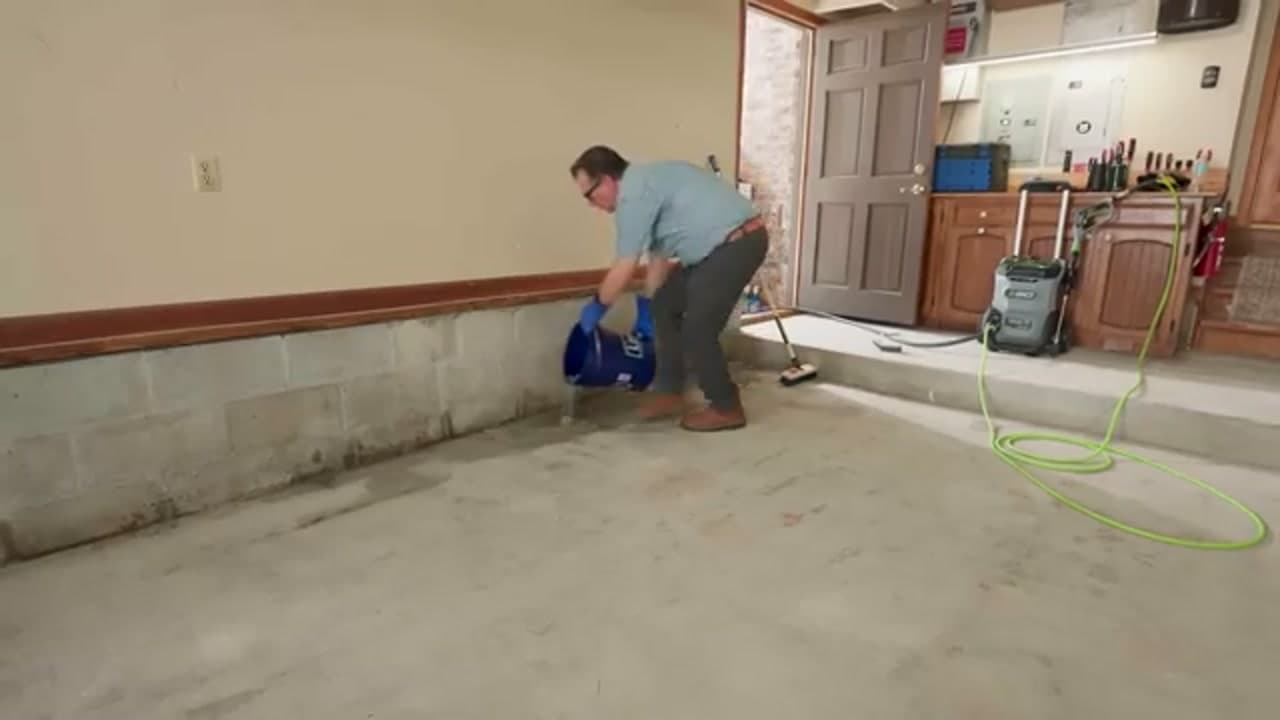
Pour concrete cleaner and degreaser across the slab and scrub it in with the broom or a stiff brush. Garage floors soak up oil, brake dust, and road grime, and any of it left on the surface will keep the epoxy from gripping. Pay extra attention to the spots under where a car parks. Work it in, let it sit for the time on the label, then rinse.

Tip

Old oil stains may need a dedicated degreaser and a second scrub. If water beads on a spot, grease is still there.

5

Step 5: Etch the Surface

3:30
Step 5: Step 5: Etch the Surface

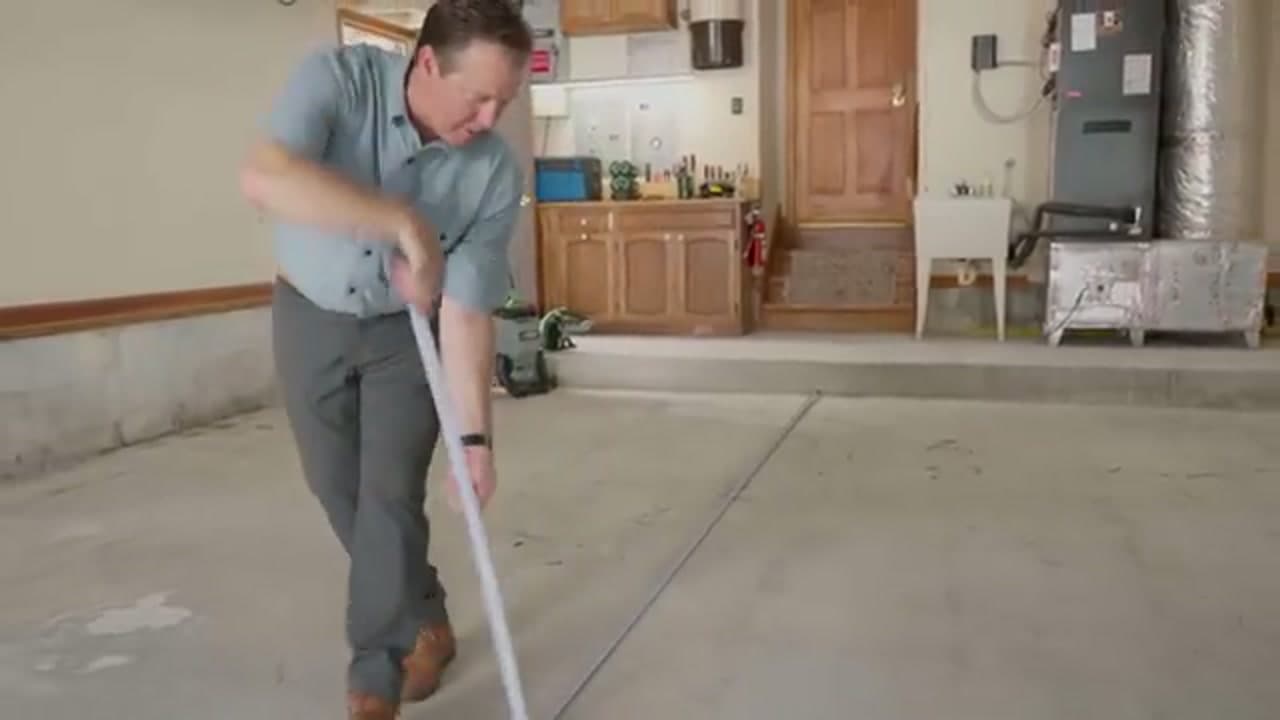
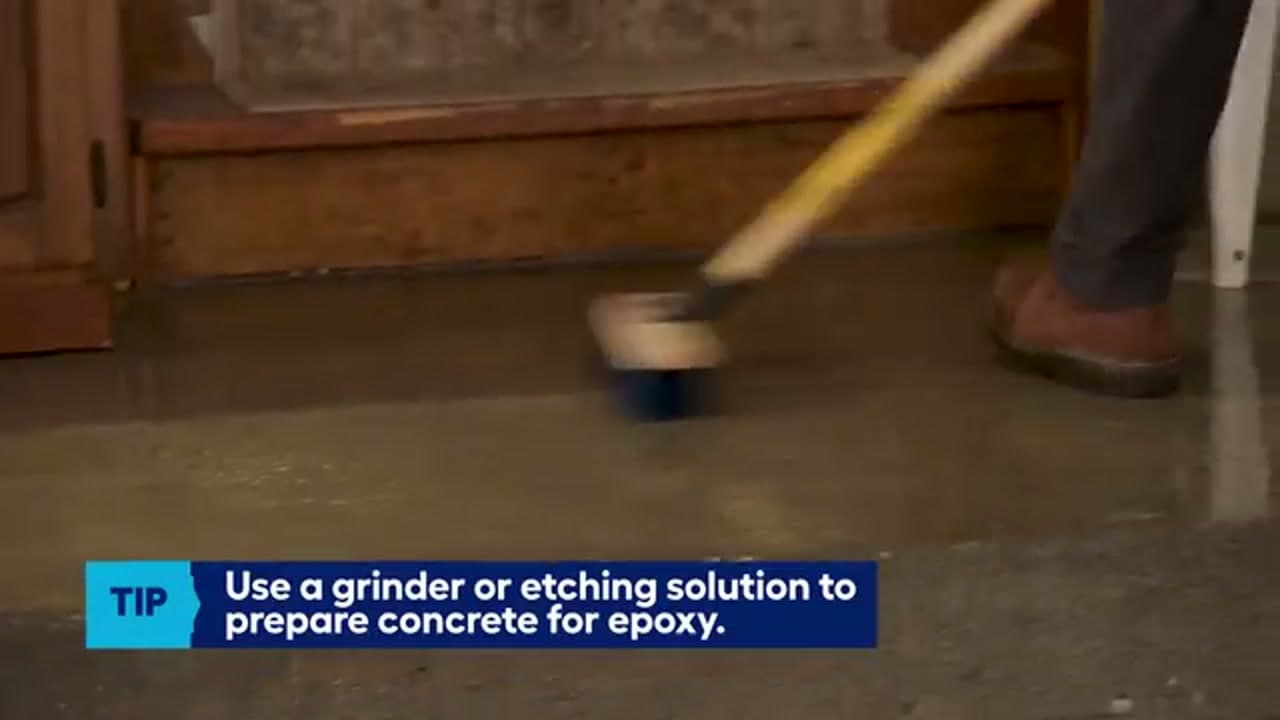
Apply the etching solution and scrub it across the concrete with a stiff-bristled brush on a pole. Etching lightly roughens and opens the pores of the slab so the epoxy can key into it, almost like sanding before you paint. The surface should feel like fine sandpaper when it is done. Keep the solution moving so it works evenly and does not pool in one spot.

Tip

Wear gloves and eye protection. Etching solution is acidic and will irritate skin.

6

Step 6: Rinse and Dry

4:40
Step 6: Step 6: Rinse and Dry

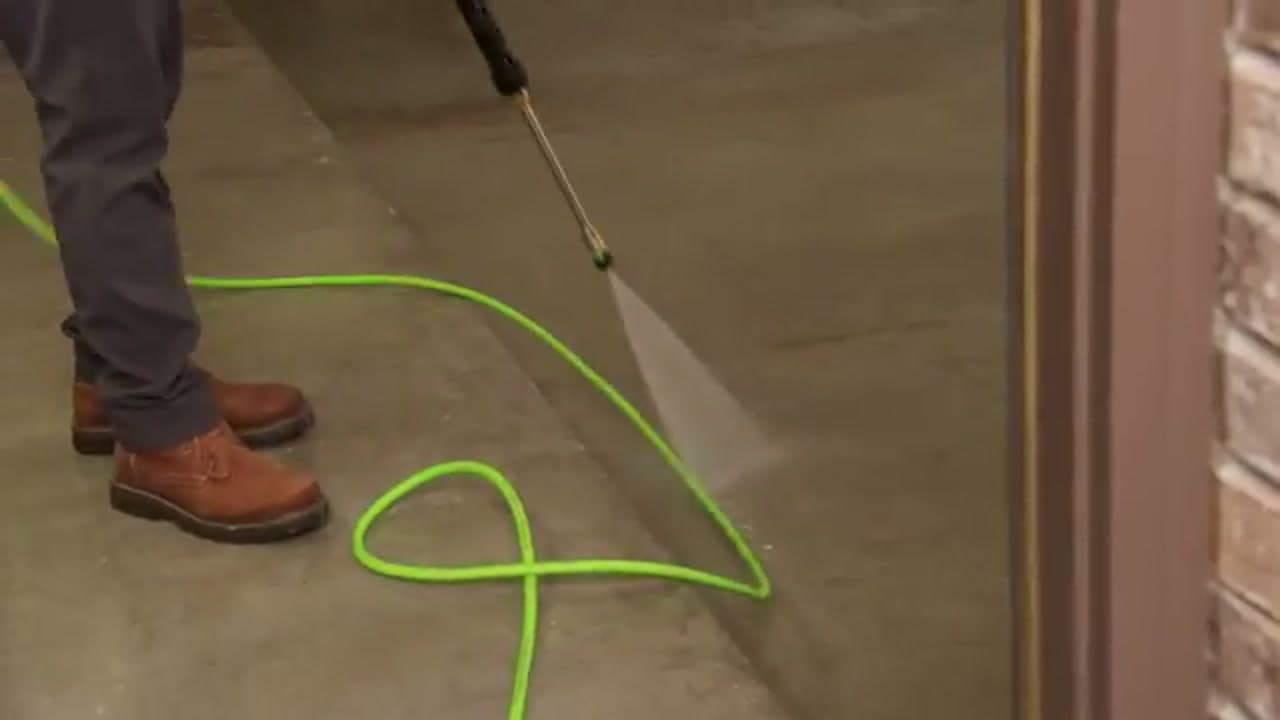
Rinse the whole floor with a pressure washer until the water runs clear and every trace of etcher and residue is gone. Then push out the standing water with a squeegee and finish drying it with a leaf blower. The concrete has to be bone dry before any epoxy touches it, so give it plenty of time. Trapped moisture is the number one reason coatings fail.

7

Step 7: Mix and Pour the Epoxy

6:20
Step 7: Step 7: Mix and Pour the Epoxy

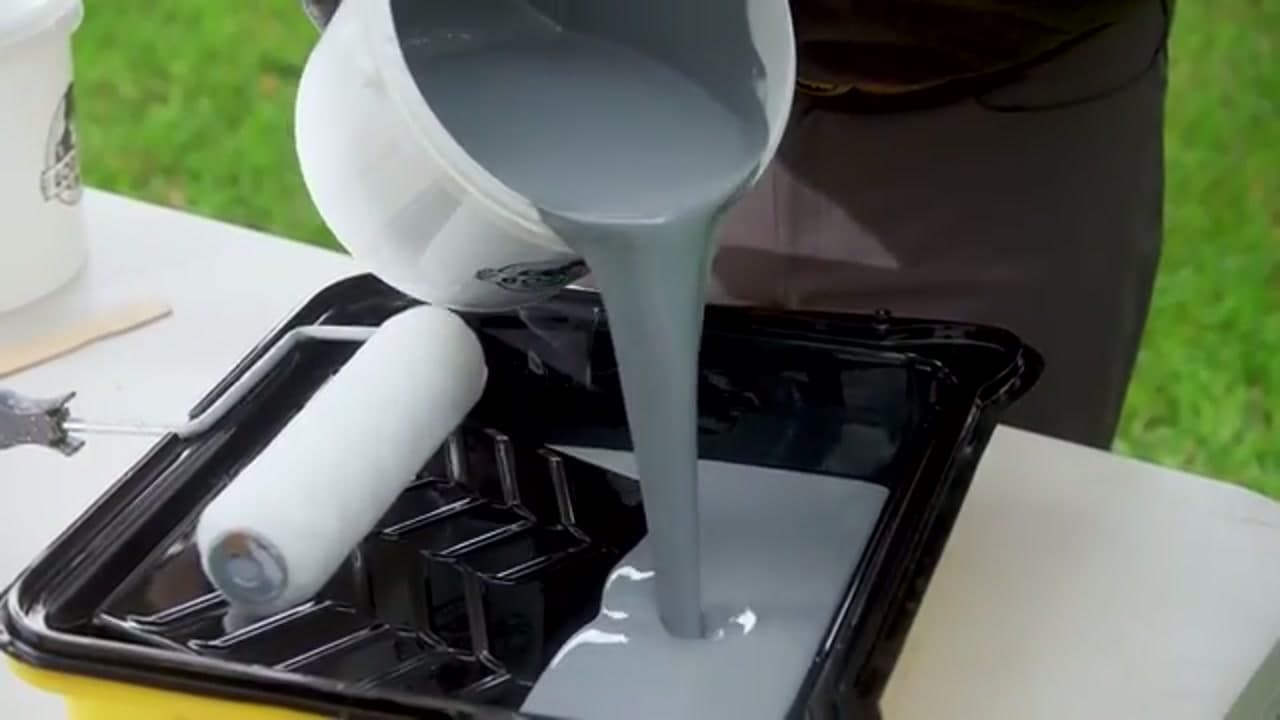
Combine Part A and Part B of the epoxy kit and stir it thoroughly, scraping the sides so nothing goes on unmixed. Once the two parts meet, the clock starts on your working time, so mix only what you can spread before it sets. Pour the mixed coating into a roller tray lined with a liner for easy cleanup. Work in batches and keep moving.

Tip

Set a timer for the pot life listed on the kit. Epoxy that sits too long in the bucket will thicken and drag under the roller.

8

Step 8: Roll on the Coating

6:50
Step 8: Step 8: Roll on the Coating

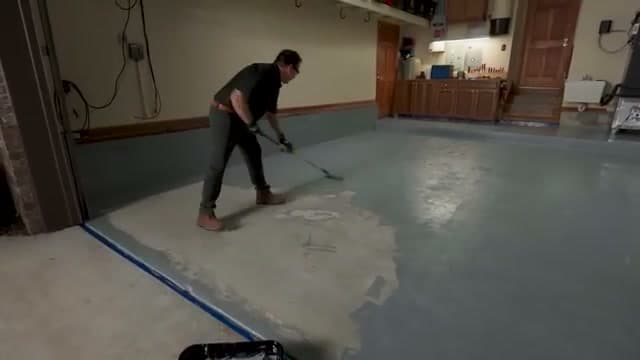
Roll the epoxy onto the floor in even, overlapping sections using a roller cover on a telescoping handle. Start at the wall farthest from the door and work your way back toward the opening so you never trap yourself in a wet corner. Keep a wet edge as you go and do not let one section dry before you blend the next into it. Steady, even passes give you a smooth, consistent coat.

Tip

Strap on a pair of spiked shoes if you need to step onto the wet coating to reach the middle of the floor.

9

Step 9: Broadcast Flakes and Let It Cure

7:57
Step 9: Step 9: Broadcast Flakes and Let It Cure

While the coating is still wet, toss decorative color flakes across it by hand for that speckled, professional look. Then walk away and let it cure. Most kits want about 10 hours before you step on the surface and 36 before you drive on it. The payoff is a glossy, sealed floor that wipes clean, shrugs off spills, and makes the whole garage feel finished.

Tip

Throw the flakes up and out so they float down evenly instead of landing in clumps. Less looks more natural than you would expect.

Products used in this step

Products Used

☐ The Checklist

How to Epoxy a Garage Floor

Tools
11
Materials
8
Steps
9
Video
8 min

Your Guide

Lowe's Home Improvement

As an Amazon Associate we earn from qualifying purchases. Links on this page may be affiliate links - clicking them and buying doesn't change your price, but helps support ShowMeStepByStep.

Tags

Sunday How-To

New home improvement tutorials, every Sunday

One short email with the week's best step-by-step guides. Free, no spam, unsubscribe anytime.

Did this work for you?

What's next

Related collections

Curated theme pages that include this tutorial.

Weekly Digest

Liked this home improvement tutorial?

Pick the categories you want to hear about. Weekly digest of new step-by-step tutorials. No spam, easy unsubscribe.

Send me tutorials about

We only email about new tutorials. Easy unsubscribe anytime.