How to Install Peel and Stick Wallpaper

Home ImprovementEasy12:568 stepsBrowse more →

By ShowMeStepByStepPublished

Based on a video by Grace In My Space.

A peel-and-stick accent wall is one of the fastest ways to change a room, and you don't need a contractor or a bucket of paste to do it. Grace from Grace In My Space walks through her whole process for wrapping a window nook with a geometric pattern, working solo the entire time.

You'll see how to prep the wall, snap a level line so the pattern hangs straight, hang and smooth each panel, match the design across seams, and trim cleanly around ceilings, shelves, and outlets. Because it's peel-and-stick, it comes right back off when you're ready for a change, which makes it a great pick for renters.

If your wall needs more than a refresh first, you might give the walls a fresh coat of paint before you start. Then grab your roll and let's get that wall done.

Step-by-Step Guide

1

Step 1: Prep the Wall and Gather Your Tools

1:40
Step 1: Step 1: Prep the Wall and Gather Your Tools

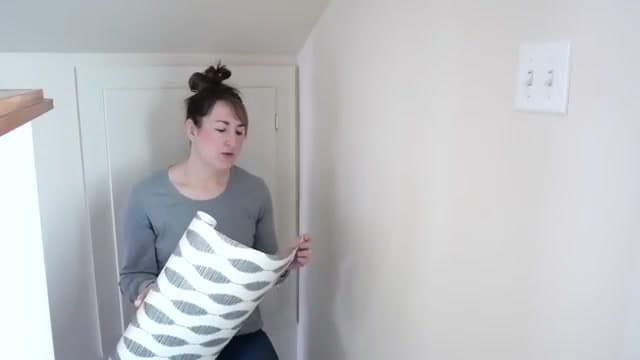
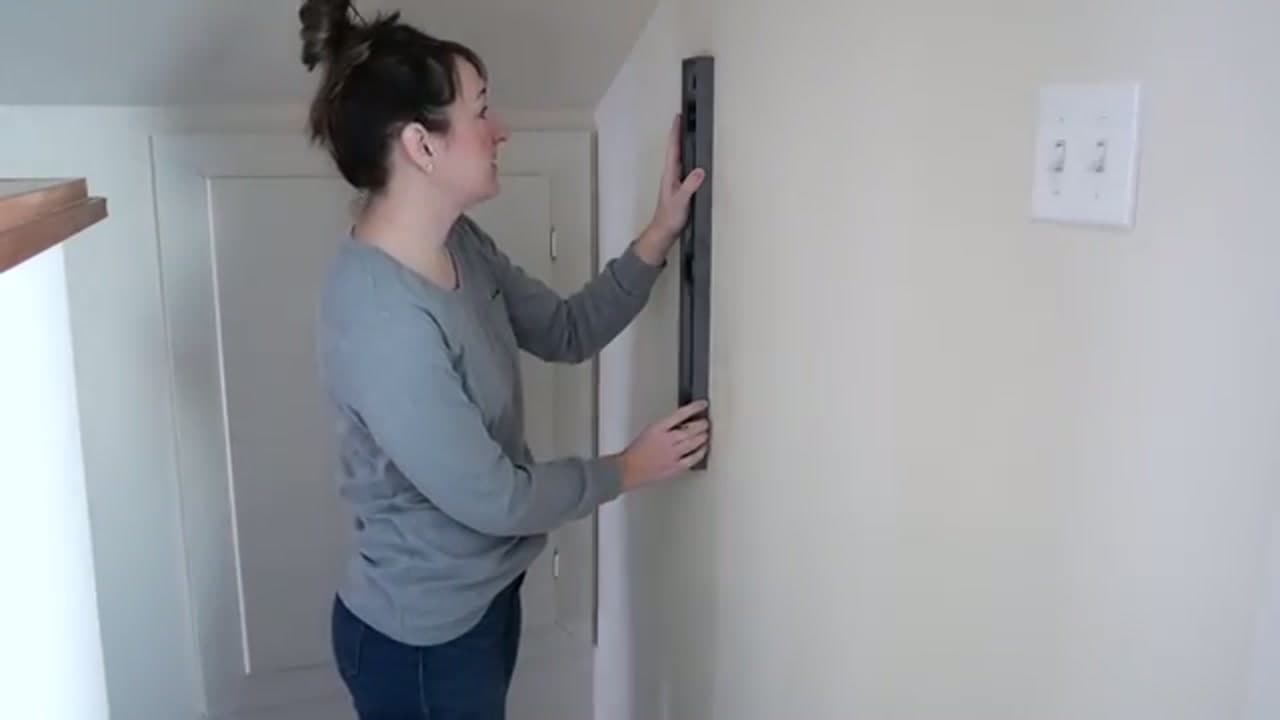
Start with a clean wall. Wipe it down so dust and grease don't stop the adhesive from grabbing. Fill any nail holes and let them dry. Then gather your roll of peel-and-stick wallpaper and lay out your tools so everything is within reach. You want your level, tape measure, smoothing tool, and a sharp utility knife ready before you peel any backing. A little setup here saves a lot of fumbling once a sticky panel is in your hands.

Tip

Unroll the wallpaper and let it relax flat for a few minutes before you hang it. It handles much easier than paper fresh off a tight roll.
2

Step 2: Mark a Level Plumb Line

3:00
Step 2: Step 2: Mark a Level Plumb Line

Hold a level against the wall near your starting corner and draw a straight plumb line from ceiling to floor. Walls and corners are rarely truly straight, so this line, not the corner, is what keeps your whole pattern hanging square. Make a light pencil mark you can follow with the edge of your first panel. Take the extra minute to get this right. Every panel after the first one keys off it, so a crooked start throws off the entire wall.

Tip

A longer level or a straightedge gives you a truer line than eyeballing it off the corner trim.

3

Step 3: Hang the First Panel From the Top

4:45
Step 3: Step 3: Hang the First Panel From the Top

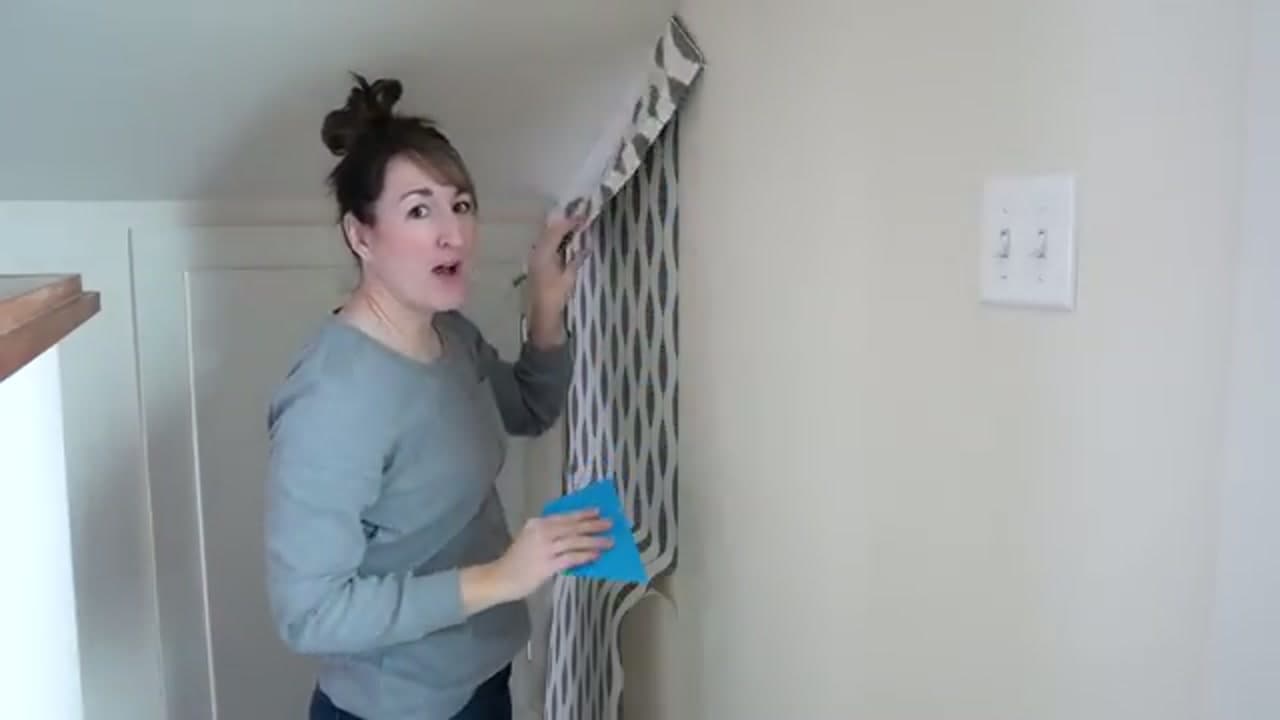
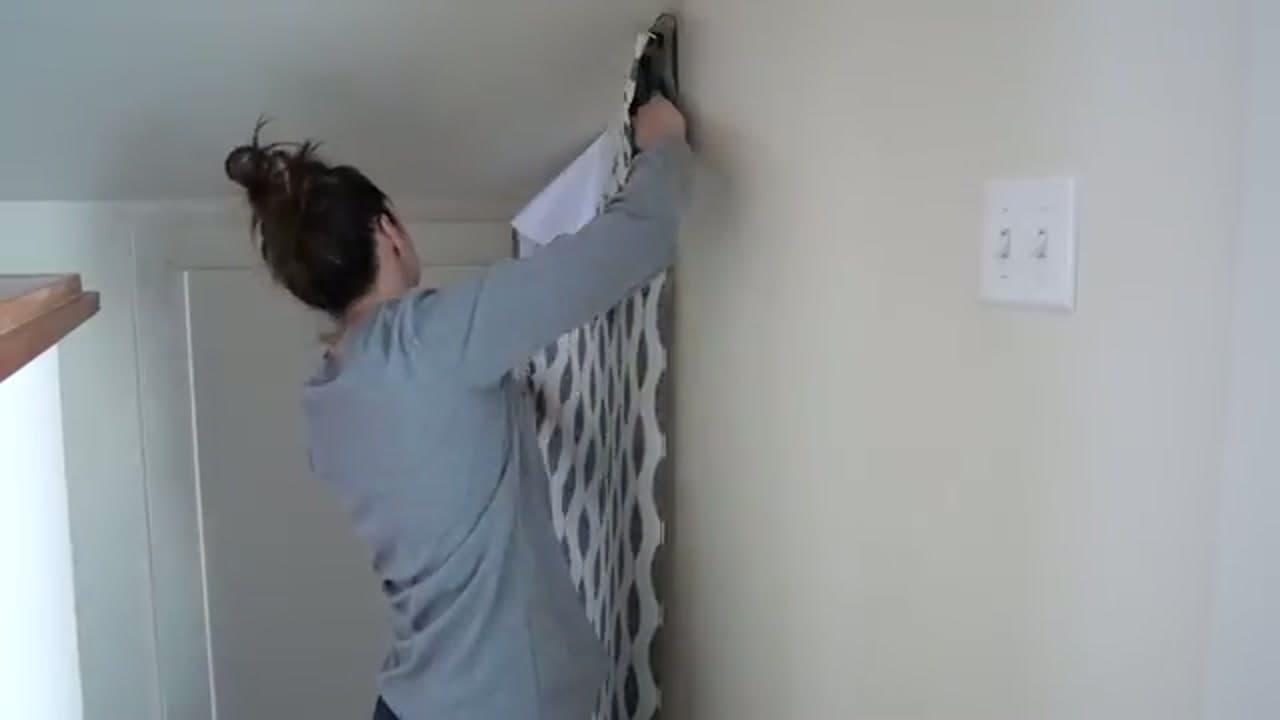
Peel a few inches of backing off the top of the panel and press it to the wall at the ceiling, lining the edge up with your plumb line. Work from the top down, peeling the backing a little at a time. That way the panel won't fold over and stick to itself before you have it placed. Keep light tension on the sheet as you go so it stays on your line. If it drifts, lift it back off and reset. The adhesive forgives a few do-overs.

Tip

Only peel back six inches or so at a time. A whole panel of exposed adhesive is almost impossible to control on your own.

Products used in this step

4

Step 4: Smooth Out the Bubbles

5:30
Step 4: Step 4: Smooth Out the Bubbles

Once the panel is on the wall, grab your smoothing tool and press the paper flat, working from the center outward and top to bottom. This pushes trapped air toward the edges instead of locking it under the sheet. Go slow and use overlapping strokes. If a stubborn bubble forms, peel that section back a bit and re-smooth it before moving on. A flexible plastic squeegee works better than your hand and won't scratch or dent the printed surface.

Tip

For a tiny bubble that won't budge, prick it with a pin and press the air out through the hole. It disappears once it's flat.

Products used in this step

5

Step 5: Match the Pattern on the Next Panel

8:30
Step 5: Step 5: Match the Pattern on the Next Panel

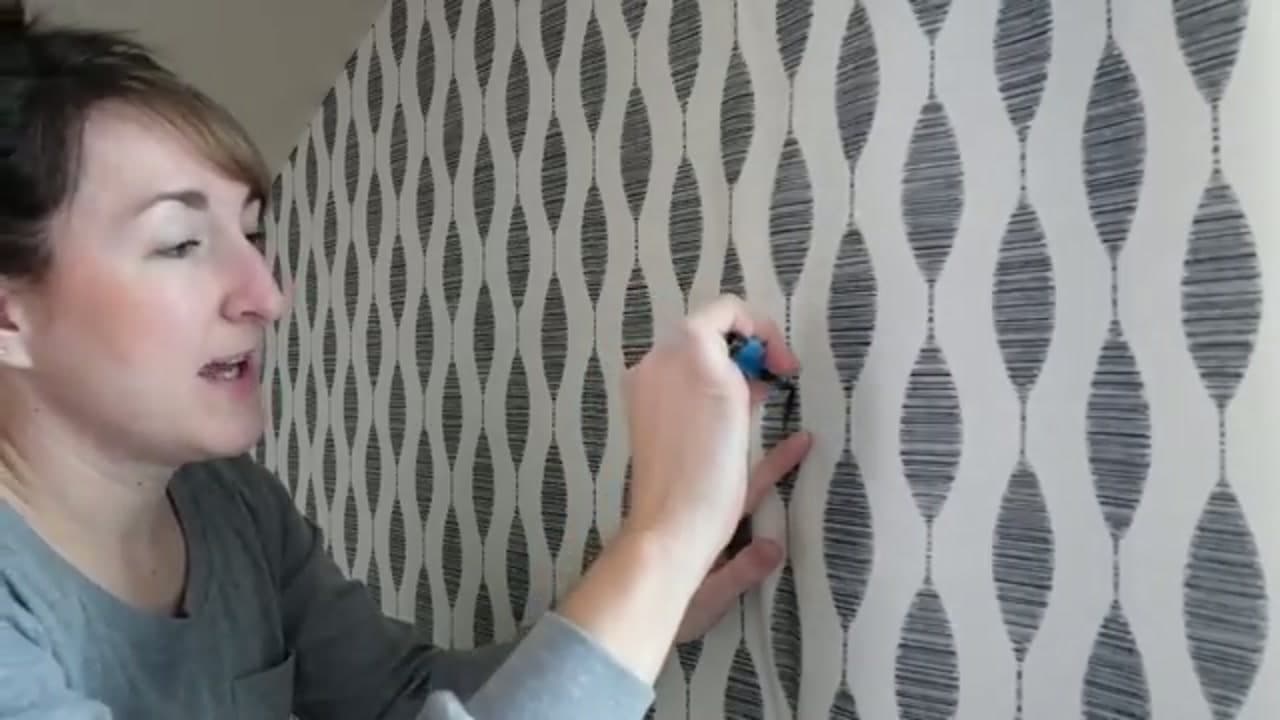
Before you press the next panel down, line up its pattern with the panel already on the wall. Slide it up or down until the design connects cleanly across the seam, then start sticking it from the top. Getting the match right at the top matters most. That's where the eye lands, and a good match makes the whole wall read as one continuous pattern instead of separate strips. Some patterns need a slight overlap at the seam, so check how yours is designed to line up.

Tip

Buy an extra roll. Pattern matching wastes a little at the top of each panel, and running short mid-wall is the worst place to stop.

6

Step 6: Trim at the Ceiling and Baseboard

7:30
Step 6: Step 6: Trim at the Ceiling and Baseboard

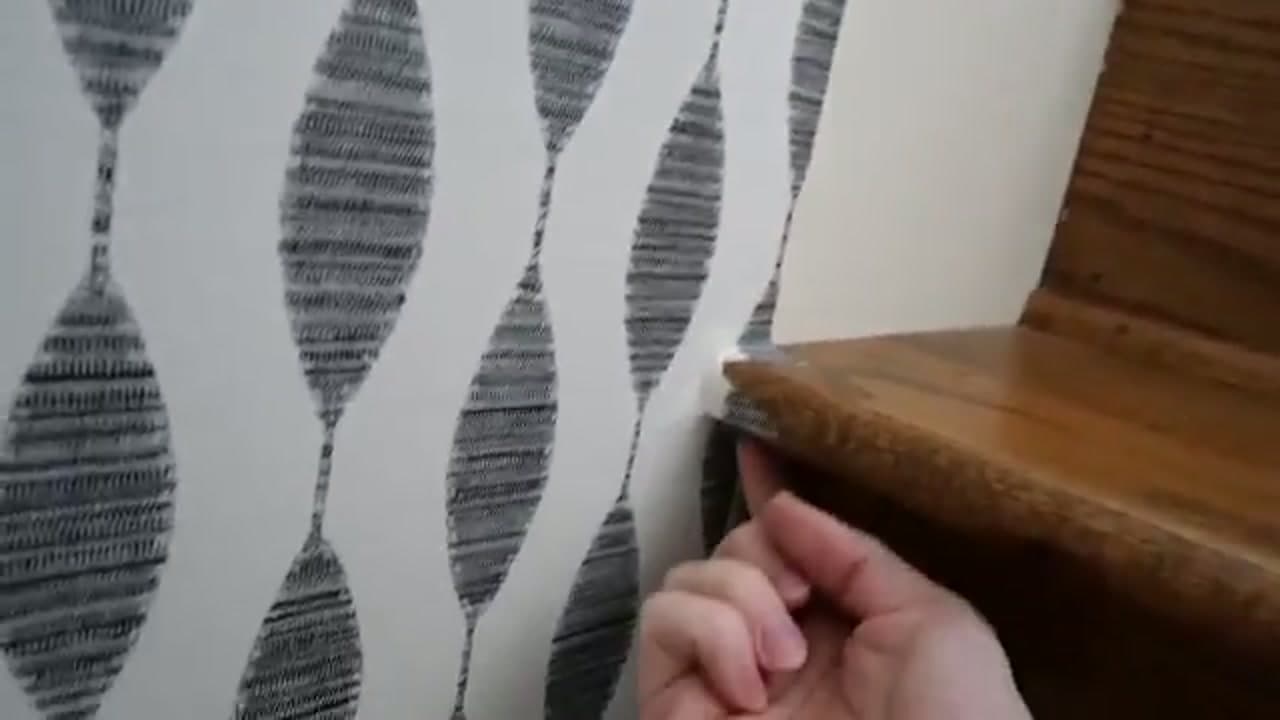
Now clean up the edges. Press the wallpaper snug into the corner where the wall meets the ceiling, baseboard, or a shelf, then run a sharp utility knife along the seam for a crisp line. Let the blade ride the edge as your guide. Keep fresh blades on hand and swap them often. A dull blade drags and tears the paper instead of slicing it, and that shows up as a ragged edge. A metal straightedge held against the trim gives you an even cleaner cut.

Tip

Snap off a fresh blade segment after every few cuts. Peel-and-stick vinyl dulls a blade fast.

7

Step 7: Cut Around Outlets and Switches

10:30
Step 7: Step 7: Cut Around Outlets and Switches

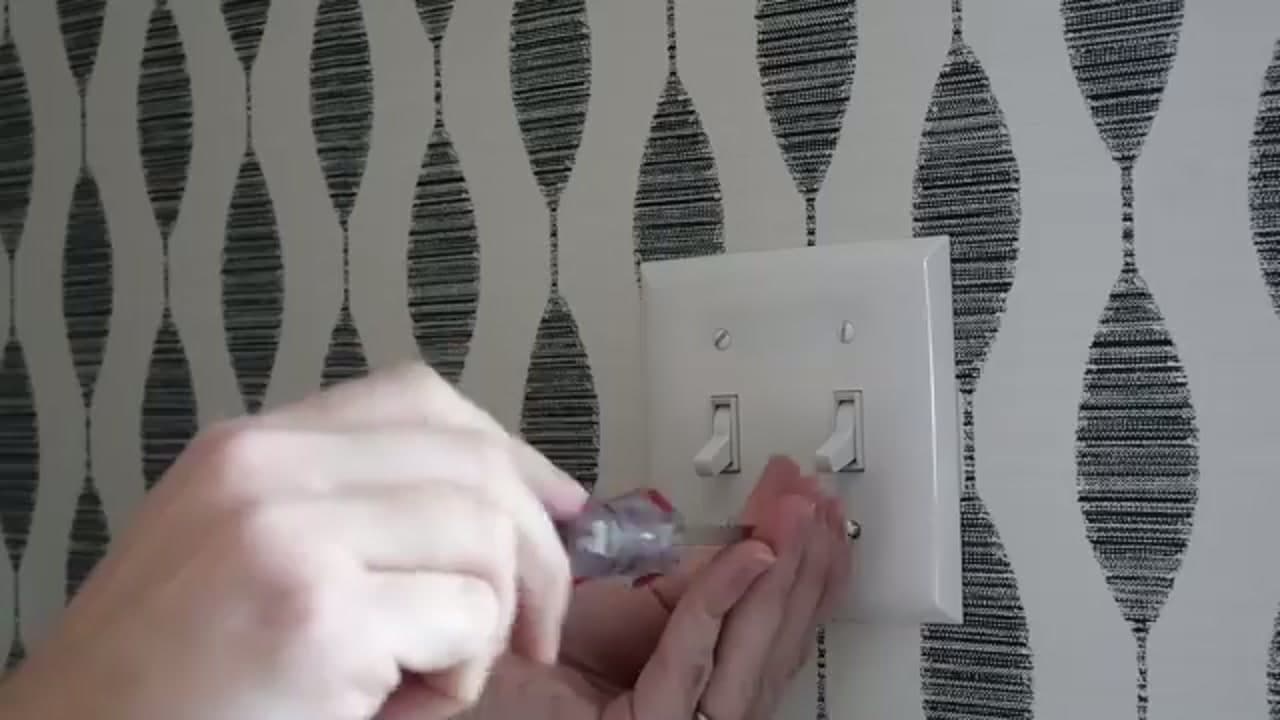
For outlets and light switches, turn off the power and unscrew the cover plate first. Smooth the wallpaper right over the opening, then carefully cut the paper away from the box with your knife, following the opening's edge. Trim it so the cover plate screws back on flush and hides the cut edges underneath. Take your time here. These small details are what make a peel-and-stick job look built-in rather than temporary. Screw the plate back on and move to the next one.

Tip

Poke a small X in the center of the outlet opening first, then trim outward to the corners. It's easier than cutting the whole square blind.

Products used in this step

8

Step 8: Step Back and Enjoy the Finished Wall

12:32
Step 8: Step 8: Step Back and Enjoy the Finished Wall

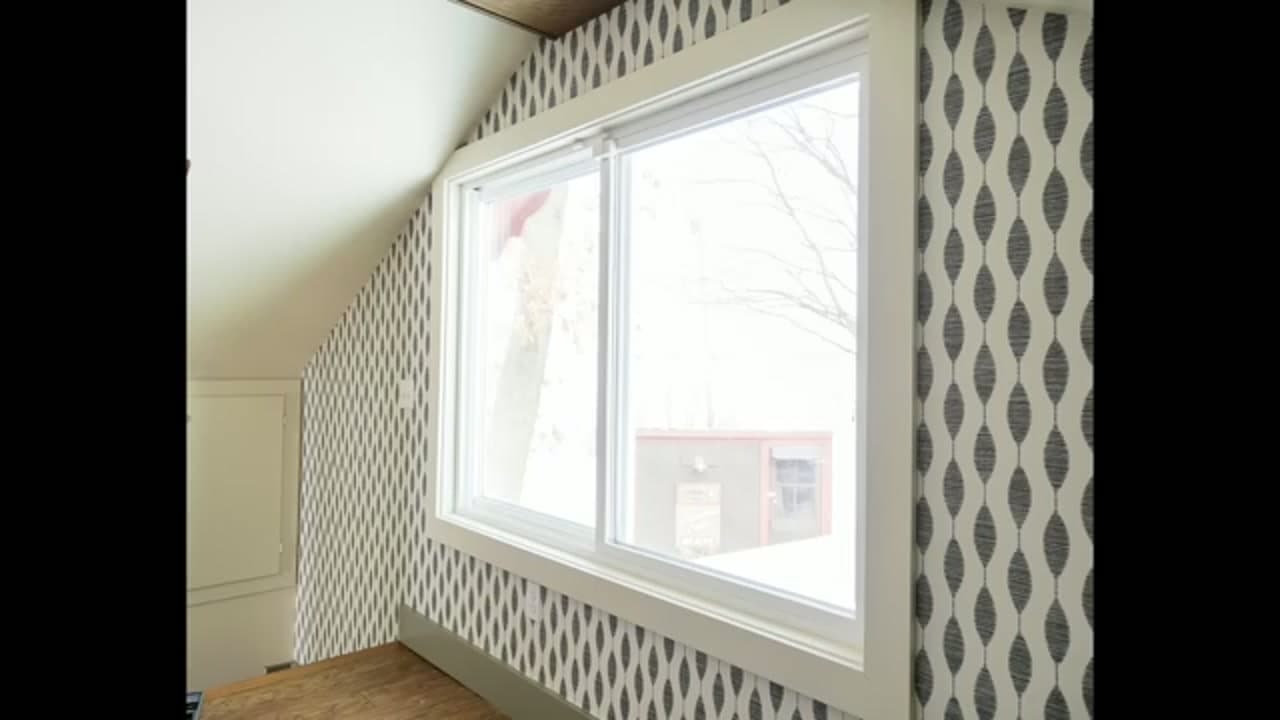
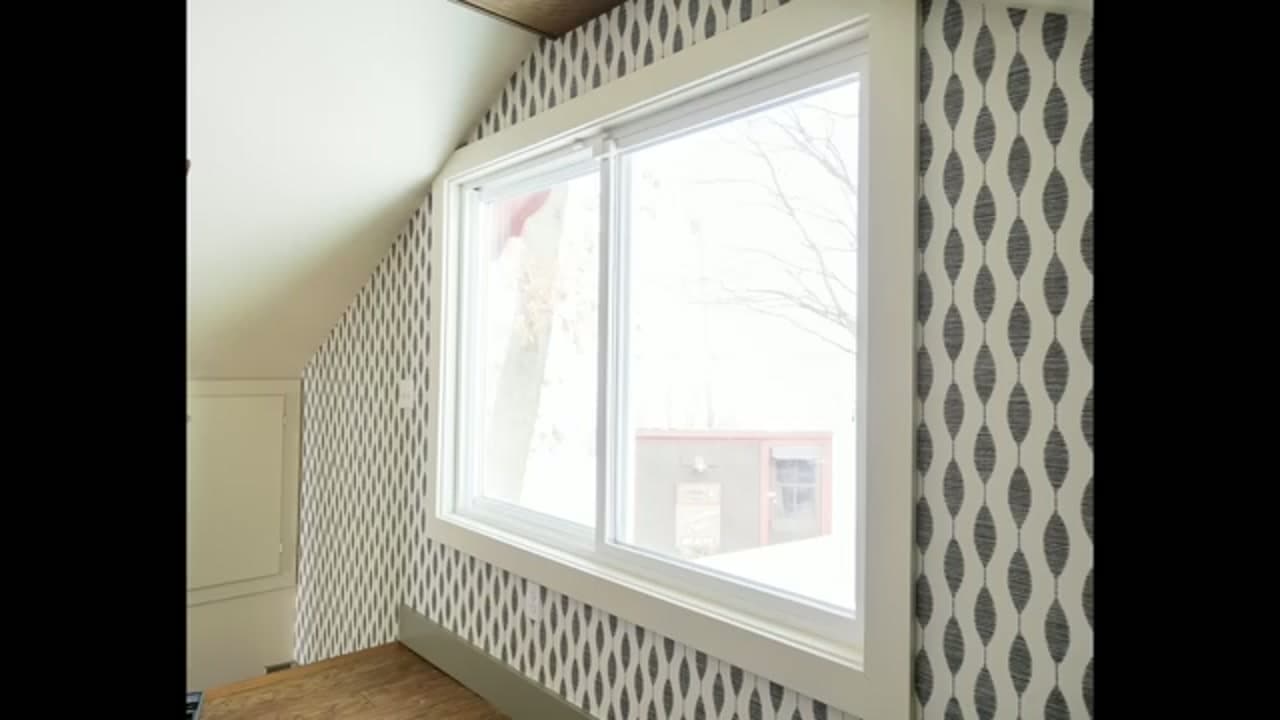
Take a step back and look at what you built. The geometric pattern wraps the window and the angled ceiling and gives the whole nook a custom, finished feel. The best part is that it came together with basic tools and no paste, no professional help, and no permanent commitment. When you're ready for something new, peel-and-stick pulls right back off without wrecking the drywall. That makes it a smart pick for renters or anyone who likes to change things up.

Tip

Save any leftover wallpaper. It's handy for patching a scuff later or covering a small shelf or drawer front to tie the room together.

Products used in this step

Products Used

☐ The Checklist

How to Install Peel and Stick Wallpaper

Tools
5
Materials
1
Steps
8
Video
13 min

Your Guide

Grace In My Space

As an Amazon Associate we earn from qualifying purchases. Links on this page may be affiliate links - clicking them and buying doesn't change your price, but helps support ShowMeStepByStep.

Tags

Sunday How-To

New home improvement tutorials, every Sunday

One short email with the week's best step-by-step guides. Free, no spam, unsubscribe anytime.

Did this work for you?

What's next

Related collections

Curated theme pages that include this tutorial.

Weekly Digest

Liked this home improvement tutorial?

Pick the categories you want to hear about. Weekly digest of new step-by-step tutorials. No spam, easy unsubscribe.

Send me tutorials about

We only email about new tutorials. Easy unsubscribe anytime.