How to Mount a TV on the Wall

Home ImprovementMedium9:257 stepsBrowse more →
Also in:Adulting

By ShowMeStepByStepPublished

Based on a video by LRN2DIY.

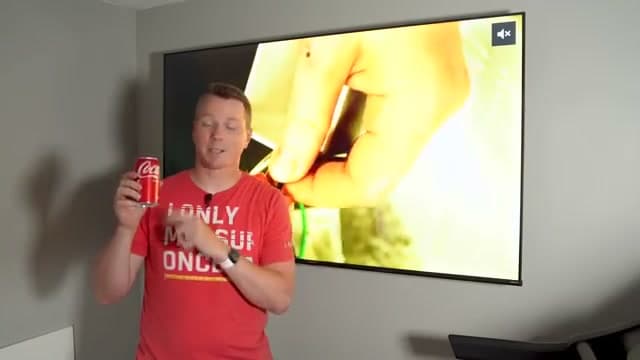
A wall-mounted TV looks clean and frees up the space a stand would eat. The catch is doing it so the TV never comes crashing down. This walkthrough from Nils at LRN2DIY shows you how to mount a full-motion TV bracket the safe way, anchored into the wall studs instead of just the drywall.

You will find and mark the studs, bolt the mounting arms to the back of the TV, drill your pilot holes, lag the wall plate to the framing, and hang the TV. Nothing here needs a pro. With a stud finder, a drill, and a level, you can get this done in an afternoon.

New to finding framing behind drywall? Read our guide on how to use a stud finder first, then come back and mount that TV.

Step-by-Step Guide

1

Step 1: Find and Mark the Wall Studs

4:35
Step 1: Step 1: Find and Mark the Wall Studs

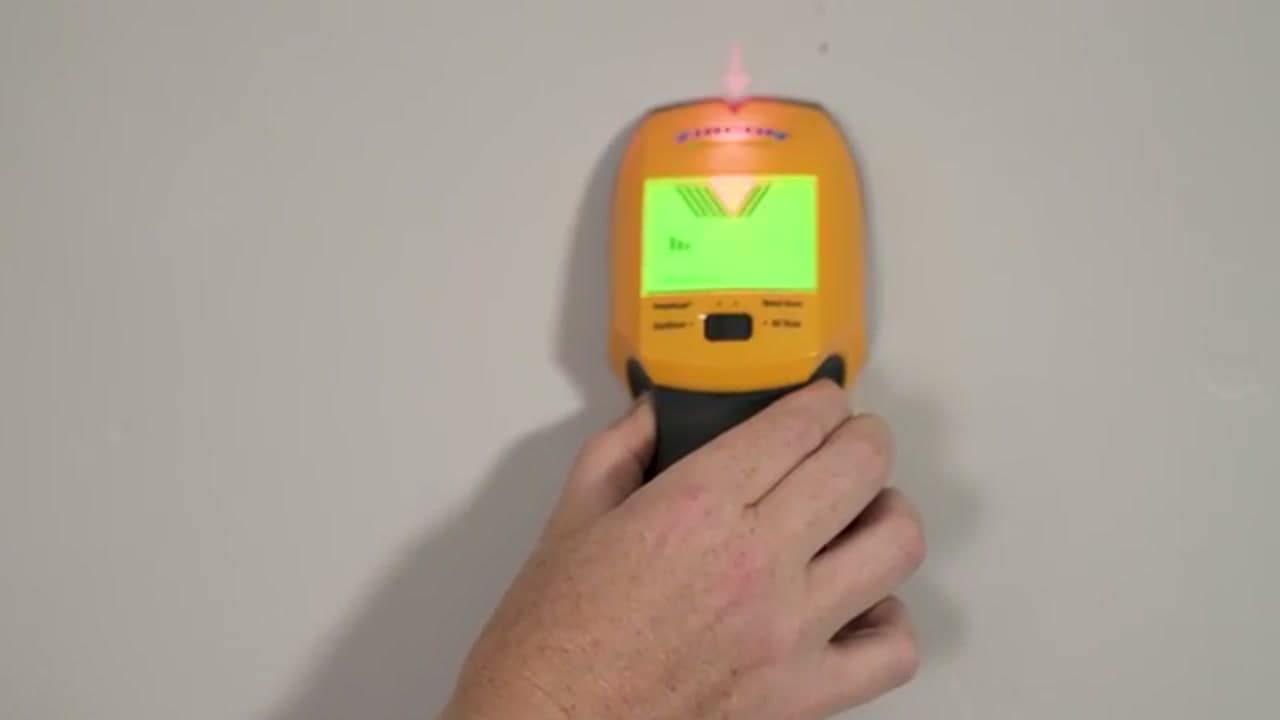
Your TV cannot hang on drywall alone. Run the stud finder across the wall until it beeps and lights up on a stud, then mark both edges with a pencil. Do this for at least two studs at the height you want the TV. Most studs sit 16 inches apart, so once you find one, the next is easy to spot. These marks tell you exactly where the solid wood framing is.

Tip

Mark the center of each stud, not just the edges. That is where your lag bolts want to land.

Products used in this step

2

Step 2: Attach the Mounting Arms to the TV

3:35
Step 2: Step 2: Attach the Mounting Arms to the TV

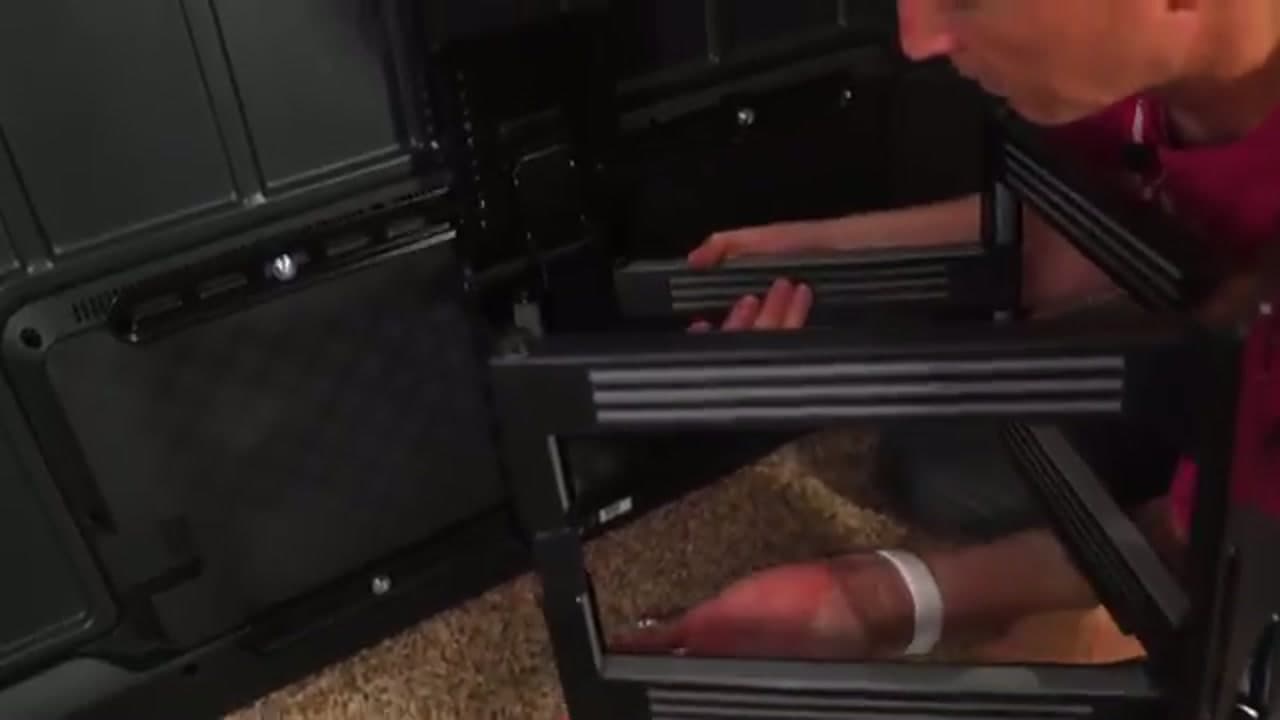
Lay the TV face-down on a soft blanket or the box it came in so you do not scratch the screen. Line the bracket arms up with the threaded holes on the back panel and bolt them on with the hardware from the mount kit. Snug them down firm but do not over-tighten. Getting the arms square and even now makes hanging the TV much easier later.

Tip

If the back of your TV curves, use the spacers in the kit so the arms sit flush.

3

Step 3: Mark Your Drill Holes

5:35
Step 3: Step 3: Mark Your Drill Holes

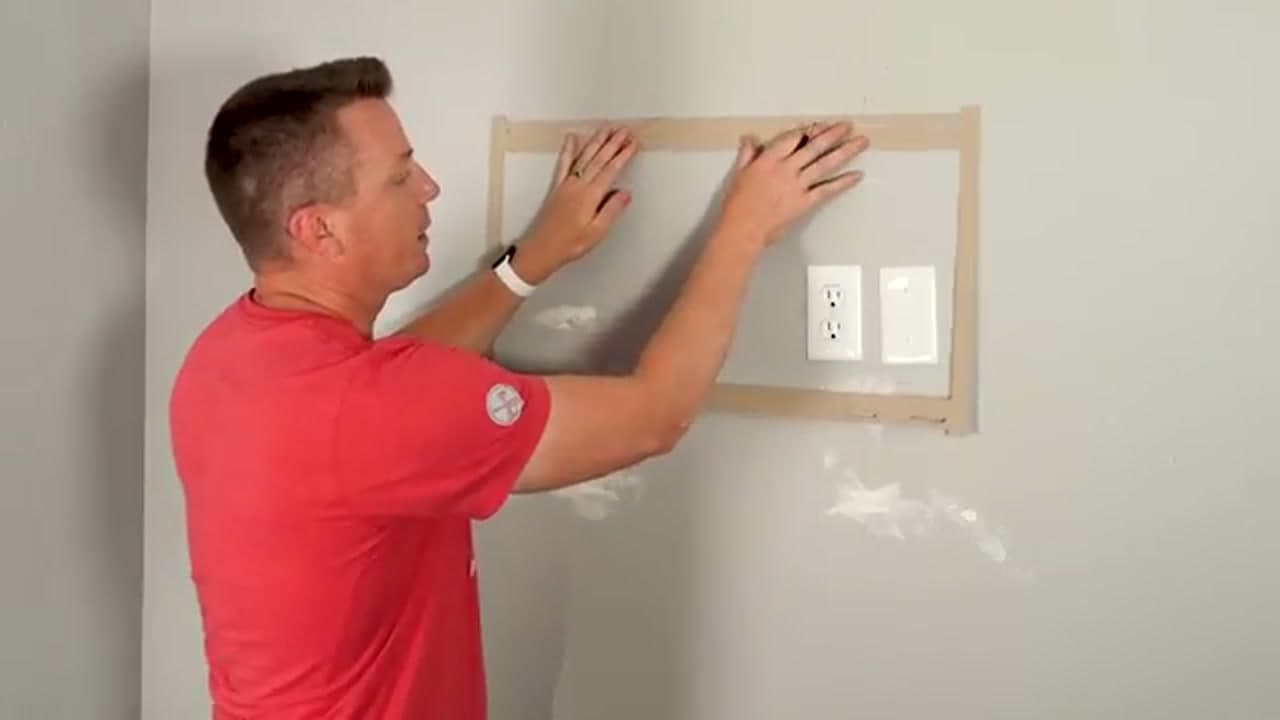
Hold the wall plate flat against the wall, centered over your stud marks, at the height you picked. Set a level on top and adjust until the bubble is dead center. With the plate level, mark each bolt hole through the plate onto the wall. Take your time here. A few minutes of careful marking now saves you from a crooked TV or holes in the wrong spot.

Tip

Have a helper hold the plate while you mark. Two sets of hands keep it from shifting.

Products used in this step

4

Step 4: Drill the Pilot Holes

7:15
Step 4: Step 4: Drill the Pilot Holes

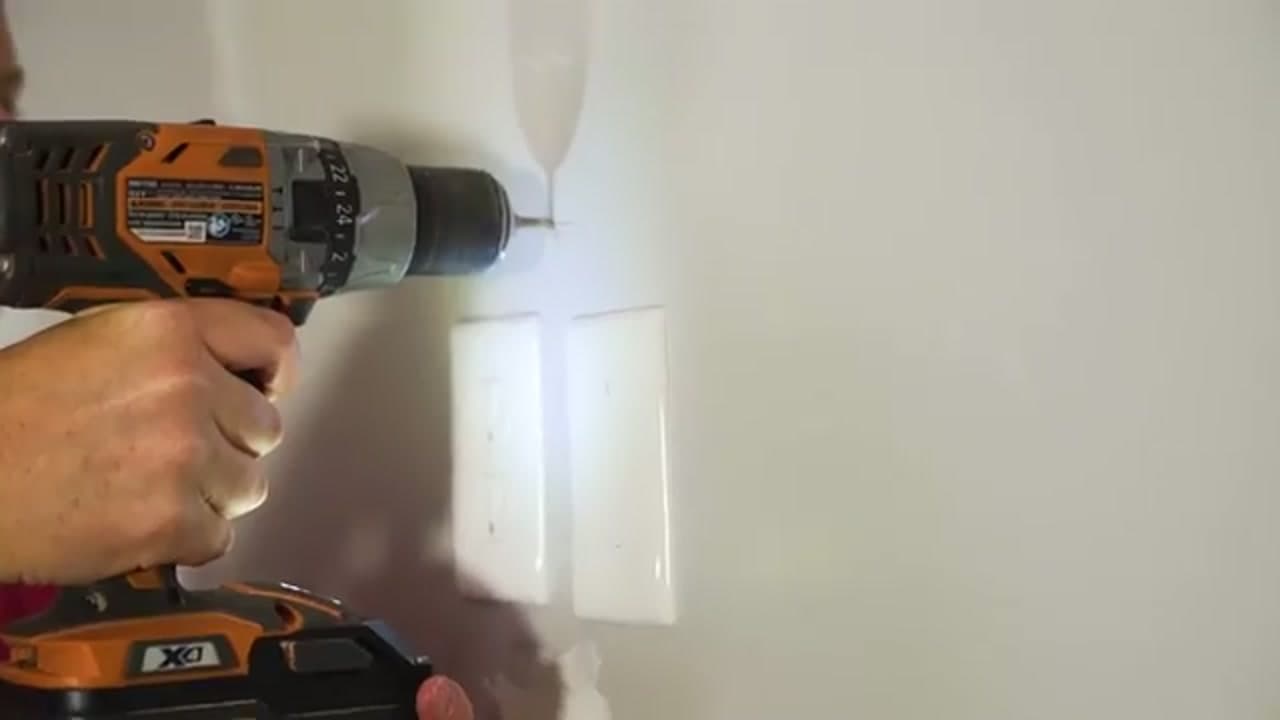
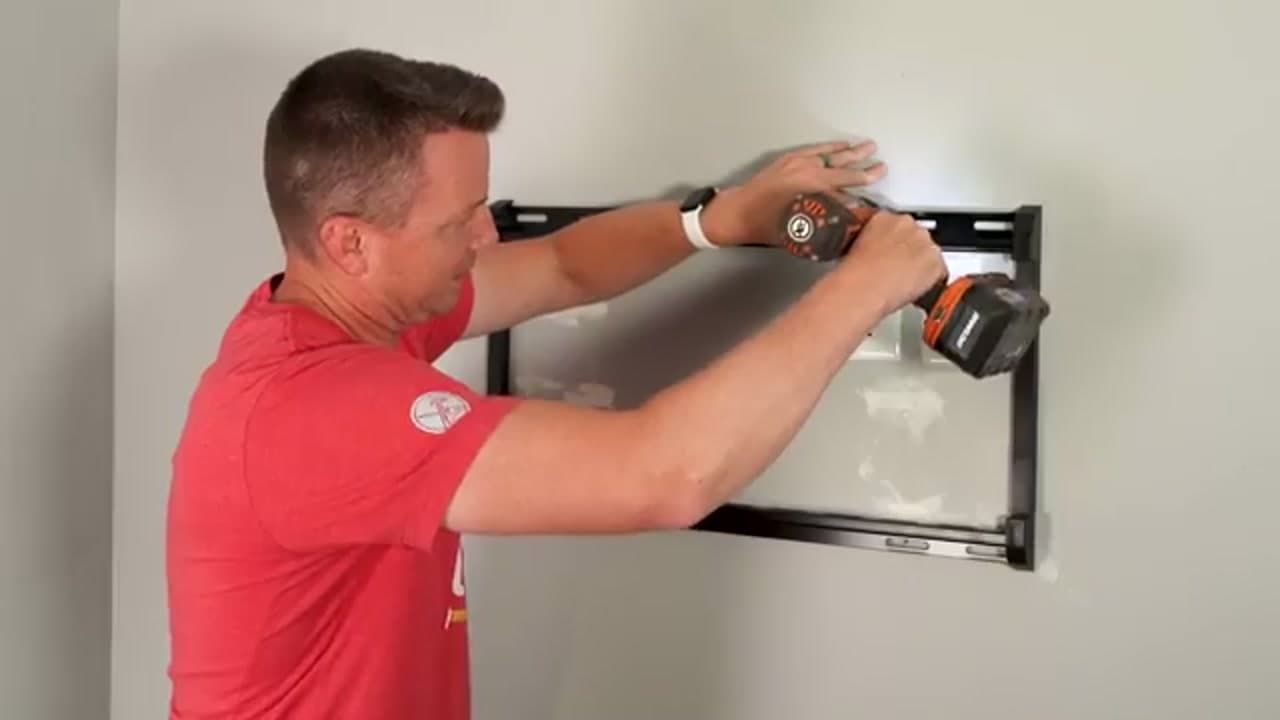
Pick a drill bit a little thinner than your lag bolts and drill straight into the stud at each mark. Pilot holes let the bolts bite cleanly and stop the wood from splitting when you drive them in. Keep the drill level so the holes go in straight. If the bit chews through easily and never hits resistance, you have missed the stud, so stop and re-check your marks.

Tip

Wrap a bit of tape around the drill bit at the depth you need so you do not go too deep.

5

Step 5: Bolt the Wall Plate to the Studs

7:25
Step 5: Step 5: Bolt the Wall Plate to the Studs

Line the plate back up over your pilot holes and start each lag bolt by hand so you do not cross-thread it. Then drive them home with the drill or a socket wrench until the plate pulls tight against the wall. Set the level on the plate one more time before the last turn and nudge it flat. When every bolt is snug into solid wood, that plate is not going anywhere.

Tip

Do not fully tighten the first bolt until all of them are started. That way you can still level the plate.

6

Step 6: Hang the TV on the Wall Plate

8:57
Step 6: Step 6: Hang the TV on the Wall Plate

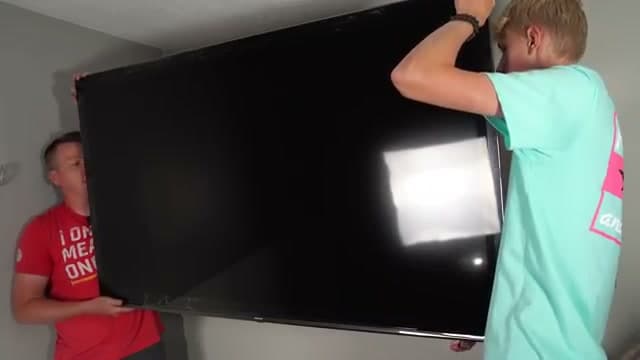
This part goes easier with a second person. Lift the TV together, tilt the top toward the wall, and lower the bracket arms so they drop onto the hooks on the wall plate. Rock it gently until you feel it seat and lock into place. Big TVs are heavier than they look, so keep a firm grip and take it slow. Once it is on the hooks, it holds itself.

Tip

Route your HDMI and power cables before you set the TV fully against the wall. It is much harder to reach after.

7

Step 7: Level It and You Are Done

9:09
Step 7: Step 7: Level It and You Are Done

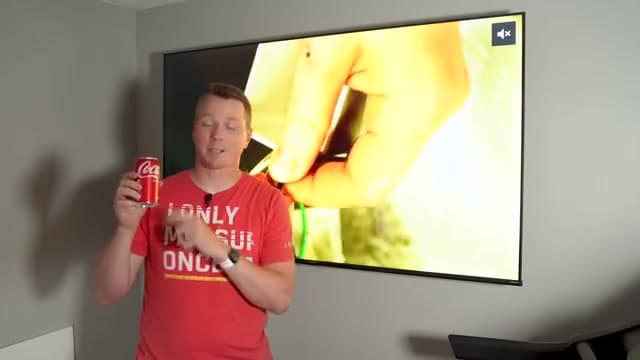
Set a level on top of the TV and nudge it flat if it is off. A full-motion mount lets you tilt and swivel, so give it a small push to make sure it moves smooth and holds where you leave it. Give the whole thing one last gentle test to confirm it is locked onto the plate. That is it. Your TV is mounted flush and solid, and you built it yourself.

Tip

Tuck any loose cables into a cord cover or channel for a clean, finished look.

Products Used

☐ The Checklist

How to Mount a TV on the Wall

Tools
5
Materials
4
Steps
7
Video
9 min

Your Guide

LRN2DIY

As an Amazon Associate we earn from qualifying purchases. Links on this page may be affiliate links - clicking them and buying doesn't change your price, but helps support ShowMeStepByStep.

Tags

Sunday How-To

New home improvement tutorials, every Sunday

One short email with the week's best step-by-step guides. Free, no spam, unsubscribe anytime.

Did this work for you?

What's next

Related collections

Curated theme pages that include this tutorial.

Weekly Digest

Liked this home improvement tutorial?

Pick the categories you want to hear about. Weekly digest of new step-by-step tutorials. No spam, easy unsubscribe.

Send me tutorials about

We only email about new tutorials. Easy unsubscribe anytime.