How to Pressure Wash a Driveway

Home ImprovementEasy8:576 stepsBrowse more →
Also in:Adulting

By ShowMeStepByStepPublished

Based on a video by Everyday Home Repairs.

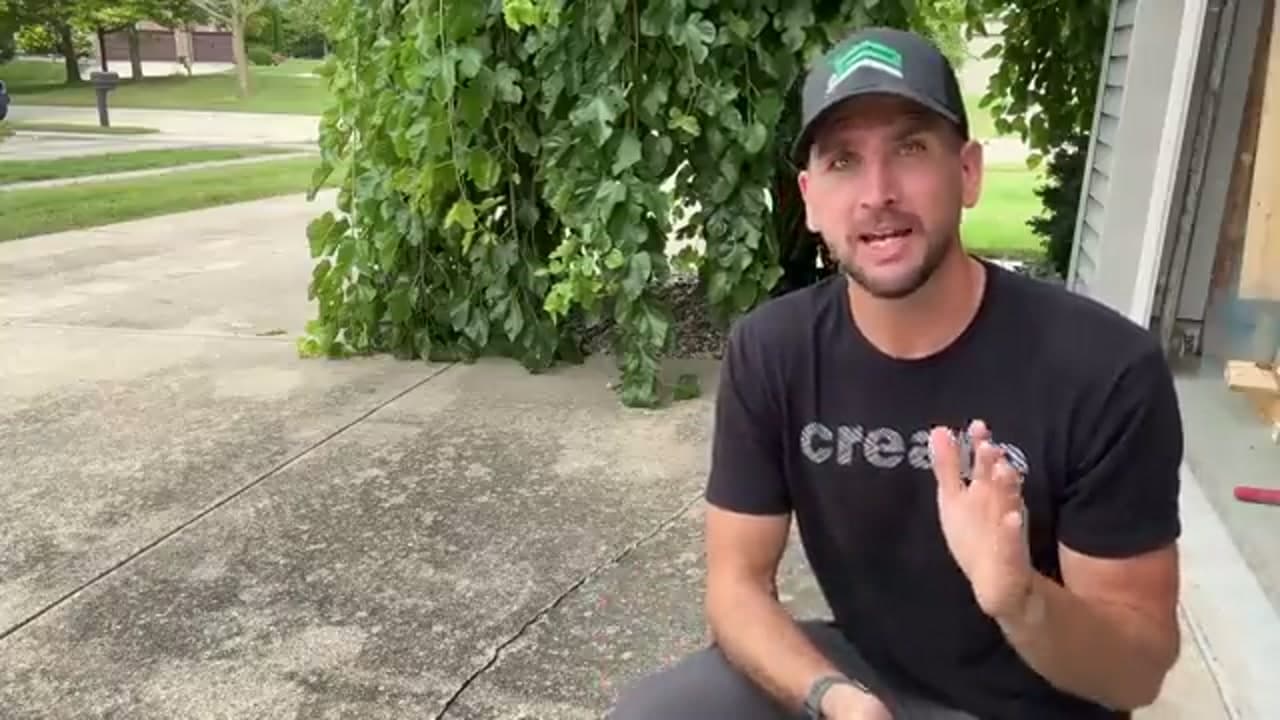
A dirty driveway is one of those things you stop noticing until you clean half of it and see the difference. In this tutorial from Everyday Home Repairs, you will learn the surface cleaner method he switched to after doing it the slow way for years.

The trick is the surface cleaner attachment. Instead of dragging a single wand back and forth and leaving streaks, the spinning disc gives you an even, edge-to-edge clean in a fraction of the time. You will connect the machine, pre wet the slab, run the cleaner in overlapping passes, then detail the edges and cracks.

If you like a satisfying before-and-after project, this pairs well with flipping a piece of furniture. Both take a tired surface and make it look new.

Step-by-Step Guide

1

Step 1: Clear and Size Up the Driveway

0:25
Step 1: Step 1: Clear and Size Up the Driveway

Start by getting everything off the slab. Move cars, bikes, planters, and the trash cans out of the way. Give the driveway a quick sweep so loose leaves and grit do not just get pushed around later.

Now take a good look. Find the oil spots, the tire marks, and the dark green areas where mildew has taken hold. Knowing where the worst stains are tells you where to spend extra time once the water is flowing.

Tip

A stiff push broom clears more debris in one pass than a leaf blower on a driveway this size.

Products used in this step

2

Step 2: Connect the Pressure Washer

8:20
Step 2: Step 2: Connect the Pressure Washer

Set the machine near the middle of the driveway so the hose reaches both ends. Screw the garden hose onto the water inlet and open the spigot all the way. Snap the high pressure hose onto the pump with the quick connect coupler, then attach the spray wand.

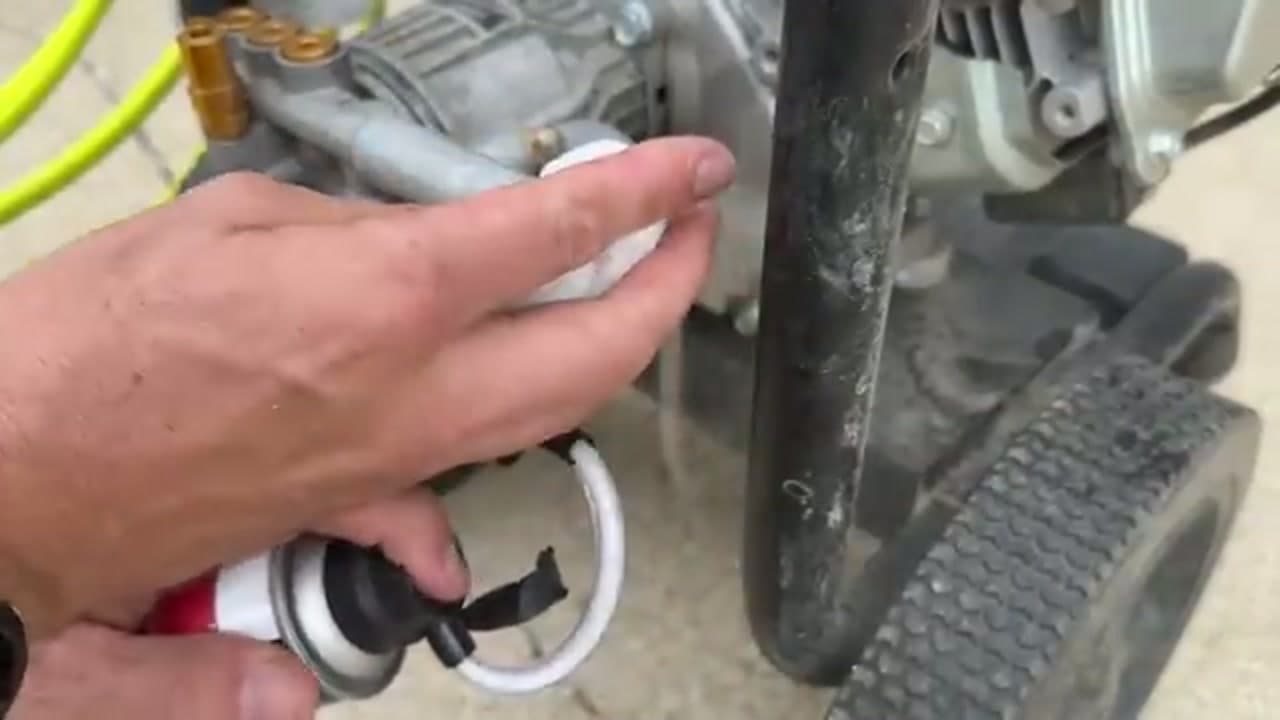
On a gas unit, check the oil and fuel before you pull the cord. Squeeze the trigger for a few seconds to push the air out of the line so the pump primes cleanly.

Tip

Let a gas engine warm up for 15 to 30 seconds before you start washing so the pressure stays steady.

3

Step 3: Pre Wet and Apply Detergent

2:45
Step 3: Step 3: Pre Wet and Apply Detergent

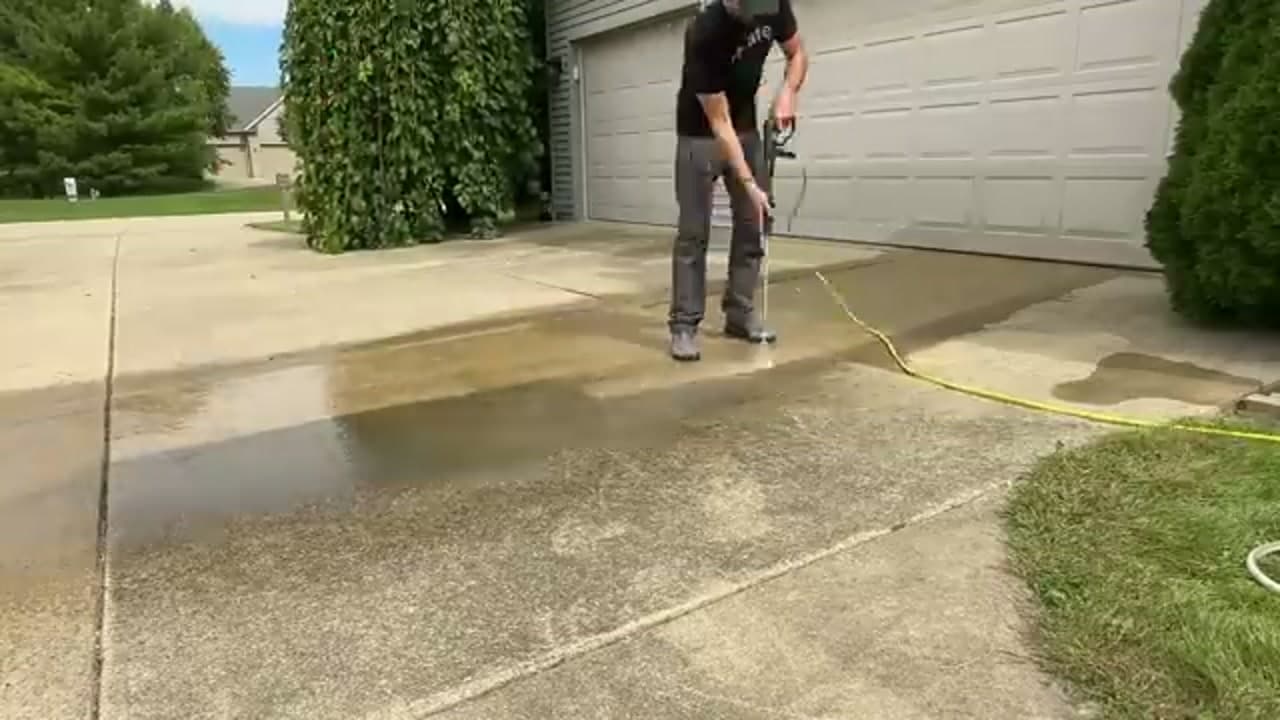
Wet the whole slab down first with the wand and a wide tip. Working in sections keeps the concrete from drying out before you clean it. This first soak also lifts the loose grit and shows you how deep the staining really goes.

For heavy grime, this is the point to lay down a concrete detergent through a soap nozzle and let it dwell for a few minutes. It loosens oil and mildew so the pressure does the rest.

Tip

Do not let detergent dry on hot concrete. Re wet any section that starts to dry before you scrub it.

4

Step 4: Attach the Surface Cleaner

5:20
Step 4: Step 4: Attach the Surface Cleaner

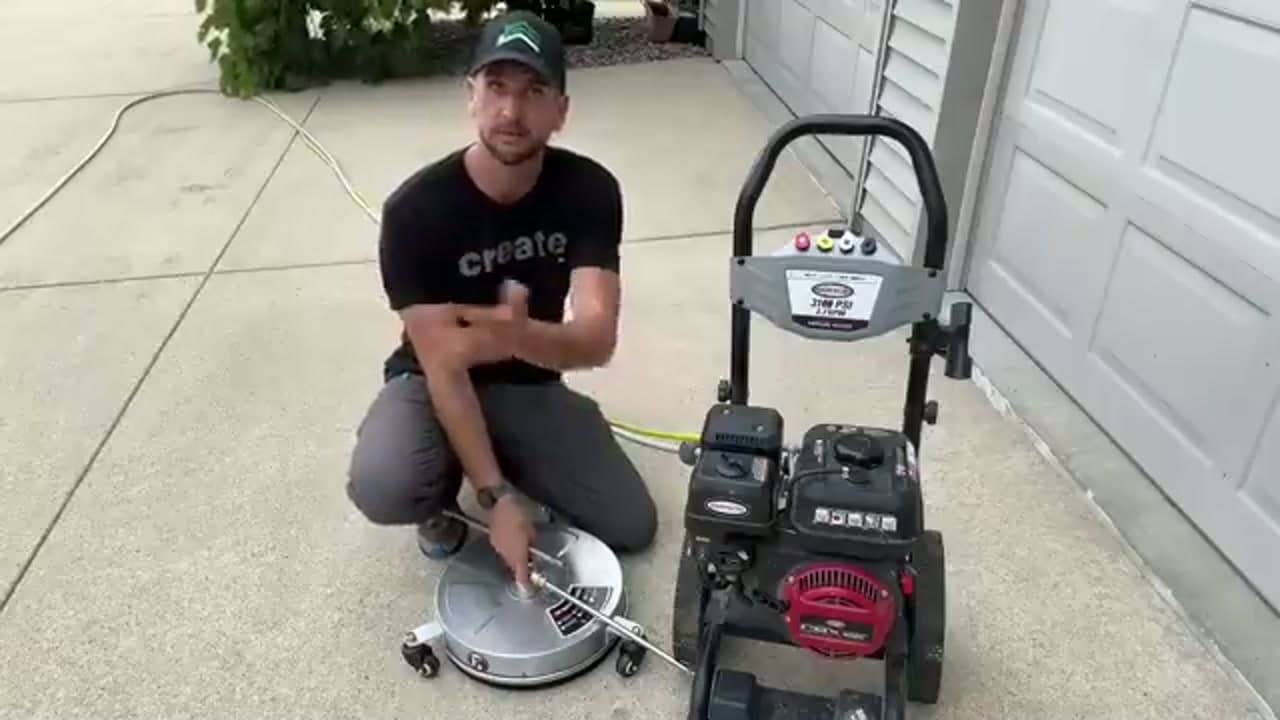
This is the part that changes everything. Swap the wand for a surface cleaner attachment. It is a flat round housing with two nozzles that spin under a shroud, so the spray hits the concrete evenly instead of in one narrow line.

It clicks onto the same high pressure hose in seconds. The shroud also keeps the dirty spray contained instead of blasting it up onto the garage and your legs.

Tip

Match the surface cleaner to your washer's flow rating. Undersizing it leaves the disc spinning too slow to clean well.

Products used in this step

5

Step 5: Run Slow, Overlapping Passes

7:25
Step 5: Step 5: Run Slow, Overlapping Passes

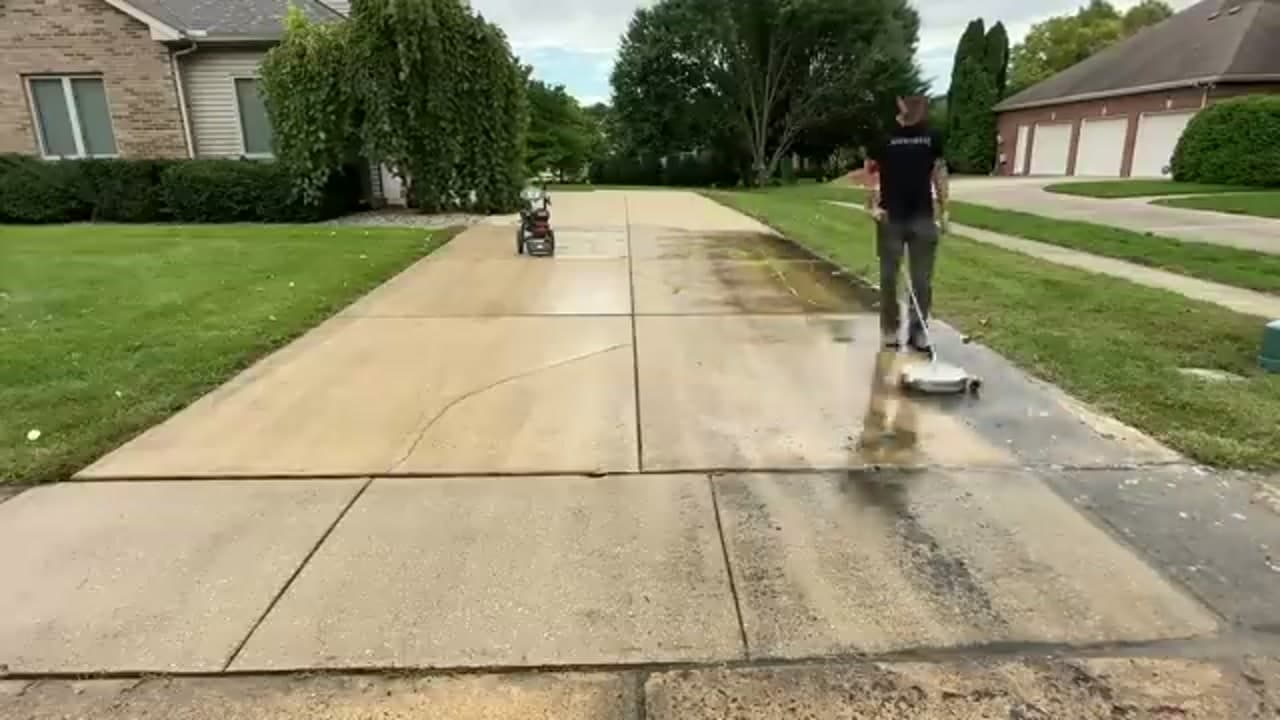
Set the cleaner flat on the concrete and squeeze the trigger. Walk it forward at a slow, steady pace. Rushing leaves a hazy film, so let the disc do the work.

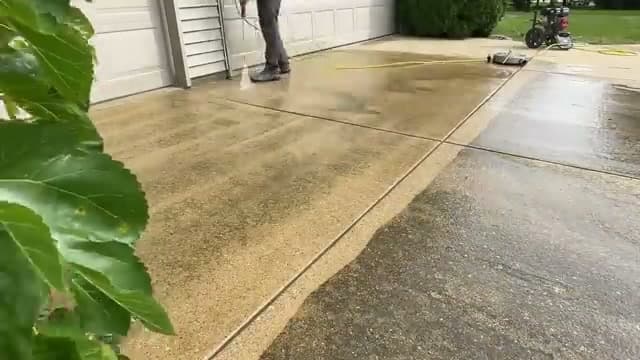
Overlap each pass by a few inches so you never leave a dirty stripe between rows. Behind you a bright clean band opens up against the grimy concrete, which makes it easy to see exactly where you have already been.

Tip

Work in one direction across the whole driveway, then you will not lose track of which rows you have finished.

Products used in this step

6

Step 6: Detail the Edges and Rinse

5:00
Step 6: Step 6: Detail the Edges and Rinse

The round cleaner cannot reach right up to the grass or into the expansion joints, so switch back to the wand. Fit a narrow or turbo tip and cut along the borders, the control joints, and any deep stains that survived the first pass.

When the details are done, give the whole slab a final rinse. Push the dirty water off the low end so it drains away and does not dry back into a film.

Tip

Hold a turbo nozzle a few inches back and keep it moving. Parked in one spot it can etch the concrete.

Products used in this step

Products Used

☐ The Checklist

How to Pressure Wash a Driveway

Tools
4
Materials
1
Steps
6
Video
9 min

Your Guide

Everyday Home Repairs

As an Amazon Associate we earn from qualifying purchases. Links on this page may be affiliate links - clicking them and buying doesn't change your price, but helps support ShowMeStepByStep.

Tags

Sunday How-To

New home improvement tutorials, every Sunday

One short email with the week's best step-by-step guides. Free, no spam, unsubscribe anytime.

Did this work for you?

What's next

Related collections

Curated theme pages that include this tutorial.

Weekly Digest

Liked this home improvement tutorial?

Pick the categories you want to hear about. Weekly digest of new step-by-step tutorials. No spam, easy unsubscribe.

Send me tutorials about

We only email about new tutorials. Easy unsubscribe anytime.