How to Clean and Descale an Espresso Machine

By ShowMeStepByStepPublished Updated

Based on a video by Joe's Fine Coffee.

If your espresso machine's clean or descale light just came on, this is the walkthrough you need. Joe's Fine Coffee shows the full process on a Breville Barista Express, but the same two jobs apply to almost any home espresso machine: a backflush clean to wash out old coffee oils, and a descale to clear the mineral scale that hard water leaves behind.

Why bother? Mineral buildup slowly chokes the brewing flow, throws off the temperature, and dulls the taste of your espresso. Left long enough, it strains the pump and shortens the life of the machine. Running this cycle every few months keeps everything flowing the way it did out of the box, and it takes about ten minutes of hands-on time.

You will need a few cheap supplies: cleaning tablets, a descaling solution, the cleaning disk and basket that came with your machine, and a fresh water filter. Most machines ship with a starter set, and refills are easy to find online. Work through the steps in order, do the visual checks, and you will have a clean, descaled machine ready to pull a better shot.

Step-by-Step Guide

1

Step 1: Gather Your Cleaning Supplies

0:08
Step 1: Step 1: Gather Your Cleaning Supplies

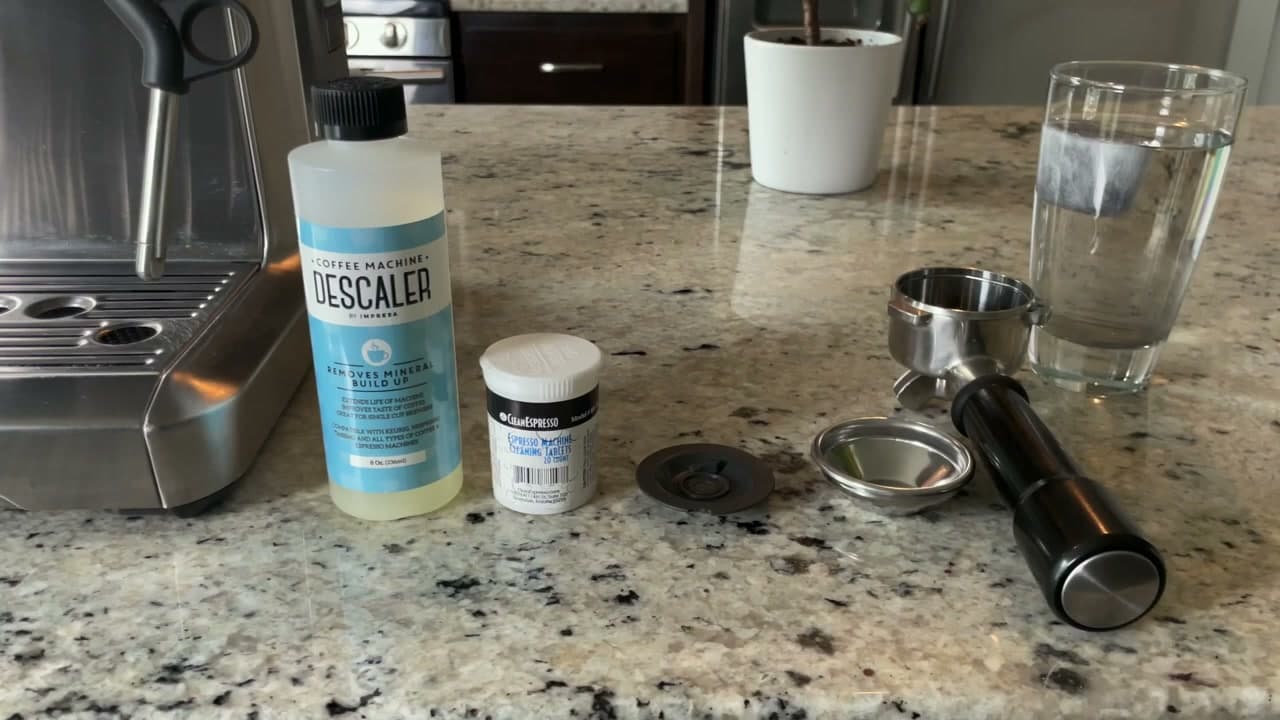
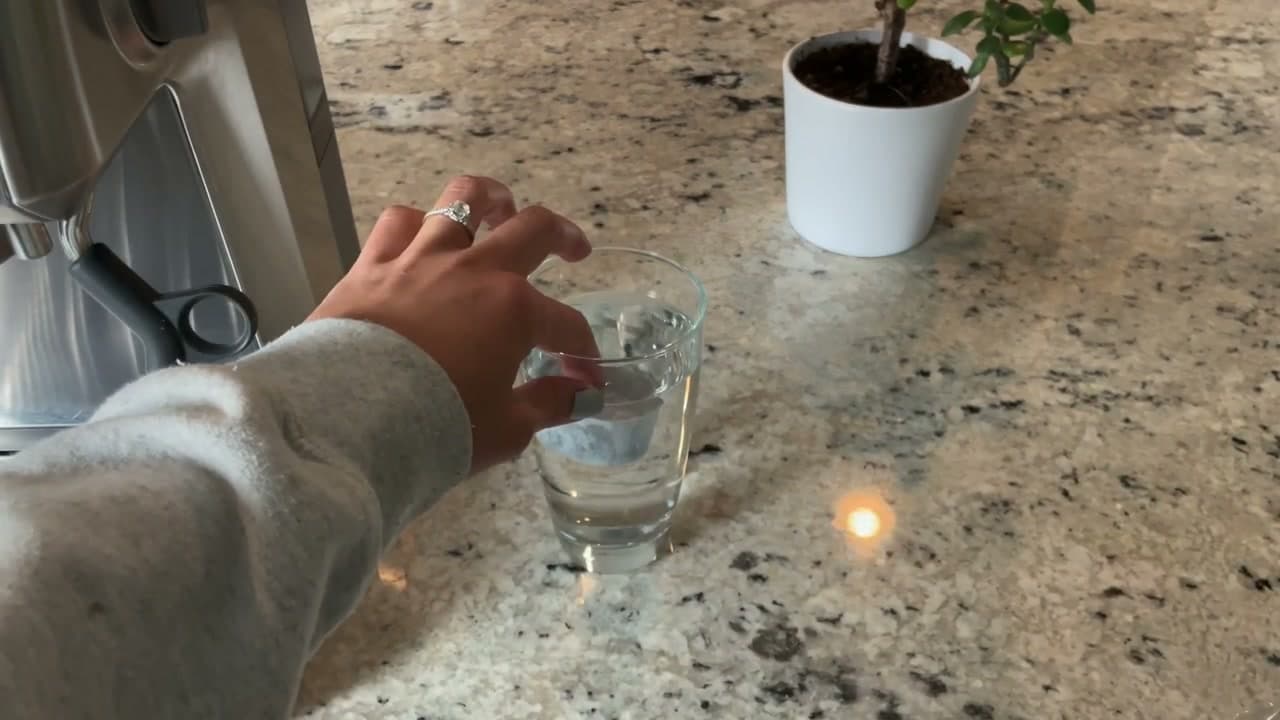
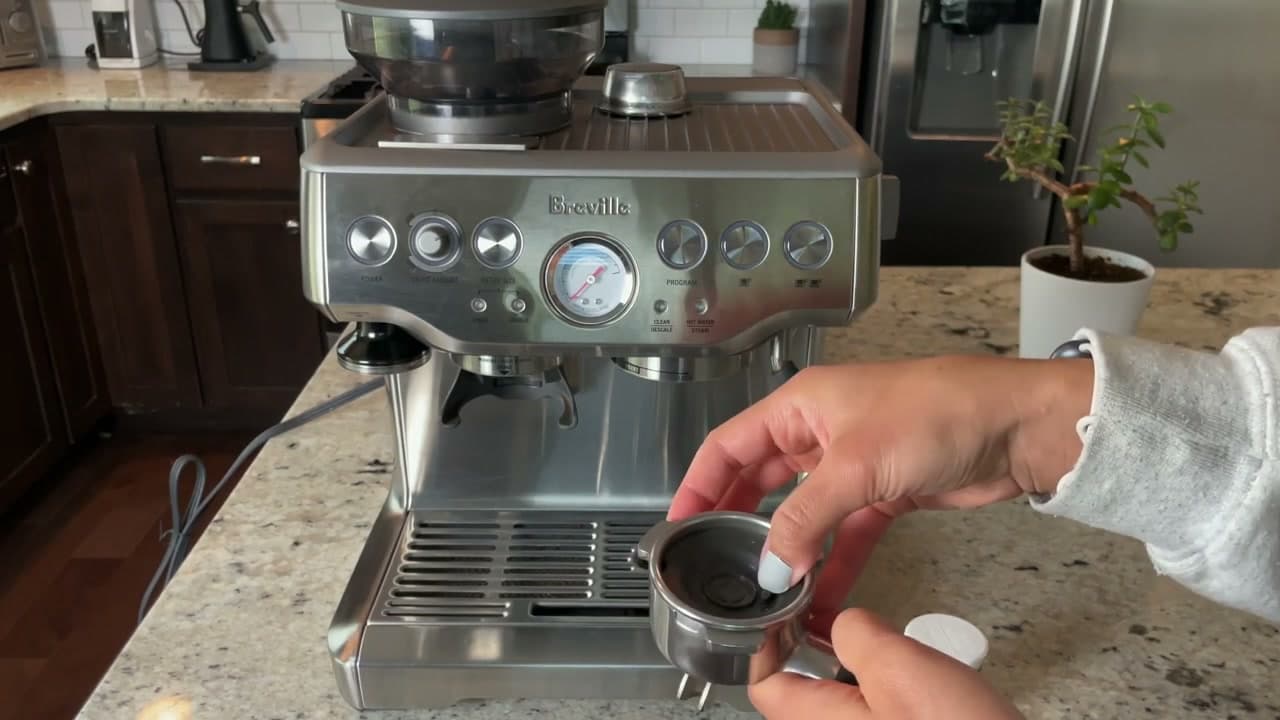
Set out everything before you start so you are not hunting for parts mid-cycle. You need the portafilter, the single-wall filter basket, the rubber cleaning disk, a backflush cleaning tablet, descaling solution, and a fresh water filter for the tank.

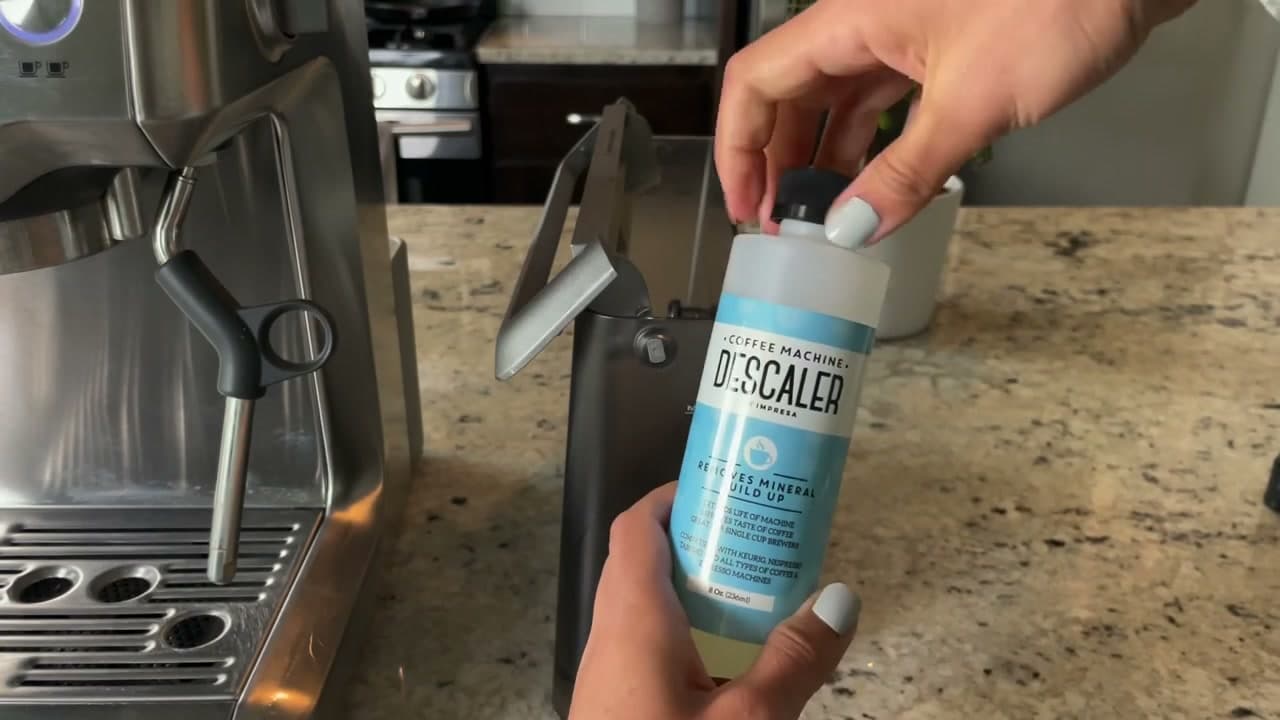
Most espresso machines ship with a starter pack of cleaning tablets and descaler, but those run out. When they do, you can grab refills online for a few dollars. Any espresso-machine cleaning tablet and any coffee-machine descaler will work, not just the brand-name ones.

Tip

Watch this step Buy the tablets and descaler in a multi-pack. You will run this clean roughly every three months, so a year's worth costs almost nothing and means you never skip it.

2

Step 2: Soak the New Water Filter

0:35
Step 2: Step 2: Soak the New Water Filter

Drop the new water filter into a glass of warm water and let it sit for about five minutes. This wakes up the carbon and rinses out the loose dust so it works properly once it goes in the tank.

Start this at the very beginning of the clean. By the time you finish backflushing and descaling, the filter has soaked long enough to install at the end. It is an easy step to forget, so soak it first.

Tip

Watch this step Warm tap water is fine, no need to boil it. If your machine uses a specific filter cartridge, check the box for the exact soak time, but five minutes covers most of them.

3

Step 3: Build the Backflush Stack

0:54
Step 3: Step 3: Build the Backflush Stack

Load the portafilter in order: the single-wall filter basket goes in first, then the rubber cleaning disk sits on top of it, and a cleaning tablet drops into the dimple in the center of the disk. The disk has no holes, which is what forces water back through the group head instead of out the spout.

This blind-basket setup is how the machine cleans itself. The trapped pressure pushes the dissolved tablet up through the shower screen and washes out old coffee oils you cannot reach by hand.

Tip

Watch this step If you do not have the rubber disk, a blind basket (one with no holes) does the same job. Never run a backflush with a normal basket, the water needs somewhere to push back.

4

Step 4: Lock It In and Start the Clean Cycle

1:05
Step 4: Step 4: Lock It In and Start the Clean Cycle

Seat the portafilter in the group head and twist it firmly into the locked position. Then press the single cup, double cup, and power buttons all at the same time. Hold them until the buttons light up and the pressure gauge climbs.

That button combo is what puts the machine into its built-in clean mode on most home espresso machines. Once the lights are on, you can let go. The cycle runs on its own from here.

Tip

Watch this step Button combos vary by model. If single plus double plus power does not trigger the clean light, check your manual, but this three-button press is the standard on Breville's Barista line.

5

Step 5: Run the Cycle, Then Check the Tablet

1:36
Step 5: Step 5: Run the Cycle, Then Check the Tablet

The clean cycle takes about five minutes. You will not see much come out, maybe a few drops from the portafilter, and the machine beeps twice when it finishes. Keep the water tank topped up the whole time so it does not run dry.

When it stops, pull the portafilter and look at the disk. If a chunk of tablet is still sitting there, it did not fully dissolve. Reload the portafilter, lock it back in, and run the exact same cycle a second time until the tablet is completely gone.

Tip

Watch this step A leftover tablet means leftover residue in the group head. Always do the visual check. It is normal to need two cycles, especially with a fresh, hard tablet.

6

Step 6: Mix the Descaler in the Water Tank

2:48
Step 6: Step 6: Mix the Descaler in the Water Tank

Now switch to descaling, which clears the mineral buildup that backflushing cannot touch. Pull the water filter out of the tank first, since descaler would ruin it. Pour in the descaling solution. Most bottles tell you to use half the bottle, so check the back label.

Top the tank off with cold filtered water up to the max line, then slide it back into place. The descaler and water mix on their own. Hard water is what causes the scale, so this step is what keeps your flow, temperature, and taste right.

Tip

Watch this step Take the filter out before you add descaler, not after. Running descaler through the carbon filter clogs it and wastes a brand-new cartridge.

7

Step 7: Start the Descale Through the Group Head

3:30
Step 7: Step 7: Start the Descale Through the Group Head

Press the double cup and power buttons together until four lights illuminate, which tells you the machine is in descale mode. Put a big bowl under the group head to catch the runoff.

Press the single cup button. Water starts flowing through the group head and stops on its own after about twenty seconds. This is the first of three paths the descaler needs to clear, so do not move the bowl yet.

Tip

Watch this step Use a bowl bigger than you think you need. The descale dispenses more water than a normal shot, and you do not want a hot, scaley puddle on the counter.

8

Step 8: Flush the Wand, Empty the Tank, and Reset

4:45
Step 8: Step 8: Flush the Wand, Empty the Tank, and Reset

Turn the knob to the right to run descaler through the hot water spout for about eight seconds, then turn it left to push water out through the steam wand. Keep repeating the whole group-head, spout, and wand sequence until the tank is completely empty.

Once the tank runs dry, you are basically done. Drop the soaked filter into its holder, set it back in the tank, and refill with fresh filtered water. Your machine is clean, descaled, and ready to pull a better shot. If you also run a single-serve brewer, the same idea applies to descaling a Keurig.

Tip

Watch this step Run one full tank of plain fresh water through every outlet after descaling if you want to be thorough. It rinses out any descaler taste before your next espresso.

Products Used

☐ The Checklist

How to Clean and Descale an Espresso Machine

Tools
5
Materials
5
Steps
8
Video
5 min

Your Guide

Joe's Fine Coffee

As an Amazon Associate we earn from qualifying purchases. Links on this page may be affiliate links - clicking them and buying doesn't change your price, but helps support ShowMeStepByStep.

Tags

What's next

Related collections

Curated theme pages that include this tutorial.

Weekly Digest

Liked this adulting tutorial?

Pick the categories you want to hear about. Weekly digest of new step-by-step tutorials. No spam, easy unsubscribe.

Send me tutorials about

We only email about new tutorials. Easy unsubscribe anytime.