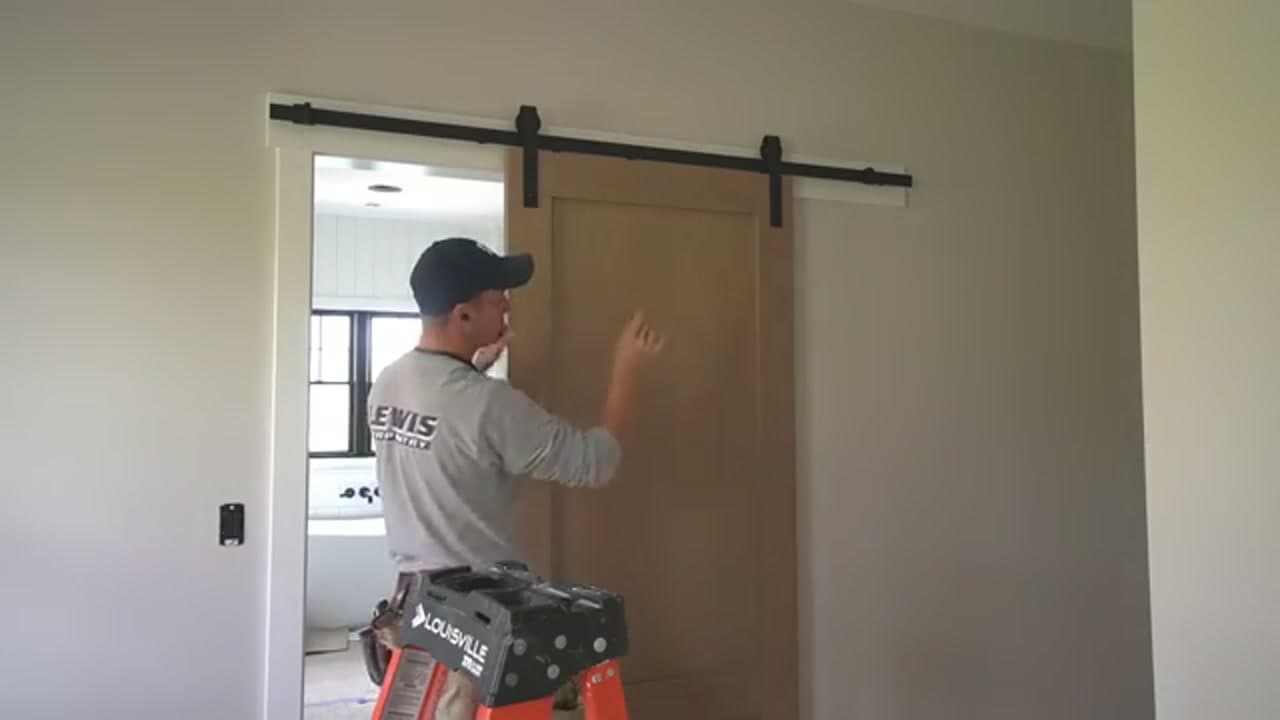
How to Install a Sliding Barn Door

Home ImprovementMedium15:138 stepsBrowse more →
Also in:Adulting

By ShowMeStepByStepPublished

Based on a video by Insider Carpentry - Spencer Lewis.

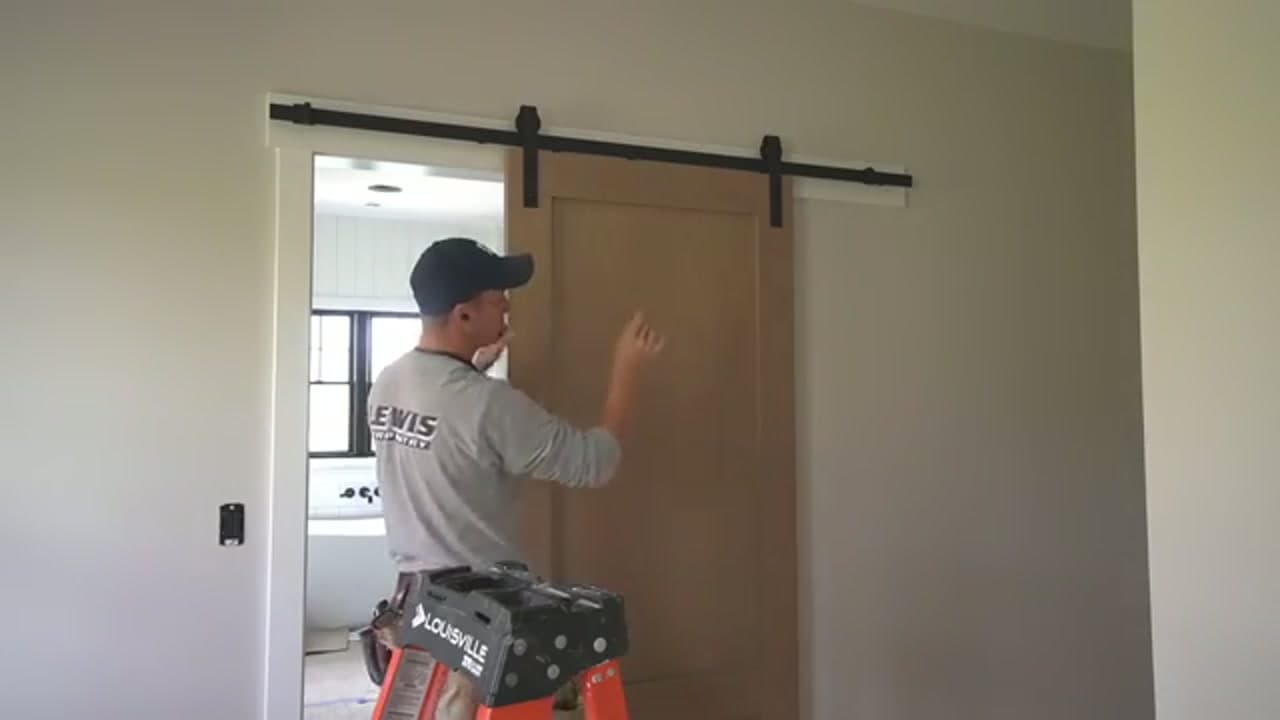
A sliding barn door is one of the highest-impact upgrades you can add to a room, and it goes in with basic tools once you understand the sequence. This walkthrough follows Insider Carpentry hanging a barn door over a master bathroom opening using a standard barn door hardware kit - the same kind you can order online or pick up at a home center.

The job breaks into a handful of clear stages: bolt the roller hangers to the door, rout a guide slot in the bottom edge, mount the track dead level on the header, hang the door, set the floor guide, and lock everything down with anti-jump blocks. None of it is hard, but two details make or break the result. The track has to be perfectly level or the door rolls on its own, and the anti-jump blocks are what keep the door from ever coming off the rail. Get those right and the door glides for years.

If you're comfortable with a drill and a level, this is a satisfying weekend project. New to hanging doors? Start with our guide on how to install an interior door to get a feel for the fundamentals, and if you're not sure where the framing is behind your header, read how to use a stud finder before you drill. For more everyday home skills, our adulting guides cover the rest.

Step-by-Step Guide

1

Step 1: Mark the Roller Hanger Holes on the Door

1:18
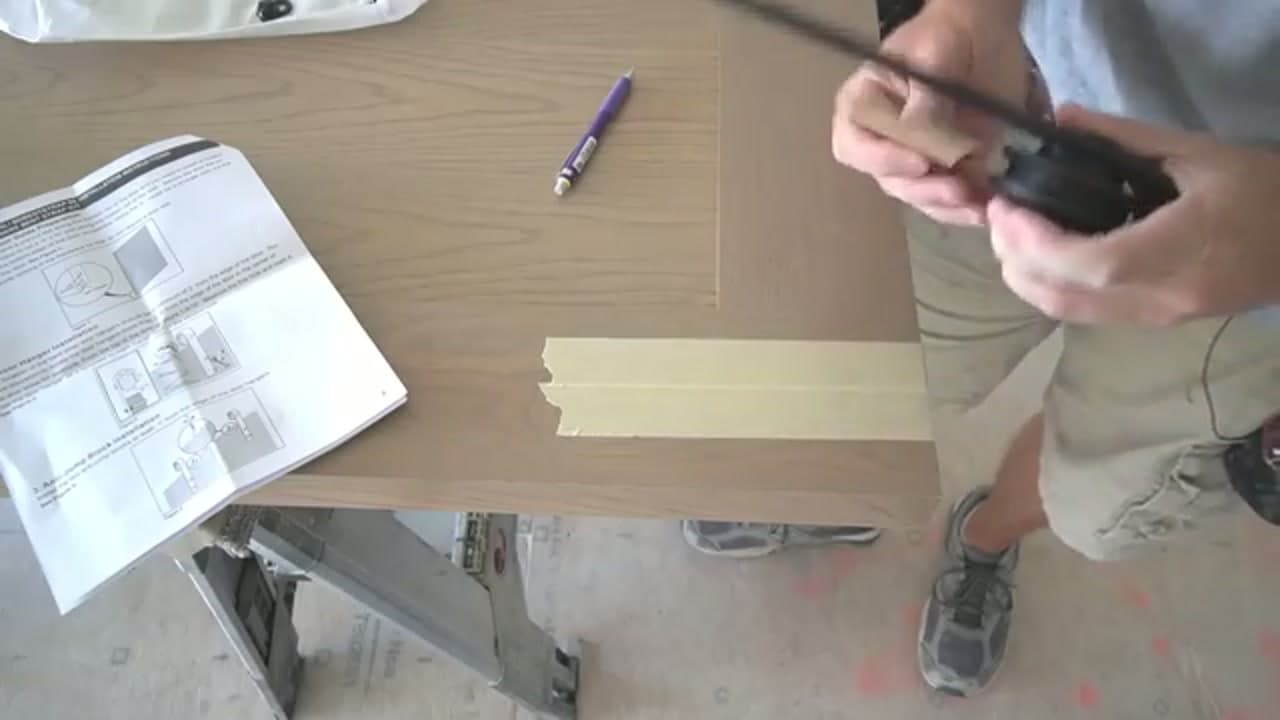
Step 1: Step 1: Mark the Roller Hanger Holes on the Door

Stand the barn door slab up and set the bent strap hanger where it will bolt on. Center the bracket on the vertical stile on the outside face - that placement usually looks best. Run a strip of painter's tape across the top of the door first so you have a clean surface to mark on and to protect the finish.

Most kits only give you one number: the gap from the top of the door to the underside of the roller, usually two inches. Cut a two-inch strip of cardboard, slip it under the roller as a spacer, and mark the center of each bolt hole through the bracket. Find the center of the stile too, so your holes sit dead center left to right.

Tip

Watch this step If your door came unfinished, this is the moment to double-check which face points out. The hanger placement reads differently on a five-panel door than a flat slab.
2

Step 2: Drill the Bolt Holes and Bolt On the Hangers

2:38
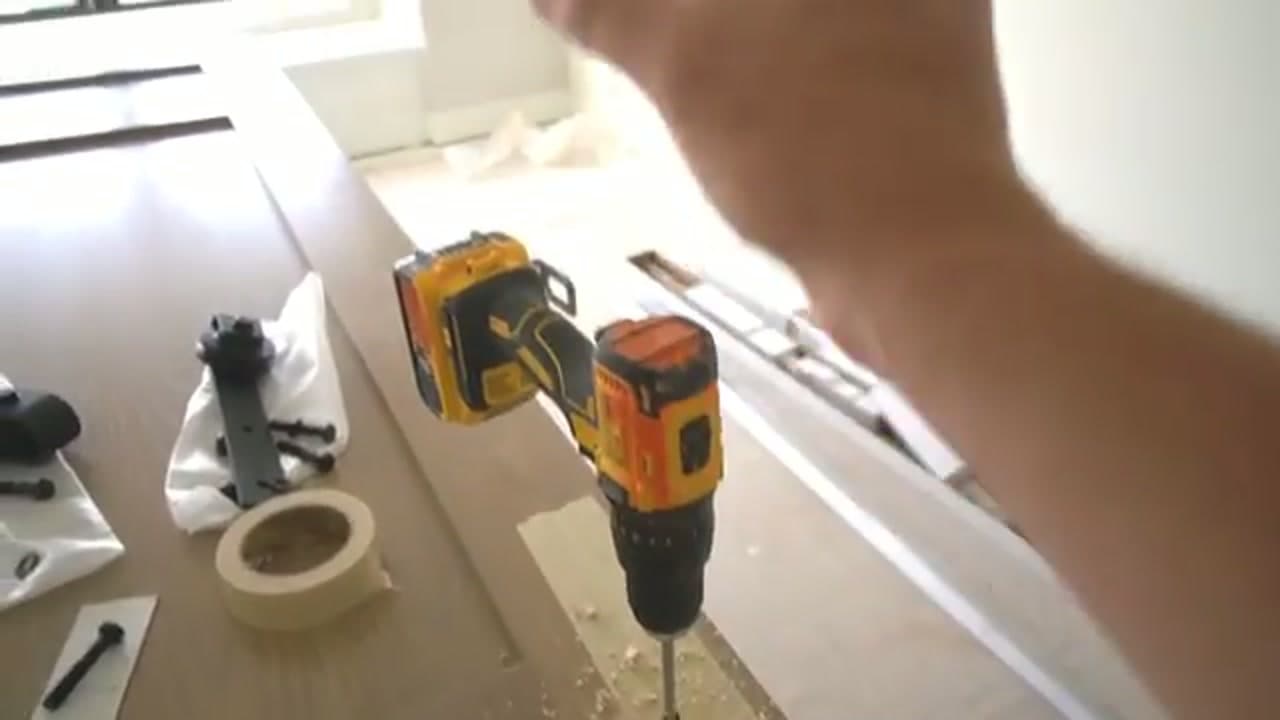
Step 2: Step 2: Drill the Bolt Holes and Bolt On the Hangers

Chuck a spade bit in the drill and start each hole with the bit dead vertical. Push through only until you feel the tip poke out the back, then stop. Pull the bit out and finish the hole from the opposite side. Drilling straight through in one pass blows the grain out and leaves a ragged mess on the back of the door.

Drill the first hole, bolt the hanger on loosely, and use the bracket itself as a template to mark the second hole. That keeps both bolts lined up so the hanger drops on clean. Snug the nuts with two crescent wrenches, working gently so you don't round over the black finish on the bolt heads.

Tip

Watch this step A brad-point or Forstner bit leaves a cleaner hole than a spade bit if you have one on hand. Back the door with a scrap block to kill blowout completely.

3

Step 3: Rout a Guide Slot in the Bottom of the Door

5:00
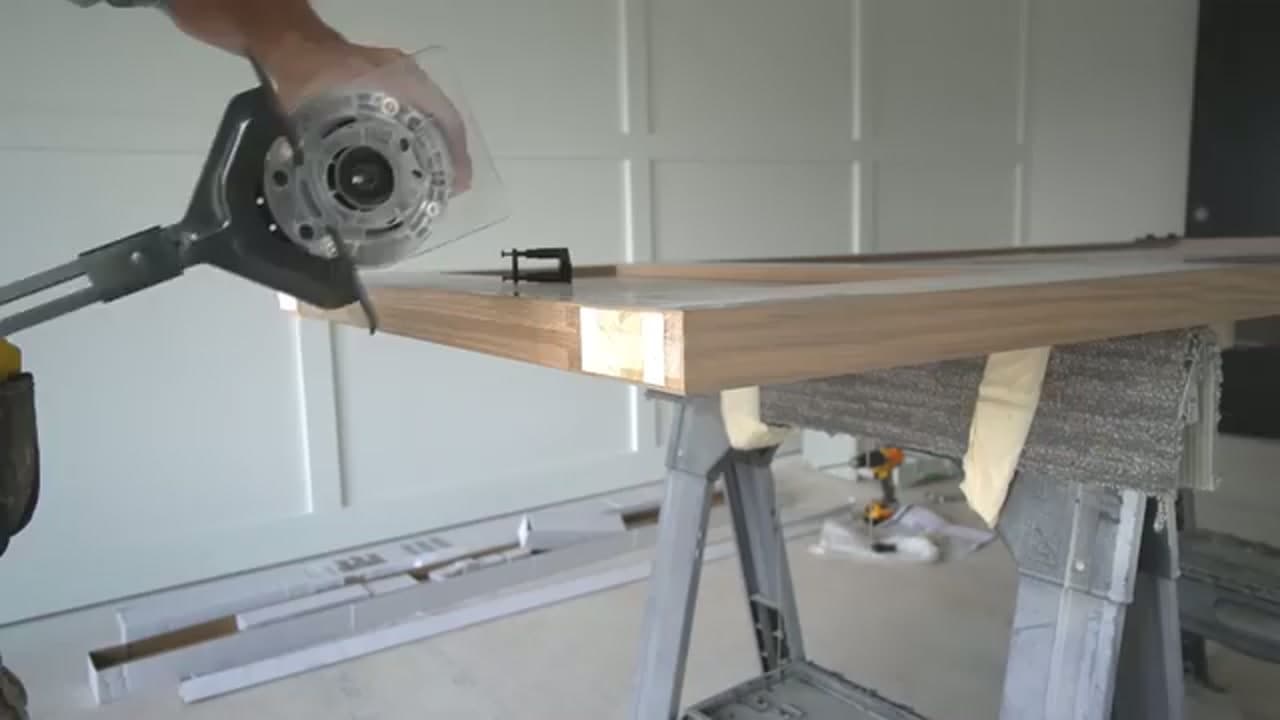
Step 3: Step 3: Rout a Guide Slot in the Bottom of the Door

The floor guide rides in a groove in the bottom edge of the door, so you need to cut that slot before the door goes up. Tape the face of the door where the router base will slide so it can't scratch the wood. A router with a quarter-inch bit and an edge guide keeps the slot straight and centered.

Run the router down the length of the bottom rail in a couple of passes rather than one deep cut. Go slow and let the bit clear the chips. If you don't own a router, a table saw or a track saw can cut the same slot, but the router with a guide gives you the cleanest result.

Tip

Watch this step Set the slot depth a hair deeper than the floor guide fin so the door never bottoms out on it. Vacuum the groove clean before you hang the door.

4

Step 4: Snap a Level Line and Mark the Track Holes

7:40
Step 4: Step 4: Snap a Level Line and Mark the Track Holes

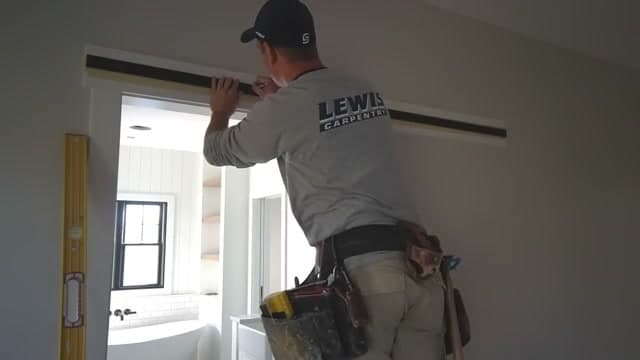
Tape all the way across the header above the opening. Tan tape shows pencil lines better than blue. Find the horizontal center of the opening and mark it, then measure from the other direction to confirm it really is the center.

This is the part people rush and regret. The bearings in these rollers are loose and free-spinning, so if the track sits even slightly out of level the door will roll open or closed on its own. Hold a good level on your line and check it. To lay out the mounting holes, tap a nail at the center point, hang the track on the nail, and mark each hole through the track itself. That guarantees the holes match the rail.

Tip

Watch this step A four-foot level beats a torpedo level here - the longer the level, the truer the line across a wide opening. Check it twice before you drill.

5

Step 5: Bolt the Track to the Header

8:50
Step 5: Step 5: Bolt the Track to the Header

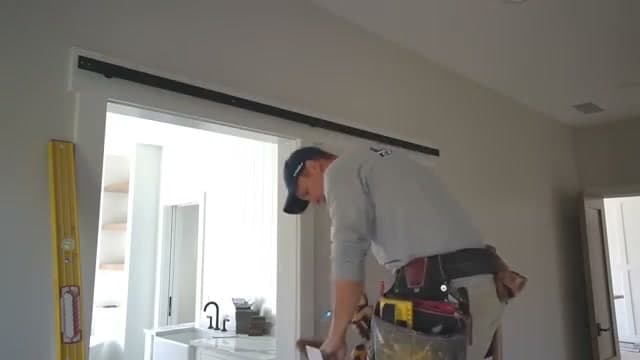
Your kit comes with lag bolts and spacer sleeves to mount the rail. Wrap a wrap of tape around the socket or driver first. If the spinning socket touches the rail it peels the finish and leaves an ugly ring around every bolt.

Drive a pilot hole at each mark, then run the lag bolts home. Keep the driver square to the bolt and don't lean the socket against the rail while it spins. Snug each bolt firmly so the track can carry the weight of the door without pulling loose. If you can hit wall studs or solid blocking behind the drywall, do it - the whole door hangs off these bolts.

Tip

Watch this step No solid framing behind the header? Add a mounting board or backer board lagged into the studs first, then screw the track to that. Never trust drywall anchors alone with a heavy slab door.

6

Step 6: Add the Stops and Hang the Door

10:08
Step 6: Step 6: Add the Stops and Hang the Door

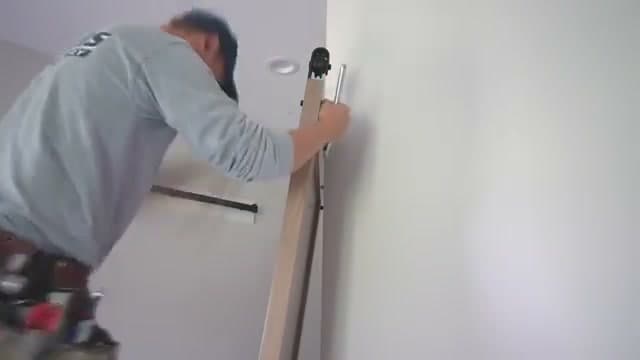
Before the door goes up, slide a track stop onto each end of the rail. These keep the door from rolling right off the end of the track and crashing to the floor. Get them on and snug - you can fine-tune their position later.

Now lift the door and set the roller hangers onto the track so the wheels sit on the rail. This is the satisfying part where it finally becomes a door. Give it a gentle push and watch it glide. Center it in the opening so you have an even reveal of casing on both sides.

Tip

Watch this step Doors are heavy and awkward overhead - have a helper steady the slab while you seat both rollers on the rail. A step stool at the right height saves your back.

7

Step 7: Set the Floor Guide

13:05
Step 7: Step 7: Set the Floor Guide

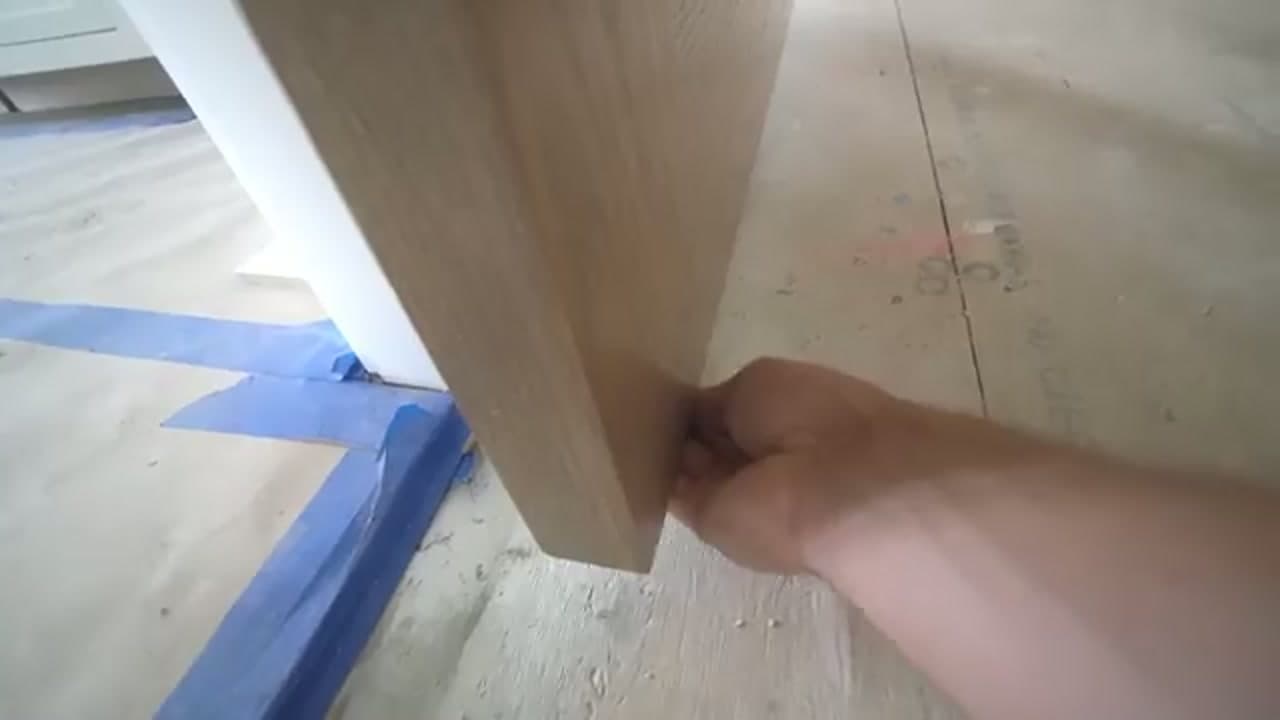
With the door hanging and centered, set the stop on the rail so the door lands in the right spot when it's closed. Then deal with the floor guide, which is the fussy part. It has to catch the bottom edge of the door both when the door is open and when it's closed, so its position matters.

On carpet or an uneven floor, a wall-mount floor guide works well. This two-piece guide screws to the base of the wall or jamb and the adjustable fin slides into the slot you routed in the door. Slide the fin into the groove, sight down the door edge to keep the gap even top to bottom, and tighten the screws to lock it.

Tip

Watch this step Order a door at least a few inches wider than the opening so it fully covers the gap in both positions. On a 32-inch opening, don't go narrower than a 2-foot-8 door or the guide can't catch both ways.

8

Step 8: Install the Anti-Jump Blocks

14:22
Step 8: Step 8: Install the Anti-Jump Blocks

One more step, and skipping it is dangerous. Right now the door can still be lifted straight off the track - a child could slam it and bring the whole slab down. Your kit includes small circular spacer blocks, sometimes called anti-jump blocks, that fix this.

These blocks fit on the top edge of the door in the gap between the door and the underside of the track. They fill that space so the rollers can't hop off the rail. This is exactly why the two-inch top gap you set earlier matters - too little space and the blocks won't fit. Snap them in and the door is locked to the track. Add a handle and a flush pull whenever you're ready, and you're done.

Tip

Watch this step Test the finished door by trying to lift it off - it should not budge. That's how you know the anti-jump blocks are doing their job.

Products Used

☐ The Checklist

How to Install a Sliding Barn Door

Tools
9
Materials
9
Steps
8
Video
15 min

Your Guide

Insider Carpentry - Spencer Lewis

As an Amazon Associate we earn from qualifying purchases. Links on this page may be affiliate links - clicking them and buying doesn't change your price, but helps support ShowMeStepByStep.

Tags

Sunday How-To

New home improvement tutorials, every Sunday

One short email with the week's best step-by-step guides. Free, no spam, unsubscribe anytime.

Did this work for you?

What's next

Related collections

Curated theme pages that include this tutorial.

Weekly Digest

Liked this home improvement tutorial?

Pick the categories you want to hear about. Weekly digest of new step-by-step tutorials. No spam, easy unsubscribe.

Send me tutorials about

We only email about new tutorials. Easy unsubscribe anytime.