How to Test a Carbon Monoxide Detector (Real-CO Method)

By ShowMeStepByStepPublished Updated

Based on a video by S.E.R. Safety.

Carbon monoxide is colorless, odorless, and tasteless - and it kills around 400 Americans a year, most of them in their sleep. The detector on your hallway ceiling is the only thing that will wake you up before the gas does. The catch is most people never actually test it, and the ones who do only press the test button, which checks the speaker, not the CO sensor.

S.E.R. Safety runs a real-CO comparison on seven different brands of CO detector using a Solo C6 canister of actual carbon monoxide. Some units alarmed in 4 minutes, others took 15 - and at least one would have failed entirely if the test had stopped at the button press. This walkthrough adapts his method into a home maintenance checklist you can run on your own detectors once a year.

Safety first. Carbon monoxide is odorless and deadly. If a CO alarm sounds in your home for real, get everyone outside immediately and call 911 from outdoors - do not go back in. Do this test in a garage or open basement with the door propped open, and never test inside a closed bedroom. Replace the entire detector every 5 to 10 years (most sensors expire) - check the manufacture date stamped on the back.

While you have the ladder out, walk through our smoke detector test guide so the smoke side gets the same once-over. If a detector is missing from a bedroom or hallway, our smoke detector install walkthrough covers the combo CO+smoke units that knock both off in one mount. And while you are doing home safety, brush up on how to use a fire extinguisher - the three skills cover most home emergencies.

Step-by-Step Guide

1

Locate Every CO Detector in the House

0:17
Step 1: Locate Every CO Detector in the House

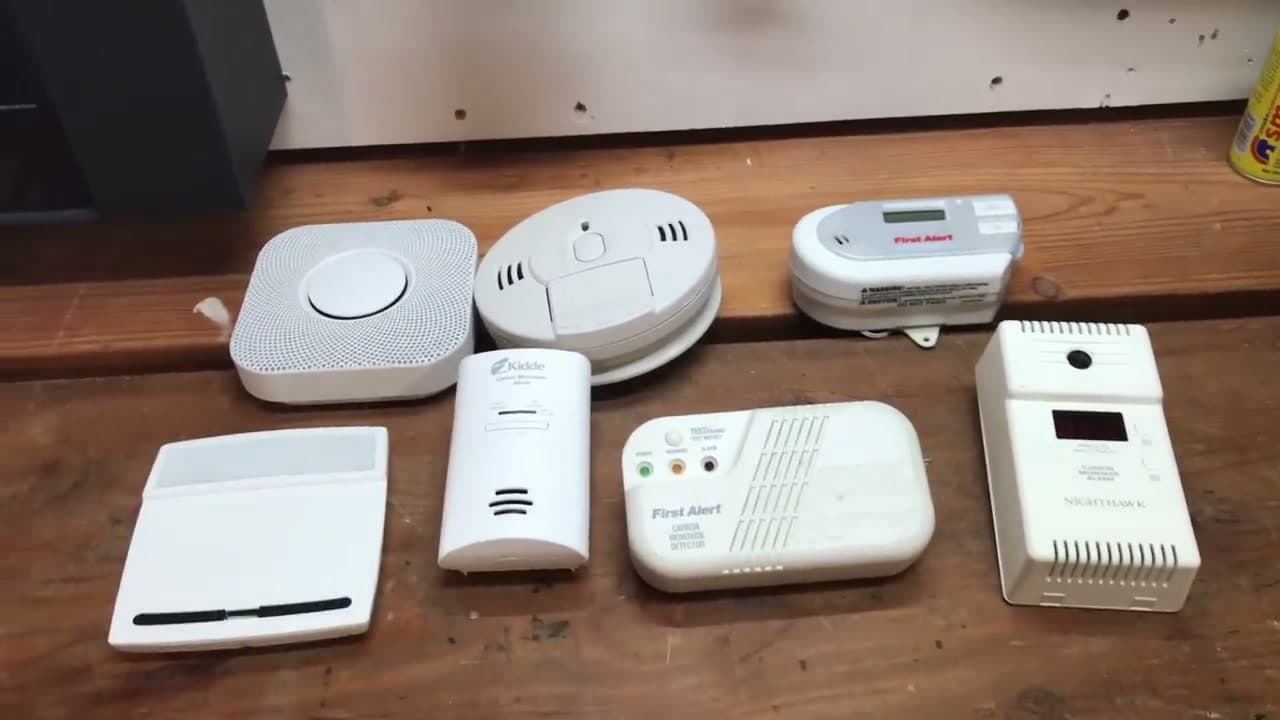
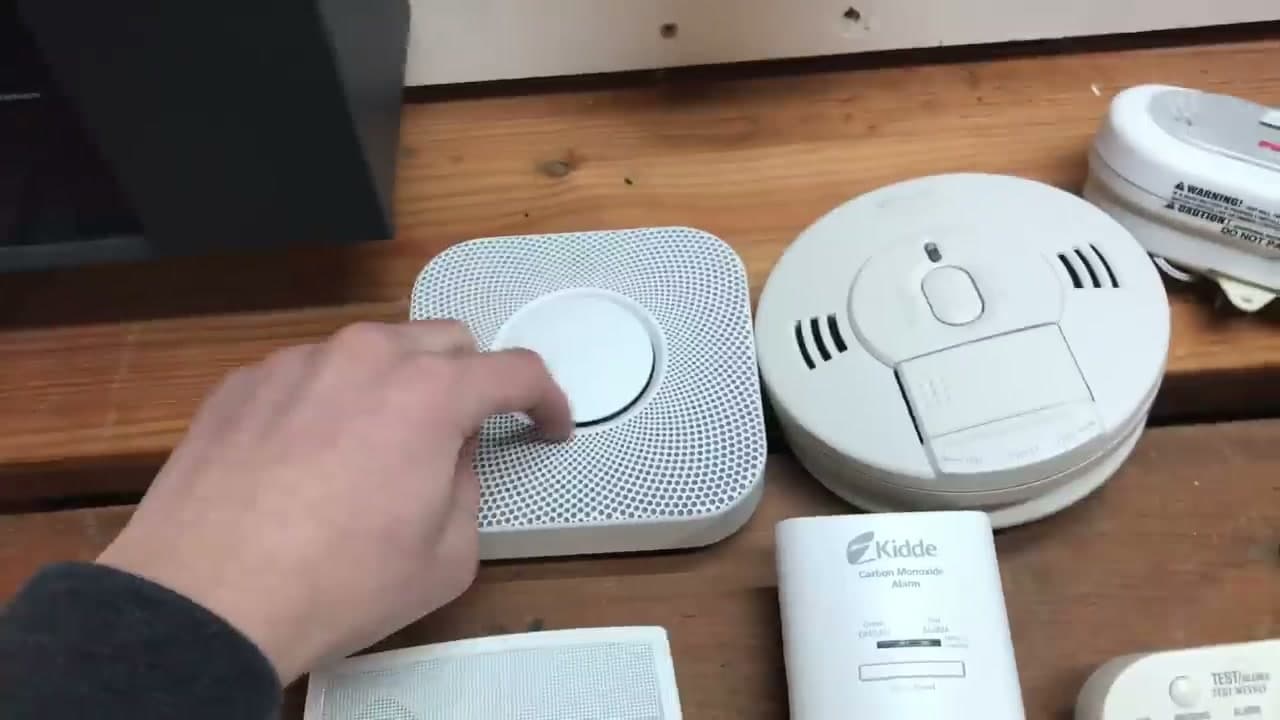
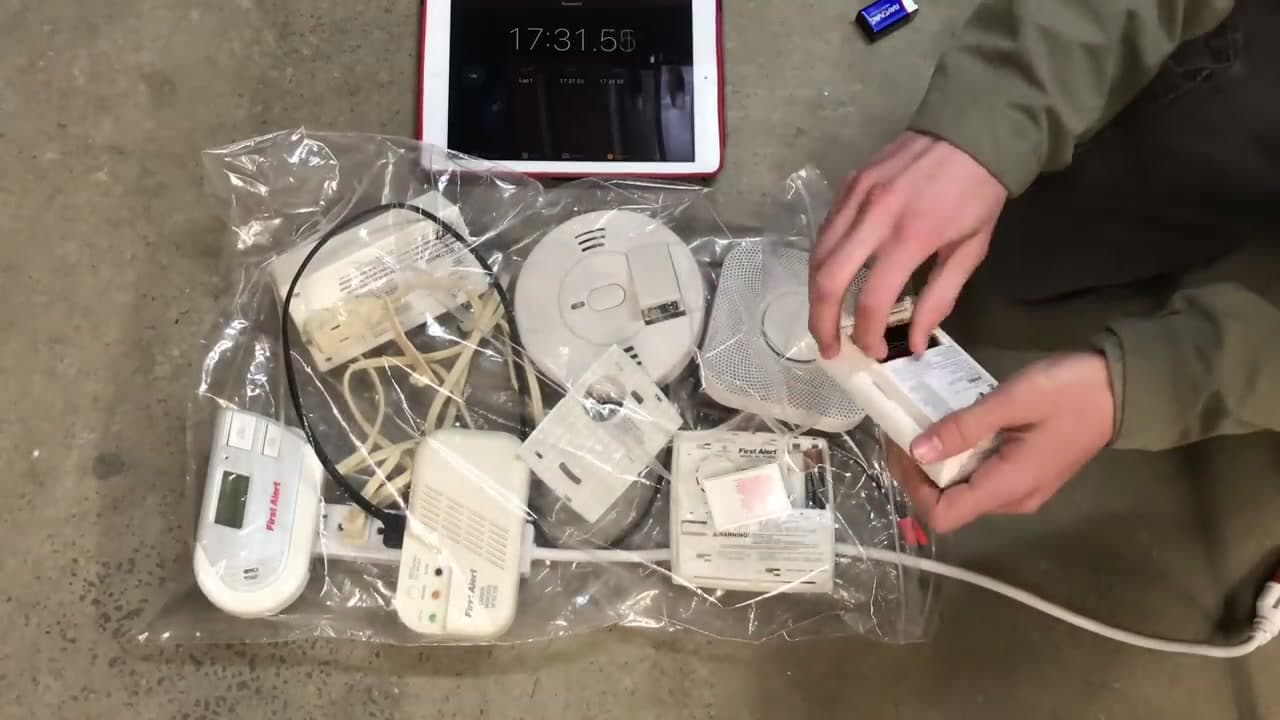
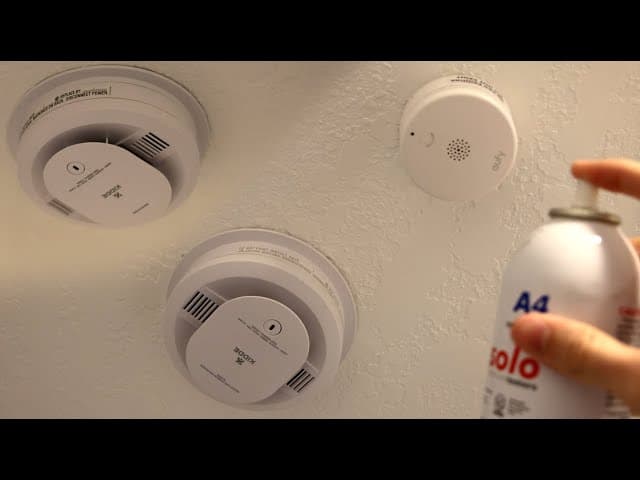
Before you test anything, walk through and write down every CO detector you find. NFPA 720 requires a CO alarm outside every sleeping area (the hallway between bedrooms is the standard spot) and on every level of the home - basement included, especially near the furnace or water heater. Many newer detectors are combination smoke + CO units; both functions need to be tested separately.

If a level or hallway has no detector at all, add it to a shopping list. CO is heavier than warm air but distributes evenly through a room, so the alarm does not need to be high or low - mount per the manufacturer instructions, usually on the wall or ceiling.

Tip

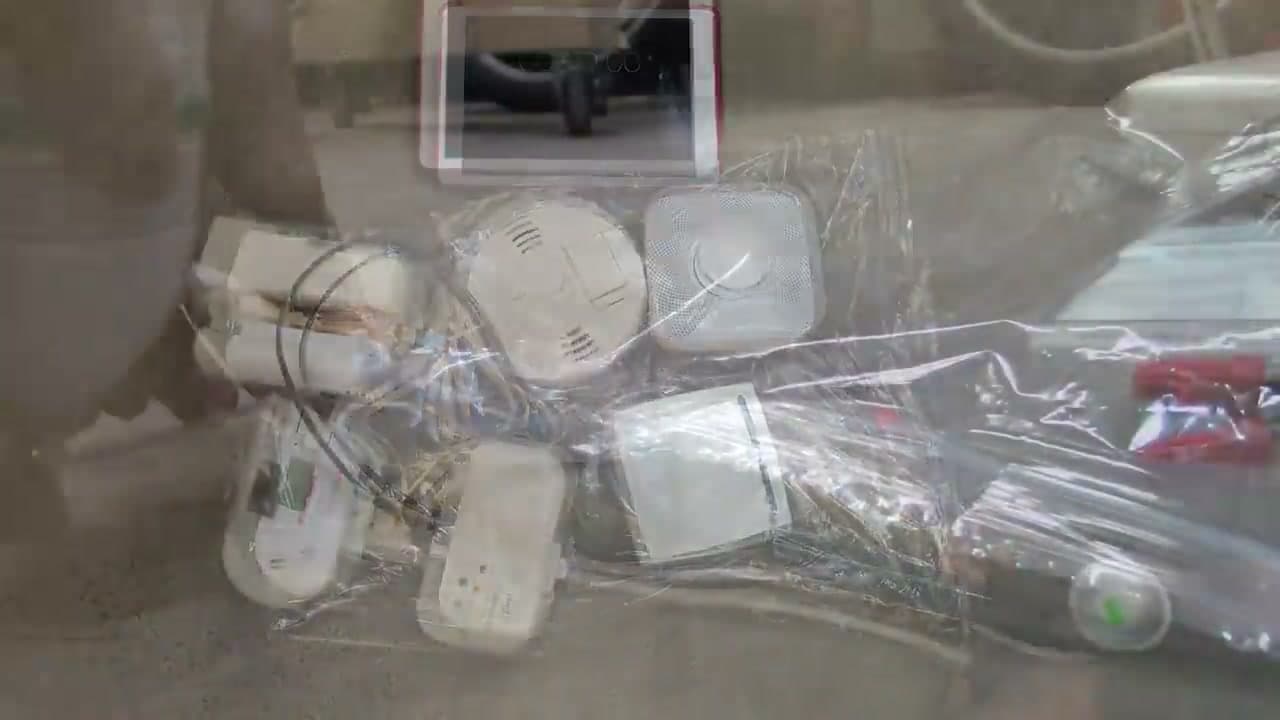
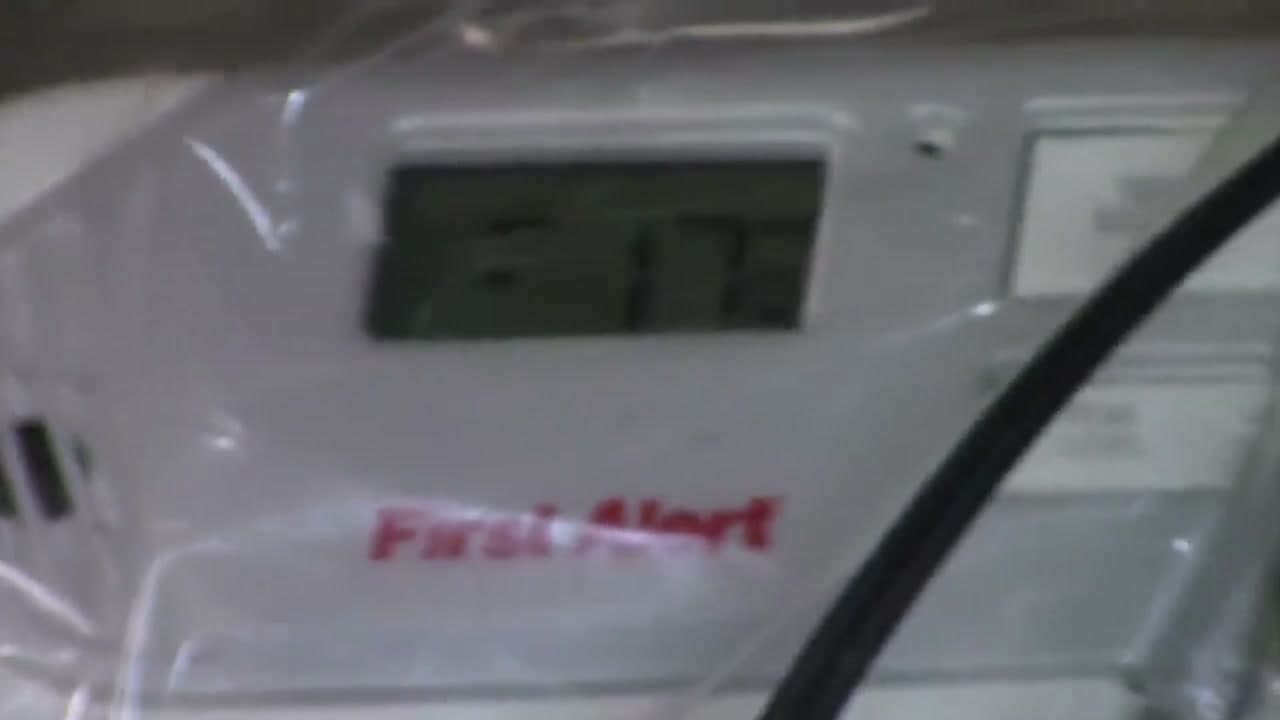
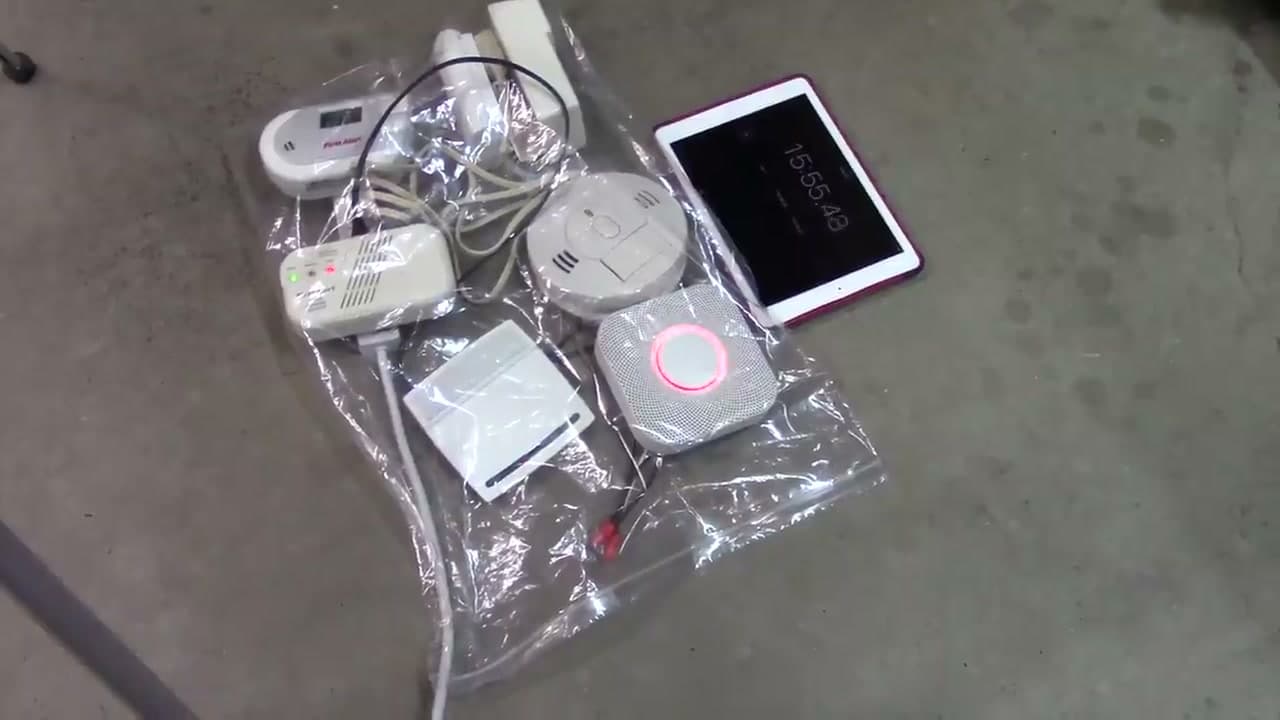
Snap a phone photo of each detector with the date stamp on the back visible. That photo is what tells you, ten years from now, whether the unit is still in spec or needs replacement.

2

Press and Hold the TEST Button

5:10
Step 2: Press and Hold the TEST Button

Climb up to each detector and push the round TEST button on the front. Hold it for about 5 seconds. The alarm should sound a loud four-beep CO pattern (beep-beep-beep-beep, pause, repeat) at around 85 decibels at 10 feet - loud enough to wake you from sleep. The green power LED should be solid before you start the test.

This press-and-hold test only confirms two things: the speaker works and the battery has juice. It does not test the CO sensor itself. A detector with a clogged or expired sensor will still chirp on the button press and then completely miss real CO in the air. That is why step 4 below matters.

Tip

Do this on the first of every month. Pair it with another monthly habit so you do not forget - rent day, utility bill day, whatever sticks. NFPA recommends monthly press-and-hold testing as a minimum baseline.

3

Pick Up a Real CO Test Source

0:09
Step 3: Pick Up a Real CO Test Source

The button test is monthly. The real test is yearly, and you need actual carbon monoxide to do it. The pro standard is a Solo C6 canister (about $40, used by professional fire alarm inspectors) which dispenses a calibrated dose of CO. Consumer-grade canisters from First Alert and Kidde do the same thing for less, and the small cans last for many tests.

If you do not want to buy a can, an electrochemical low-level CO monitor (around $130) lets you test by measuring background CO levels in real time - useful if you live with a furnace, attached garage, or gas appliance and want to catch slow leaks before any alarm trips. Both options live in the affiliate links below.

Tip

Do not try to make CO yourself by running a car in the garage. That is how people end up in the ER. Buy the can, do the controlled test.

4

Set Up the Test in a Ventilated Area

1:10
Step 4: Set Up the Test in a Ventilated Area

Take the detectors down and move to a garage or open basement with the door propped open. Never run this test in a closed bedroom or near sleeping family members - you are intentionally releasing a small amount of poison gas. Open a window in addition to the door if you can.

The professional method (shown in the video) uses a clear plastic bag to contain the CO around the detectors so the gas concentrates at the sensor instead of dissipating. Lay each detector face up inside the bag, drain the air out, then dispense the Solo C6 into the bag and seal it loosely. For consumer cans without a bag, spray a 1 to 2 second burst directly at the vent slots from about 2 inches away.

Tip

Have a phone ready to call 911 - not because you expect to need it, but because a calibrated test gas leak combined with a slow alarm response is the exact moment you want a phone in your hand. Better to have it and not need it.

5

Start a Timer and Wait

1:35
Step 5: Start a Timer and Wait

Start a stopwatch on your phone the second you dispense the gas. A working sensor must alarm within the UL 2034 spec: between 5 and 15 minutes at 70 to 200 ppm. Faster than 5 minutes at low concentrations is actually a fail (the unit is too twitchy and will nuisance-trip), and slower than 15 minutes is a sensor fail.

A First Alert unit with the LCD readout shows the ppm climbing in real time - in the video it reads 90 ppm at 3 minutes 33 seconds, then climbs to 250+ ppm before most units finally alarm. If you do not have an LCD detector to read ppm, just trust the timer.

Tip

Write down the time-to-alarm for each detector. A unit that took 12 minutes today will probably take 16 minutes a year from now as the sensor ages. Track the trend.

6

Verify Every Detector Alarms

4:14
Step 6: Verify Every Detector Alarms

Listen for the alarm pattern. CO detectors sound a four-beep pattern (beep-beep-beep-beep, pause, repeat) which is different from the three-beep smoke alarm pattern. Units with voice annunciation like the Nest Protect will say 'Emergency, carbon monoxide' and glow red. Note which detectors fired and how long each took.

Any unit that did not alarm within 15 minutes is failed. Mark it for replacement and pull it down. A detector that passes the TEST button but fails real CO is the exact kind that lets a real leak kill you in your sleep - the speaker works, the battery works, the sensor is dead.

Tip

If the Nest Protect or other smart detector is on Wi-Fi, you will get a phone notification at the same time the alarm sounds. That is a real feature - if your detector trips while you are out, you can call 911 to do a wellness check on the house before anyone goes back inside.

7

Air Out the Room, Then Replace Failed and Expired Units

4:41
Step 7: Air Out the Room, Then Replace Failed and Expired Units

Pop the door wide and open every window before you do anything else. Walk away for 20 to 30 minutes. The CO from the test will dissipate fast in a ventilated space but you do not want to be standing over it while it does. Do not silence a still-alarming detector by pulling the battery - let it finish, then carry the detector outside to clear it.

For any detector that failed the real-CO test, replace the whole unit (do not just swap the battery - the sensor is the dead part). For any detector older than 5 to 10 years per the date stamped on the back, replace it even if it passed. CO sensors are electrochemical and degrade with time even when the unit is unplugged. Write the new install date on the side of the replacement with a Sharpie so year 10 is easy to spot.

Tip

Stash a 4-pack of 9V batteries with your light bulbs and HVAC filters. Most CO detectors take a 9V; some newer ones take 2 AA. Buy what your specific units need and you will not be hunting for batteries the night a detector starts low-battery chirping at 2 AM.

Products Used

☐ The Checklist

How to Test a Carbon Monoxide Detector (Real-CO Method)

Tools
3
Materials
2
Steps
7
Video
7 min

Your Guide

S.E.R. Safety

As an Amazon Associate we earn from qualifying purchases. Links on this page may be affiliate links - clicking them and buying doesn't change your price, but helps support ShowMeStepByStep.

Tags

Test your knowledge

Did the lesson stick? Find out in 2 minutes.

5 quick questions covering what you just read. No signup, no score saved — just a gut check.

Quick reference

Key takeaways from How to Test a Carbon Monoxide Detector (Real-CO Method)

5 questions, answers, and one-line explanations. Tap to expand.

  1. 1.What does the press-and-hold TEST button actually verify?

    Answer: Only the SPEAKER and BATTERY - not the sensor itself

    A clogged/expired sensor still beeps on test - that's why a yearly real-CO check matters.

  2. 2.How often should you press the TEST button?

    Answer: Once a month

    Monthly button test verifies speaker + battery; yearly real-CO test verifies the sensor.

  3. 3.What pattern distinguishes a CO alarm from a smoke alarm?

    Answer: CO = FOUR-beep pattern (beep-beep-beep-beep, pause, repeat); smoke = three-beep

    Four-beep CO vs three-beep smoke - knowing the difference matters in a 3 AM emergency.

  4. 4.Where should the real-CO test be performed?

    Answer: A ventilated garage or open basement (door propped open, window open) - never a closed room

    You're releasing poison gas; ventilate and clear people from the area.

  5. 5.If a detector PASSES the button test but FAILS the real-CO test, what do you do?

    Answer: Replace the WHOLE UNIT - the sensor is the dead part

    Sensor failure can't be fixed; replace the whole detector. Also replace any unit older than 5-10 years.

What's next

Related collections

Curated theme pages that include this tutorial.

Weekly Digest

Liked this home improvement tutorial?

Pick the categories you want to hear about. Weekly digest of new step-by-step tutorials. No spam, easy unsubscribe.

Send me tutorials about

We only email about new tutorials. Easy unsubscribe anytime.