How to Test a Smoke Detector (Monthly + Yearly Safety Check)

By ShowMeStepByStepPublished Updated

Based on a video by S.E.R. Safety.

Working smoke detectors save lives. The catch is most people never actually test them, and the ones who do only press the test button - which checks the speaker, not the smoke sensor itself. A detector can pass the button test and still fail to catch a real fire if dust has clogged the sensing chamber or the unit is past its 10-year date.

S.E.R. Safety walks through a full home alarm test on three Kidde detectors and one eufy unit. He runs the press-and-hold check first, then sprays canned aerosol smoke at each detector to confirm the actual sensor responds. The whole thing takes about ten minutes and tells you what the test button cannot.

Don't disable a chirping detector - replace the battery. A disabled detector is the #1 cause of fire fatalities. If yours chirps every 30 to 60 seconds, that is the low-battery warning - swap the 9V or AA backup and the chirp stops. Never pull the unit off the ceiling and leave it dead.

If you do not have a detector in every bedroom yet, start with our walkthrough of how to install a smoke detector. While you are doing home safety, also check that you know how to use a fire extinguisher and brush up on how to treat severe bleeding - those three skills cover most home emergencies.

Step-by-Step Guide

1

Locate Every Smoke Detector in the House

0:06
Step 1: Locate Every Smoke Detector in the House

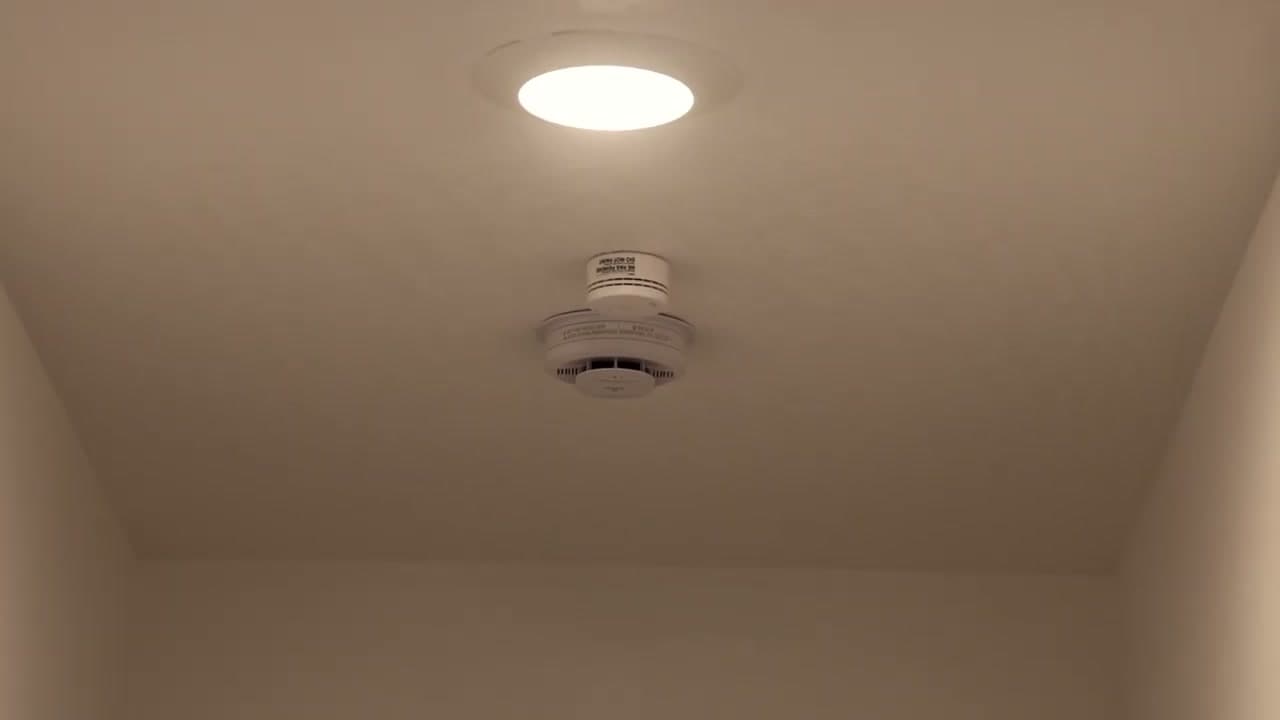
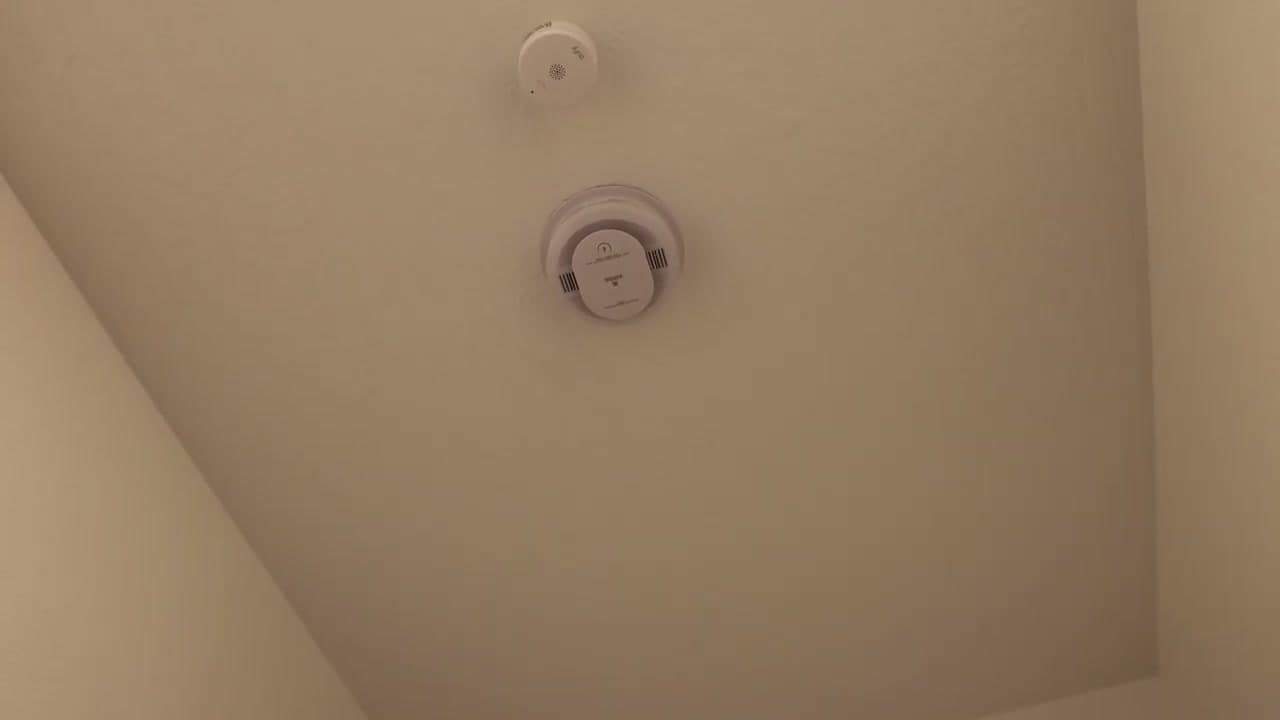
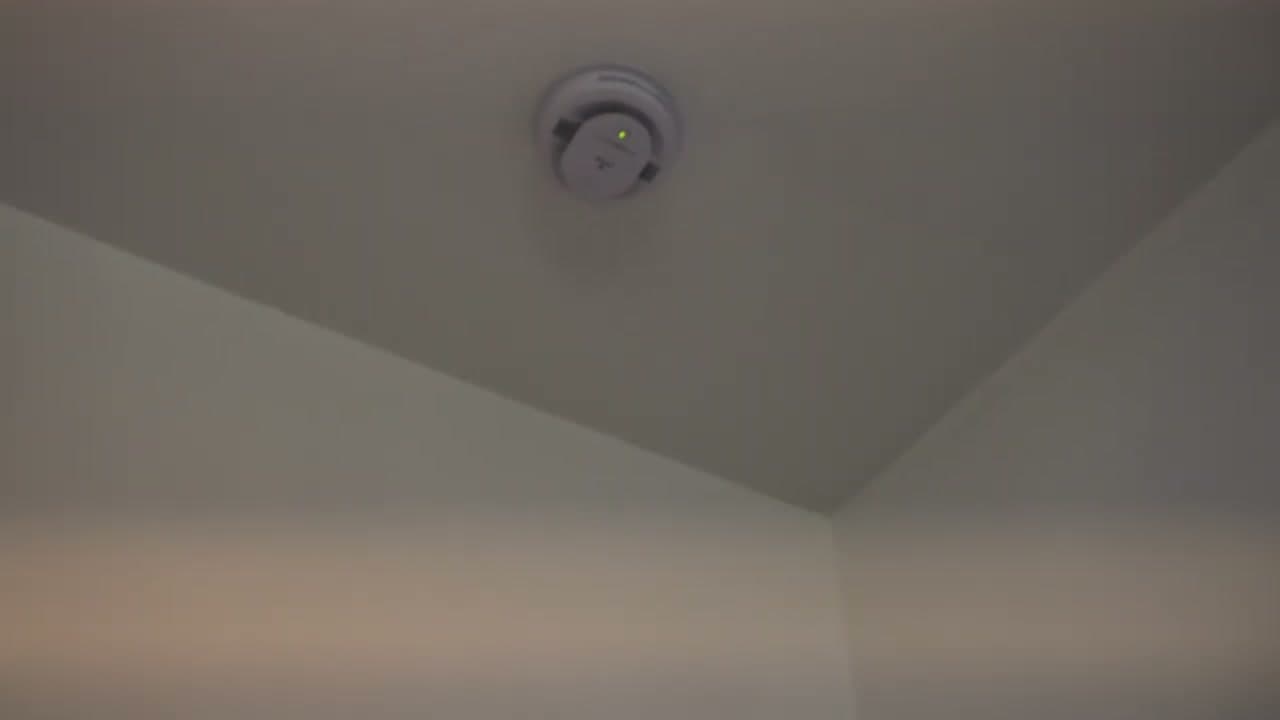
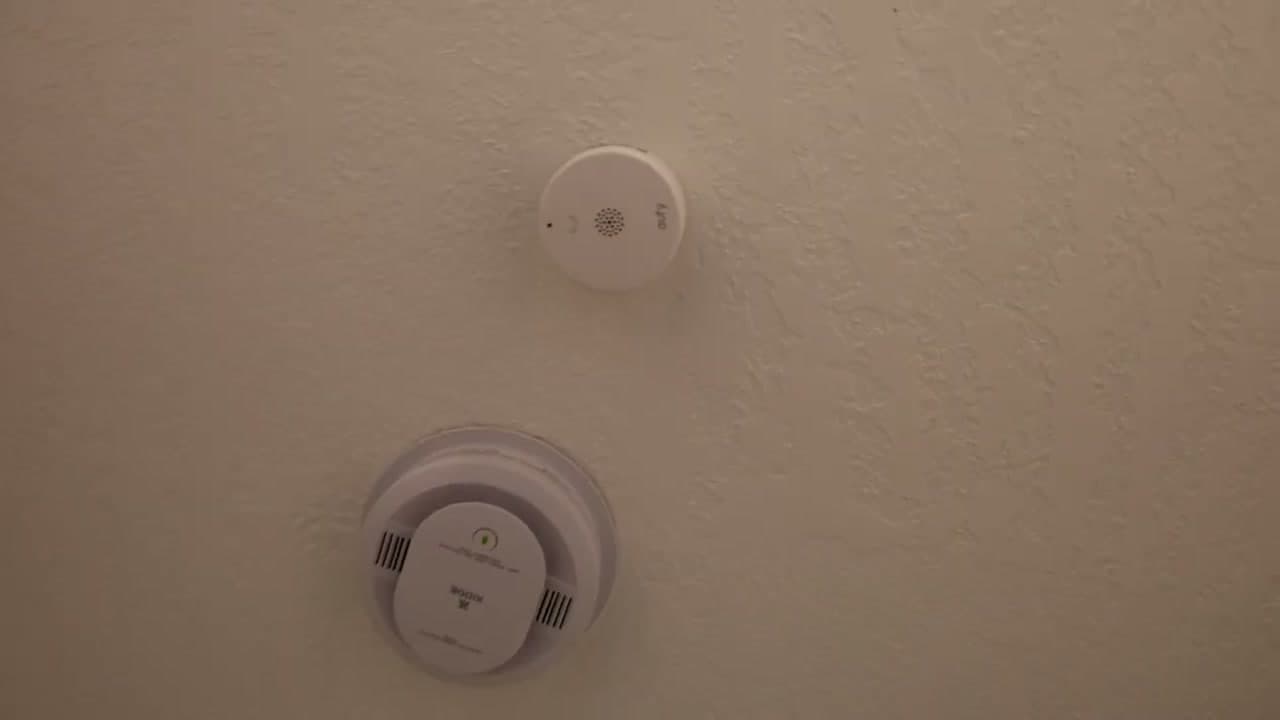
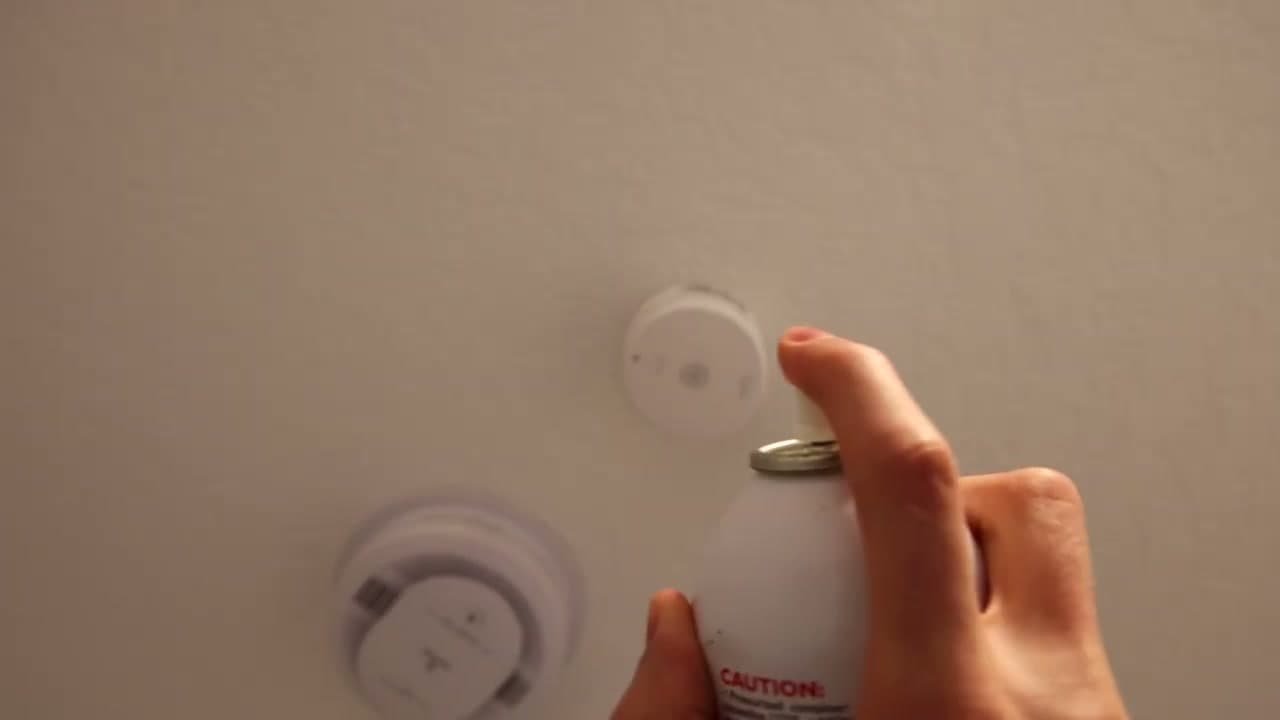
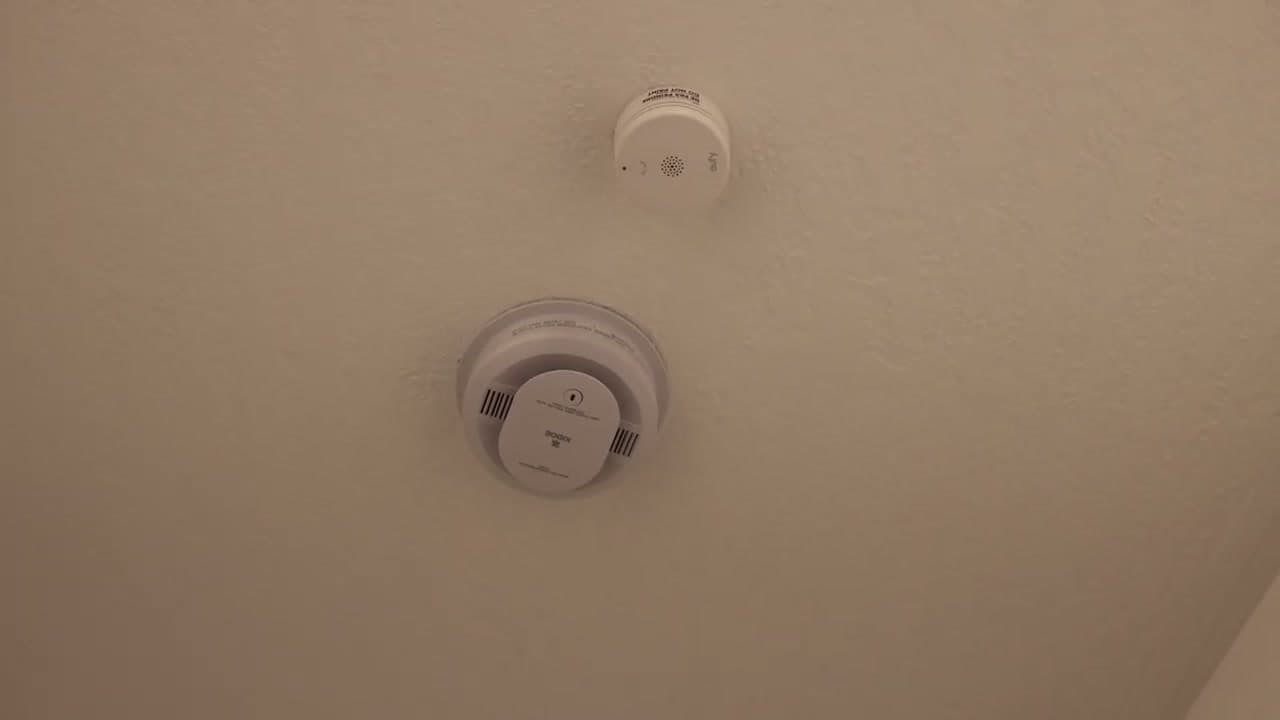
Before you test anything, walk through the house with a notepad and write down every smoke detector you find. Code requires one inside each bedroom, one outside each sleeping area (the hallway between bedrooms is the standard spot), and at least one on every level - basement included. A combination smoke + carbon monoxide unit usually goes in the bedroom hallway.

Most detectors live on the ceiling 4 to 12 inches off the nearest wall, or high on a wall 4 to 12 inches below the ceiling. If a room is missing a detector, add it to your list - you can fix that with our smoke detector install guide after the test is done.

Tip

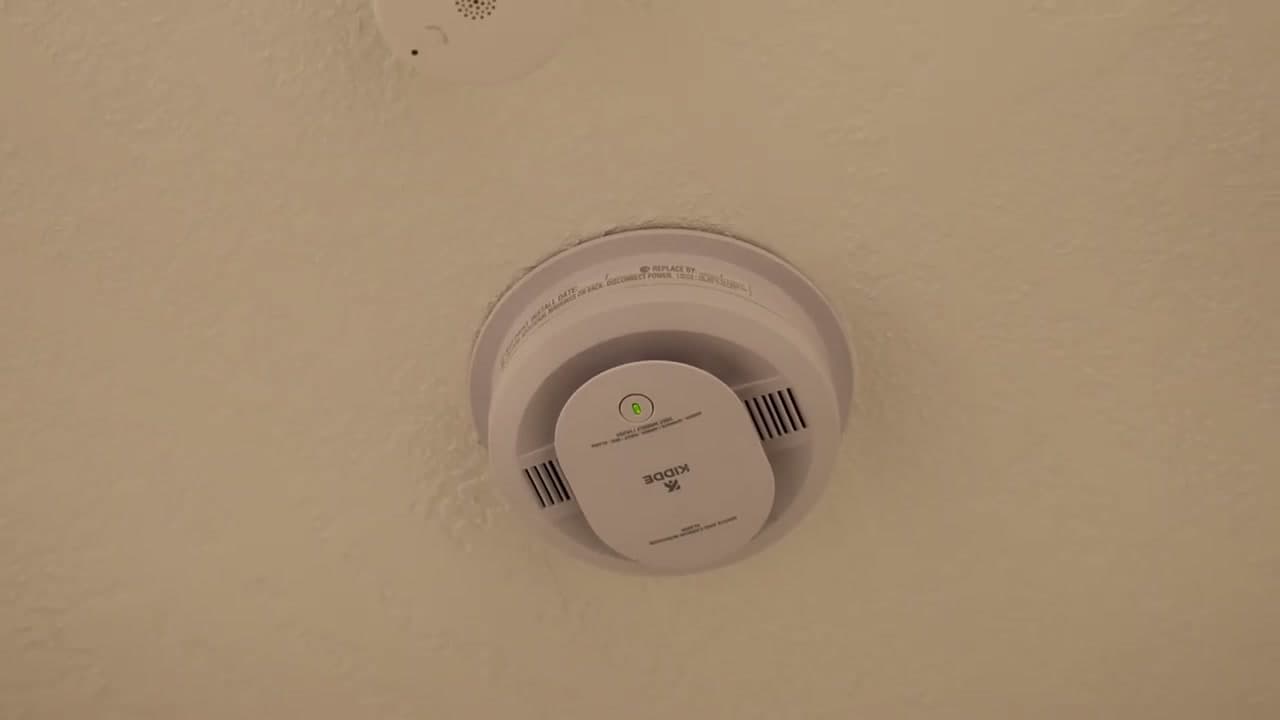
Take a phone photo of each detector so you have the model number and the date stamp on file. You will want both later when batteries die or the 10-year replacement clock runs out.

2

Identify the Model and Check the Date

1:15
Step 2: Identify the Model and Check the Date

Pull each detector off its mounting bracket and read the label on the back. You are looking for two things: the model number and the manufacture date. Common residential units are the Kidde 30CUAR (dual smoke + carbon monoxide), the Kidde 20SAR (photoelectric smoke only), and First Alert SA series. If the date on the back is more than 10 years ago, the whole unit needs to come down and a new one goes up - no exceptions, sensors degrade.

While you have it down, flip it over and check whether the test button looks dusty or yellowed. Yellow plastic is a sign the unit lived through a kitchen fire or a hot attic and is suspect. Replace it.

Tip

NFPA recommends replacing detectors 10 years from the manufacture date, not from the date you bought it. A detector sitting in a warehouse for two years before it hit the shelf still ages.

3

Do the Monthly Press-and-Hold Test

1:35
Step 3: Do the Monthly Press-and-Hold Test

Climb up to the detector and push the round test button on the front for two to three seconds. The unit should chirp loudly - 85 decibels at 10 feet is the code spec, which is loud enough to wake you from a dead sleep. The green power LED should also be solid before you start (a blinking LED on a hardwired unit means it is running on backup battery only, which is a different problem).

The press-and-hold test only confirms the speaker and the test circuit work. It does not tell you whether the smoke sensor itself is functional. That is the limitation - and it is why you also need the canned smoke test later in this list.

Tip

Do this on the first of every month. Pair it with another monthly habit so you do not forget - rent day, the start of the new utility bill, whatever sticks.

4

Confirm Interconnect by Walking the House

2:30
Step 4: Confirm Interconnect by Walking the House

While the test alarm is still sounding, walk to a different detector in another room. On a hardwired home built after 2000, every detector in the house should be sounding at the same time - that is the interconnect doing its job. If only the unit you pressed is sounding and the rest are silent, the red interconnect wire in the ceiling box is loose or never got connected.

Battery-only detectors with no interconnect wiring are also a real concern in older homes. If yours do not chirp together, look into adding wireless interconnect units (First Alert SCO500B, Kidde RF-SM-DC) so a fire in the basement actually wakes you up on the second floor.

Tip

If interconnect is broken on a hardwired system, kill the breaker for the detector circuit and check the red wire on each detector pigtail - it has to be wire-nutted through every unit in the chain. One disconnected red wire breaks the whole chain.

5

Run the Yearly Canned-Smoke Test

3:12
Step 5: Run the Yearly Canned-Smoke Test

Once a year, do the real test - the one that actually proves the sensor is alive. Grab a can of testing aerosol (Solo A4 is the pro standard, but consumer cans like SDi Smoke! work fine), shake it, and spray a one to two second burst from about a foot below the detector. Aim toward the unit, not directly into it - you want the smoke to drift up to the sensor the way real smoke would.

Within 10 to 15 seconds the alarm should sound. If it does not, the sensor is contaminated or dead and the detector needs to come down for cleaning or replacement. A unit that passes the button test but fails the smoke test is the exact kind that lets a real fire burn unnoticed.

Tip

Open a window first if you can. Canned smoke clears fast but it has a chemical smell. And warn anyone home that the alarms are about to go off - including any kids or pets in the house.

6

Press the Hush Button to Silence the Alarm

4:00
Step 6: Press the Hush Button to Silence the Alarm

Once the alarm is sounding and you have confirmed it works, press the hush button on the front of the unit to quiet it. Most modern detectors silence for 7 to 10 minutes so the residual smoke can clear without an ear-splitting chirp the whole time. The unit will start re-sampling the air after the hush window expires - if smoke is still in the chamber, it sounds again.

The hush button is also what you press during the inevitable burnt-toast incident. Do not pull the battery to silence it. The whole point of a smoke alarm is that it is always armed.

Tip

If your detector is wired into an alarm system or monitored service, call the monitoring company first to put the account in test mode. Otherwise the canned smoke will trigger a dispatch and your morning gets a lot more interesting.

7

Replace the 9V Backup Battery Every Year

4:45
Step 7: Replace the 9V Backup Battery Every Year

Even on hardwired detectors, the backup battery does the real work during a power outage - which is exactly when most fatal house fires happen. Swap the 9V (or AA depending on the model) once a year. The classic reminder is to do it when you change the clocks for daylight saving, but any annual anchor works.

A detector that chirps every 30 to 60 seconds is telling you the battery is low. Replace it. Do not pull the unit down and leave it dead - a disabled detector is the leading cause of fire fatalities according to the NFPA.

Tip

Buy 9V batteries in a 4-pack and stash them where you stash your filters and light bulbs. You will need one every 12 months and one extra during a long power outage.

8

Dust the Vents and Replace at 10 Years

5:30
Step 8: Dust the Vents and Replace at 10 Years

Every three months, run a dry microfiber cloth or the brush attachment on a vacuum over the vent slots on the side of the detector. Dust buildup is the most common reason an older unit gets sluggish - the sensing chamber clogs and smoke has a harder time reaching the sensor. Do not spray cleaning chemicals on or near a detector. Plain dry dusting only.

At the 10-year mark, the whole unit gets replaced. Read the date stamped on the back when you take it down. A 2015 unit installed in 2026 has zero usable life left even if it looks new. While you have it down, this is also a great moment to add or upgrade your fire extinguisher setup.

Tip

Write the install date on the side of the new unit with a Sharpie. The factory date is on the back where you cannot read it without taking the detector down - the install date on the front saves you that step in year 10.

Products Used

☐ The Checklist

How to Test a Smoke Detector (Monthly + Yearly Safety Check)

Tools
2
Materials
2
Steps
8
Video
6 min

Your Guide

S.E.R. Safety

As an Amazon Associate we earn from qualifying purchases. Links on this page may be affiliate links - clicking them and buying doesn't change your price, but helps support ShowMeStepByStep.

Tags

Test your knowledge

Did the lesson stick? Find out in 2 minutes.

5 quick questions covering what you just read. No signup, no score saved — just a gut check.

Quick reference

Key takeaways from How to Test a Smoke Detector (Monthly + Yearly Safety Check)

5 questions, answers, and one-line explanations. Tap to expand.

  1. 1.How often press-and-hold test?

    Answer: Monthly basis

    Monthly press-and-hold for 2-3 seconds confirms the horn works. The yearly canned-smoke test is what proves the sensor still works.

  2. 2.How often to replace the whole unit?

    Answer: Every 10 years

    The sensing chamber loses sensitivity over a decade even with fresh batteries. Date is stamped on the back of the unit.

  3. 3.Press one interconnected unit. Result?

    Answer: All in house sound

    That's interconnect doing its job. If only the pressed unit sounds, the red interconnect wire is loose or missing.

  4. 4.Yearly REAL test method?

    Answer: Canned smoke aerosol

    Canned smoke (Solo A4 or SDi Smoke!) proves the optical or ionization sensor actually senses smoke. 1-2 sec burst from a foot below.

  5. 5.Green LED blinking, not solid. Means?

    Answer: Mains out, on battery

    Solid green = mains power good. Blinking green = backup battery has taken over and mains needs investigation.

What's next

Related collections

Curated theme pages that include this tutorial.

Weekly Digest

Liked this home improvement tutorial?

Pick the categories you want to hear about. Weekly digest of new step-by-step tutorials. No spam, easy unsubscribe.

Send me tutorials about

We only email about new tutorials. Easy unsubscribe anytime.