How to Use a Fire Extinguisher: The PASS Method

By ShowMeStepByStepPublished Updated

Based on a video by Kidde Fire Safety.

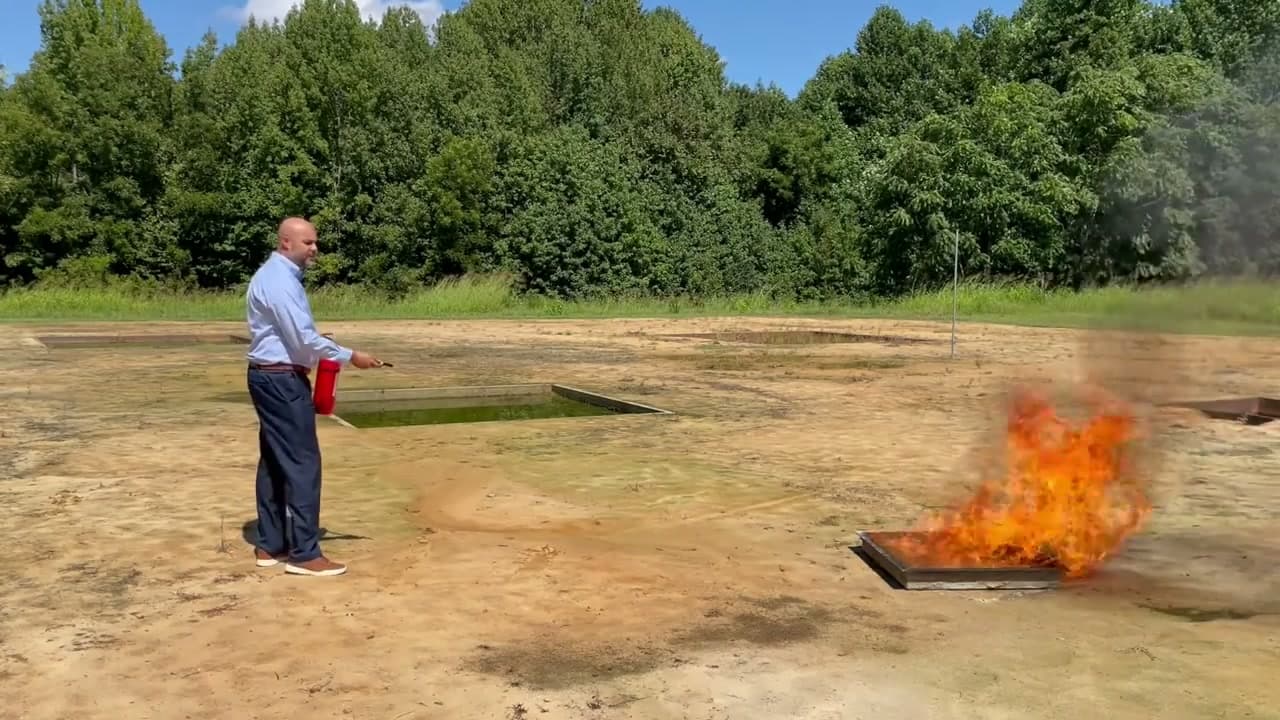
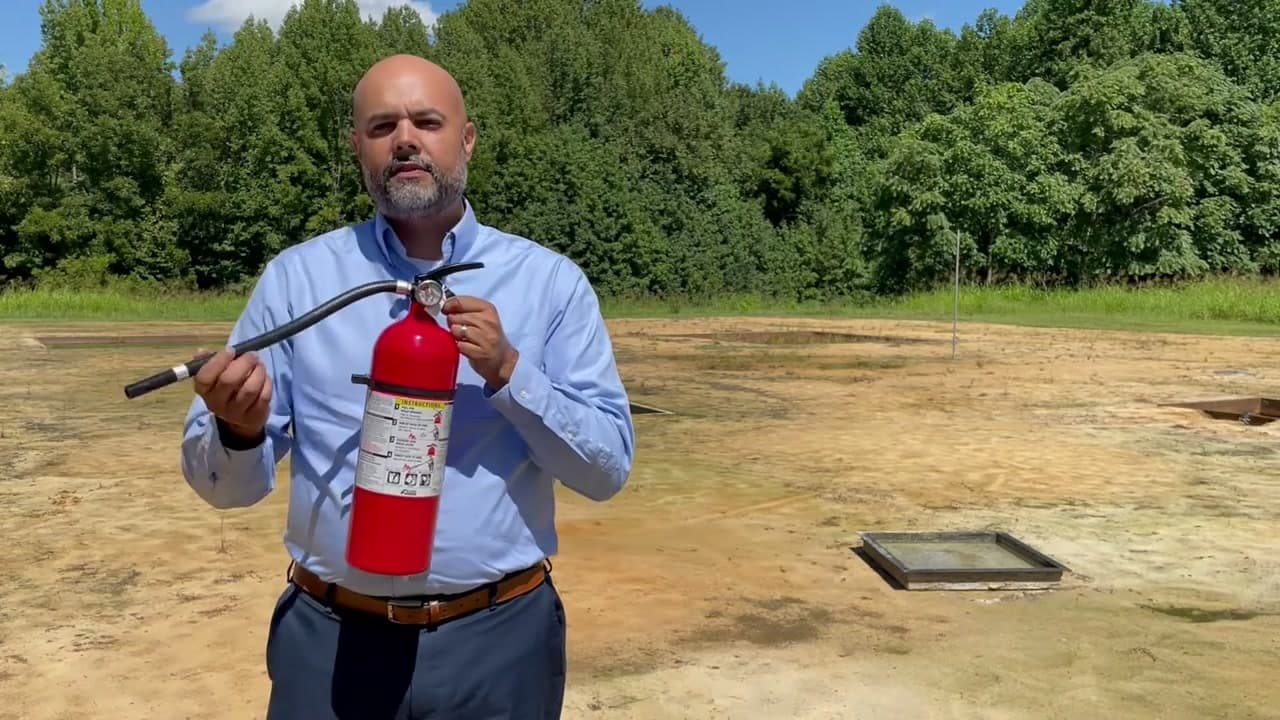
If a kitchen fire starts tomorrow, you have about 30 seconds to decide whether to fight it or get out. This tutorial walks through the standard PASS method that fire departments and the NFPA teach, demonstrated on a real burning pan by Louis at Kidde Fire Safety. By the time you finish, you will know how to read the rating on the side of an extinguisher, how to position yourself, and how to discharge it without wasting the 13 to 15 seconds of agent you have inside.

Two ground rules before you read any further. If the fire is bigger than a wastebasket, leave the building and call 911. A typical home extinguisher empties in under 15 seconds and was never designed to stop a fire that has already reached the curtains or the cabinets. And always have a clear path out behind you. If you cannot fight the fire with the exit at your back, do not fight it at all.

The PASS acronym is the part most people remember from grade-school safety days: Pull the pin, Aim at the base, Squeeze the lever, Sweep side to side. The seven steps below break each letter into the specific physical action, plus the preflight checks and placement rules that turn a fire extinguisher from a forgotten red cylinder in the garage into a tool you can actually use.

Step-by-Step Guide

1

Check the Rating and Call for Help First

0:35
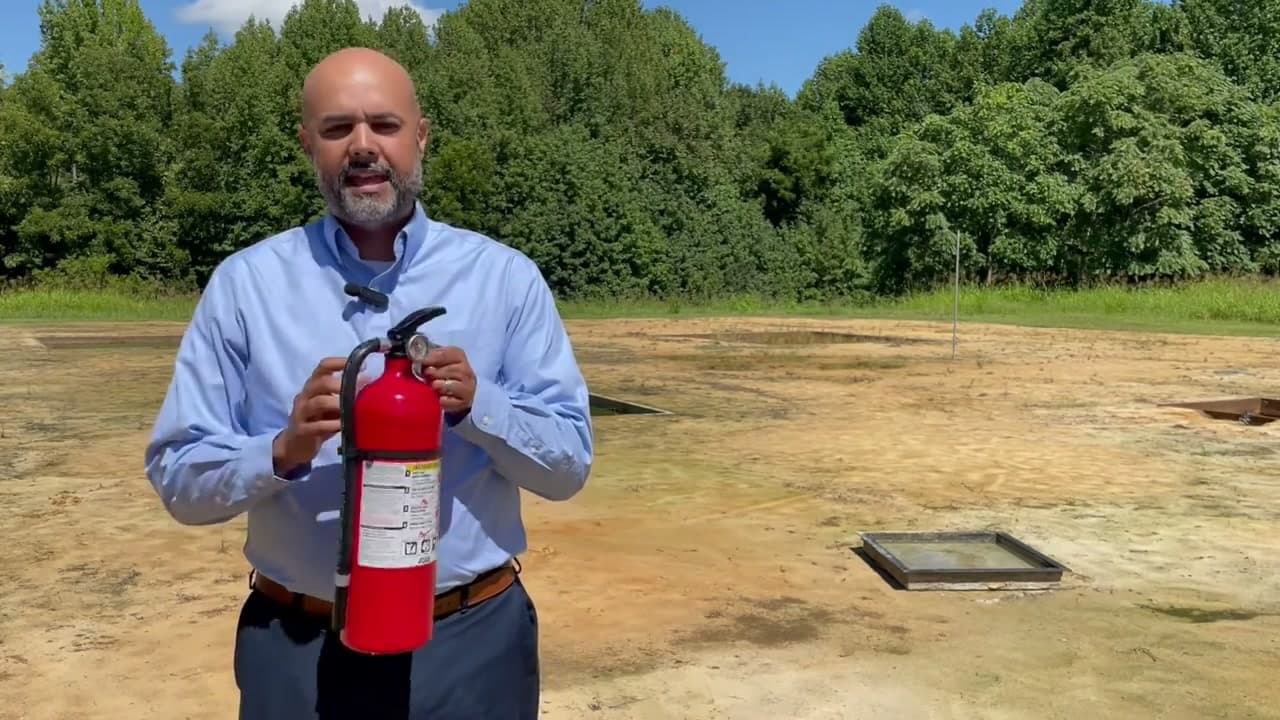
Step 1: Check the Rating and Call for Help First

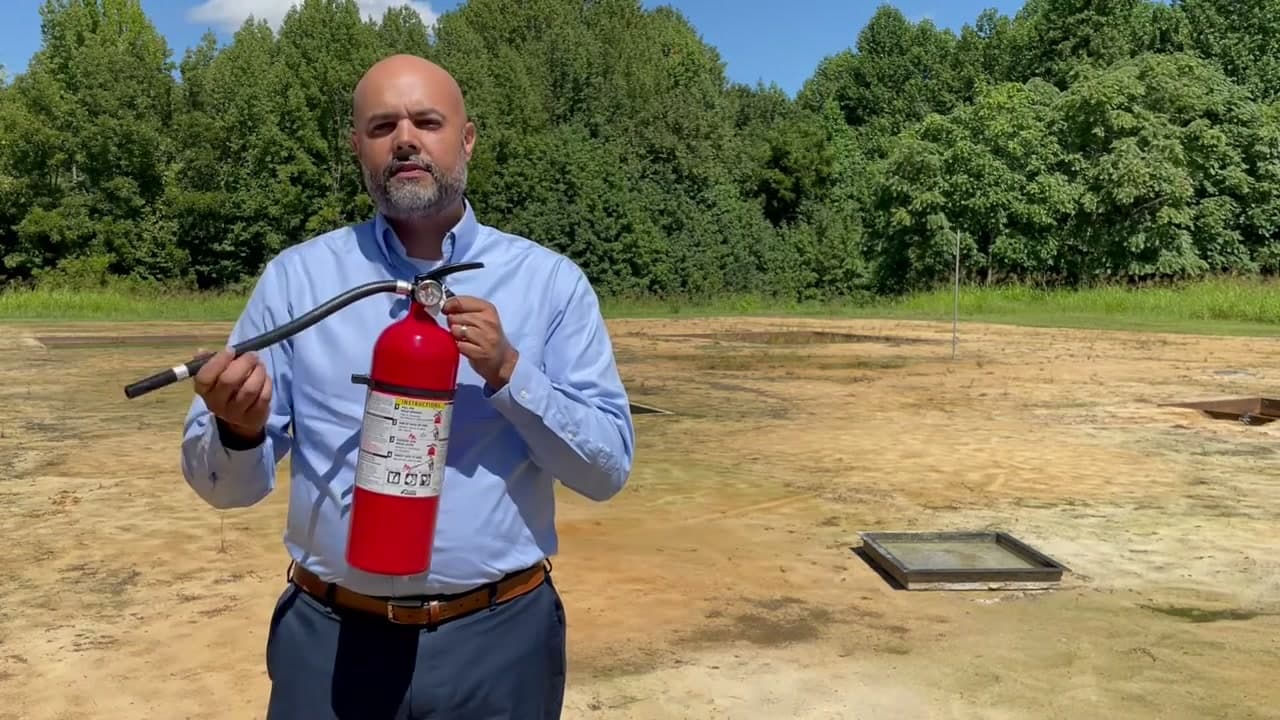
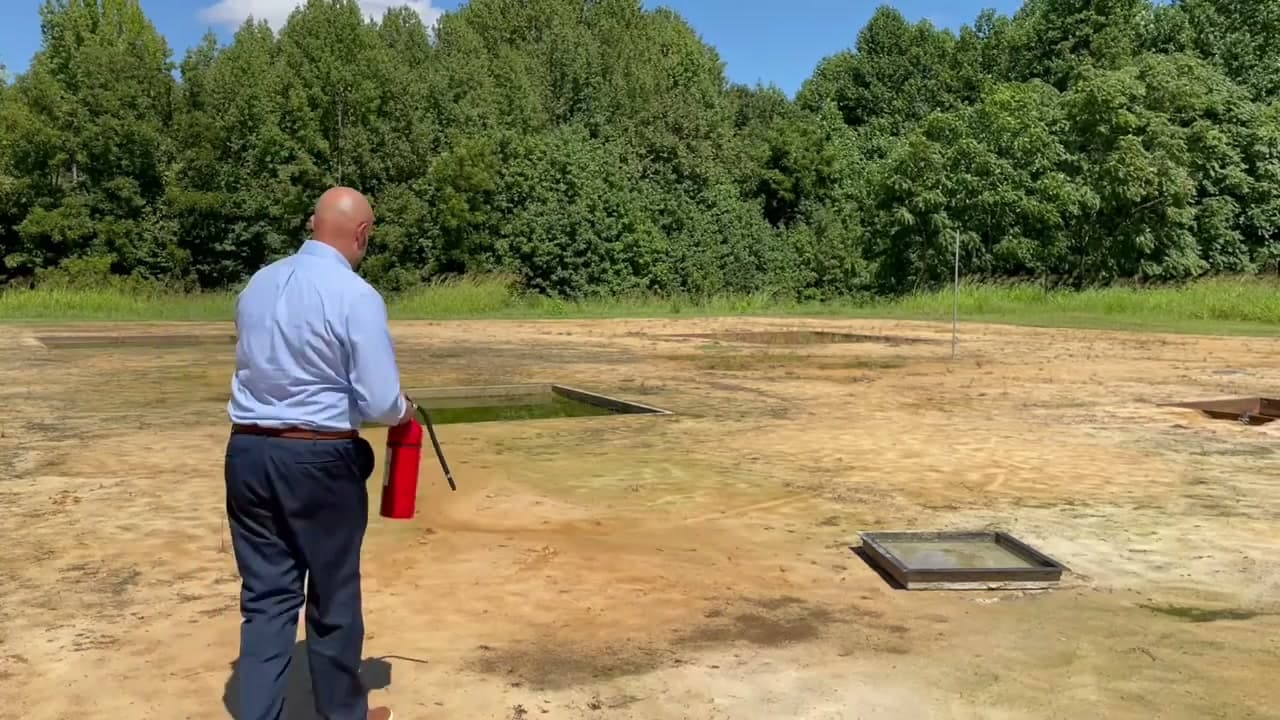
Before you touch the lever, look at the label on the side of the extinguisher. The unit Louis uses in this demo is a 3A:40-B:C, which means it works on ordinary combustibles like wood and paper (A), flammable liquids like grease and gasoline (B), and live electrical fires (C). That ABC rating is the all-purpose one you want for a home or kitchen.

Have someone call 911 the moment a fire starts, even if you plan to use the extinguisher. Only fight a fire that is smaller than a wastebasket and only when you have a clear path out behind you. If you cannot see the back wall of the fire or the smoke fills the ceiling, leave the building.

Tip

The first digit in 3A:40-B:C is the size of fire it will put out. A higher number means more agent, which means a longer discharge time. For a kitchen, look for at least 2A:10-B:C.
2

Stand 6 to 8 Feet Back with Your Exit Behind You

1:05
Step 2: Stand 6 to 8 Feet Back with Your Exit Behind You

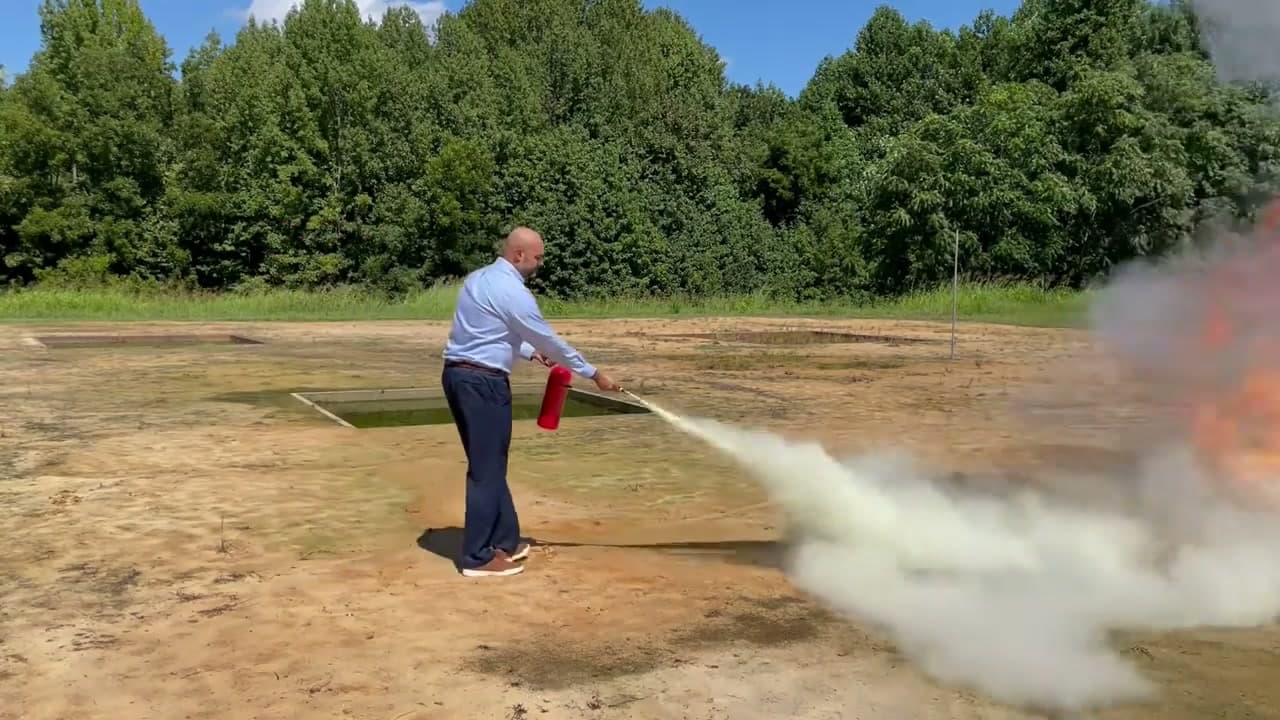
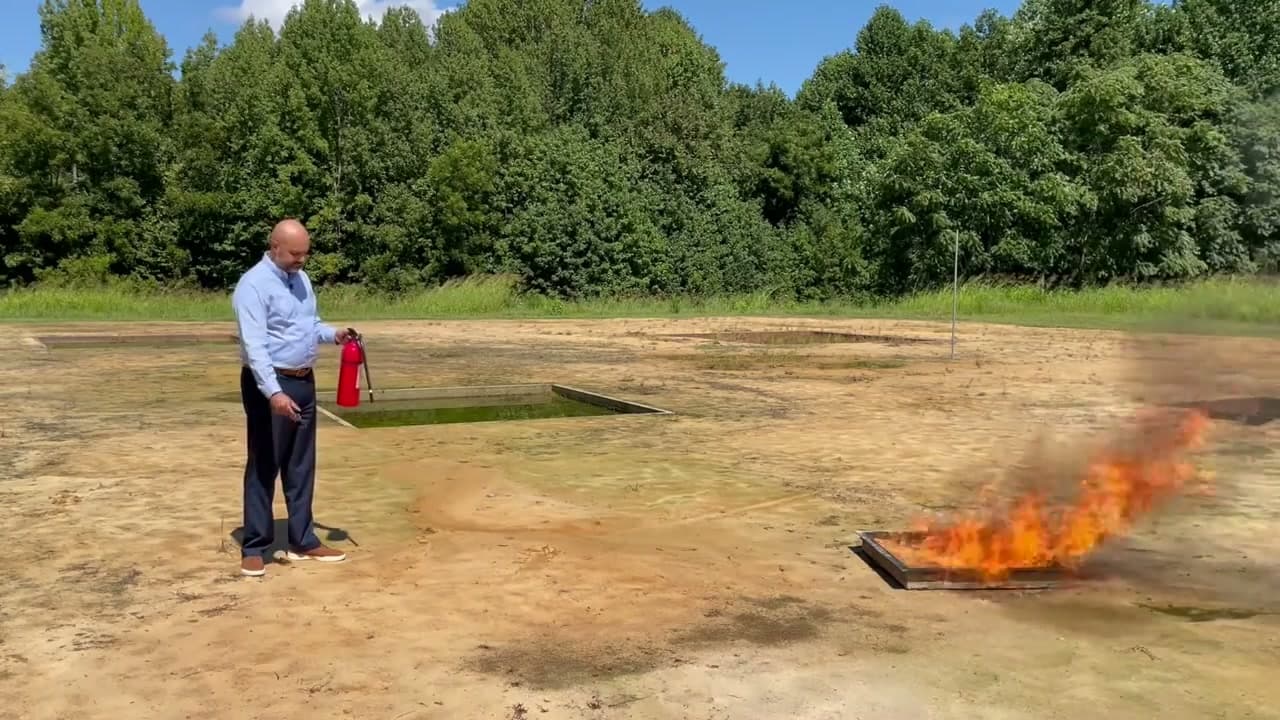
Approach the fire with the extinguisher held upright and stop 6 to 8 feet away. That distance is the sweet spot for the discharge stream on a typical home unit. Too close and the recoil scatters burning material; too far and the agent dissipates before it reaches the fire.

Position yourself so your back is to the exit, never with the fire between you and the door. If you are outdoors, check that the wind is at your back so the extinguishing agent reaches the flames and the heat blows away from you instead of into your face.

Tip

If the room is filling with smoke, drop to a crouch. The clearer air is closer to the floor. Heat rises and so do the toxic gases, so staying low buys you precious seconds.

3

P - Pull the Pin

1:29
Step 3: P - Pull the Pin

Grip the extinguisher around the body with one hand. With the other hand, grab the metal ring at the top and pull the safety pin straight out. The pin breaks the plastic tamper seal and unlocks the lever. Set the pin aside or drop it - you do not need it again.

Important timing detail: you only have about 13 to 15 seconds of discharge once you start, so do not pull the pin until you are already in position and ready to fight the fire. Pulling early and then walking 20 feet to the kitchen wastes nothing, but pulling the pin and then fumbling for the lever wastes seconds you do not have.

Tip

The pin is on a plastic tie that snaps with a firm pull. If it feels stuck, twist slightly while you pull - do not yank straight up like a ripcord.

4

A - Aim at the Base of the Fire

1:35
Step 4: A - Aim at the Base of the Fire

Point the nozzle low, at the base of the flames where the fuel is actually burning. This is the step most beginners get wrong. The instinct is to aim at the flames themselves, but flames are just the visible reaction. They keep regenerating from the fuel underneath as fast as you can knock them down.

Aim at the source - the burning paper, the pooled grease, the smoldering couch cushion. Keep the extinguisher upright so the dip tube stays submerged in the agent, and grip the hose or nozzle firmly so the recoil when you squeeze does not throw your aim off.

Tip

For a grease fire on a stovetop, never aim straight down into the pan - the blast scatters burning oil. Aim at the back of the pan and let the agent roll forward across the surface.

5

S - Squeeze the Lever Slowly and Evenly

1:40
Step 5: S - Squeeze the Lever Slowly and Evenly

Squeeze the top lever down against the carry handle with steady pressure. A slow even squeeze gives you a controlled stream that you can aim. A panicked yank wastes agent and the recoil tips the can off target.

The agent comes out as a thick white plume that knocks the oxygen and the heat off the fire. Keep squeezing - do not pulse the lever, because the on-off bursts let the fire re-ignite between shots. You committed to using the extinguisher; commit to emptying it.

Tip

The discharge is loud. First-timers often flinch and let go of the lever when the agent erupts. Lock your grip and breathe through it - the noise is normal.

6

S - Sweep Side to Side

1:50
Step 6: S - Sweep Side to Side

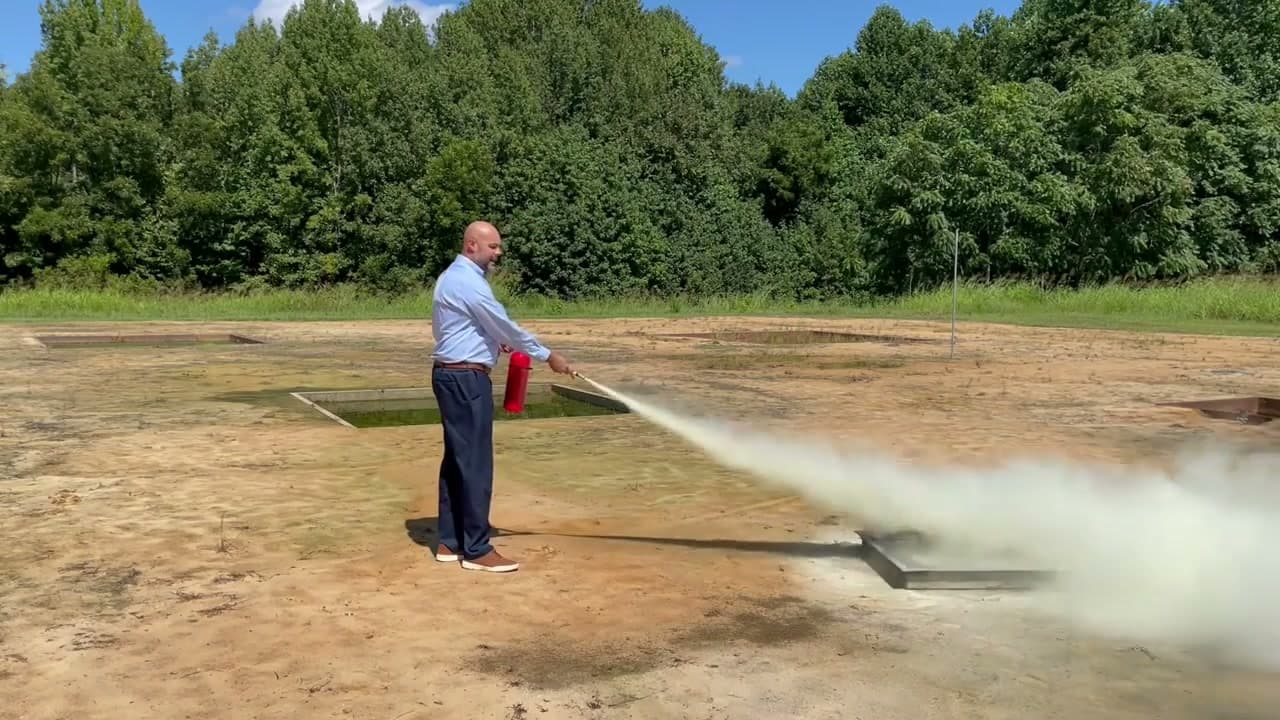
While you keep the lever squeezed, sweep the nozzle in slow side-to-side passes across the base of the fire. The goal is to coat the entire burning surface, not just punch a hole in one spot. Move from one edge to the other and back, working closer as the flames die down.

When the fire looks out, stay back and watch it for at least 30 seconds. Re-ignition is common because hot fuel surfaces flash again the moment the agent cloud thins. If anything flares up, hit it again. Then back out the way you came in and let the fire department confirm it is fully out.

Tip

Always call 911 even if you put the fire out yourself. Fires can smolder inside walls for hours and re-emerge after you have left the room. A fire crew will scan with a thermal camera and confirm it is dead.

7

Place and Maintain Extinguishers in Your Home

0:50
Step 7: Place and Maintain Extinguishers in Your Home

One extinguisher in the garage is not enough. The NFPA recommends an ABC unit on every level of the home, mounted so you never have to travel more than 40 feet to reach one. Put units in or near the kitchen, the laundry room, the garage, and any patio or grill area.

Check the pressure gauge once a month. The needle should sit dead-center in the green zone. If it has drifted into red, the unit has lost pressure and will not discharge fully. Replace a disposable home extinguisher every 12 years, sooner if the gauge drops or the body shows damage. Larger rechargeable units should be professionally inspected once a year - look for the punched inspection tag on the side.

Tip

Write the purchase date on the bottom of the canister in permanent marker the day you bring it home. The 12-year clock starts then, not when you finally hang it on the wall.

Products Used

☐ The Checklist

How to Use a Fire Extinguisher: The PASS Method

Tools
3
Materials
3
Steps
7
Video
4 min

Your Guide

Kidde Fire Safety

As an Amazon Associate we earn from qualifying purchases. Links on this page may be affiliate links - clicking them and buying doesn't change your price, but helps support ShowMeStepByStep.

Tags

Test your knowledge

Did the lesson stick? Find out in 2 minutes.

5 quick questions covering what you just read. No signup, no score saved — just a gut check.

Quick reference

Key takeaways from How to Use a Fire Extinguisher: The PASS Method

5 questions, answers, and one-line explanations. Tap to expand.

  1. 1.What does the PASS acronym stand for?

    Answer: Pull, Aim, Squeeze, Sweep

    Pull the pin, Aim at the base, Squeeze the lever, Sweep side to side.

  2. 2.How long does a typical home extinguisher discharge?

    Answer: About 13-15 sec

    13-15 seconds total. Pull pin only when you're already in position - fumbling wastes seconds you don't have.

  3. 3.Where do you aim?

    Answer: At the base of fire

    Most beginners aim at the flames. Aim at the fuel source - the burning material itself. Flames regenerate from the base.

  4. 4.Right distance to stand back?

    Answer: 6 to 8 feet

    6-8 feet is the sweet spot. Too close scatters burning material; too far the agent dissipates before reaching the fire.

  5. 5.Which ABC rating do you want for a kitchen?

    Answer: 2A:10-B:C minimum

    First digit is fire-size capacity. At least 2A:10-B:C for a kitchen. NFPA: one ABC unit on every level of the home.

What's next

Related collections

Curated theme pages that include this tutorial.

Weekly Digest

Liked this adulting tutorial?

Pick the categories you want to hear about. Weekly digest of new step-by-step tutorials. No spam, easy unsubscribe.

Send me tutorials about

We only email about new tutorials. Easy unsubscribe anytime.