How to Get Rid of Ants

AdultingEasy4:277 steps

By ShowMeStepByStepPublished Updated

Based on a video by MrFixItDIY.

Ants follow scent trails. That's why one scout finds a crumb and an hour later there's a line of them across your counter. Killing the visible workers does almost nothing - the colony just sends more.

This walkthrough from Aaron Massey at MrFixItDIY pairs five cheap DIY methods so you hit the problem from both sides: wipe out the trail and the food sources inside, then attack the colony outside before it sends another wave. Most of what you need is already under your sink.

Plan on an afternoon for the indoor work and another 20 minutes outside. Bait takes a day or two to do its job, so don't panic if you still see ants the morning after.

Step-by-Step Guide

1

Step 1: Mix a vinegar spray and treat the trail

0:50
Step 1: Step 1: Mix a vinegar spray and treat the trail

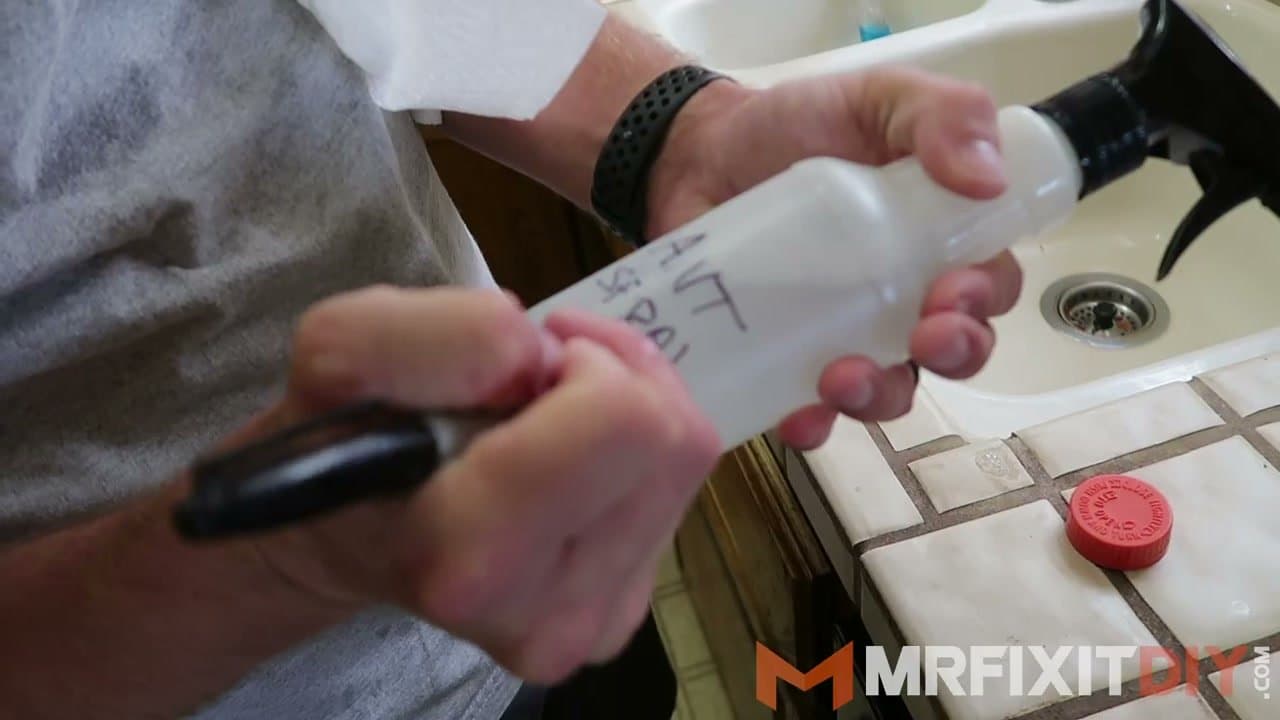
Fill a spray bottle with equal parts white vinegar and water. Label it so nobody mistakes it for cleaner later. Shake it once and you're ready.

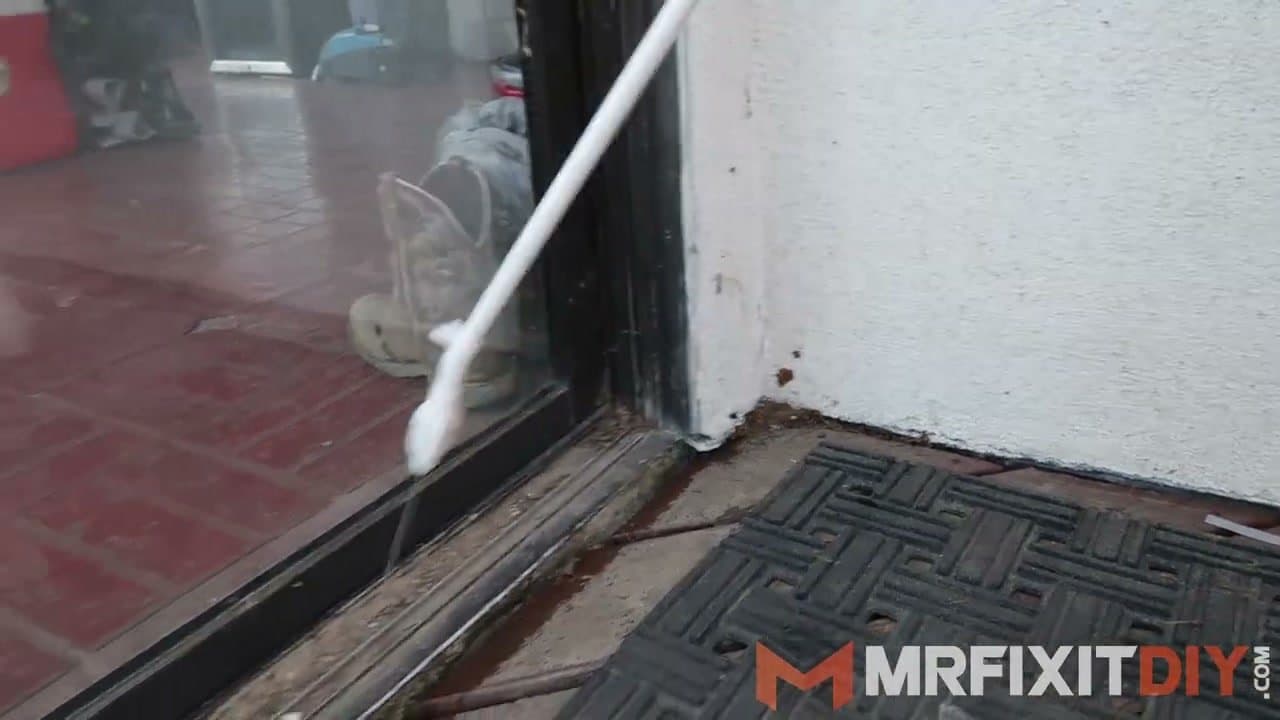
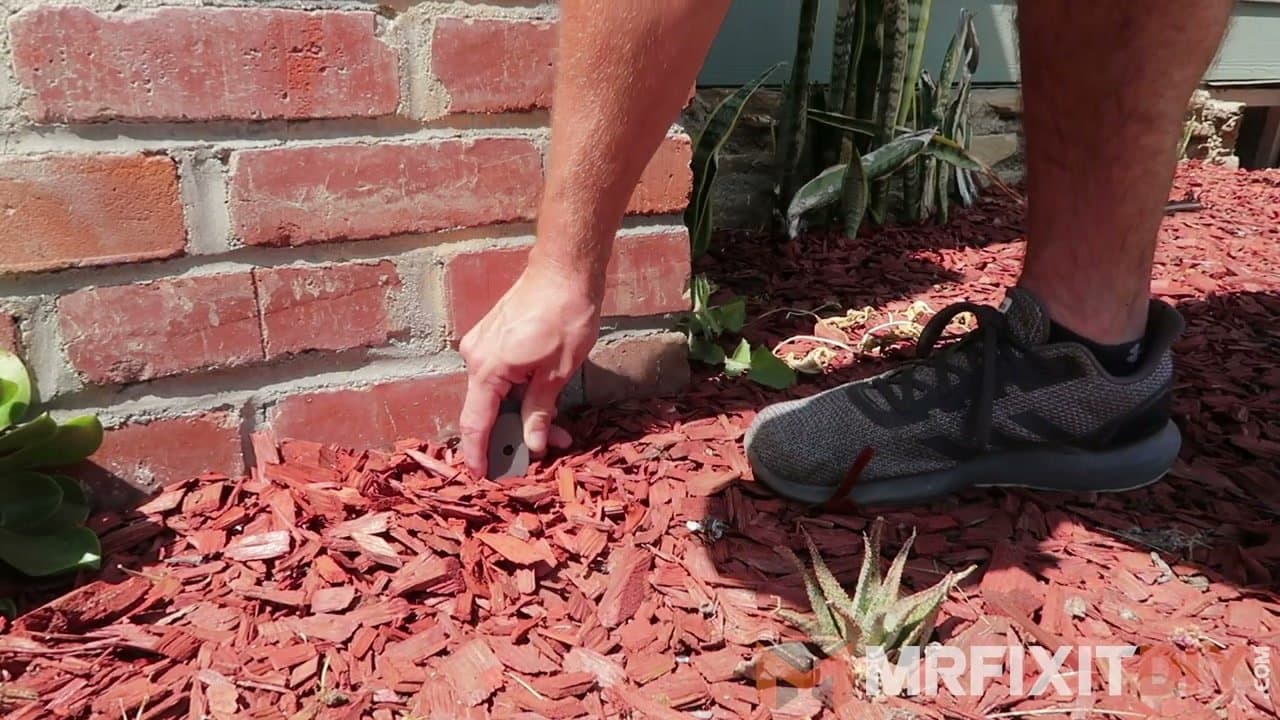
Spray directly along the line of ants and any spot where they're squeezing through - baseboards, around outlets, under window sills. The vinegar erases the pheromone trail other workers are using to find the food, so the line breaks up fast.

Tip

This is a temporary fix on its own. Pair it with the bait in step 2 to actually take down the colony.

2

Step 2: Set out liquid borax bait near the trail

1:50
Step 2: Step 2: Set out liquid borax bait near the trail

Pop open a TERRO liquid bait station and set it right on the active trail or wherever you keep finding ants. The sweet sugar pulls them in and the borax mixed in is the kill agent.

You'll see way more ants in the first day or two - that's the bait working. Workers are carrying it back to feed the colony, including the queen. After about 48 hours the visible activity drops off hard.

Tip

Keep these out of reach of small kids and pets. The plastic stations are sealed but the liquid still tastes sweet.

3

Step 3: Seal cracks and entry points with caulk

2:20
Step 3: Step 3: Seal cracks and entry points with caulk

Walk the room with the ants and look at the bottom inch of every wall. Tiny gaps where siding meets a slab, a missing chunk of caulk around a window, a hole where a wire enters - those are the doors.

Run a bead of exterior caulk into each gap. Smooth it with a wet finger so the line looks clean. You can paint over it later if it ends up somewhere visible.

Tip

You won't seal every microscopic crack. That's fine. Closing the obvious ones cuts traffic dramatically.

4

Step 4: Clean up food sources and crumbs

2:50
Step 4: Step 4: Clean up food sources and crumbs

Take out the trash. Wipe down the counters with a soapy rag - get the spots behind the toaster and under the fruit bowl too. Run any food scraps down the garbage disposal instead of leaving them in the can.

Pet food bowls are a big one. If your dog grazes all day, switch to scheduled meals or pour fresh food on a clean mat. Ants love kibble crumbs.

Tip

In hot weather ants come inside hunting water as much as food. Fix any drippy faucets and dry out the sink at night.

5

Step 5: Eliminate the source outside the house

3:15
Step 5: Step 5: Eliminate the source outside the house

Step outside and follow the trail back. Where do the ants come from? Most of the time it's an outdoor trash can pushed up against the siding, a planter touching the foundation, or a tree branch resting on the roof.

Move the trash can a few feet away. Trim any branches off the house. Rake out leaf piles next to the foundation - colonies love nesting under that kind of cover.

6

Step 6: Spray the foundation with a perimeter pesticide

3:35
Step 6: Step 6: Spray the foundation with a perimeter pesticide

Hit the entire foundation line with a residual outdoor spray like Ortho Home Defense. Walk the wand along the bottom of the wall, around every doorway, and a few inches up either side of garage and patio doors.

The active ingredient bonds to the surface and keeps killing for a couple of months. Mark your calendar to reapply every three to four months, especially heading into spring and summer.

Tip

Spray on a dry day. Rain within a few hours of application can wash the residual off before it sets.

7

Step 7: Stake outdoor bait stations near the colony

3:42
Step 7: Step 7: Stake outdoor bait stations near the colony

For the colony itself, push a few outdoor ant bait stakes into the soil near the trail or right next to the visible mound. The TERRO outdoor stakes look like little plastic spikes and go in like a tent stake.

Workers grab the bait and feed it to the queen. The whole colony collapses in a week or two without you ever getting close to the nest.

Tip

Place stakes where sprinklers won't soak them and away from spots dogs dig. Replace every three months.

Products Used

Your Guide

MrFixItDIY

As an Amazon Associate we earn from qualifying purchases. Links on this page may be affiliate links - clicking them and buying doesn't change your price, but helps support ShowMeStepByStep.

Tags

Related Tutorials