How to Clean a Microwave

AdultingEasy4:578 steps

By ShowMeStepByStepPublished Updated

Based on a video by Clean That Up.

A dirty microwave is one of those jobs that feels worse than it is. The grease bakes on, the splatter dries hard, and scrubbing usually means dripping cleaner down your wrist for ten minutes.

Brandon from Clean That Up uses a steam trick that does the work for you. A bowl of vinegar, water, and a squeezed lemon goes in for five minutes. The steam softens everything stuck to the walls and ceiling so a single swipe with a microfiber cloth wipes it clean. The turntable comes out for a sink wash, the keypad gets a quick spritz, and the whole thing takes less than fifteen minutes of active work.

You probably have everything you need already. White vinegar, a lemon if you've got one, a microfiber cloth, and a bowl that fits in your microwave.

Step-by-Step Guide

1

Step 1: Mix the steam cleaner

0:08
Step 1: Step 1: Mix the steam cleaner

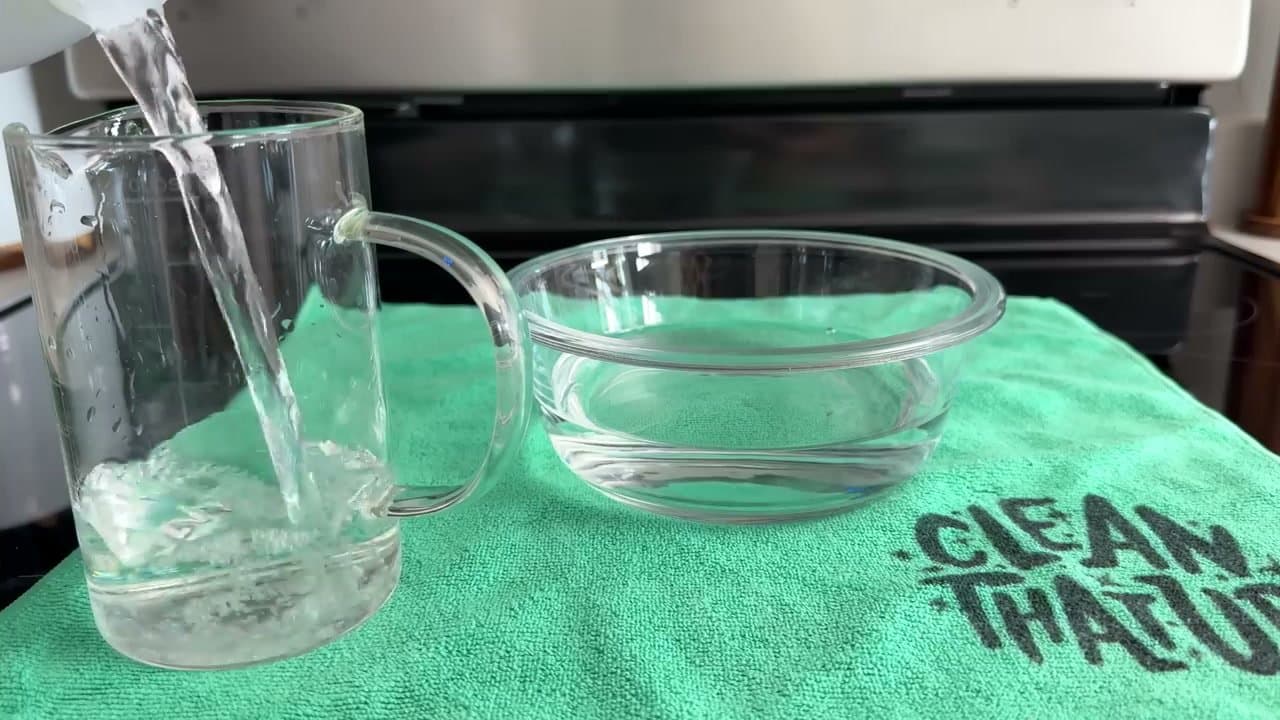
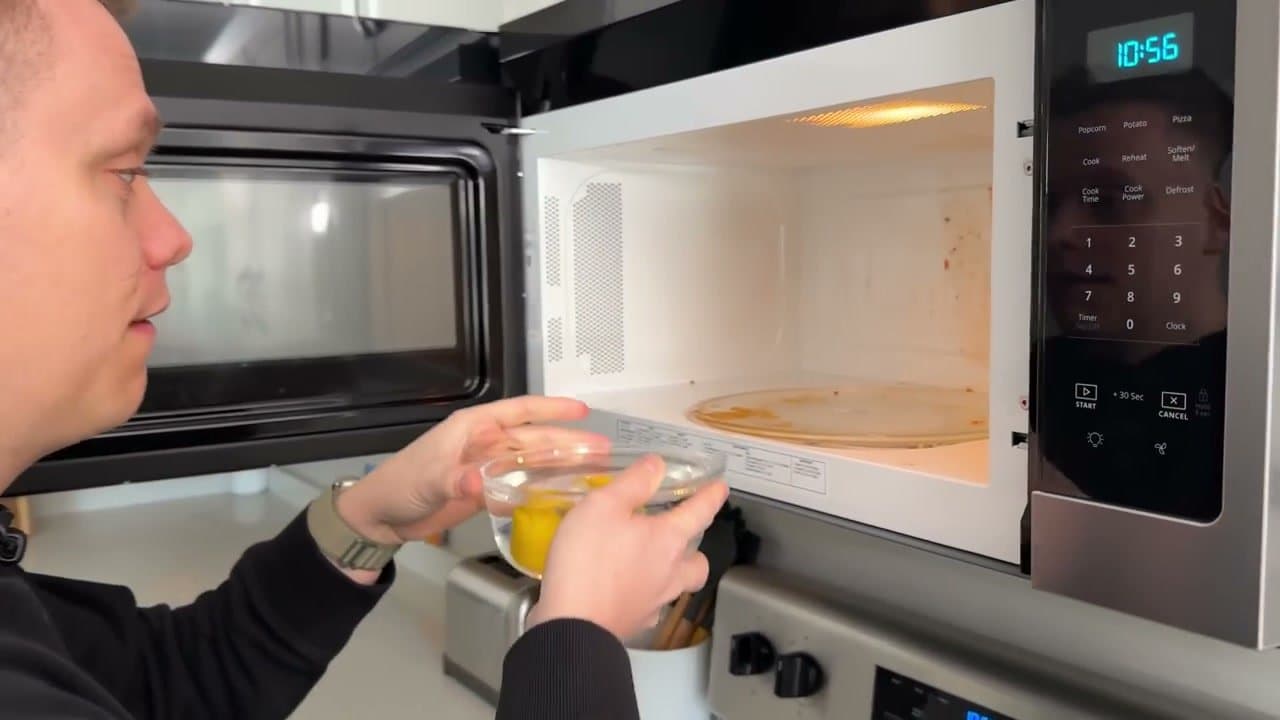
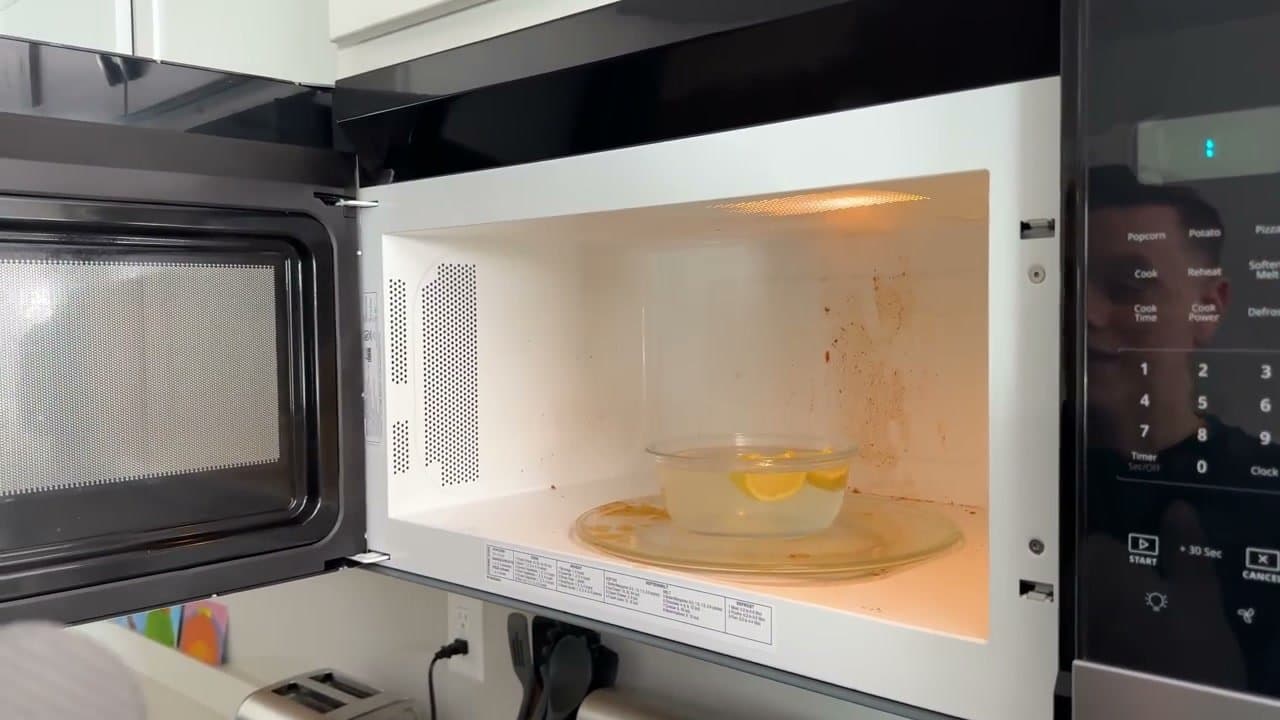
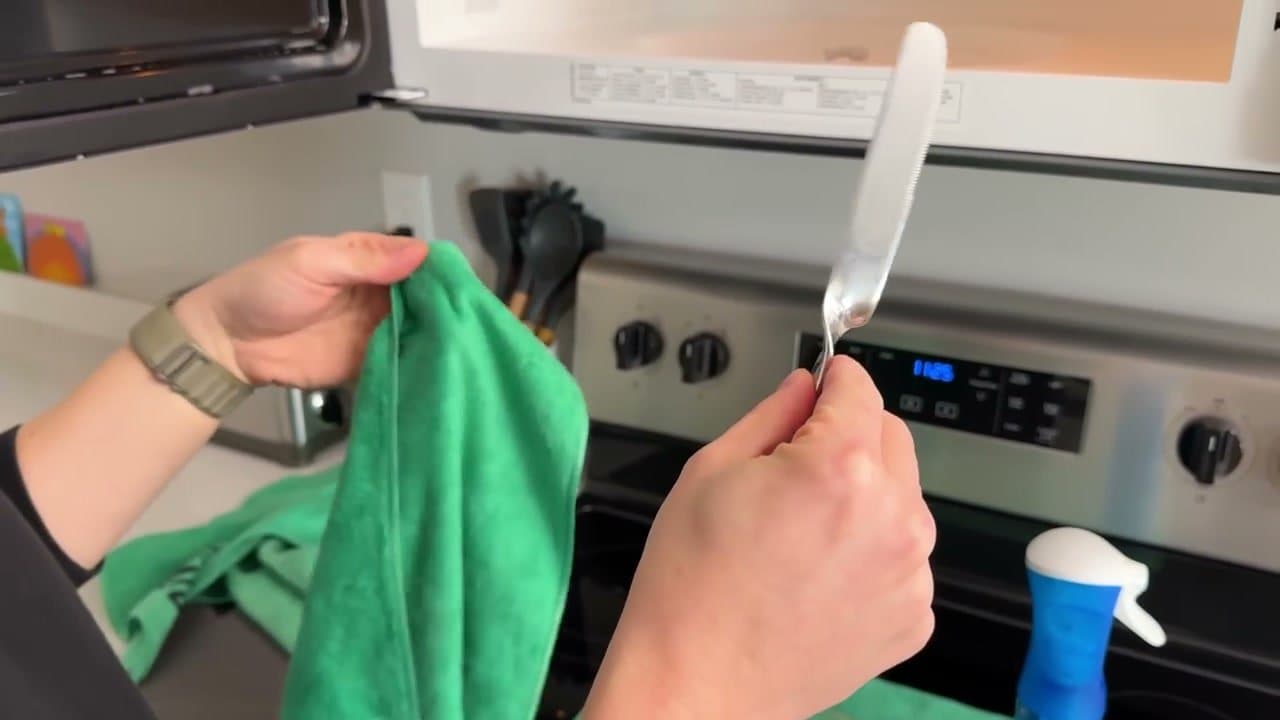
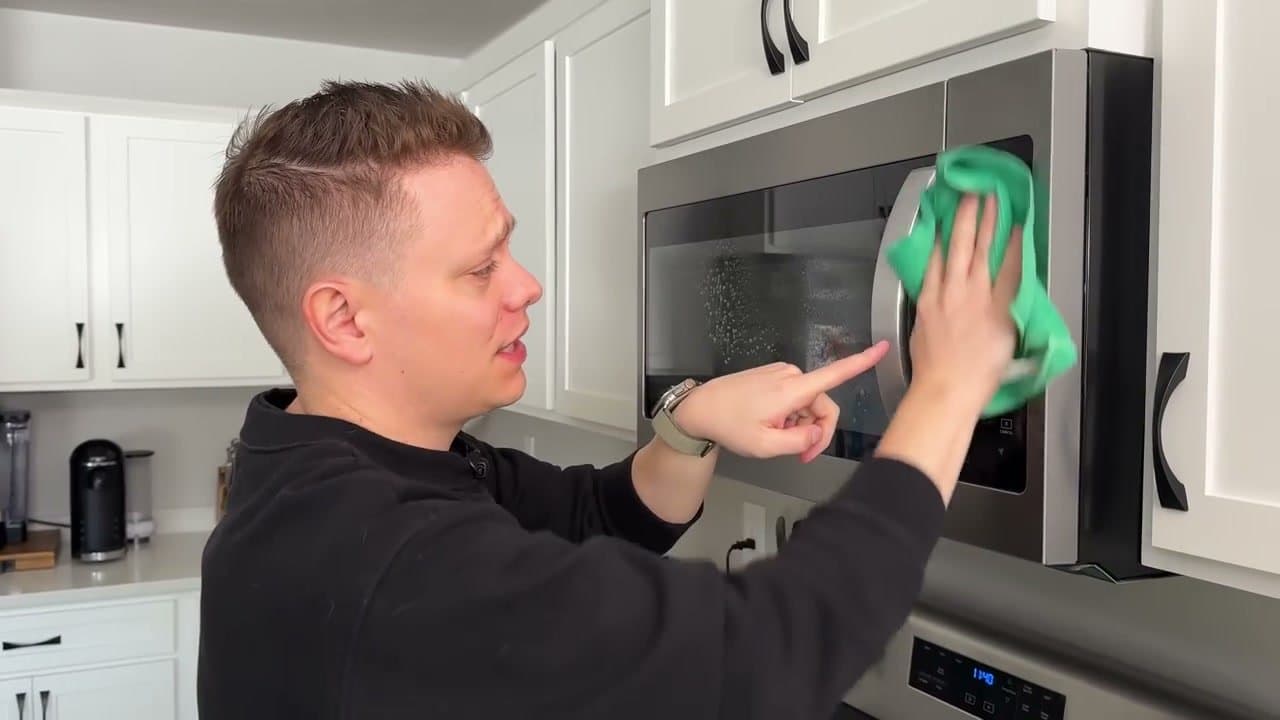
Grab a microwave-safe bowl. Pour in a cup of water and a cup of white vinegar. The vinegar is the active ingredient - it softens grease and breaks down baked-on food.

Roll a lemon on the counter under your palm to break up the juice cells, then cut it in half. Squeeze both halves into the bowl and drop the rinds in too. The lemon is optional. Plain vinegar and water works fine, but the citrus cuts grease a little harder and leaves the kitchen smelling clean instead of like a salad.

Tip

Skip the lemon if you don't have one. The vinegar steam alone does the heavy lifting.

2

Step 2: Run the microwave for five minutes

0:42
Step 2: Step 2: Run the microwave for five minutes

Set the bowl in the middle of the microwave and close the door. Run it on high for at least five minutes. The goal is to get the bowl boiling so steam fills the cavity.

Walk away. Wipe down the counter, start a load of laundry, do something else for five minutes. The steam is doing the scrubbing for you.

Products used in this step

3

Step 3: Carefully remove the hot bowl

1:07
Step 3: Step 3: Carefully remove the hot bowl

When the timer goes off, open the door and stand back for a second. Steam will roll out and the bowl will be hot enough to scald.

Use oven mitts to lift the bowl out and set it on a heat-safe surface. Don't dump it yet - you can use the warm vinegar water to dip your microfiber cloth in if any spots need a second pass.

Tip

Don't grab the bowl with a bare hand. Five minutes of microwave steam makes glass painfully hot.

Products used in this step

4

Step 4: Wipe the interior with a damp microfiber cloth

1:24
Step 4: Step 4: Wipe the interior with a damp microfiber cloth

Take a damp microfiber cloth and start wiping. Walls, ceiling, the inside of the door. The softened grease comes off in a single swipe with no scrubbing.

If a spot still hangs on, hit it with a dab of Dawn Powerwash and a Scrub Daddy. Work in a circle and rinse the cloth often so you're not pushing dirt around. The whole interior should wipe clean in two or three minutes.

Tip

Ceiling first, walls next, floor last. Anything that drips while you work falls onto a surface you haven't cleaned yet.

5

Step 5: Take out and wash the turntable and roller ring

1:50
Step 5: Step 5: Take out and wash the turntable and roller ring

Lift the glass turntable plate out, then pull the plastic roller ring underneath. Both come out clean by hand - no tools needed.

Take them to the sink. Spray with Dawn Powerwash, scrub with a dish brush, rinse, and set them on a towel to dry. The roller ring tends to hide the grimiest gunk, so flip it over and get the underside too.

6

Step 6: Two-towel rinse the inside

3:20
Step 6: Step 6: Two-towel rinse the inside

Once the soap is scrubbed away, you want a clean rinse so no residue dries on the walls. Use one damp microfiber cloth to wipe down the entire interior, then follow with a second dry microfiber cloth to buff the surface streak-free.

Start at the top and work down. Anything that falls during the wet pass gets caught on the dry pass at the bottom.

Tip

Two cloths is the difference between a clean microwave and a streaky one. Don't skip the dry buff.

Products used in this step

7

Step 7: Reach the corners with a butter knife

3:12
Step 7: Step 7: Reach the corners with a butter knife

Crumbs love the back edge and the front lip where the door seals. Your fingers can't get in there.

Wrap a damp microfiber cloth around the tip of a butter knife. The flat blade gives you a thin edge with the soft cloth on the outside, so you can run it along the seams and corners without scratching anything. Push the cloth into the crease and drag it across. Crumbs come out, and the rubber seal stays intact.

8

Step 8: Clean the exterior and the keypad

4:26
Step 8: Step 8: Clean the exterior and the keypad

The inside is done. Most people stop there and forget the outside, but the keypad gets touched every day with whatever's on your hands. It's usually the dirtiest part.

Spray a general-purpose cleaner onto a microfiber cloth - never directly onto the keypad - and wipe the door, the handle, and the buttons. Pay attention to the seams around the door where grease creeps in. Finish with a dry microfiber for a streak-free shine on the stainless or glass.

Tip

Spray the cloth, not the appliance. Liquid wicking into the keypad is how electronics die.

Products Used

☐ The Checklist

How to Clean a Microwave

Tools
7
Materials
4
Steps
8
Video
5 min

Your Guide

Clean That Up

As an Amazon Associate we earn from qualifying purchases. Links on this page may be affiliate links - clicking them and buying doesn't change your price, but helps support ShowMeStepByStep.

Tags

Related Tutorials