How to Clean a Dryer Vent (and Prevent a Fire)

AdultingMedium16:087 steps

By ShowMeStepByStepPublished Updated

Based on a video by AmplifyDIY.

Dryer vents collect lint over time. The lint trap in the dryer catches most of it, but a thin film of fibres still slips through and accumulates inside the duct that runs from the dryer to the outside of the house. Once that buildup gets thick enough, it restricts airflow, and the hot air pushing through can ignite. The U.S. Fire Administration links several thousand house fires a year to dryer vent buildup.

This walkthrough is from AmplifyDIY on YouTube. The job takes about an hour, most of which is moving the dryer and reassembling. The actual cleaning is a few minutes per rod section. A flexible-rod brush kit and a shop vac handle nearly all the work.

Plan to do this every six to twelve months. If your laundry takes longer than usual to dry, that's a strong sign the duct is clogged and needs immediate attention.

Step-by-Step Guide

1

Disconnect Power and Pull the Dryer Out

2:55
Step 1: Disconnect Power and Pull the Dryer Out

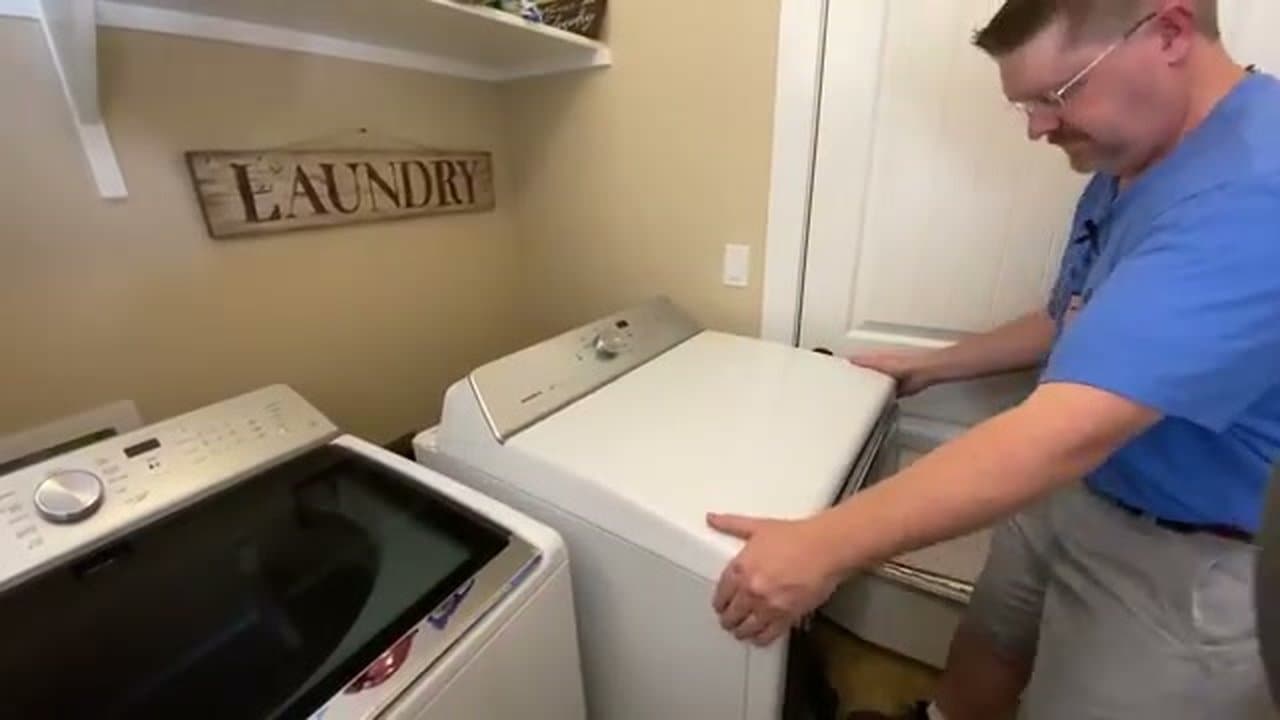
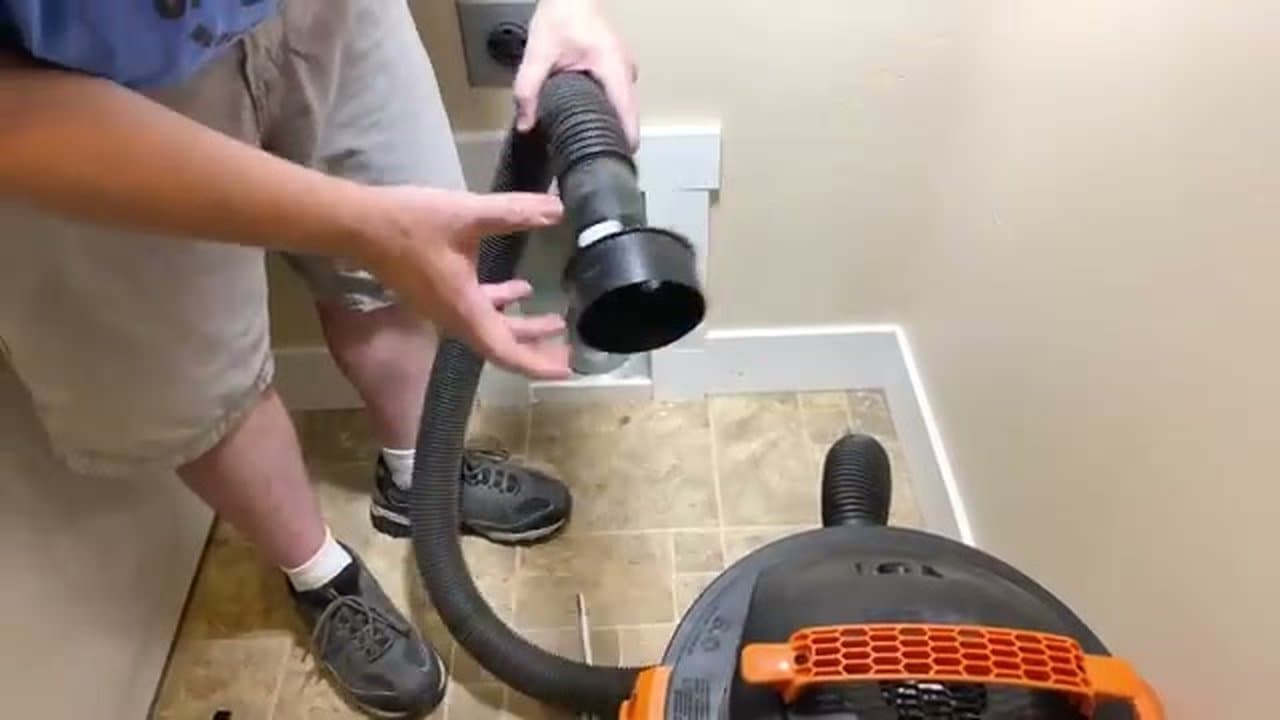
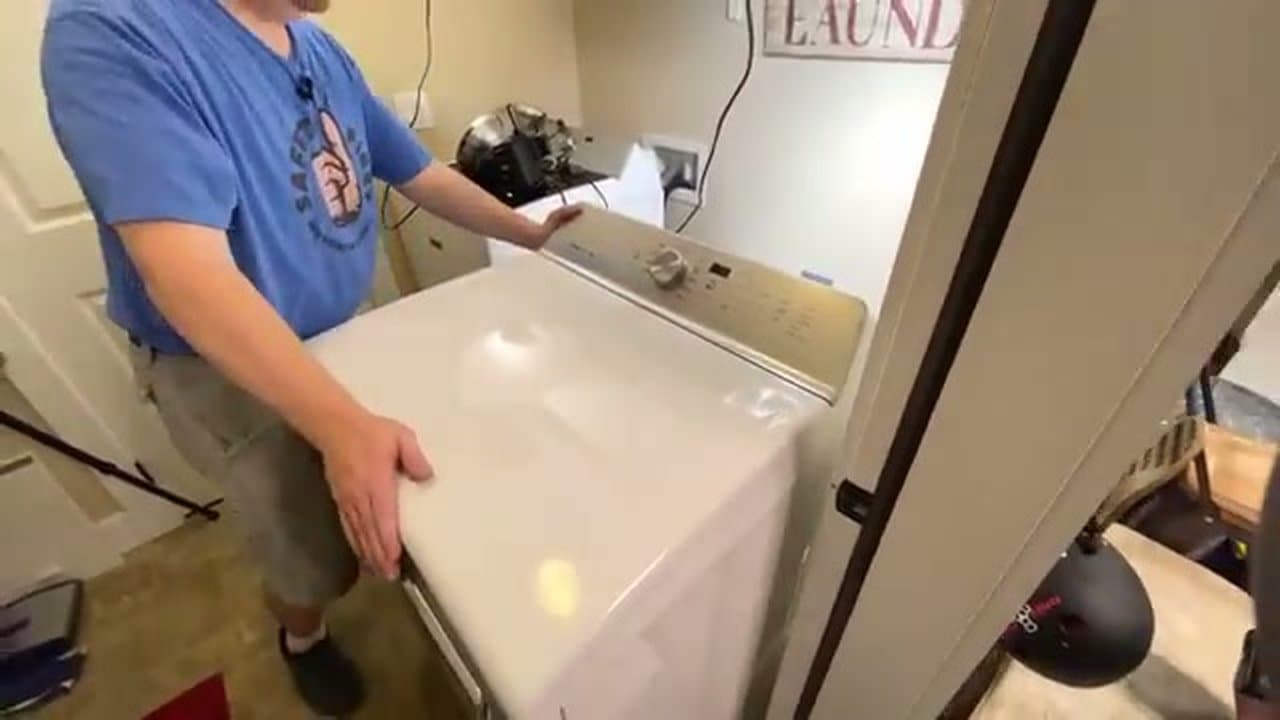
Unplug an electric dryer from the wall, or if you have a gas dryer, shut off the gas supply at the valve before disconnecting anything. Then pull the dryer far enough away from the wall to access the back panel comfortably.

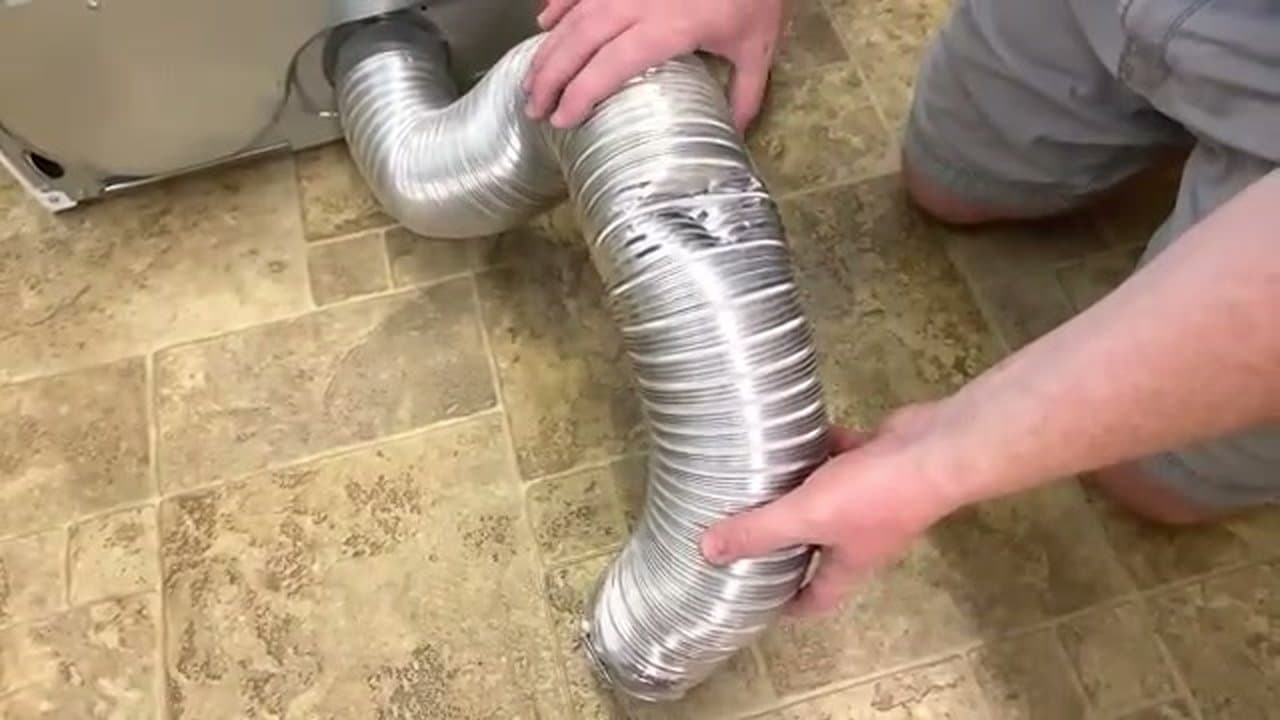
Don't kink the existing flex hose while you move the dryer. The hose is fragile - try to slide the dryer straight out rather than pivoting it.

Tip

If your laundry room is tight, pull the washer out at the same time even if you only need access to the dryer. The extra room makes the band clamps easier to reach.

2

Disconnect and Inspect the Flex Hose

4:40
Step 2: Disconnect and Inspect the Flex Hose

Loosen the screw on the band clamp where the flex hose meets the round duct in the wall, then pull the hose off. Lay it flat on the floor and look it over - any holes, severe kinks, or compressed-flat sections mean the hose should be replaced.

A minor kink is fine. Try to gently bend it back round before you reuse it. The flex hose itself is one of the cheapest parts of this job to replace if it looks bad.

Tip

Foil flex hoses are slightly more durable than vinyl ones. If you're replacing yours, foil is worth the extra few dollars.

3

Assemble the Brush, Rods, and Drill

7:00
Step 3: Assemble the Brush, Rods, and Drill

Thread the cleaning brush onto the end of the first rod and tighten the small set screw with the allen wrench from the kit. The set screw keeps the brush from unscrewing inside your duct, which would be a nightmare to retrieve.

Attach the drill adapter to the other end of the first rod. The drill should grip the metal adapter, not the bare rod - rods are designed to flex, and clamping directly onto them can damage them.

Tip

If your kit comes with extra rods (a 24-foot extension), unbox them now and lay them out in order. You'll add them one at a time as the brush travels through the duct.

4

Set Up the Shop Vac at the Duct Opening

8:20
Step 4: Set Up the Shop Vac at the Duct Opening

Feed the rod and brush through the small hole in the shop vac adapter from the back side first - if you put the adapter on the duct first, the rod won't fit through. Then push the adapter over the open end of the wall duct and connect the shop vac hose to the large port.

The shop vac sucks the loosened lint out as the brush dislodges it, so you don't end up with a pile of fibres on the laundry room floor.

Tip

If your shop vac hose is a different diameter than the adapter, electrical tape or duct tape around the joint makes a tight enough seal to hold the suction.

Products used in this step

5

Drive the Brush Through the Duct

11:00
Step 5: Drive the Brush Through the Duct

Turn on the shop vac. Run the drill clockwise only - never put it in reverse, or the rotation will unscrew rods inside the duct. With the drill spinning, slowly push the brush deeper into the duct, pulling it back out a few inches and pushing in again to scrub the walls.

When one rod is fully inside, attach the next rod, wrap a strip of electrical tape around the joint to lock it, and continue. Keep going until the brush exits the vent on the outside of the house.

Tip

Fold over the end of each piece of electrical tape to leave a tab. When you reverse the rods out at the end, those tabs make the tape much easier to peel off without dropping anything in the duct.

Products used in this step

6

Clean the Flex Hose and the Dryer Itself

12:50
Step 6: Clean the Flex Hose and the Dryer Itself

Lay the flex hose out straight and run the brush through it gently with the shop vac alongside. The flex hose walls are delicate - go slow and don't push hard.

Then aim the brush at the exhaust port on the back of the dryer itself. There's a short tube inside the dryer that catches lint too. Hold the shop vac hose nearby with one hand while you guide the rod with the other.

Tip

If the flex hose is hopelessly kinked or has loose lint baked onto the walls, just replace it. A new hose is cheaper than the time you'd spend trying to clean a damaged one.

7

Reassemble and Test

14:30
Step 7: Reassemble and Test

Slide the flex hose back over the dryer's exhaust port and over the wall duct flange. Tighten both band clamps firmly so the hose can't slip off when the dryer pushes the unit while running. Plug the dryer back in (or restore gas) and slide it back into place, leaving enough slack in the hose so it doesn't get crushed.

Run a normal dry cycle. Step outside and check the vent hood - you should feel strong, warm airflow coming out. If the airflow is weak, the duct may have a section you missed; pull everything apart and run the brush through again.

Tip

Mark your calendar for the next cleaning - six months for a heavy-laundry household, twelve months for light use.

Products Used

☐ The Checklist

How to Clean a Dryer Vent (and Prevent a Fire)

Tools
5
Materials
2
Steps
7
Video
16 min

Your Guide

AmplifyDIY

As an Amazon Associate we earn from qualifying purchases. Links on this page may be affiliate links - clicking them and buying doesn't change your price, but helps support ShowMeStepByStep.

Tags

Related Tutorials