How to Shut Off the Water to Your House

Home SurvivalEasy4:277 stepsBrowse more →

By ShowMeStepByStepPublished

Based on a video by Any Hour Services - Electric, Plumbing, Heating & Air.

When a pipe lets go, the clock is running. Every minute the water stays on is another minute it floods your floors and walls. That's why the time to learn where your main shutoff is sits well before an emergency, not during one.

This walkthrough comes from Any Hour Services, a plumbing and home-services crew who make the whole thing feel simple. You'll learn how water gets from the city into your house, where the meter sits out by the street, and how to trace that line to the main valve inside. Then you'll see the two common valve types and exactly how to close each one.

Get everyone in the house on the same page, kids included. If you're the only one home when a line springs a leak, you want the person standing there to know the move. And once you're comfortable with the water, the same calm-under-pressure thinking helps with everyday fixes like unclogging a sink.

Step-by-Step Guide

7 steps · about 4 minutes.Check off each step as you go and your progress saves automatically.

1

Step 1: Find the Water Meter by the Street

0:58
Step 1: Step 1: Find the Water Meter by the Street

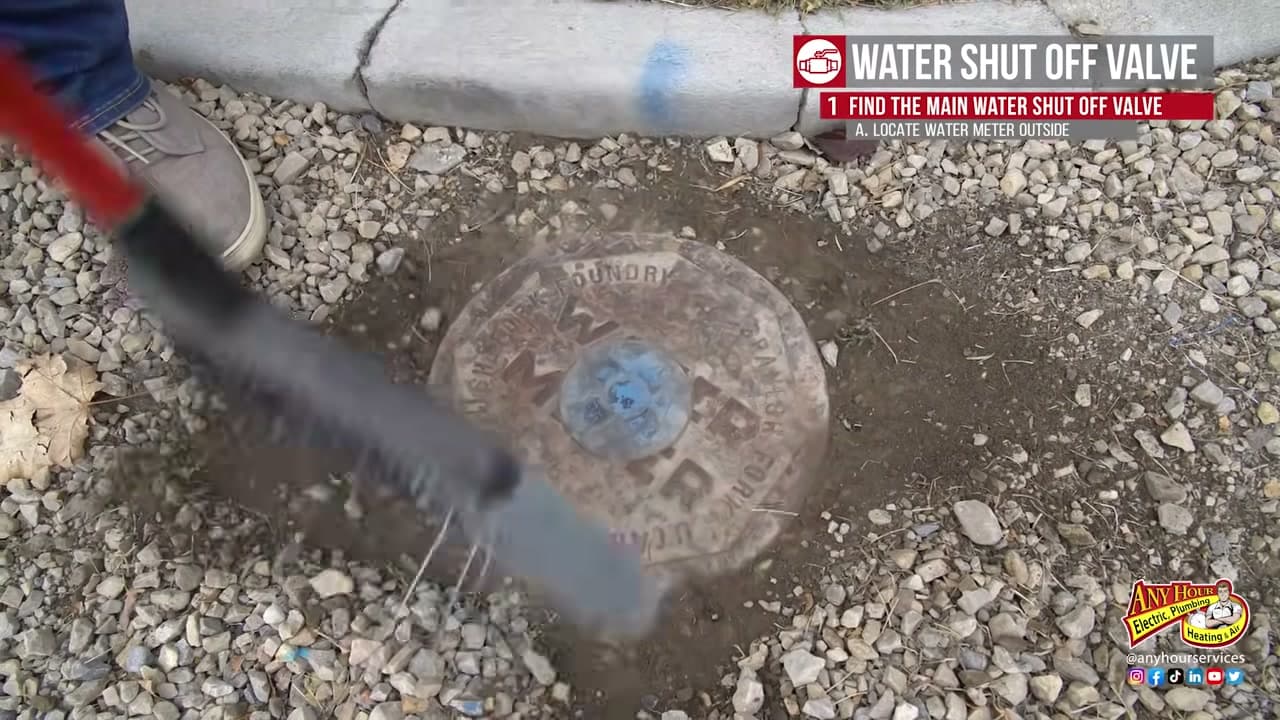
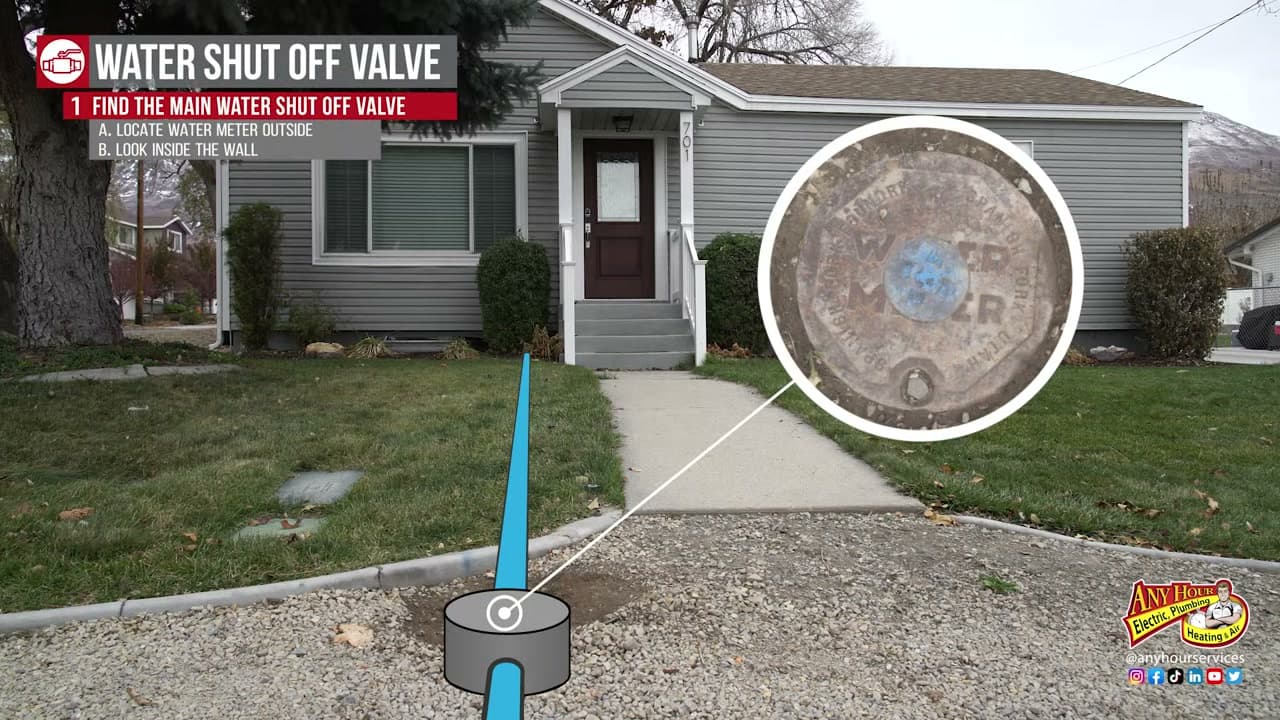
Start by understanding how water reaches you. The city runs a main line down your street, and a smaller line branches off to feed your house. Before it gets to you, it passes through a meter, usually a round cast-iron lid set in the ground near the curb or sidewalk.

Lift that lid and you'll see the meter and a shutoff valve. You can technically stop the water here, but a lot of cities would rather you leave this one alone. Think of the curb valve as a last resort. Its real value is that it points you toward the line running into your house.

Tip

Watch this step The meter lid can be stiff or half-buried in dirt. A water meter key hooks into the lid and pops it up without wrecking your fingers.
2

Step 2: Trace the Line From the Meter Into the House

1:28
Step 2: Step 2: Trace the Line From the Meter Into the House

Here's the trick that saves you a frantic search. Stand at the meter and picture a straight line running from it to your house. The supply line almost always takes that shot, passing through the foundation and popping up on the wall just inside.

Once it's through the wall, there should be another valve close by. It usually sits right before the pressure regulator, the bell-shaped fitting that keeps your house pressure in check. That indoor valve is the one you actually want for shutting the water off.

Tip

Watch this step Walk it once on a calm day. Knowing which wall the line enters means you won't be crawling around guessing while water pours out somewhere.

3

Step 3: Check Behind an Access Panel in Finished Rooms

1:58
Step 3: Step 3: Check Behind an Access Panel in Finished Rooms

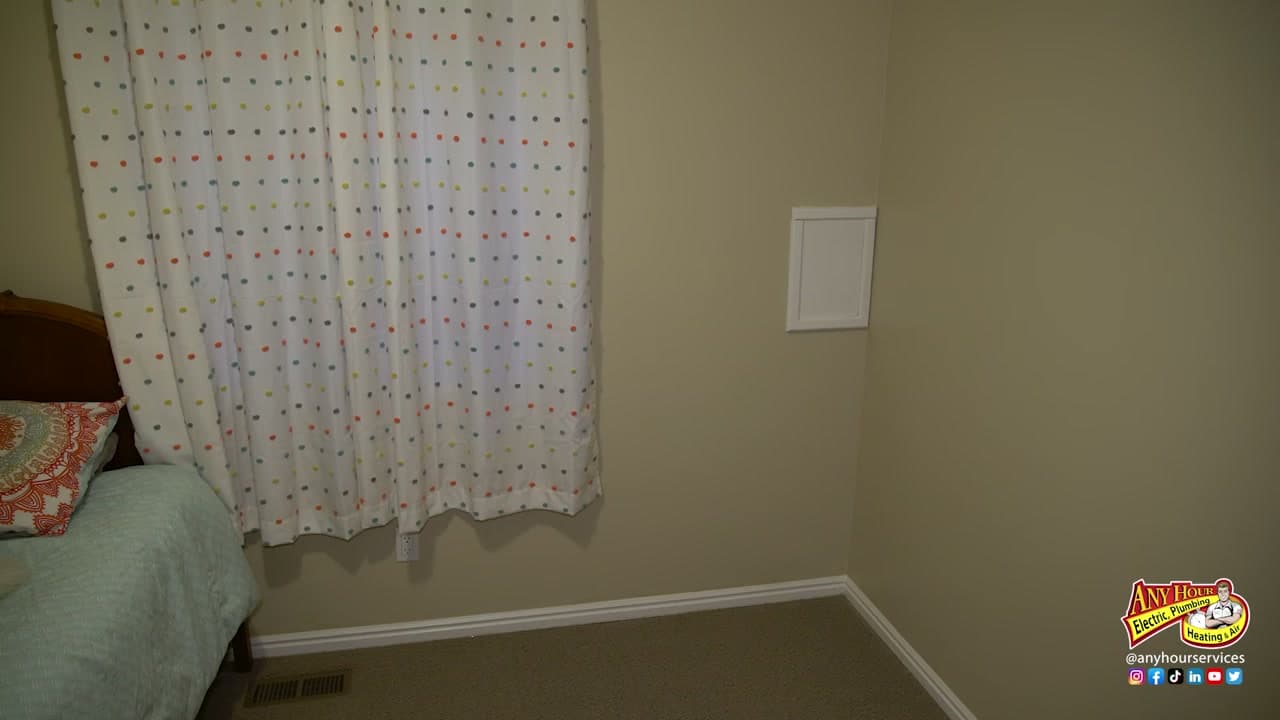
Sometimes that straight line lands in a finished room. In this example, a bedroom sits on the other side of the meter wall, so there's no bare pipe in view. Don't assume the valve isn't there.

Look for a removable access panel on the wall or up on the ceiling. Pop it open and you'll usually find the shutoff valve and the pressure regulator tucked inside. Builders leave these panels on purpose so the valve stays reachable without tearing into drywall.

Tip

Watch this step Panels blend into the wall paint, so they're easy to miss. Scan low near the baseboard and high near the ceiling on the wall closest to the meter.

4

Step 4: Look in the Basement or Mechanical Room

2:18
Step 4: Step 4: Look in the Basement or Mechanical Room

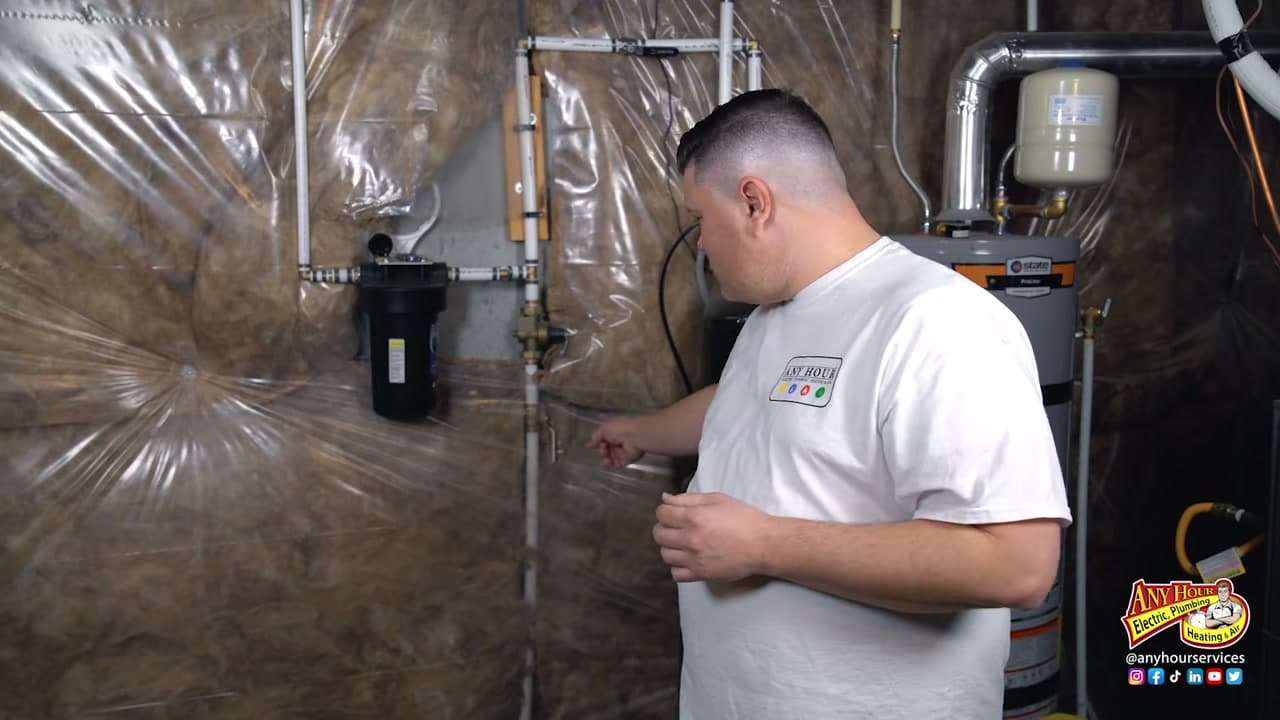
If your line runs into an unfinished basement, your job gets easier. The water comes right through the foundation into the mechanical room, and the main shutoff valve sits out in the open along that wall, often near the water heater and pressure tank.

Follow the incoming copper or PEX line from where it enters the wall. The first valve you hit is your main shutoff. Give it a good look now so you can grab it in the dark if you have to.

Tip

Watch this step Keep a flashlight near the mechanical room. Basements go pitch black in a power outage, and that's exactly when a storm might crack a pipe.

5

Step 5: Know Which Valve Type You Have

2:30
Step 5: Step 5: Know Which Valve Type You Have

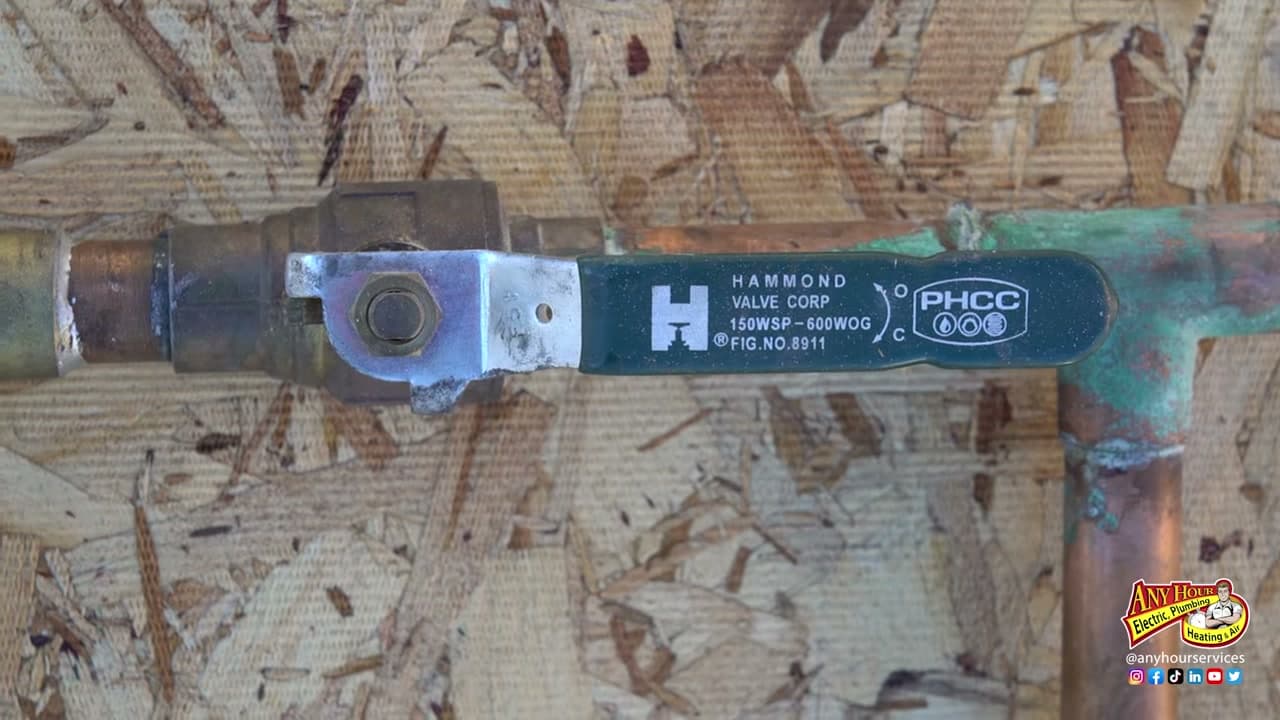
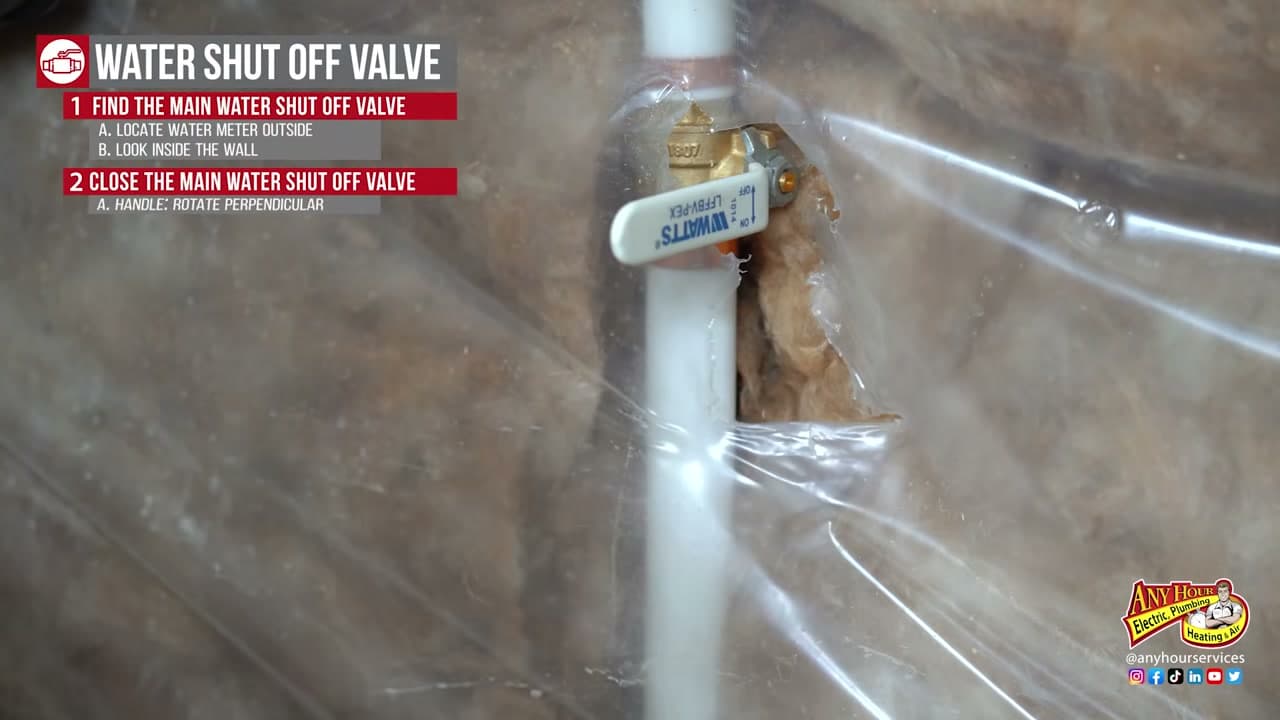
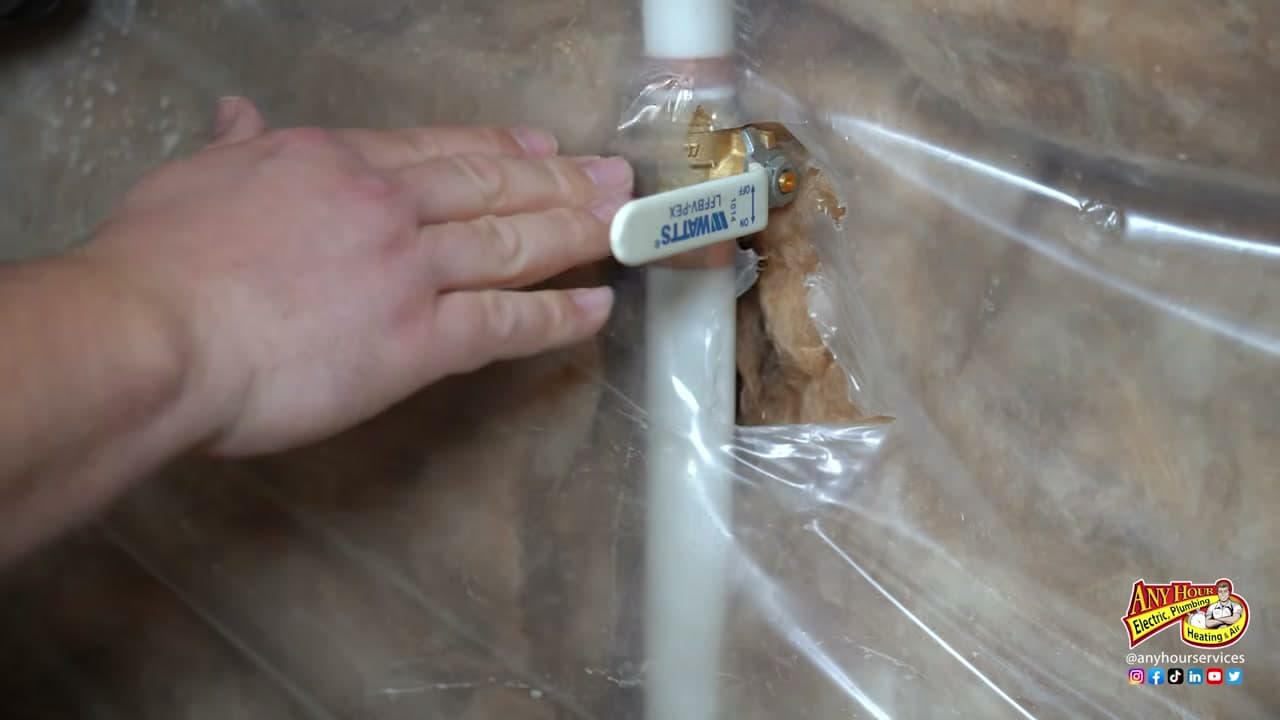
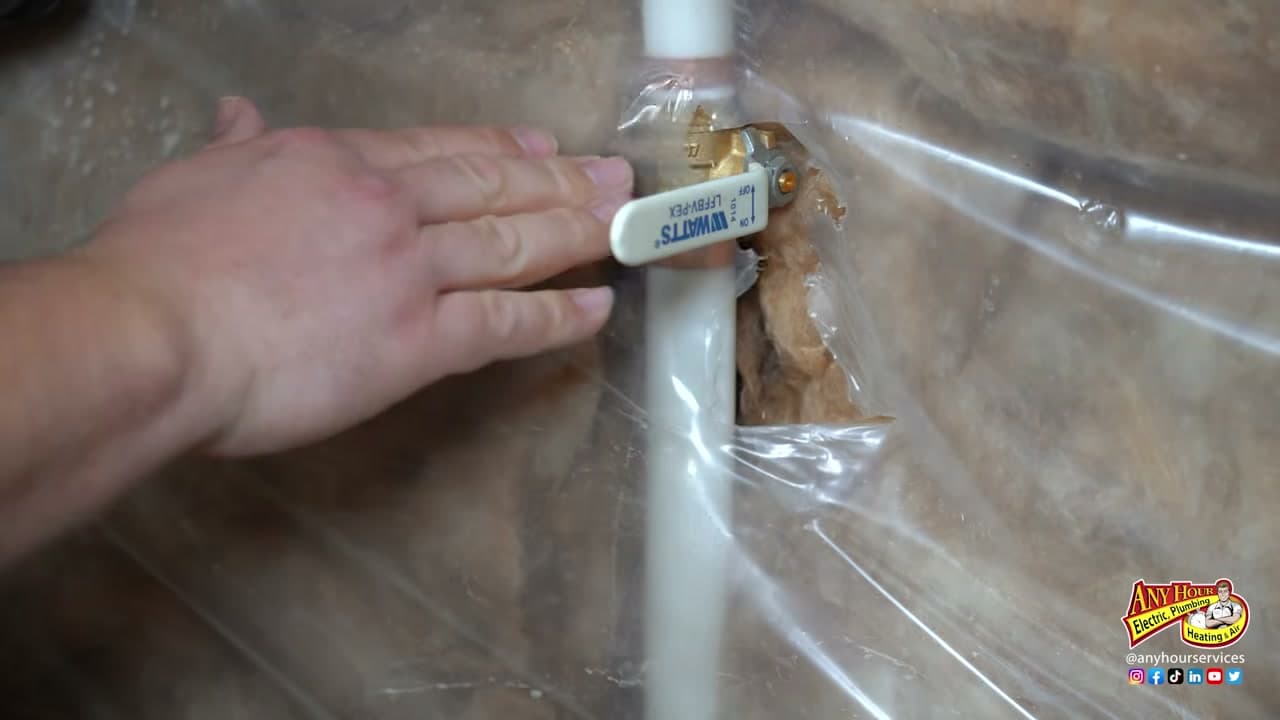
Before you turn anything, look at the valve itself. There are two you'll run into. The most common is the handle or lever style, a straight arm you swing a quarter turn. It's quick and it's obvious which way it goes.

The older style is a round knob or wheel you spin, more like a garden spigot. It takes several turns to close all the way. Knowing which one you're dealing with tells you exactly how to shut it, so there's no fumbling when it counts.

Tip

Watch this step A lever valve is worth its weight in gold during a leak. If yours is an old knob, that's your cue to plan an upgrade before trouble finds you.

6

Step 6: Close the Valve

2:40
Step 6: Step 6: Close the Valve

For a lever valve, turn the handle until it sits perpendicular to the pipe. Picture it this way. When the handle lines up with the pipe, water is flowing. When it crosses the pipe, the water is stopped. In line means on, across means off.

For a knob valve, it's righty-tighty. Turn it clockwise until it won't budge anymore, and that means it's closed. If the knob is stiff and won't move by hand, an adjustable wrench or a pair of pliers gives you the leverage to break it loose without stripping it.

Tip

Watch this step After you close it, open a faucet on the lowest floor. The water should trickle to a stop, which confirms the valve actually did its job.

7

Step 7: Exercise the Valve Before You Need It

3:15
Step 7: Step 7: Exercise the Valve Before You Need It

Don't wait for a flood to find out your valve is seized. Go close it once, right now, while nothing is wrong. A lot of older valves lock up from years of sitting untouched, and a valve you can't turn is no help at all.

If it fights you, keep a wrench or pliers on hand to work it free. And if yours is an old knob that's hard to move, ask your plumber to swap it for a lever valve the next time they're out. That small upgrade turns a two-minute struggle into a one-second flick.

Tip

Watch this step Test it a couple times a year. Working the handle back and forth keeps mineral buildup from cementing it in place.

Products Used

☐ The Checklist

How to Shut Off the Water to Your House

Tools
4
Materials
2
Steps
7
Video
4 min

Your Guide

Any Hour Services - Electric, Plumbing, Heating & Air

As an Amazon Associate we earn from qualifying purchases. Links on this page may be affiliate links - clicking them and buying doesn't change your price, but helps support ShowMeStepByStep.

Tags

Sunday How-To

New home survival tutorials, every Sunday

One short email with the week's best step-by-step guides. Free, no spam, unsubscribe anytime.

Did this work for you?

What's next

Weekly Digest

Liked this home survival tutorial?

Pick the categories you want to hear about. Weekly digest of new step-by-step tutorials. No spam, easy unsubscribe.

Send me tutorials about

We only email about new tutorials. Easy unsubscribe anytime.