How to Thaw Frozen Pipes

The finished result: How to Thaw Frozen Pipes

By ShowMeStepByStepPublished Updated

Based on a video by Ultimate Handyman.

A frozen pipe is not an emergency yet. It becomes one when it thaws. Water expands as it freezes and copper has nowhere to give, so a line can split while it is still frozen solid and hold together on the ice until the moment it melts. Then it lets go, usually inside a wall, usually while nobody is watching. Ultimate Handyman thaws two frozen lines in one cold morning here: an outdoor spigot that has iced up at the wall, and the main water line feeding the whole house.

The kit is deliberately dull. A bag of hot water, a fan heater, a hair dryer, a hot water bottle. No flame. A blowtorch on a frozen copper line turns the trapped water to steam faster than it can escape, melts the solder in the joints, and sets light to whatever is packed into the cavity around the pipe. Warm air across a wide section beats a hot point every time.

Before any heat goes near a pipe, know where your water turns off. We have a full walkthrough on shutting off water to your house that covers the valve types you might find. Once the cold snap passes, the jobs that stop a repeat are winterizing the sprinkler system and draining the outdoor lines. If the pipe did split and is now weeping, that is a repair rather than a thaw, closer to fixing a leaky faucet. While you are down in the utility room anyway, it is a decent moment to flush the water heater.

What you'll need

Step-by-Step Guide

8 steps · about 7 minutes.Check off each step as you go and your progress saves automatically.

1

Fill a Freezer Bag with Hot Water

2:03
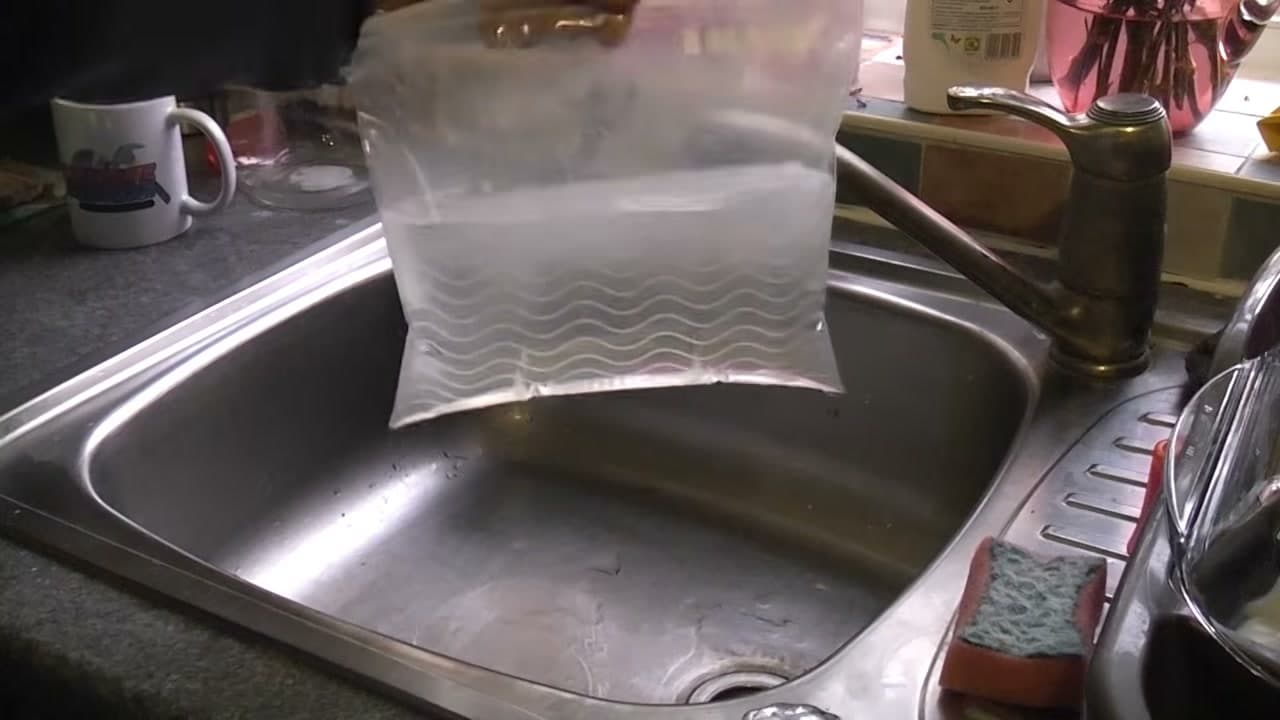
Step 1: Fill a Freezer Bag with Hot Water - How to Thaw Frozen Pipes

Run the hot tap until it is properly hot, then fill a gallon zip-top freezer bag about two thirds full and seal it over the sink. Two thirds leaves the bag enough slack to fold around a valve body instead of sitting on it like a brick.

Hot, not boiling. Water straight off a rolling boil will scald you through thin plastic, and it shocks cold metal harder than the job needs. If the house supply is already frozen, heat bottled water in a kettle and let it stand a minute before it goes in the bag.

Tip

Double-bag it. One bag holds the heat and the second one catches the leak when the first seam gives out against a sharp valve casting.

2

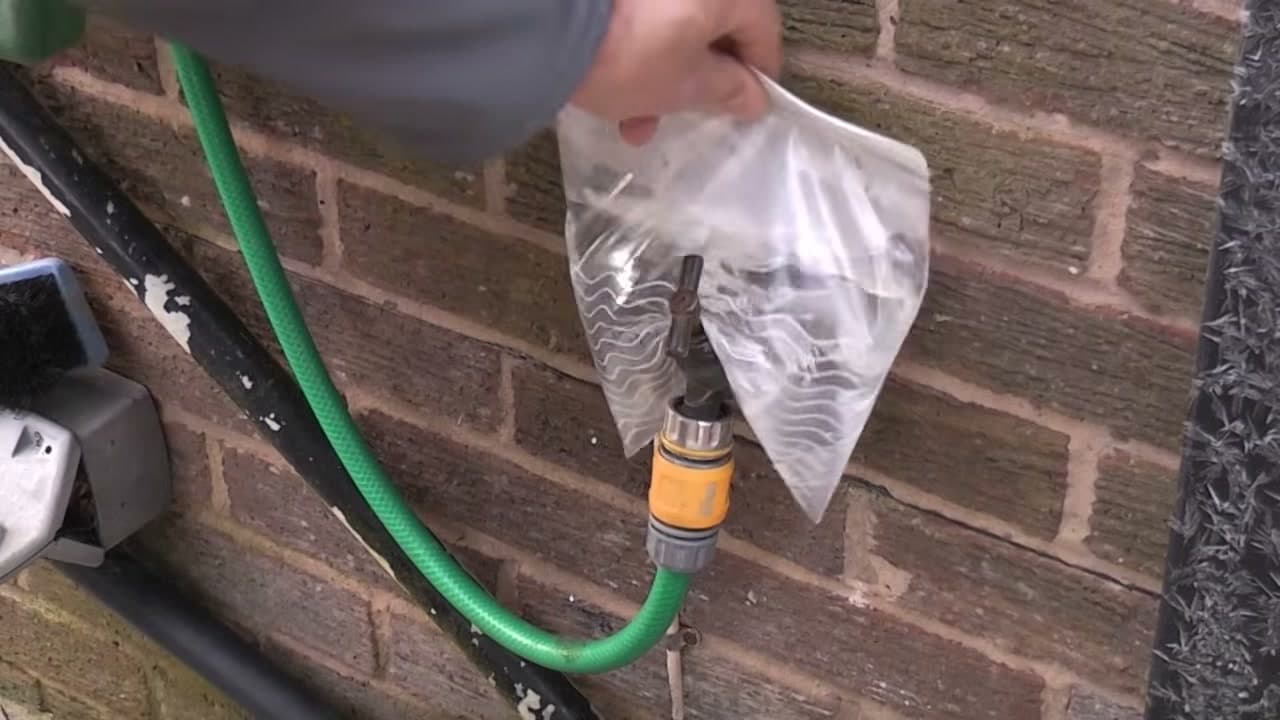
Drape the Hot Bag Over the Frozen Outdoor Spigot

2:14
Step 2: Drape the Hot Bag Over the Frozen Outdoor Spigot - How to Thaw Frozen Pipes

Carry the bag outside and lay it over the spigot so the plastic folds around the valve body and the short length of pipe behind it. You want contact on as much metal as you can reach, not one hot spot on the handle.

Hold it there, or tie it on with a strip of old cloth. A bag this size stays useful for about ten minutes, then it has given up its heat and wants swapping for a fresh one. Two or three rounds is normal on a spigot that has been frozen overnight.

Tip

The ice plug is rarely in the spigot itself. It sits in the run of pipe inside the wall, where the line is coldest and least insulated, so work the heat back along the pipe as well as onto the valve.

3

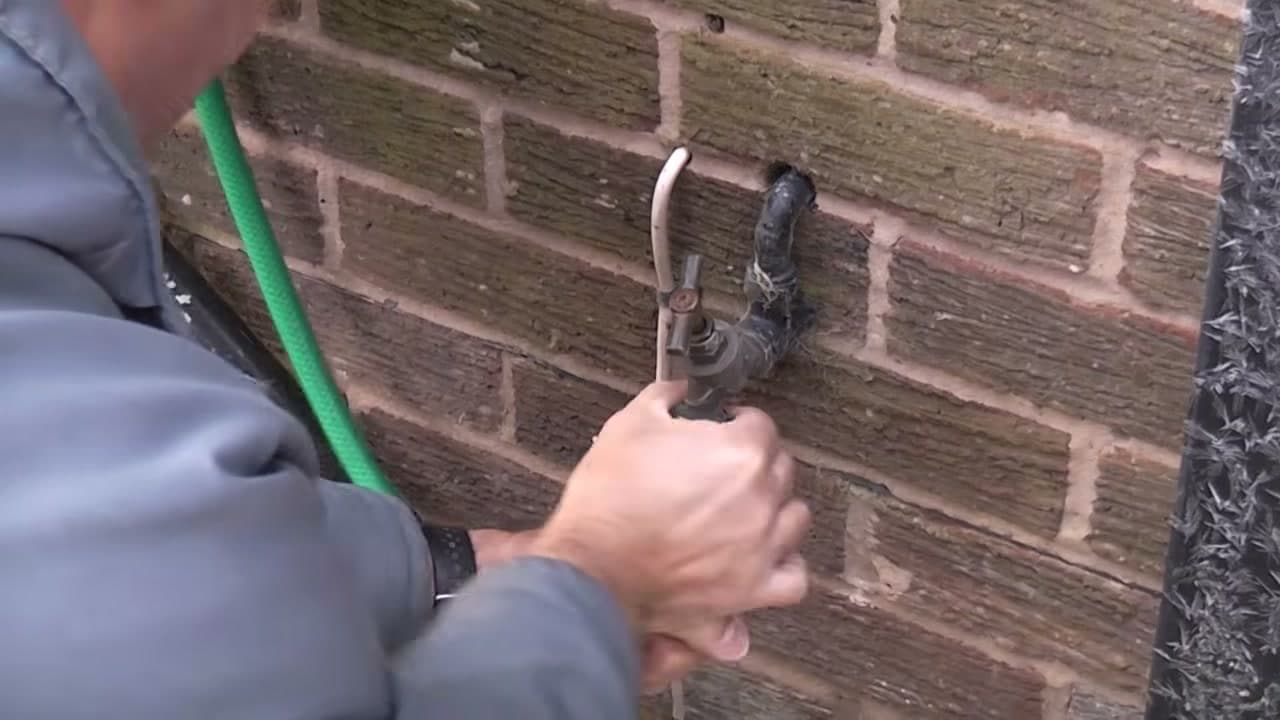
Take the Hose Off and Open the Spigot

2:19
Step 3: Take the Hose Off and Open the Spigot - How to Thaw Frozen Pipes

Unscrew the garden hose and any quick connector from the spout, then open the spigot handle a full turn and leave it open. A hose left on over winter holds a slug of water hard against the valve, and that is a common reason the spigot froze at all.

An open outlet gives melting ice somewhere to go, and it tells you the second water starts moving again. Closed, pressure builds between the ice plug and the seat with nowhere to vent.

Tip

If the handle will not turn at all, stop pushing. A seized handle on a frozen valve usually means ice in the body, and forcing it shears the spindle. Put more heat on and try again in five minutes.

4

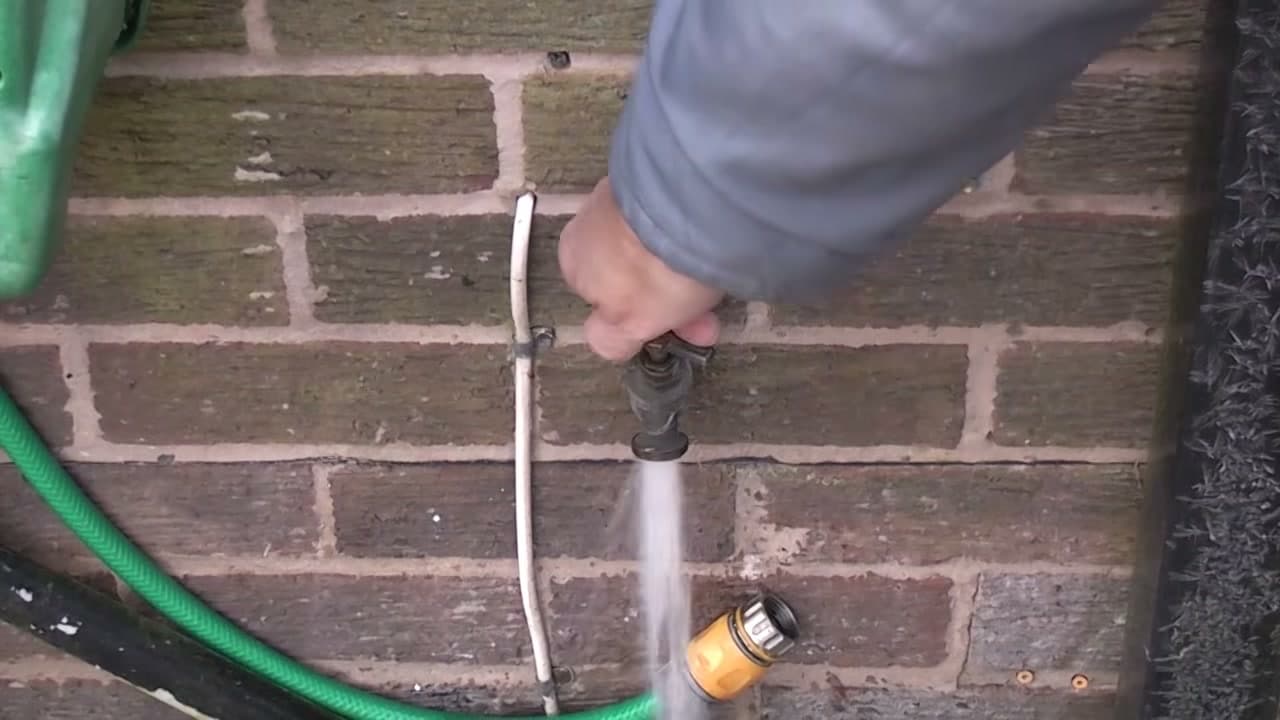
Check the Spigot for Flow and Look for Splits

3:12
Step 4: Check the Spigot for Flow and Look for Splits - How to Thaw Frozen Pipes

Keep the heat on the valve until water comes out of the spout. It starts as a dribble with slush in it, then opens right up. Let it run for a minute to push the last of the ice through, then close the handle.

Now go looking for damage. Run a dry hand along the valve body, the wall bracket and the pipe behind it. A pipe that split while it was frozen holds together on the ice and only leaks once the ice clears, so a weeping joint or a fine dark line along the copper is a call to a plumber rather than something to watch.

Tip

Fit an insulated faucet cover before the next cold snap and drain the line at its indoor isolation valve every fall. A cover costs less than one call-out and stops the whole job repeating in January.

Used in this stepoutdoor faucet cover
5

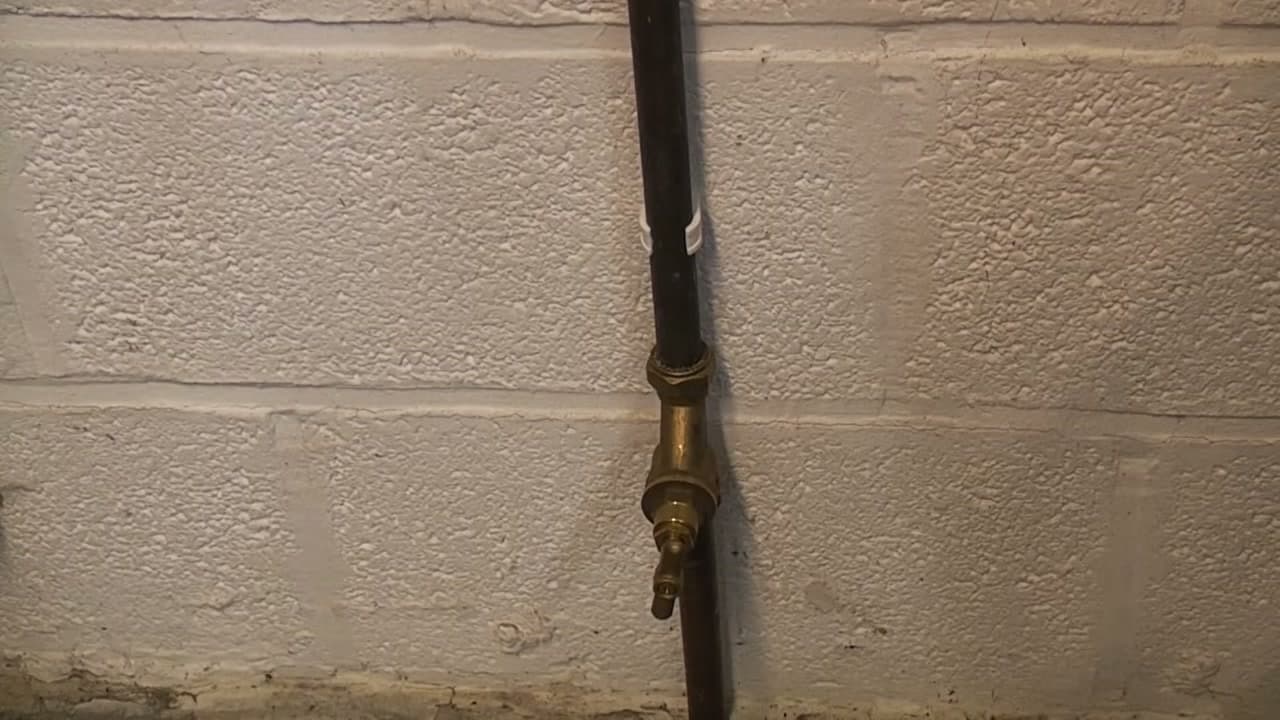
Find the Main Shutoff Valve and Close It

3:27
Step 5: Find the Main Shutoff Valve and Close It - How to Thaw Frozen Pipes

Inside the house, follow the incoming water line to the main shutoff valve. It is usually brass, it sits on the pipe coming up out of the floor or through the wall, and it hides under the kitchen sink, in a utility room, in the garage or in a crawlspace. Turn it clockwise until it stops. Our guide to shutting off water to your house walks through the valve types you might meet.

Do this before any heat goes on the line. A split that happened during the freeze does nothing while the ice is still in place. Close the valve first and the worst case becomes a bucket of water instead of a flooded room.

Tip

Open and close the main shutoff twice a year even when nothing is wrong. These valves seize from sitting untouched for a decade, and the night you need it is a bad night to discover that.

6

Find the Ice Plug with an Infrared Thermometer

3:39
Step 6: Find the Ice Plug with an Infrared Thermometer - How to Thaw Frozen Pipes

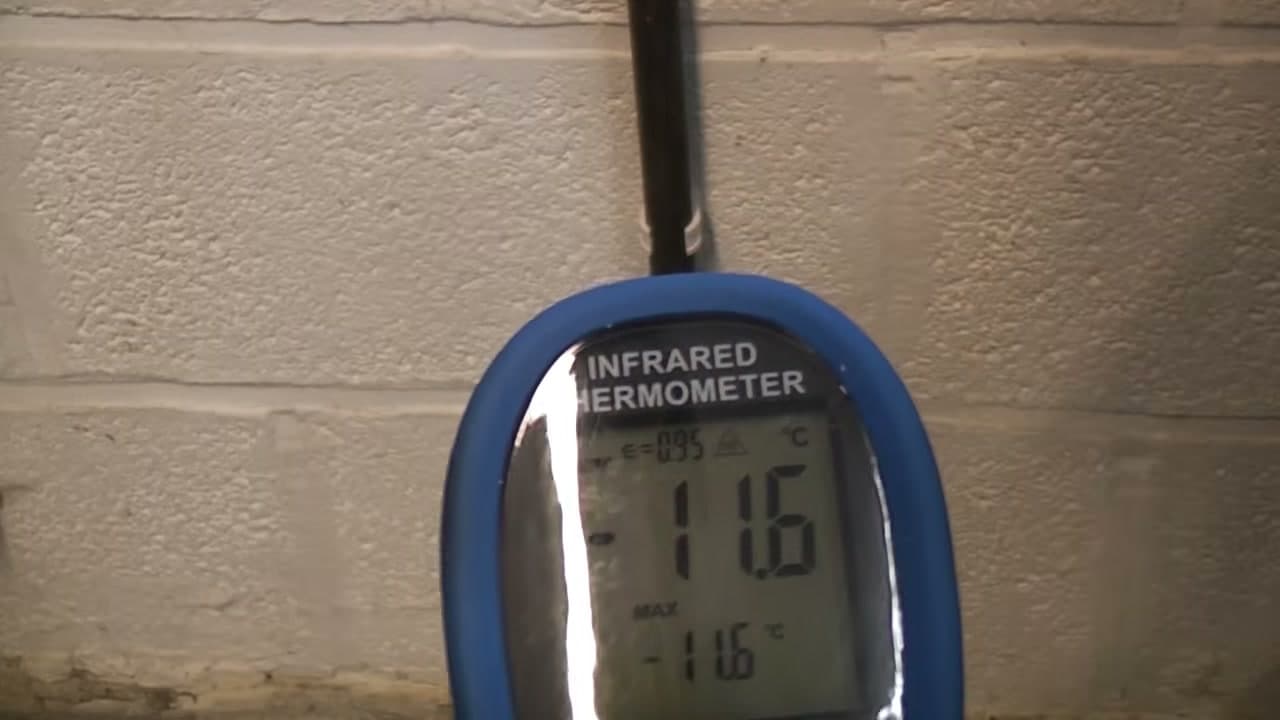
Point an infrared thermometer along the pipe a few inches at a time and watch the number move. The frozen stretch reads far colder than the rest of the run, and that gap is what tells you where the heat needs to go.

On this line the pipe below the main shutoff valve reads minus 11.6 Celsius, about 11F, while the rest of the run sits close to room temperature. The ice is low down, near the floor, where the line comes in from outside. No meter? Slide a bare palm down the pipe and stop where it turns painfully cold.

Tip

Most infrared meters have a C/F button on the face. One press switches the reading to Fahrenheit, which saves doing the conversion in your head while lying on a cold concrete floor.

Used in this stepinfrared thermometer
7

Aim a Fan Heater at the Frozen Section of Pipe

4:23
Step 7: Aim a Fan Heater at the Frozen Section of Pipe - How to Thaw Frozen Pipes

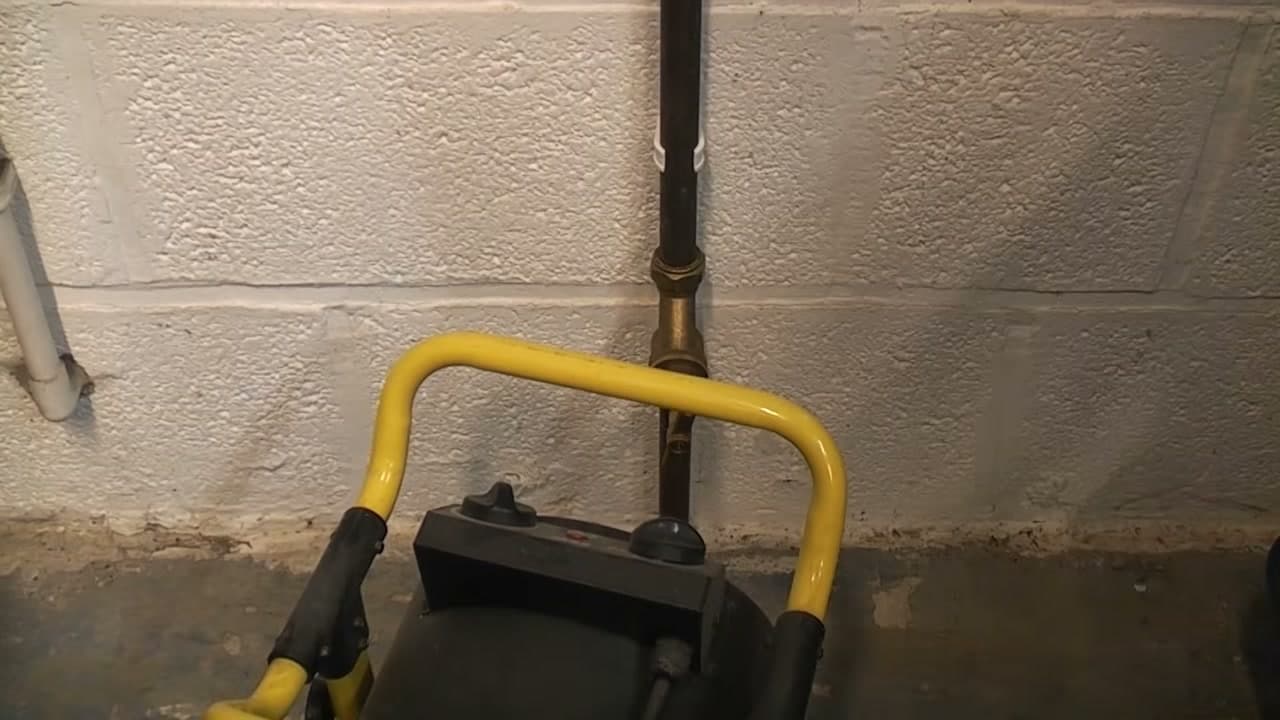
Stand an electric fan heater on the floor about a foot back from the wall and point it at the coldest stretch, below the shutoff valve. Leave it running. Moving warm air spreads heat along a long length of pipe, which is what the job needs, because an ice plug can easily run two feet.

A hair dryer or a heat gun on its low setting does the same work in a tighter space. Keep either one moving rather than parked. What you never use is a blowtorch or a propane torch. Flame turns the trapped water to steam faster than it can escape, melts the solder out of the joints, and sets light to the insulation packed around the pipe.

Tip

Open the faucet fed by this line before you walk away and leave the heater running. An open faucet vents the pressure as the plug melts, and the first spit of air out of the spout is how you know it has let go.

8

Hang a Bag of Hot Water on the Pipe

5:07
Step 8: Hang a Bag of Hot Water on the Pipe - How to Thaw Frozen Pipes

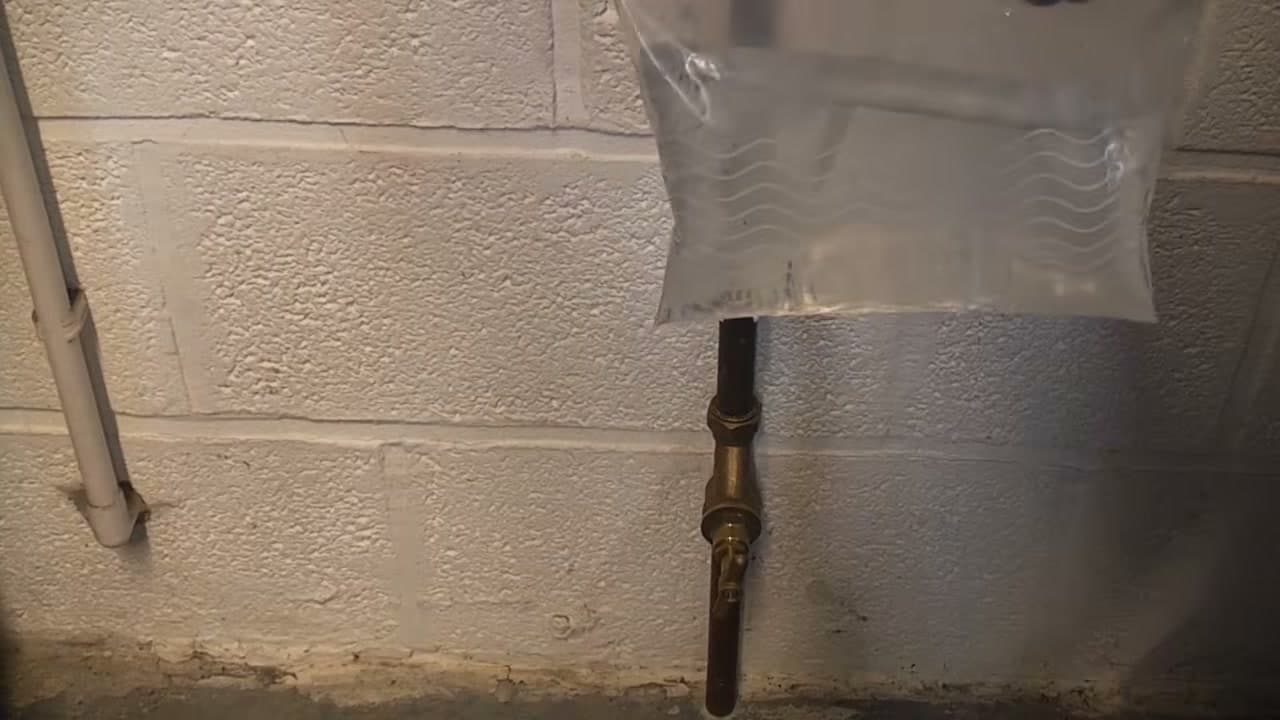
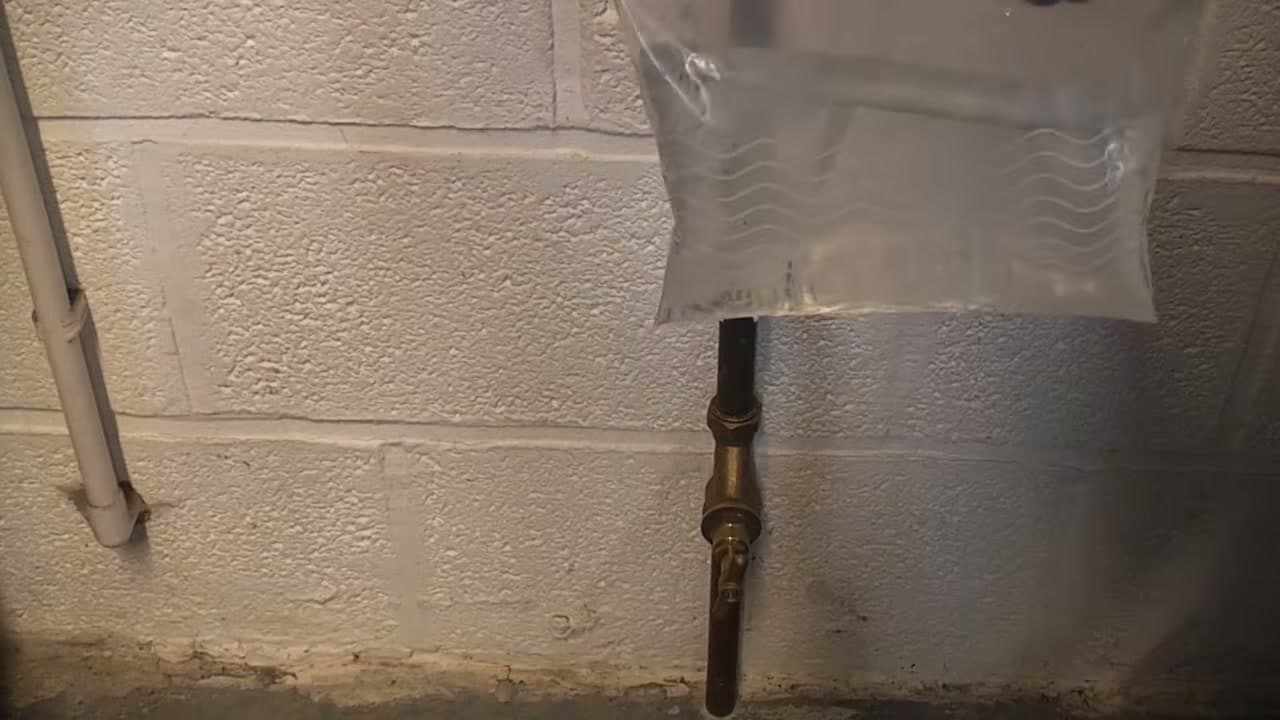
No power in the crawlspace, or no heater in the house? Hang a bag of hot water over the pipe so it drapes across the frozen section and gravity holds it against the metal. Tuck it in above the shutoff valve, where the line comes through the wall.

Swap it for a fresh bag every ten minutes as it cools. A rubber hot water bottle is better again, since it holds more water and stays warm for a good half hour. Slow going next to a fan heater, but it works, and it puts no flame anywhere near the copper.

Tip

Wrap the thawed section in foam pipe sleeve the same day. The pipe that froze once is in the coldest part of the run and it will freeze again on the next cold night unless something about it changes.

Keep going

How to Fix a Leaky Faucet

Products Used

The Checklist

How to Thaw Frozen Pipes

Tools
6
Materials
4
Steps
8
Video
7 min

Tools we recommend

Your Guide

Ultimate Handyman

As an Amazon Associate we earn from qualifying purchases. Links on this page may be affiliate links - clicking them and buying doesn't change your price, but helps support ShowMeStepByStep.

Tags

Sunday How-To

New home improvement tutorials, every Sunday

One short email with the week's best step-by-step guides. Free, no spam, unsubscribe anytime.

Test your knowledge

Did the lesson stick? Start with this one.

5 questions covering what you just read. No signup, no score saved, and you can stop after this one.

Question 1 of 5

When does a frozen pipe actually become an emergency?

Quick reference

Key takeaways from How to Thaw Frozen Pipes

5 questions, answers, and one-line explanations. Tap to expand.

  1. 1.When does a frozen pipe actually become an emergency?

    Answer: When it thaws

    A split line holds together on the ice and lets go the moment it melts.

  2. 2.Why should a blowtorch never go near a frozen pipe?

    Answer: It steams the water and melts solder

    Steam builds faster than it can escape, and the joints let go.

  3. 3.What do you need to know before any heat goes near the pipe?

    Answer: Where your water turns off

    If the pipe has split, you need the shutoff before the ice melts.

  4. 4.What is the quickest way to locate the ice plug?

    Answer: An infrared thermometer along the run

    The frozen stretch reads far colder than the rest of the pipe.

  5. 5.What kind of heat thaws a pipe best?

    Answer: Warm air spread across a wide section

    An ice plug can be a foot long, so warm air beats a hot point every time.

Did this work for you?

What's next

Related collections

Curated theme pages that include this tutorial.

Weekly Digest

Liked this home improvement tutorial?

Pick the categories you want to hear about. Weekly digest of new step-by-step tutorials. No spam, easy unsubscribe.

Send me tutorials about

We only email about new tutorials. Easy unsubscribe anytime.