How to Install a Bathroom Faucet

Home ImprovementEasy5:388 stepsBrowse more →
Also in:Adulting

By ShowMeStepByStepPublished

Based on a video by MrFixItDIY.

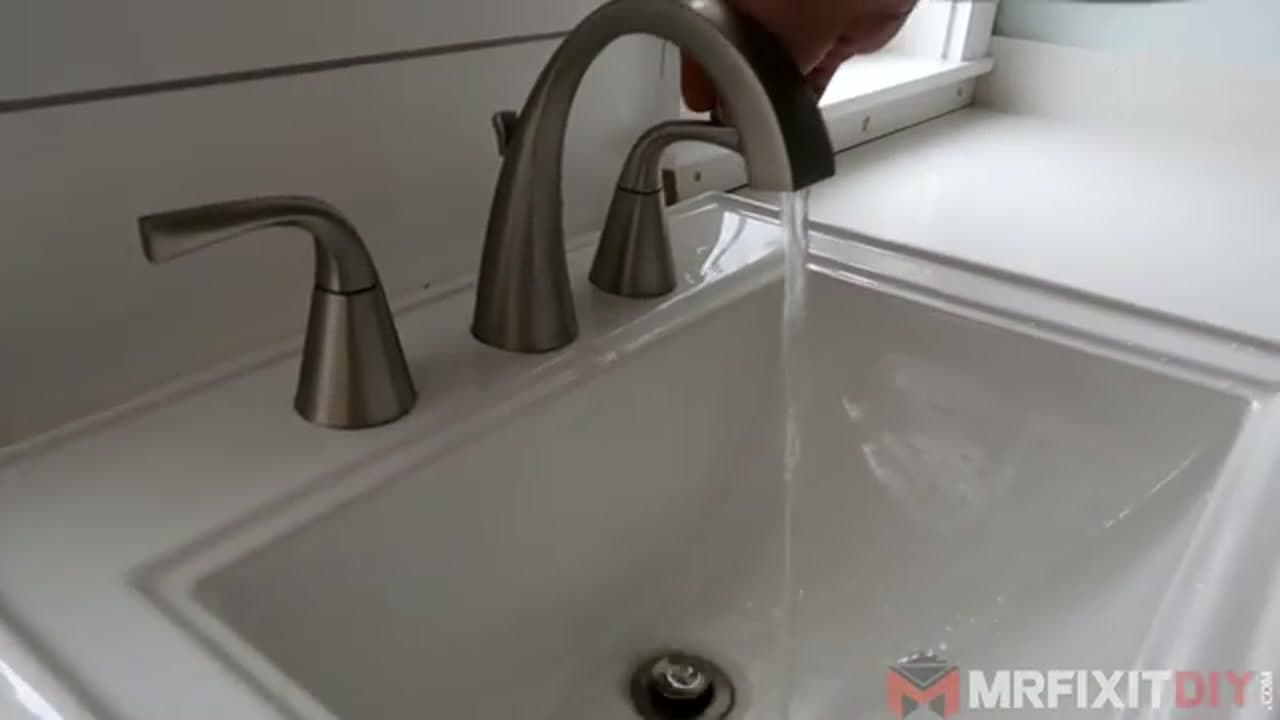
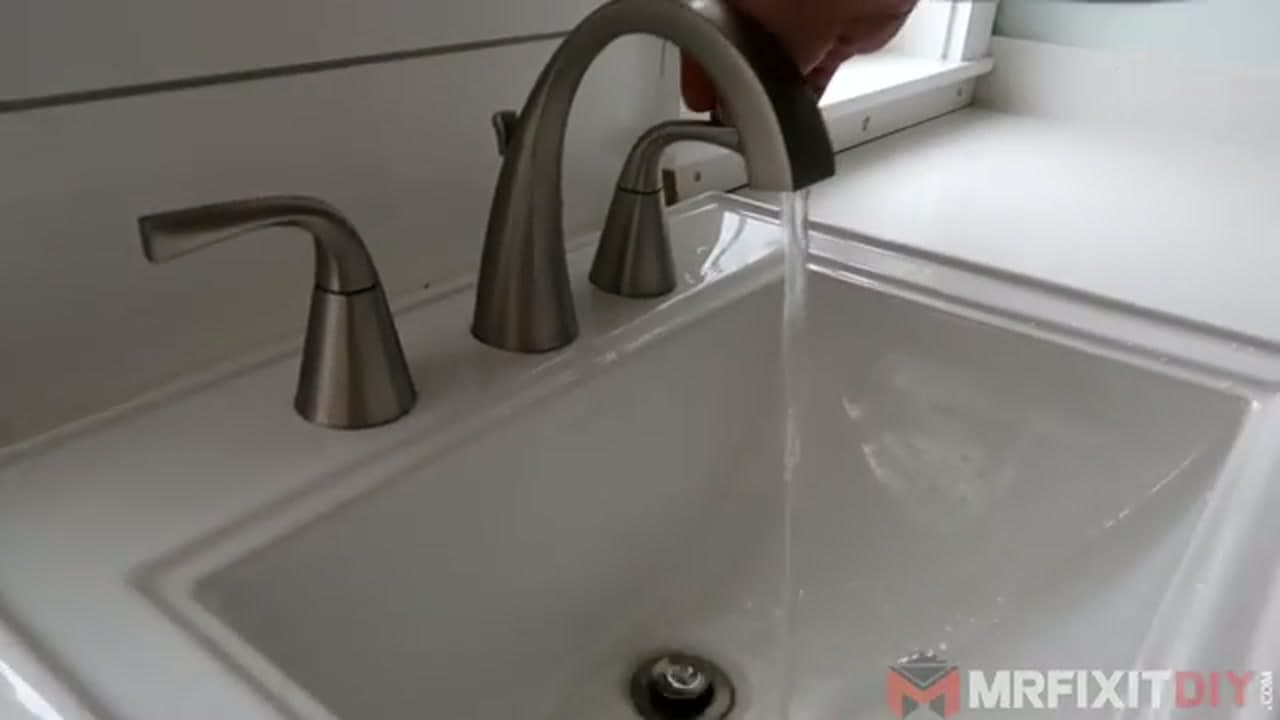
A dated bathroom faucet drags down the whole vanity, and replacing one is one of the friendliest plumbing jobs a homeowner can take on. MrFixItDIY walks through a full swap on a widespread faucet, and once you see how the pieces go together you'll wonder why you waited so long.

You don't need a plumber for this. The connections are hand-tight plus a quarter turn, and the only spots that trip people up are the pop-up drain linkage and getting the supply lines snug. Take it slow the first time and it goes quick after that.

If you're refreshing the rest of the vanity too, take a look at how to install a bathroom vanity. The kitchen version follows nearly the same steps, so how to install a kitchen faucet is worth a read before you start.

Step-by-Step Guide

1

Unpack the Faucet and Lay Out the Parts

1:10
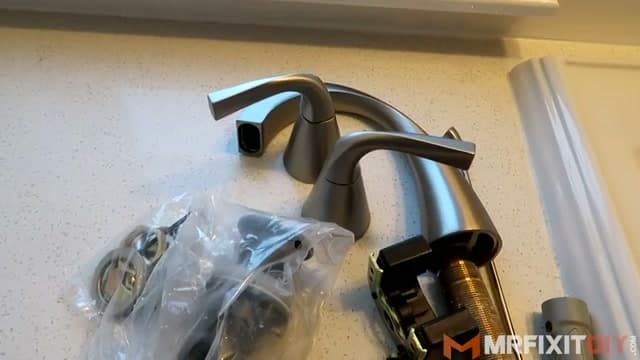
Step 1: Unpack the Faucet and Lay Out the Parts

Open the box and spread everything out on the counter where you can see it. You should have the spout, both handles, the mounting hardware, and a pop-up drain assembly with a bag of small parts. Read the instruction sheet once, even if you think you know the drill.

Knowing what each piece does before you crawl under the sink saves a lot of back and forth. Set the small parts aside in a cup so nothing rolls off into the vanity.

Tip

Keep the paper instructions handy. The pivot rod and clevis on the pop-up drain vary a little between brands, and the diagram is the fastest way to see which slot the rod feeds through.
2

Remove the Old Faucet

1:32
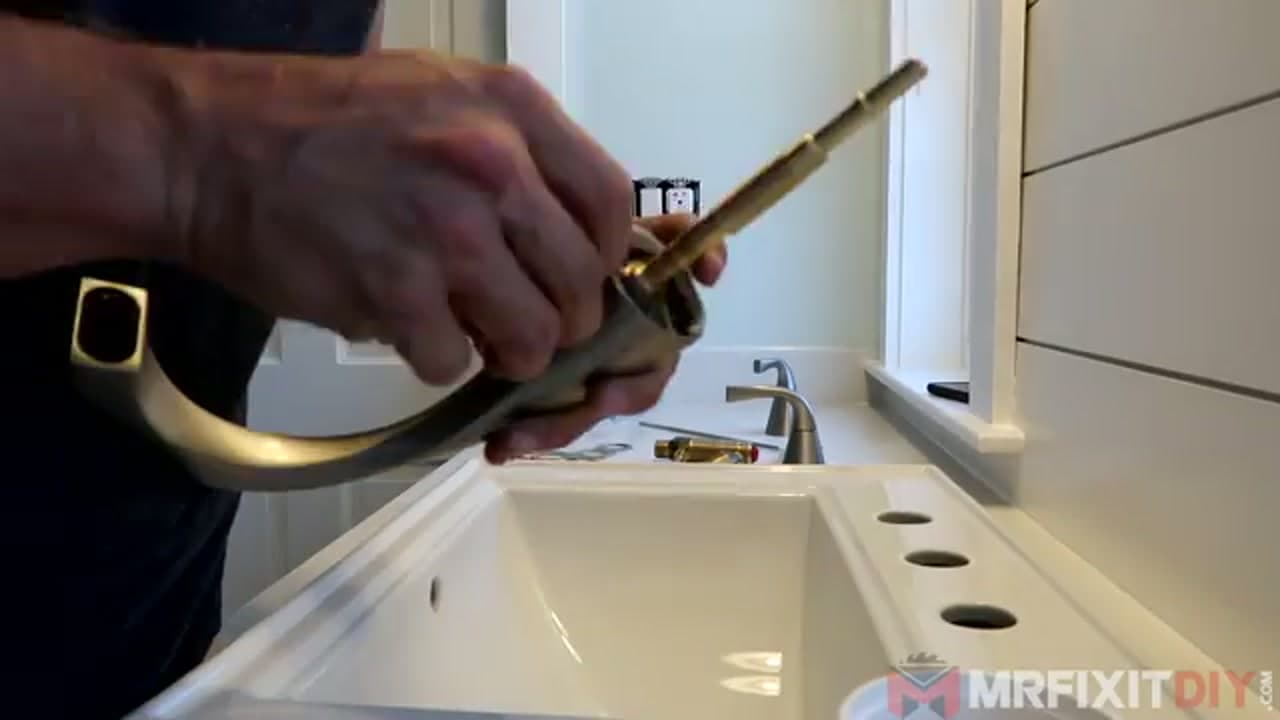
Step 2: Remove the Old Faucet

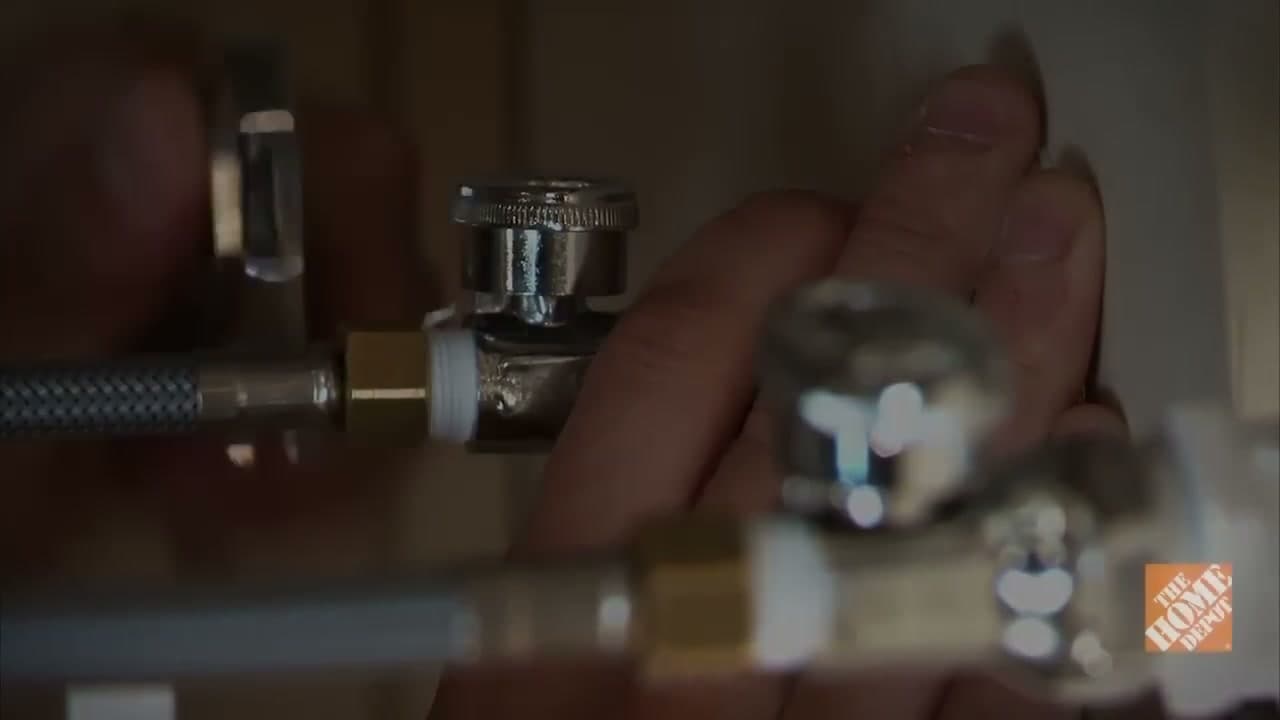
Turn off the water at the two shutoff valves under the sink and open the faucet to drain the lines. Put a bucket or towel down to catch drips. Disconnect the supply lines from the faucet shanks with an adjustable wrench.

Reach up behind the basin with a basin wrench and back off the mounting nuts holding the old faucet in place. Once they're loose, lift the whole faucet up and out of the deck. Scrape off any old putty or grime around the holes so the new faucet seats clean.

Tip

If the shutoff valves feel stiff or weep when you close them, this is the perfect time to replace them. They're cheap, and you already have the water off.

3

Set the New Faucet in the Sink Deck

2:02
Step 3: Set the New Faucet in the Sink Deck

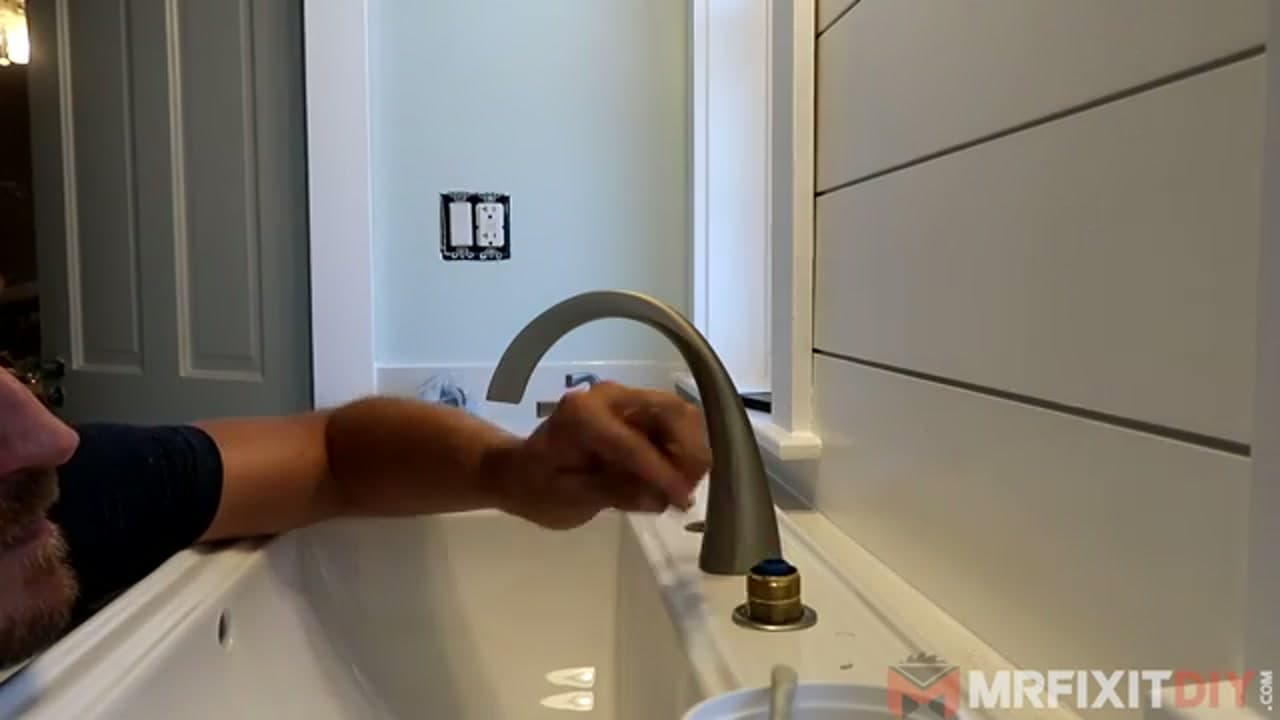
Drop the spout into the center hole and each handle into the outer holes. Line them up so the handles face forward and the spout points into the basin. On a widespread set, the three pieces mount separately but connect underneath.

Hold the faucet steady on top while you thread the mounting nuts on from below by hand. Snug each one with a basin wrench, checking from above that nothing spun out of alignment while you tightened.

Tip

Have a helper hold the spout straight while you tighten underneath, or keep an eye on the alignment yourself. It's easy to torque a handle a few degrees off and not notice until the water's on.

4

Install the Pop-Up Drain

2:40
Step 4: Install the Pop-Up Drain

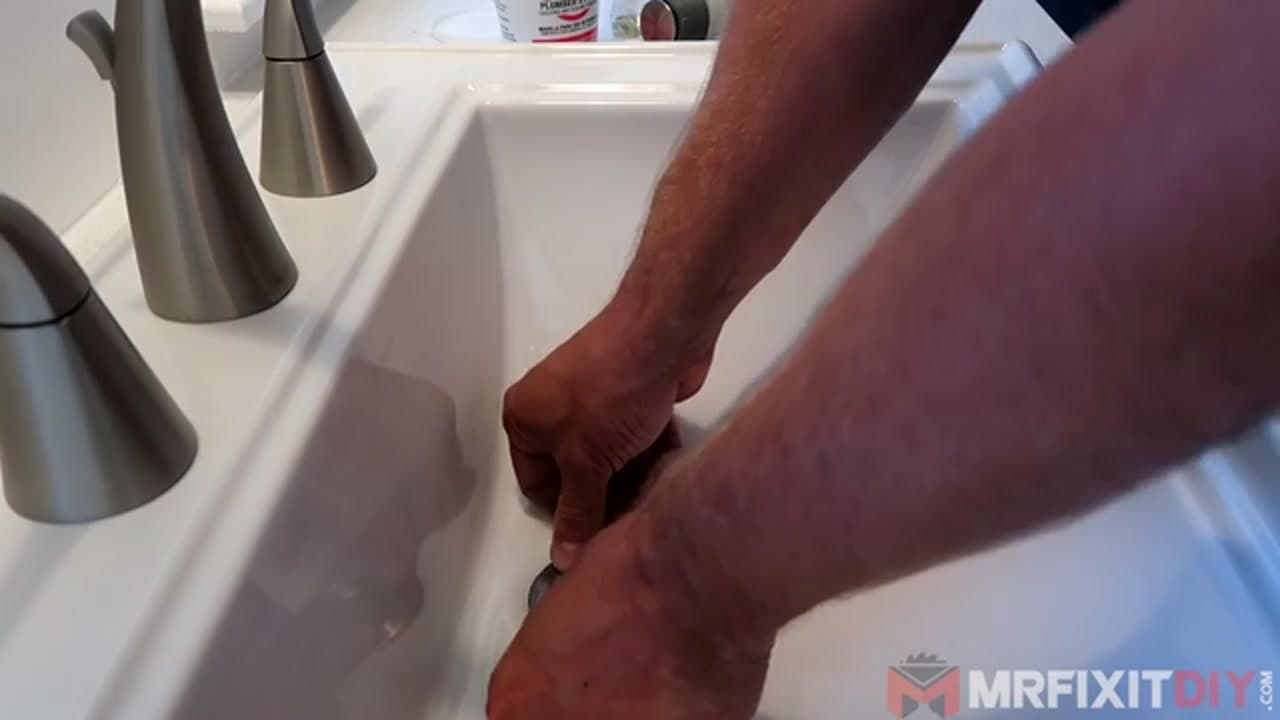
Roll a rope of plumber's putty and press it around the underside of the drain flange. Push the flange down into the drain hole from inside the basin so the putty squeezes out a little all the way around.

Hold the flange down while you thread the drain body onto it from below, with the pivot-rod opening pointed toward the back wall. Wipe away the putty that squished out so the finished flange looks clean.

Tip

Some newer drains use a rubber gasket instead of putty. If yours came with a gasket, skip the putty on that side and just use the gasket the way the instructions show.

5

Tighten the Drain and Connect the Lift Rod

3:25
Step 5: Tighten the Drain and Connect the Lift Rod

Snug the locknut on the drain body up against the underside of the basin so the flange sits tight and won't leak. Don't crank it, just firm.

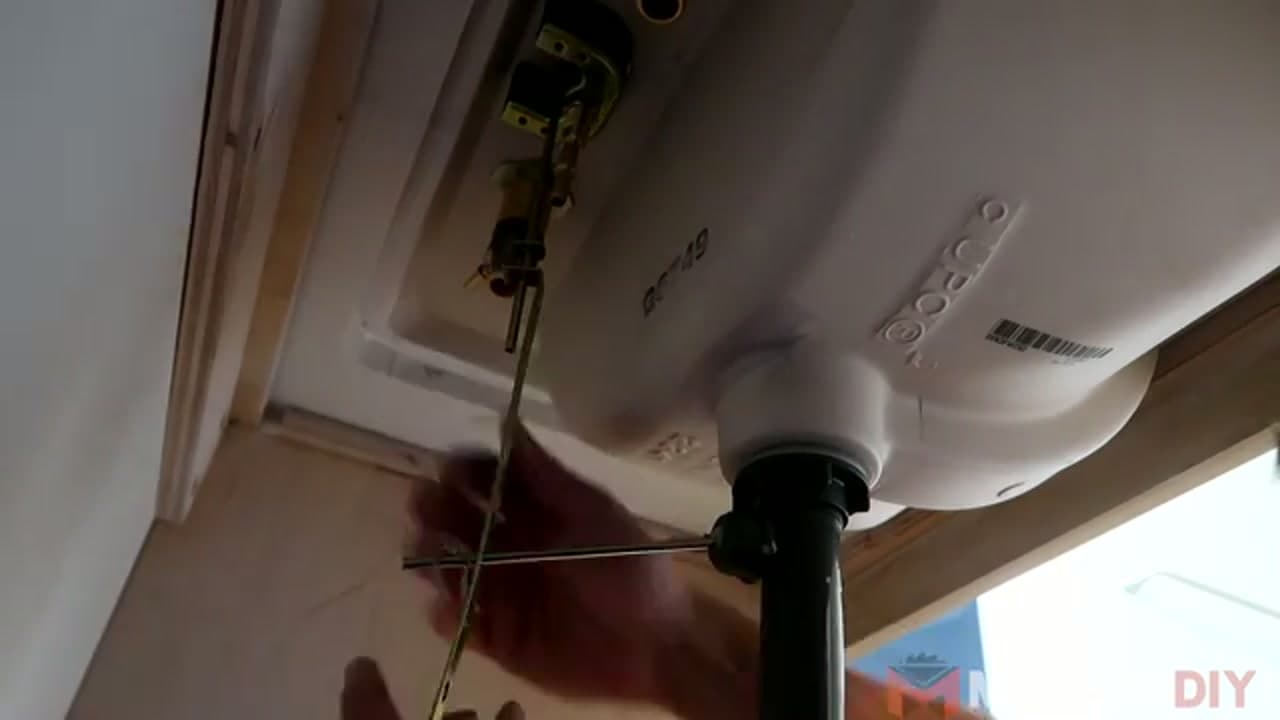
Push the pivot rod through the opening in the drain body so it catches the stopper inside. Slide the flat clevis strap onto the lift rod that runs down from the top of the faucet, then clip the pivot rod into a hole on the strap. Lift and drop the rod on top to make sure the stopper opens and closes.

Tip

Pick a hole on the clevis strap that gives the stopper full travel. If the stopper won't seal or won't lift high enough, move the pivot rod up or down one hole and test again.

6

Attach the P-Trap

4:10
Step 6: Attach the P-Trap

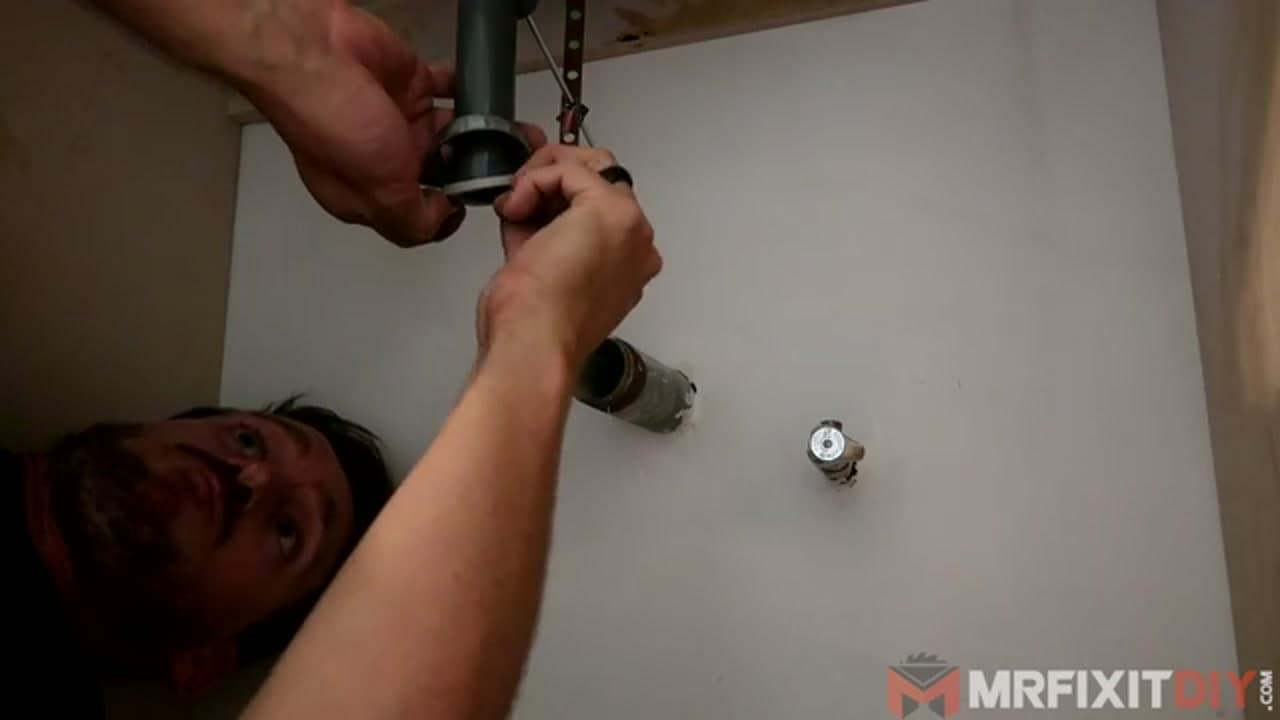
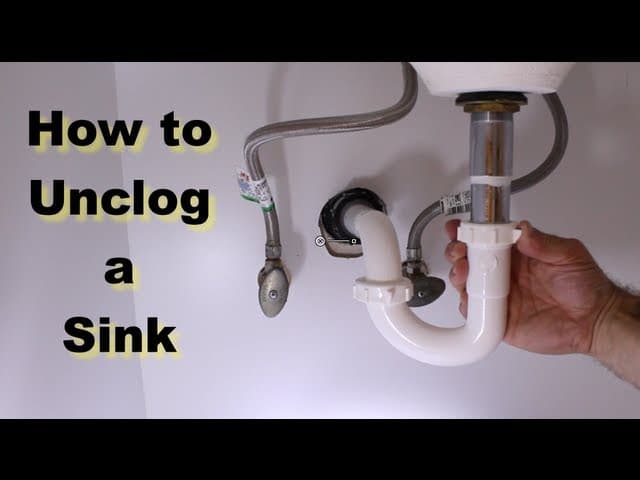
Connect the P-trap to the drain tailpiece coming down from the new drain and to the drain stub in the wall. Slide the slip nuts and beveled washers onto the pipes in the right order before you thread anything together.

Hand-tighten each slip nut, then give it a small turn with pliers or a wrench. The trap should hang level with a gentle downward slope toward the wall so it drains fully.

Tip

Dry-fit the trap first without tightening anything. Bathroom drain heights vary, and you may need to trim the tailpiece or add an extension to line the pieces up cleanly.

7

Connect the Water Supply Lines

4:48
Step 7: Connect the Water Supply Lines

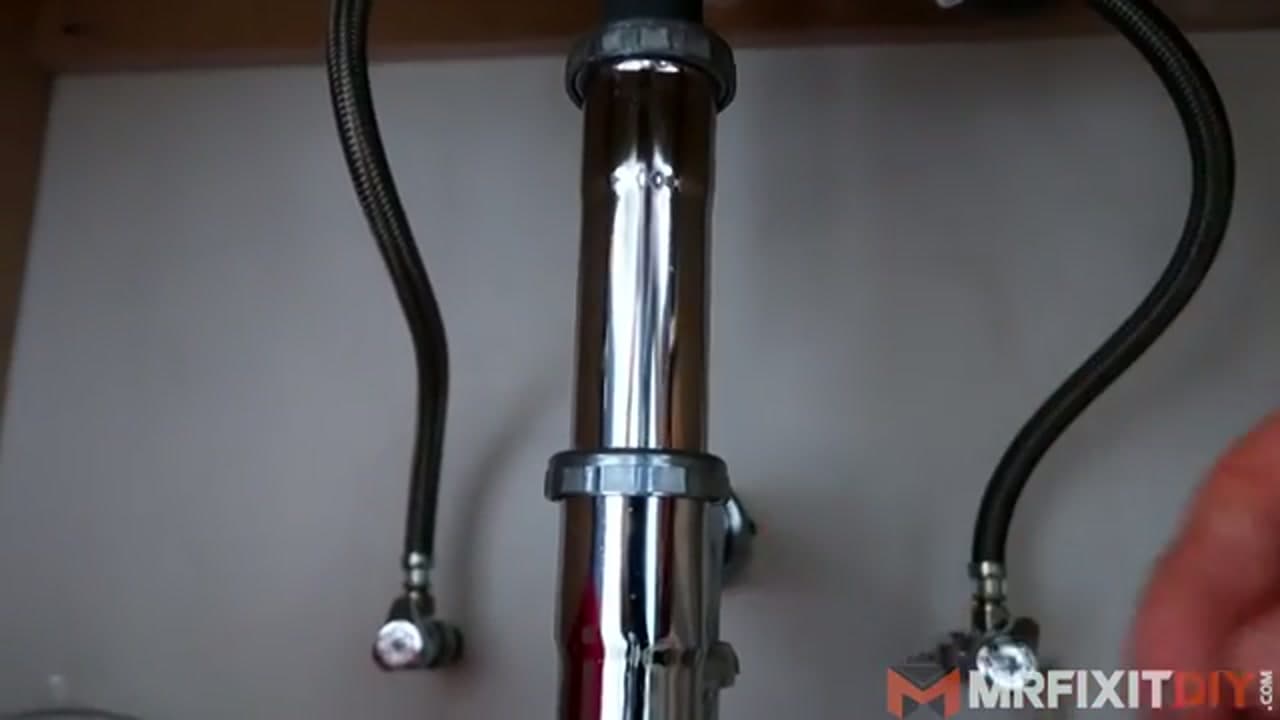
Thread a braided supply line onto each faucet shank and run the other end to its shutoff valve. Match hot to the left shank and cold to the right so the handles work the way you expect.

Hand-tighten both ends, then snug them a little more with a wrench. Braided lines seal on a rubber washer, so you don't need much muscle. Overtightening is how you crack a fitting.

Tip

Buy supply lines a couple inches longer than you think you need. A line that's pulled tight puts stress on the connections and is far more likely to weep than one with a gentle loop of slack.

8

Turn On the Water and Test

4:40
Step 8: Turn On the Water and Test

Open both shutoff valves slowly and let the faucet run hot and cold. Watch the connections underneath with a flashlight for any drips at the supply lines, the drain body, and the trap.

Fill the basin and pull the stopper to check that it holds water and drains clean. If you spot a slow leak, snug that one fitting a touch more rather than tightening everything. A finished install runs quiet, seals tight, and looks like it was always there.

Tip

Lay a dry paper towel under each connection and check it after a few minutes. A damp spot points you straight to the fitting that needs another small turn.

Products Used

☐ The Checklist

How to Install a Bathroom Faucet

Tools
6
Materials
5
Steps
8
Video
6 min

Your Guide

MrFixItDIY

As an Amazon Associate we earn from qualifying purchases. Links on this page may be affiliate links - clicking them and buying doesn't change your price, but helps support ShowMeStepByStep.

Tags

Sunday How-To

New home improvement tutorials, every Sunday

One short email with the week's best step-by-step guides. Free, no spam, unsubscribe anytime.

Did this work for you?

What's next

Related collections

Curated theme pages that include this tutorial.

Weekly Digest

Liked this home improvement tutorial?

Pick the categories you want to hear about. Weekly digest of new step-by-step tutorials. No spam, easy unsubscribe.

Send me tutorials about

We only email about new tutorials. Easy unsubscribe anytime.