How to Install a Bathroom Vanity and Sink

Home ImprovementAdvanced14:028 stepsBrowse more →
Also in:Adulting

By ShowMeStepByStepPublished

Based on a video by The Excellent Laborer.

Swapping in a new bathroom vanity turns a tired room around faster than almost any other project, and you don't need a plumber to pull it off. The job breaks into two halves: setting the cabinet and top, then handling the water. Take them one at a time and it's very doable in an afternoon.

This walkthrough follows a clean install from Josh at The Excellent Laborer. He starts by putting new shutoff valves on the supply lines with push-to-connect fittings, sets and screws the cabinet to the wall, mounts the faucet and drain in the top, then ties everything together with braided supply lines and a P-trap. The last move is always the same: turn the water back on and watch every joint for drips.

If you like this kind of hands-on plumbing and cabinet work, the same skills carry straight over to installing a dishwasher and hanging kitchen cabinets. Shut off the main water supply before you touch anything, and keep a towel and a bucket under the work area.

Step-by-Step Guide

1

Step 1: Install the angle stop shutoff valves

2:30
Step 1: Step 1: Install the angle stop shutoff valves

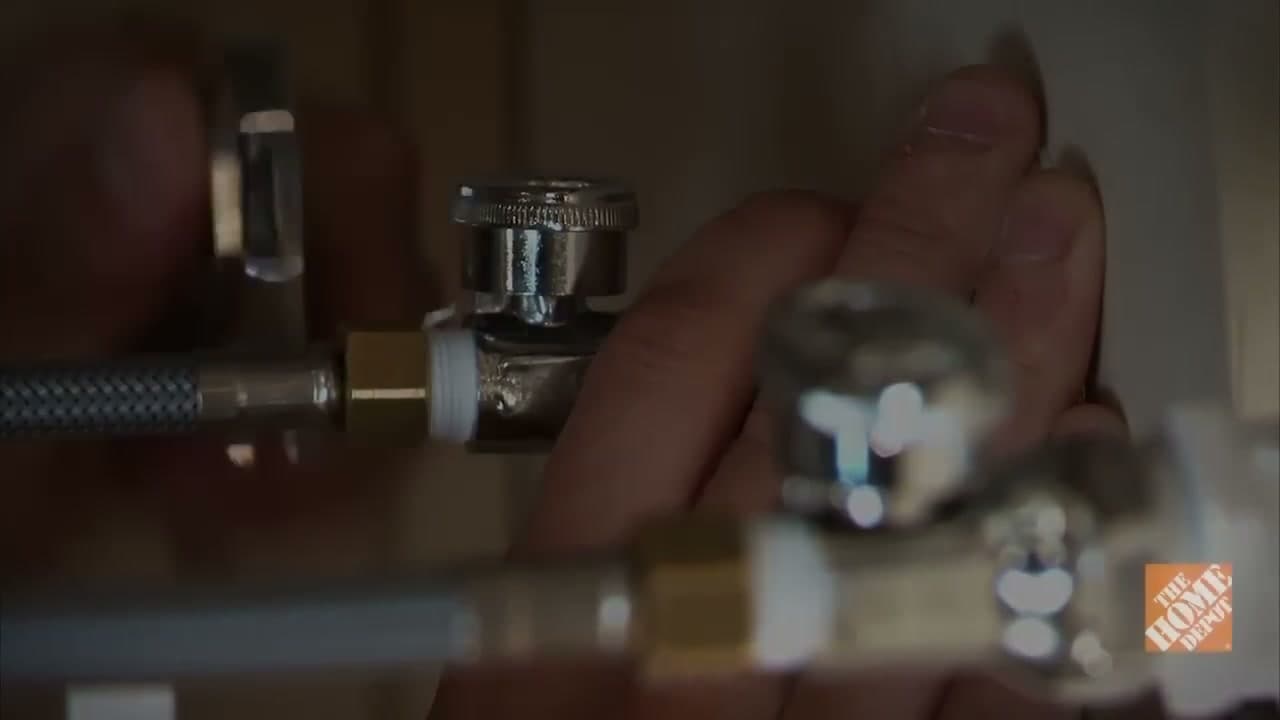
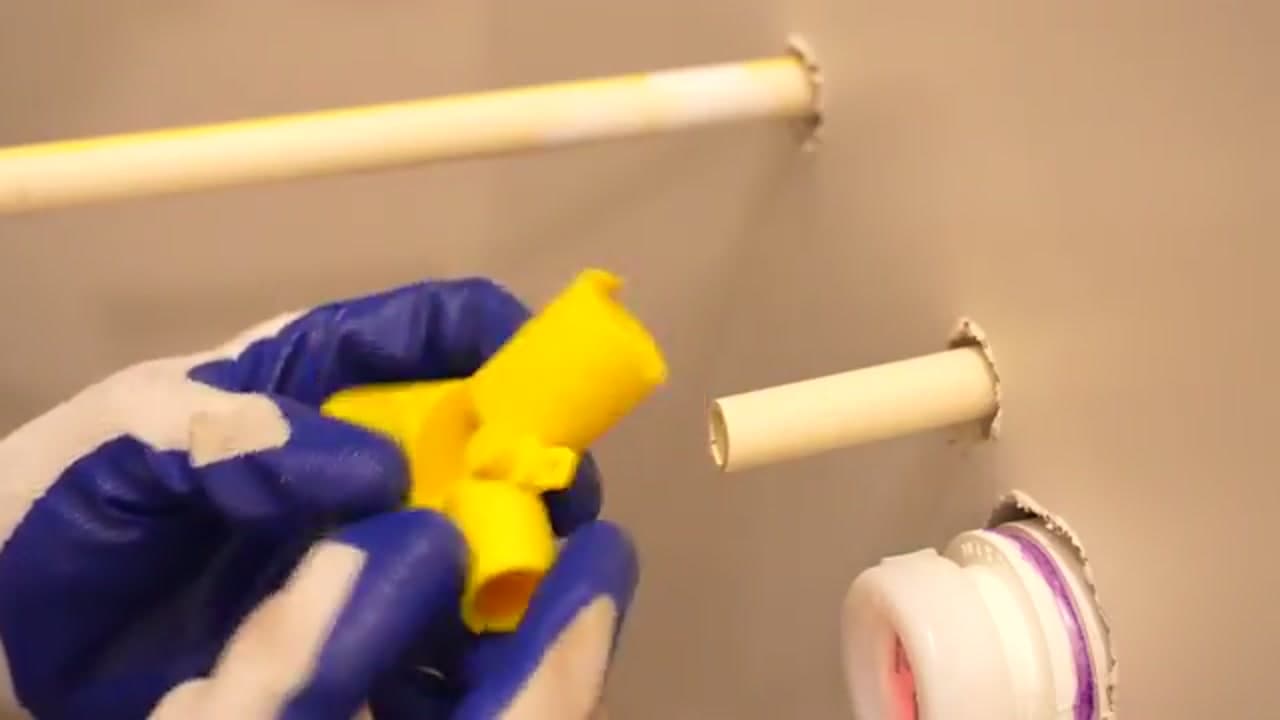
With the main water off, put a fresh shutoff valve on each supply stub coming out of the wall. Josh uses push-to-connect angle stops, so there's no soldering and no compression nut to fuss with. Clean the pipe, mark your insertion depth, then push the valve straight on until it seats.

Do the hot and the cold the same way. A push-to-connect fitting grips the pipe with an internal ring, so once it clicks home it holds pressure on its own.

Tip

If you're connecting to copper or CPVC, run a deburring tool around the cut end first. A rough or burred edge can nick the O-ring inside the fitting and cause a slow leak later.
2

Step 2: Fit the trap adapter and check the valves

4:50
Step 2: Step 2: Fit the trap adapter and check the valves

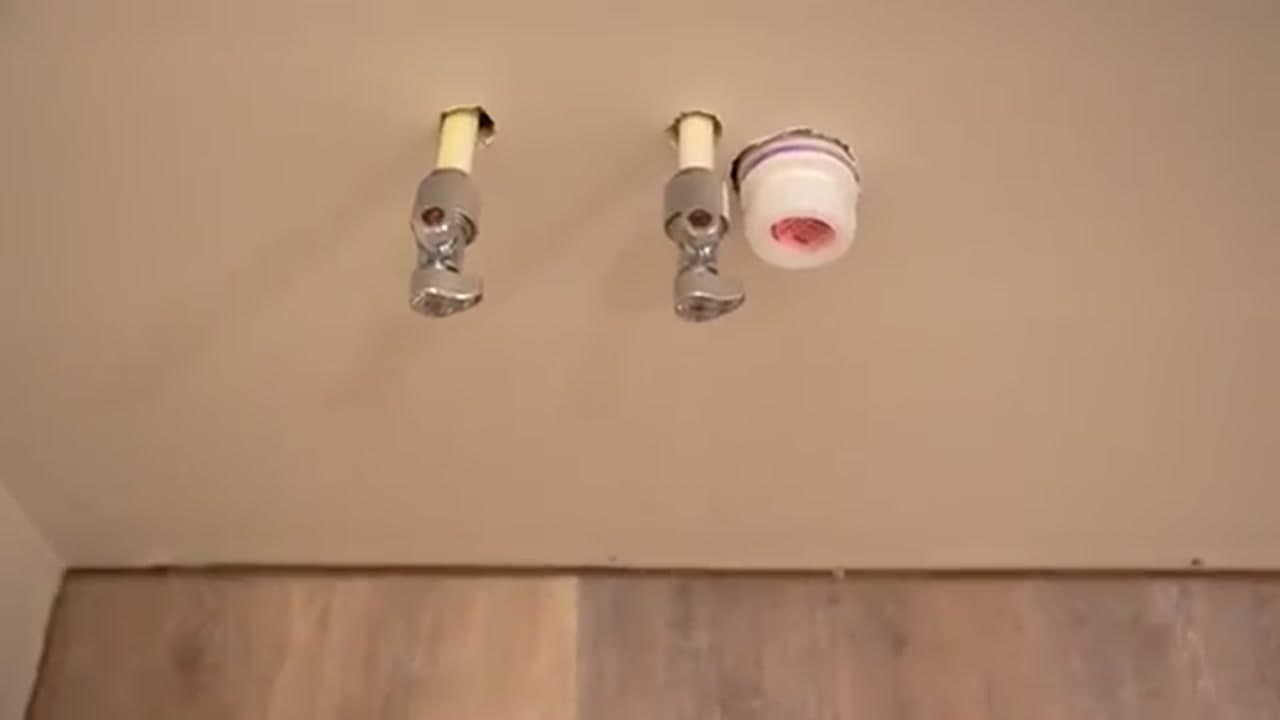
Slide the trap adapter onto the drain stub-out sticking through the wall. This is the fitting the P-trap will connect to later, so get it seated square and snug now while you have clear access.

Take a second to eyeball both shutoff valves. The handles should sit level and point the same way, and the outlets should aim down and out toward where the supply lines will run. Getting this tidy now makes the final hookup painless.

Products used in this step

3

Step 3: Set the vanity cabinet and screw it to the wall

7:40
Step 3: Step 3: Set the vanity cabinet and screw it to the wall

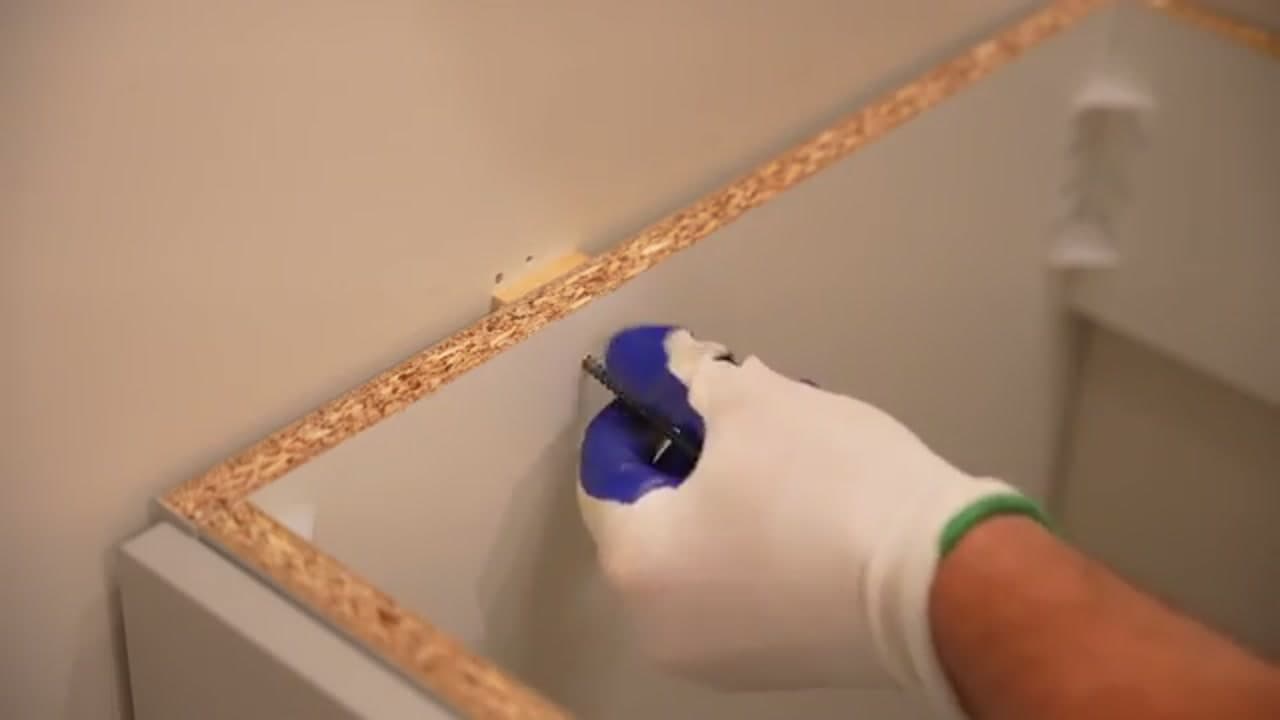
Slide the cabinet into place over the plumbing, then check it with a level side to side and front to back. Shim under the base if the floor isn't flat so the top will sit true later.

Once it's level, drive screws through the back rail of the cabinet into the wall studs. Find the studs with a stud finder first. Two or three solid screws into framing is what keeps the vanity from rocking every time someone leans on it.

Tip

If a stud doesn't line up with the back rail, use a heavy-duty drywall anchor rated for the load. Don't rely on a screw driven into bare drywall - it will pull out.

4

Step 4: Mount the faucet in the vanity top

8:20
Step 4: Step 4: Mount the faucet in the vanity top

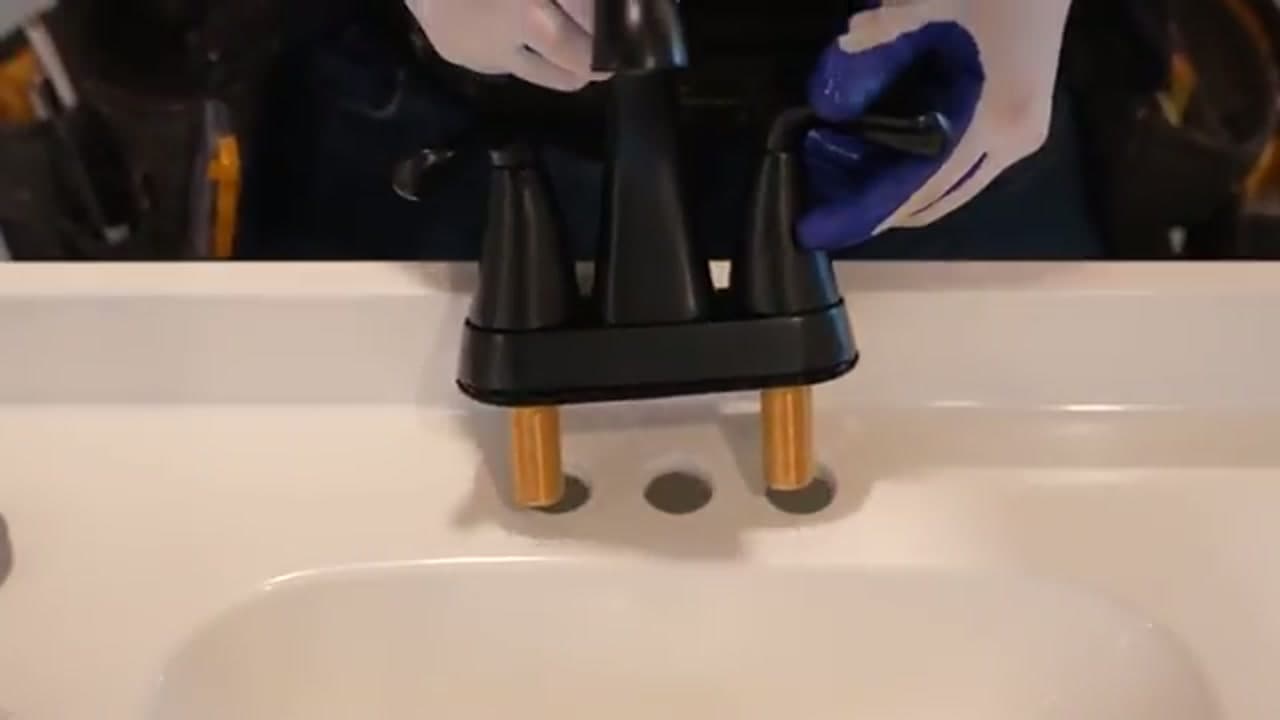
Before you set the top down, mount the faucet while you can still reach the underside easily. Drop the faucet body through the holes in the sink deck and line up the base gasket underneath.

From below, thread on the mounting nuts and snug them by hand, then finish with a wrench. Keep the faucet straight as you tighten so it doesn't drift off-center. Doing this on the bench beats fighting for room inside a mounted cabinet.

Tip

A basin wrench makes reaching the mounting nuts far easier, but on a top that isn't set yet you can usually get to them with a regular adjustable wrench.

5

Step 5: Assemble the sink drain

9:00
Step 5: Step 5: Assemble the sink drain

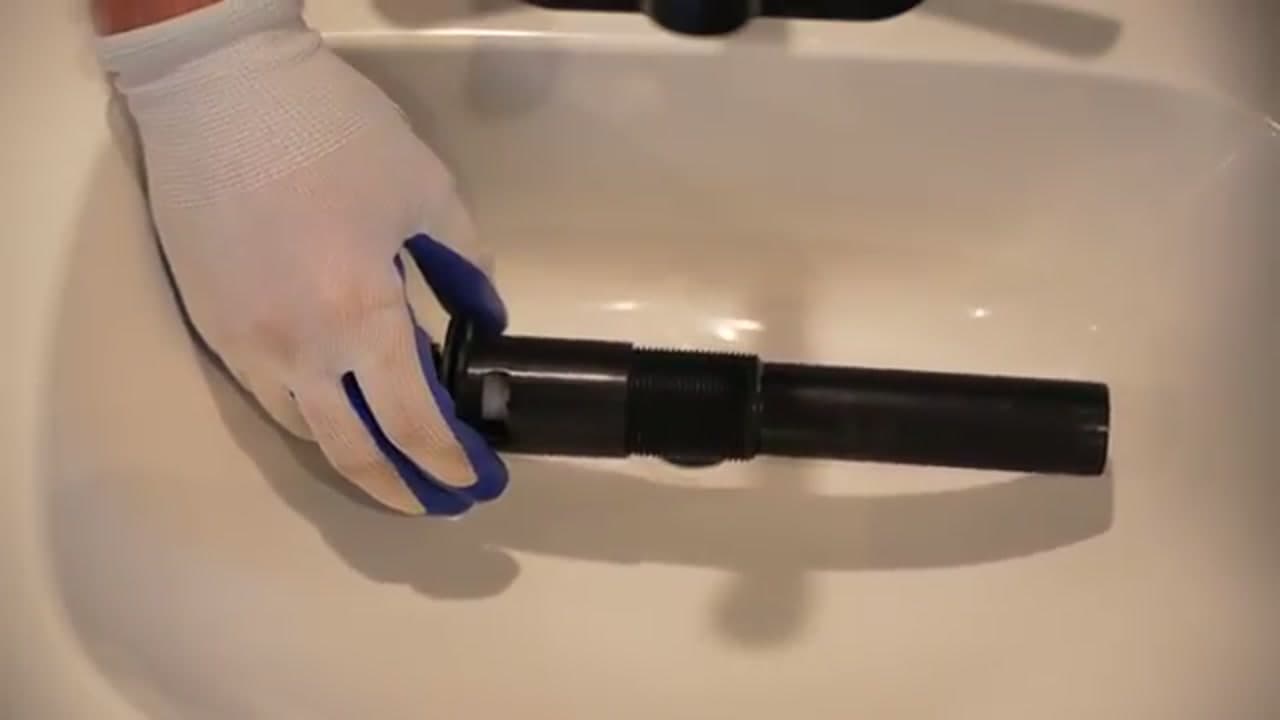
Set the drain body into the sink opening and thread the tailpiece up from underneath. There's a rubber gasket and a friction washer that stack in a specific order, so follow the parts diagram that came with the kit.

Run a thin bead of silicone or plumber's putty under the drain flange before you tighten it down. That's what stops water from wicking under the flange and dripping into the cabinet.

Tip

Hand-tighten the locknut, then give it a quarter turn with pliers. Overtightening can crack a plastic drain body or distort the gasket and cause a leak.

6

Step 6: Connect the braided supply lines

10:20
Step 6: Step 6: Connect the braided supply lines

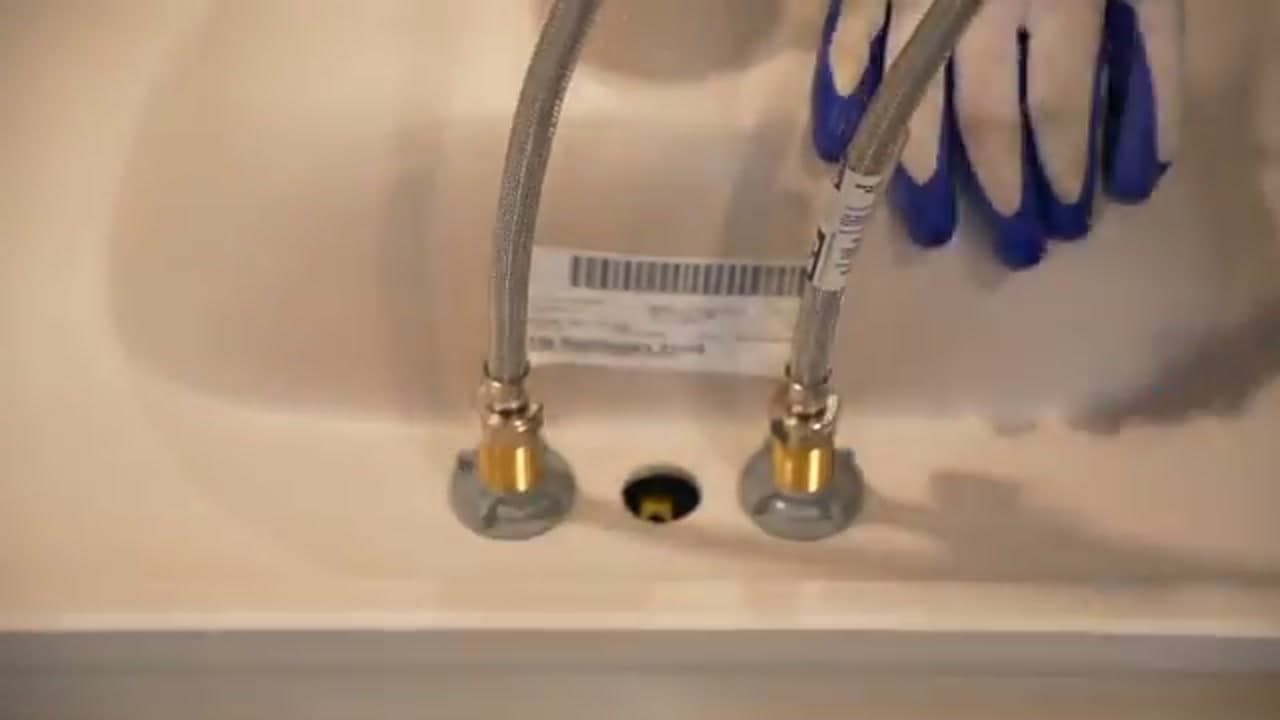
Run a braided stainless supply line from each faucet tailpiece down to its shutoff valve. Match hot to hot and cold to cold. The braided lines flex, so you don't have to line anything up perfectly.

Thread each nut on by hand first to avoid cross-threading, then snug with a wrench. Firm is enough here. The rubber washer inside the nut does the sealing, so cranking harder just risks stripping the threads.

Tip

Measure the run before you buy the lines. Too short and they'll pull tight; too long and they'll kink. A gentle loop with a little slack is what you want.

7

Step 7: Hook up the P-trap

11:00
Step 7: Step 7: Hook up the P-trap

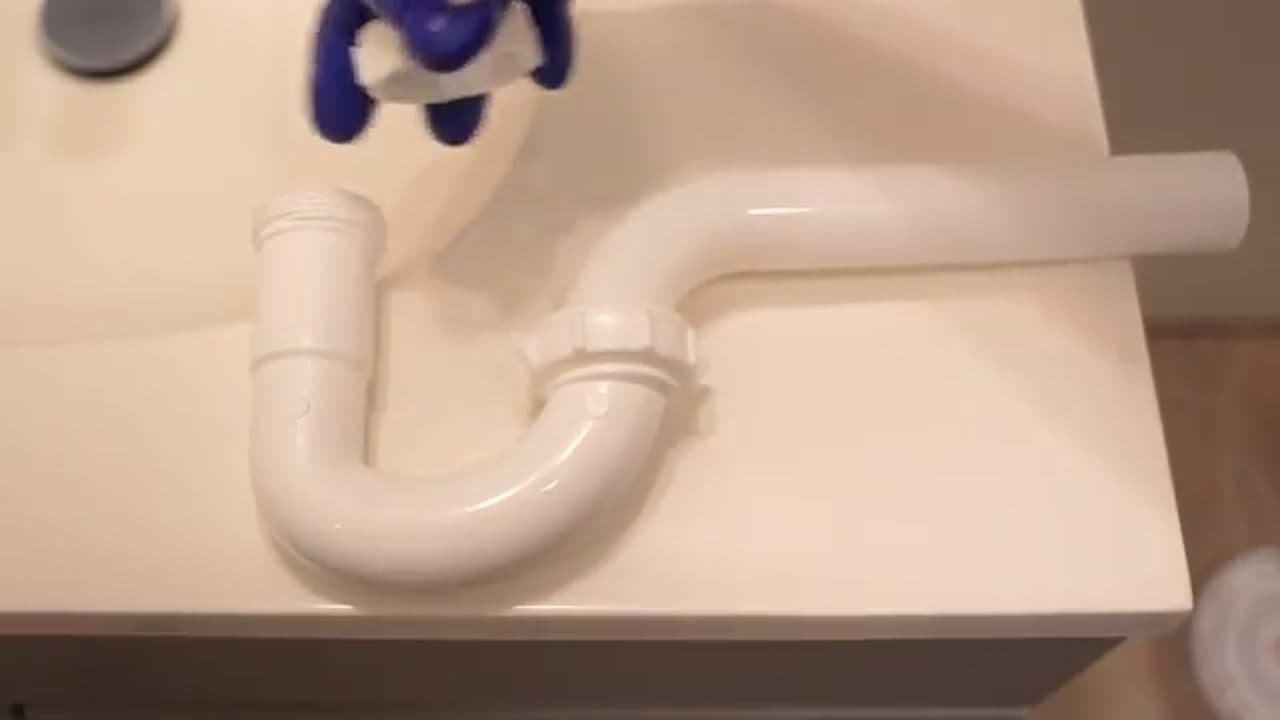
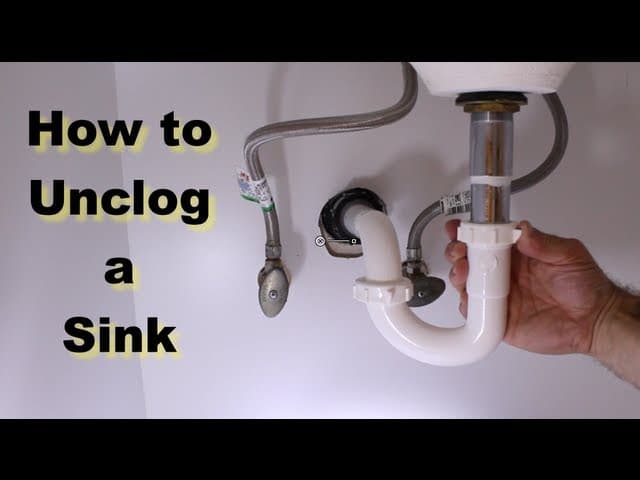
Now connect the drain to the waste line. The P-trap ties the sink tailpiece to the trap adapter you set in the wall earlier. Its U-shape holds a plug of water that blocks sewer gas from rising up through the drain.

Dry-fit the pieces first to check the angles, trim the tailpiece if it's too long, then hand-tighten the slip nuts with the plastic washers seated. These joints only need to be hand-snug plus a small nudge.

Tip

The beveled washer goes with the taper facing into the fitting. Flip it the wrong way and the joint will weep no matter how hard you tighten it.

8

Step 8: Turn the water on and check for leaks

13:56
Step 8: Step 8: Turn the water on and check for leaks

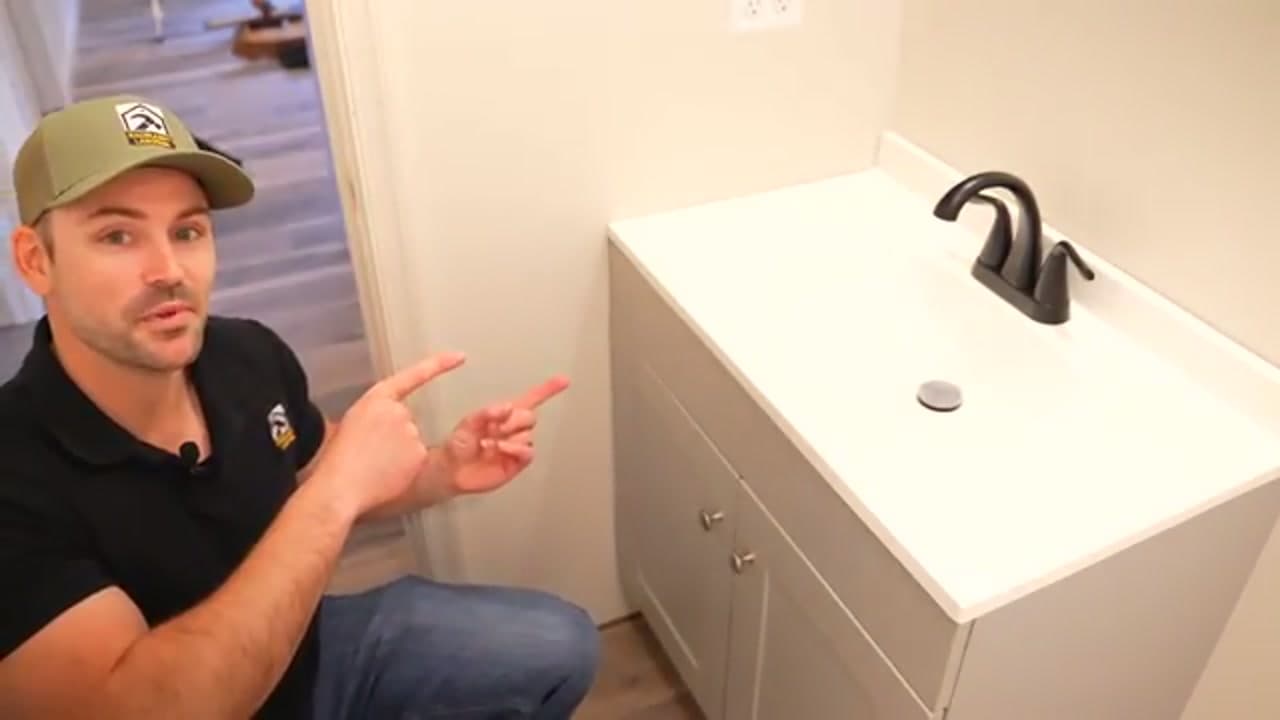
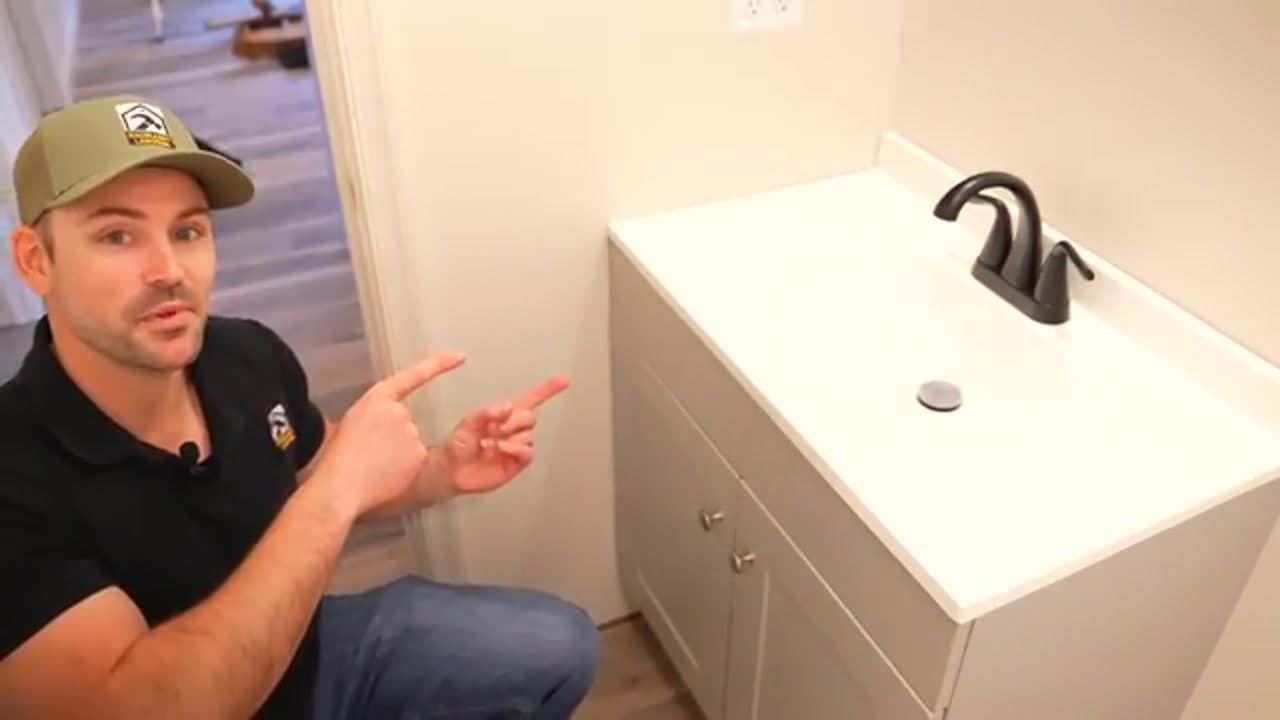
Here's the finished vanity: cabinet screwed to the wall, top set, faucet mounted, and everything plumbed. Open both shutoff valves slowly and turn the faucet on.

Watch every joint you made. Check the supply-line nuts, the drain flange, and each slip joint on the P-trap. Fill the basin and let it drain to load the trap under real flow. A drip now is easy to fix with a small nudge of the wrench; a drip you miss becomes a swollen cabinet floor in a month.

Tip

Lay a dry paper towel under each connection and check it after ten minutes. A wet spot shows you exactly which joint needs another slight turn.

Products Used

☐ The Checklist

How to Install a Bathroom Vanity and Sink

Tools
7
Materials
8
Steps
8
Video
14 min

Your Guide

The Excellent Laborer

As an Amazon Associate we earn from qualifying purchases. Links on this page may be affiliate links - clicking them and buying doesn't change your price, but helps support ShowMeStepByStep.

Tags

Sunday How-To

New home improvement tutorials, every Sunday

One short email with the week's best step-by-step guides. Free, no spam, unsubscribe anytime.

Did this work for you?

What's next

Related collections

Curated theme pages that include this tutorial.

Weekly Digest

Liked this home improvement tutorial?

Pick the categories you want to hear about. Weekly digest of new step-by-step tutorials. No spam, easy unsubscribe.

Send me tutorials about

We only email about new tutorials. Easy unsubscribe anytime.