How to Install a Garage Door Opener

Home ImprovementMedium6:358 stepsBrowse more →
Also in:Adulting

By ShowMeStepByStepPublished

Based on a video by The Home Depot.

A new garage door opener is one of those upgrades you notice every single day. No more heaving the door up by hand, and the safety sensors mean it will not close on a bike or a pet. The Home Depot put together this clear walkthrough that takes you from a box of parts to a working opener in an afternoon.

You will assemble the rail and carriage, mount the header bracket above the door, hang the motor unit from the ceiling, and connect the arm that pulls the door open. Then you wire up the photo-eye safety sensors, mount the wall button, program the remote, and set the travel limits. A helper makes the ceiling work a lot easier, so grab one if you can.

Most of the tools you already own. If you have tackled a project like installing a ceiling fan, you have most of the skills you need here. Take your time on the safety sensor alignment and the travel settings, since those are what keep the door working safely.

Step-by-Step Guide

1

Assemble the Rail and Carriage

1:58
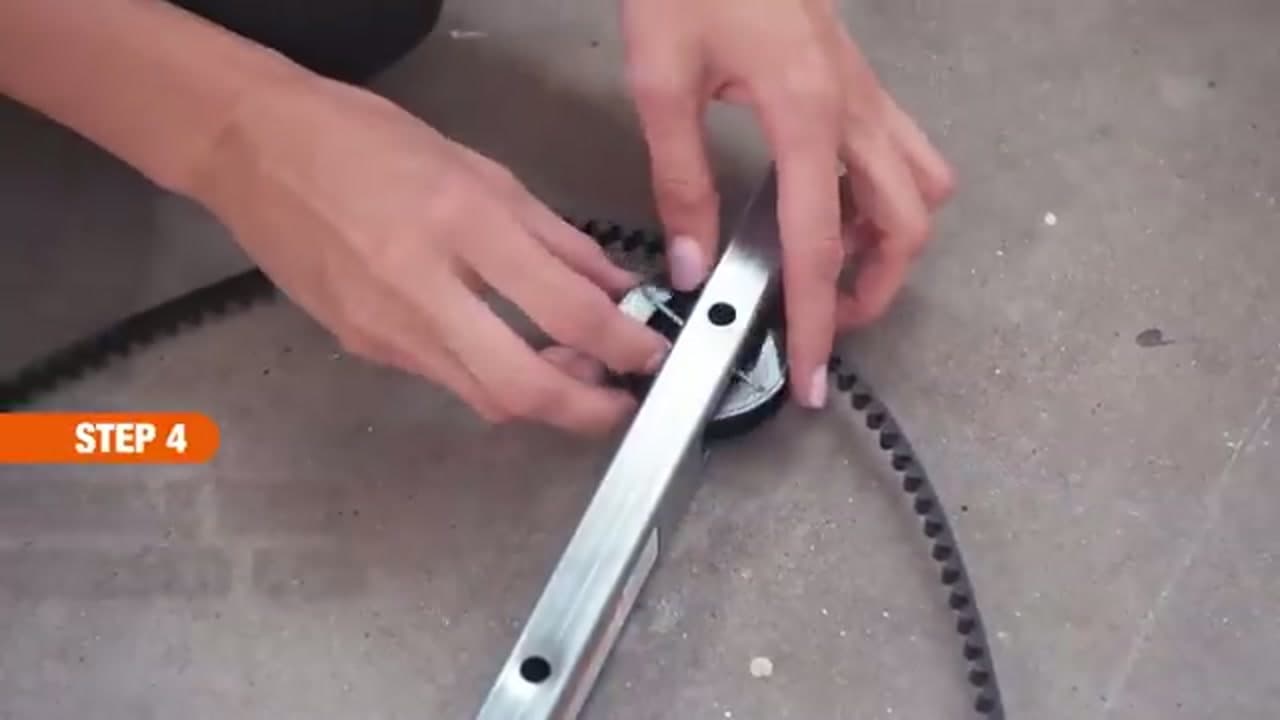
Step 1: Assemble the Rail and Carriage

Lay every part out on a drop cloth first. It saves you digging through the box later. Slide the carriage onto the rail tube and join the rail sections so they lock together in a straight line. This is the piece the door arm rides along, so make sure each joint seats fully and nothing wobbles.

Tip

Read the parts list against what came in the box before you start. A missing bracket is easier to catch now than halfway up a ladder.
2

Attach the Rail to the Motor Unit

1:38
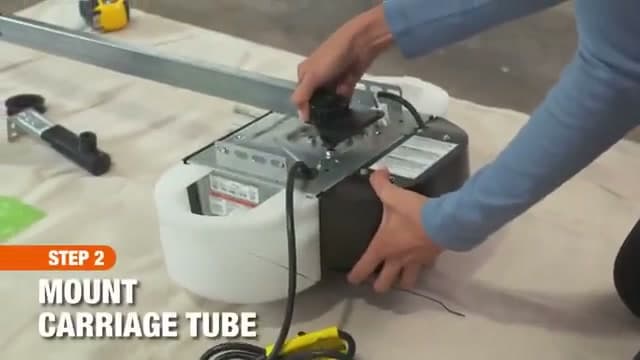
Step 2: Attach the Rail to the Motor Unit

Set the motor unit on a padded surface so you do not scratch it. Line the drive gear up with the end of the rail and bolt the rail bracket to the top of the unit. On a belt or chain drive this is where the belt loops over the gear. Tighten the bolts so the rail sits square to the motor and does not twist.

Tip

Rest the power unit on a folded pad or towel while you work on it. The plastic housing scratches easily.

Products used in this step

3

Mount the Header Bracket Above the Door

2:10
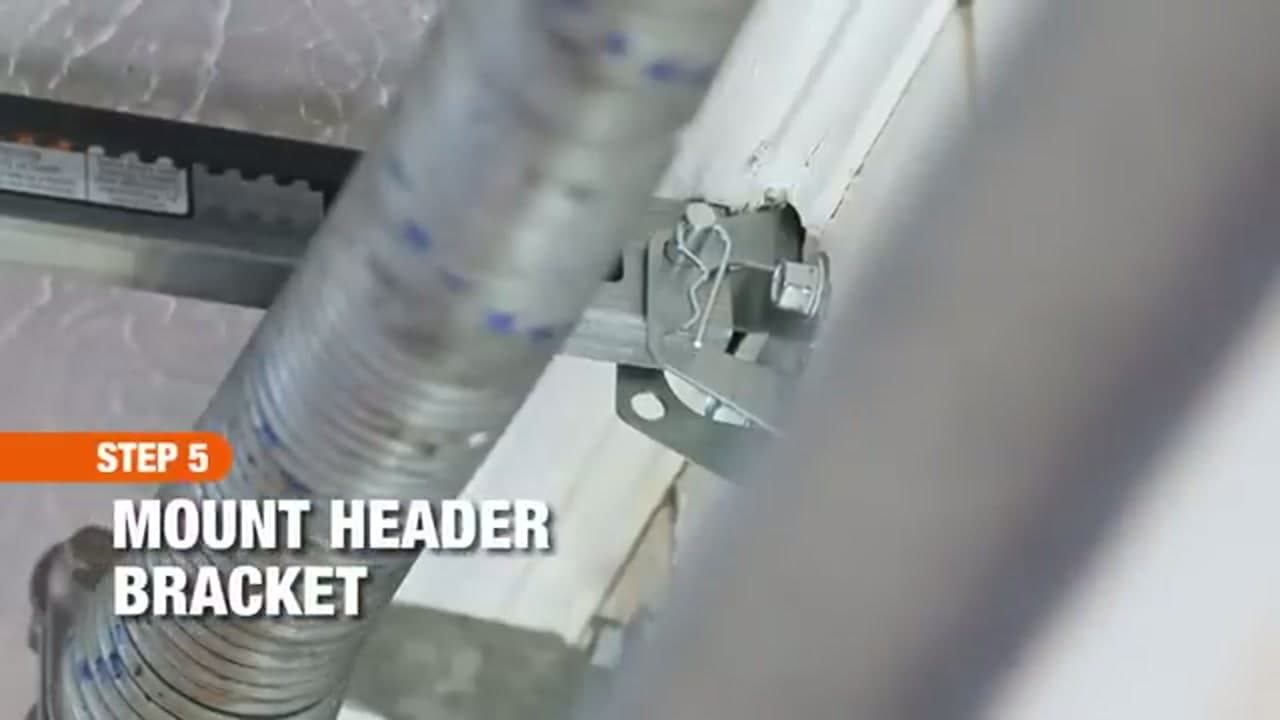
Step 3: Mount the Header Bracket Above the Door

The header bracket carries all the pulling force, so it has to be solid. Center it above the door and set it a few inches above the highest point the door reaches when it opens. Mark your holes, then drive lag screws into the framing behind the wall, not just the trim. This is the anchor for the front end of the rail.

4

Hang the Motor Unit From the Ceiling

2:42
Step 4: Hang the Motor Unit From the Ceiling

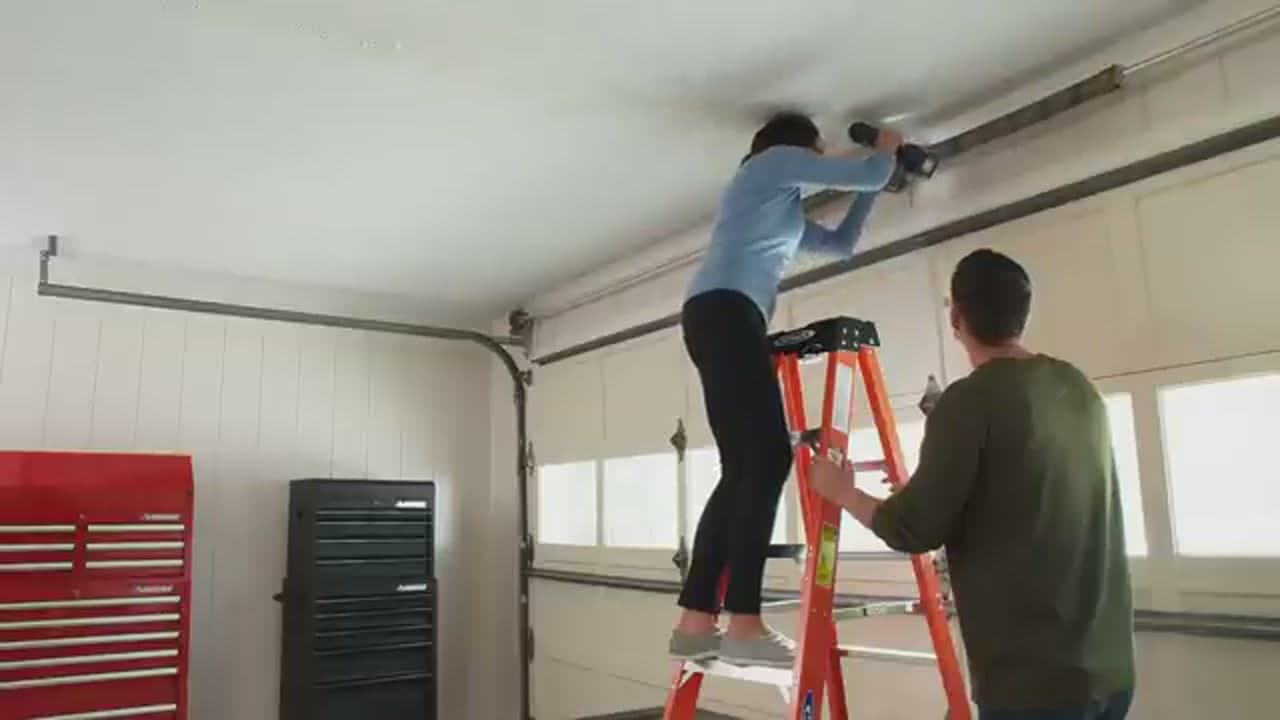
Lift the motor end up to the ceiling and support it while you fasten the hanging brackets. Drive lag screws into the ceiling joists so the unit is dead solid. This is the step where a second person really pays off. One holds the weight on a ladder while the other drives the screws. Keep the rail level from the header bracket back to the motor.

Tip

Find the joists first with a stud finder. Screwing hanging brackets into drywall alone will not hold the motor.

5

Connect the Door Arm to the Door

4:00
Step 5: Connect the Door Arm to the Door

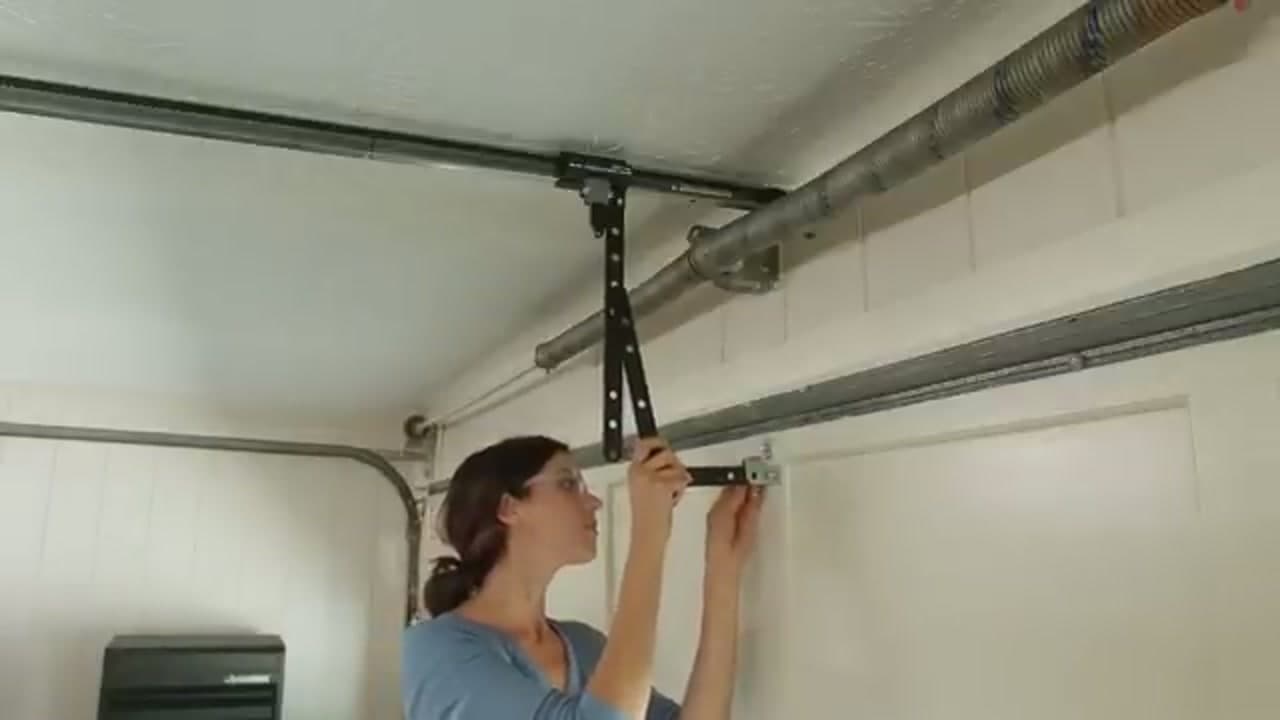
Bolt the door arm bracket to the top center of the garage door, then link the curved and straight arm sections between that bracket and the carriage. Slide the carriage into position and pin the arm. Tighten every bolt with a wrench. This arm is what actually pushes and pulls the door, so a loose connection here shows up as a rattle every time it runs.

Products used in this step

6

Install the Safety Photo-Eye Sensors

5:18
Step 6: Install the Safety Photo-Eye Sensors

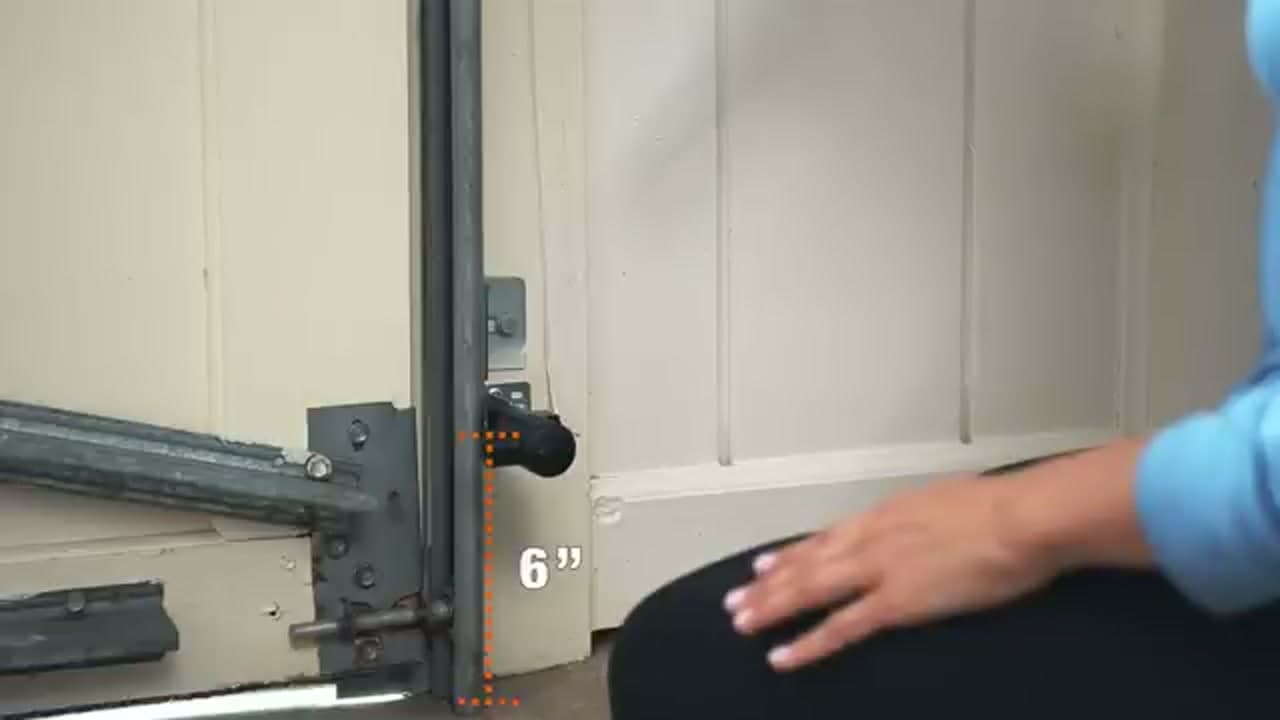
The photo-eyes are the sensors that stop the door from closing on something. Mount one on each side of the door track, about six inches off the floor, and aim them straight at each other. Run the wires back up to the motor unit. When the beam between them is broken, the door reverses instead of closing. Get the height and alignment right and test it.

Tip

Both sensor lights should glow steady once they are lined up. A blinking light usually means they are pointed slightly off from each other.

Products used in this step

7

Mount the Wall Control and Program the Remote

4:30
Step 7: Mount the Wall Control and Program the Remote

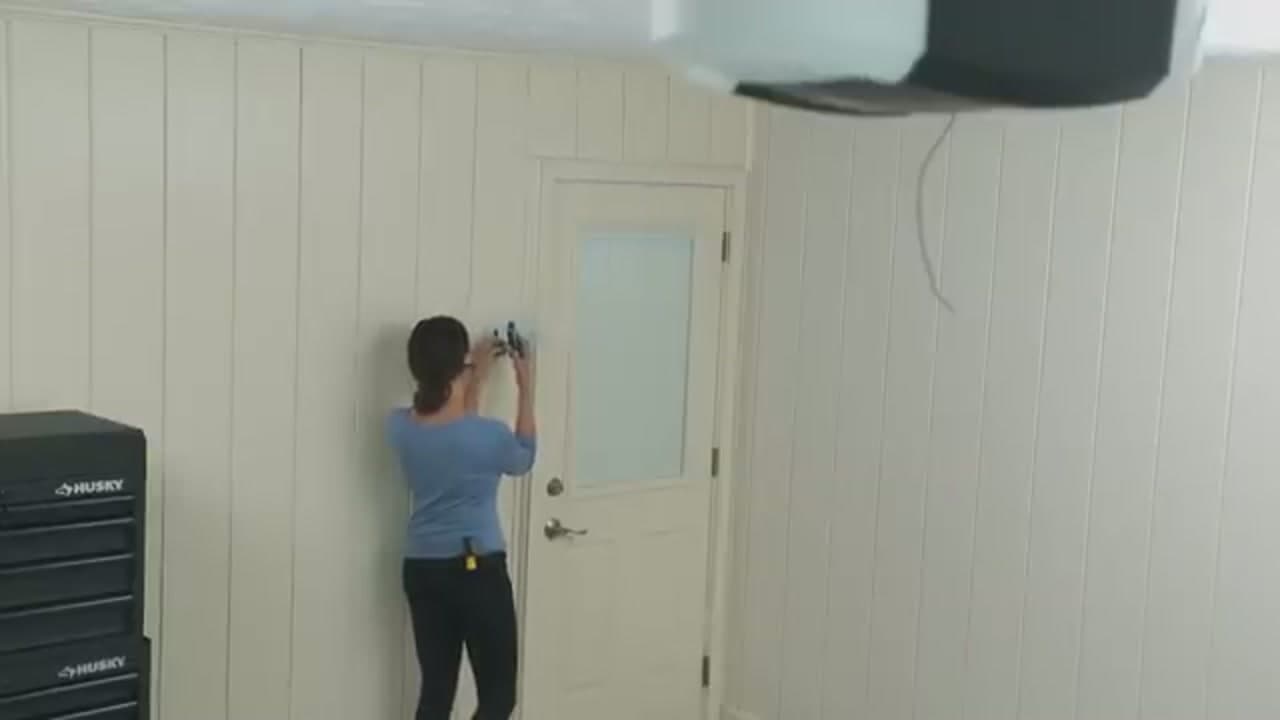
Mount the wall button by the entry door, within sight of the garage door but out of a child's easy reach. Run its low-voltage wire back to the motor terminals. Then pair the handheld remote by pressing the learn button on the motor and the button on the remote. Test both controls so each one opens and closes the door.

Products used in this step

8

Set the Travel and Force, Then Test

4:54
Step 8: Set the Travel and Force, Then Test

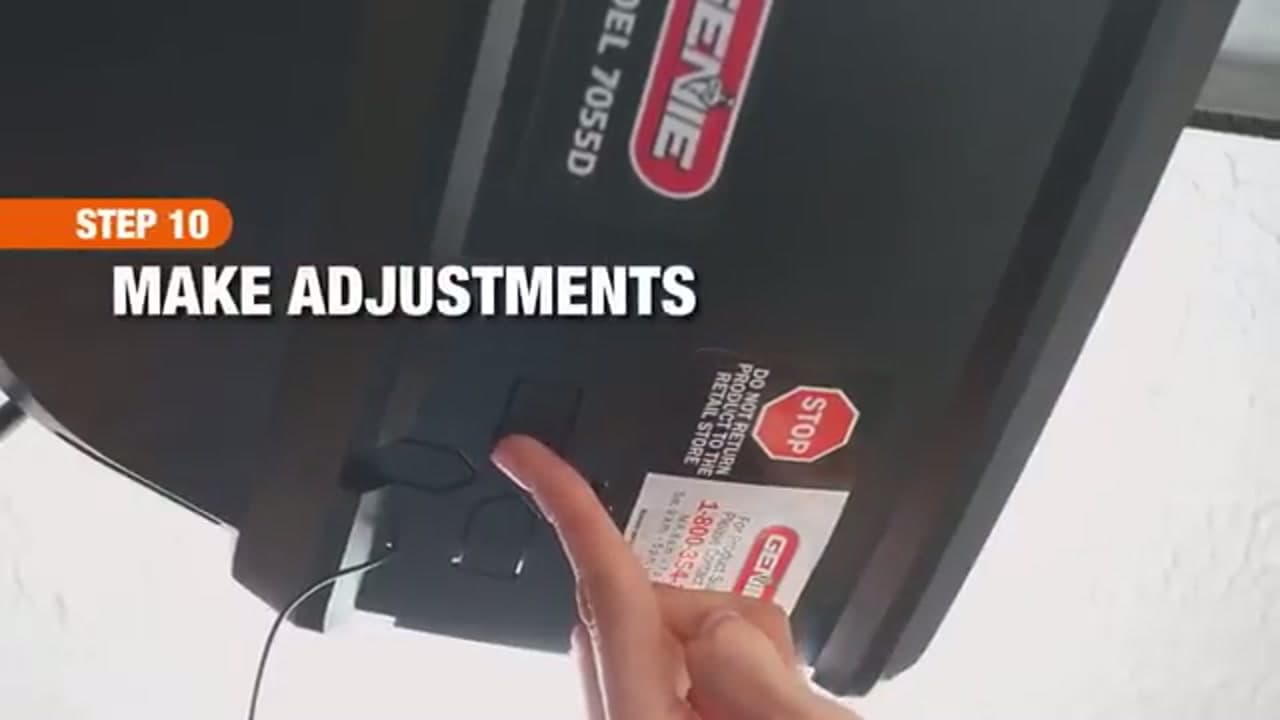
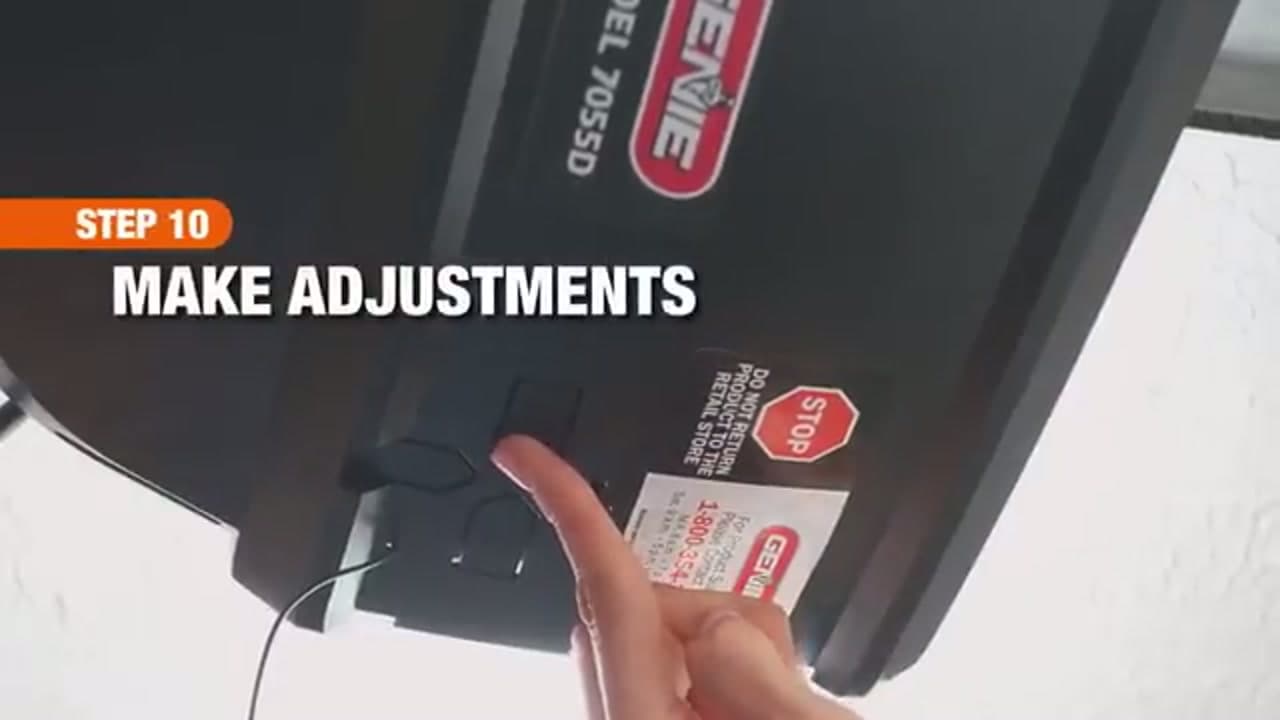
Use the adjustment buttons on the motor to set how far the door travels up and down, then set the force so it stops if it hits an obstruction. Run a full open and close cycle. Lay a board flat under the door to confirm it reverses on contact, and wave a hand through the sensor beam to confirm it reverses there too. Fine-tune until both work every time.

Tip

Test the auto-reverse before you call it done. It is the single most important safety feature on the opener.

Products used in this step

Products Used

☐ The Checklist

How to Install a Garage Door Opener

Tools
6
Materials
4
Steps
8
Video
7 min

Your Guide

The Home Depot

As an Amazon Associate we earn from qualifying purchases. Links on this page may be affiliate links - clicking them and buying doesn't change your price, but helps support ShowMeStepByStep.

Tags

Sunday How-To

New home improvement tutorials, every Sunday

One short email with the week's best step-by-step guides. Free, no spam, unsubscribe anytime.

Did this work for you?

What's next

Related collections

Curated theme pages that include this tutorial.

Weekly Digest

Liked this home improvement tutorial?

Pick the categories you want to hear about. Weekly digest of new step-by-step tutorials. No spam, easy unsubscribe.

Send me tutorials about

We only email about new tutorials. Easy unsubscribe anytime.