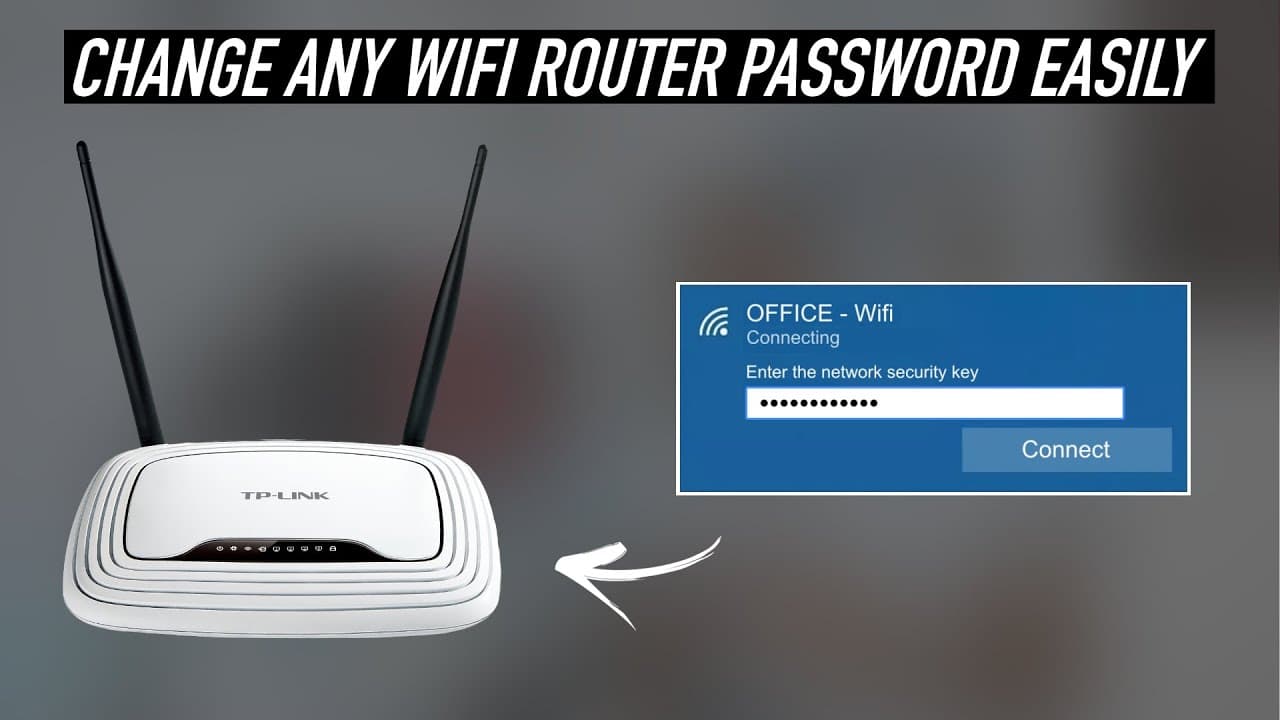
A new router sat in its box on your kitchen counter for a week because the setup instructions looked like they were written for an IT department. Good news: the actual process is eight clicks and three cables. About ten minutes start to finish, whether you bought a $40 TP-Link, a $200 Netgear Nighthawk, or a mesh kit like eero or Google Nest Wifi.
This walkthrough is based on a tutorial from PCMag with Samara Lynn, their lead networking analyst. The same eight steps work for almost any brand sold in the US: TP-Link, Netgear, ASUS, Linksys, Amped Wireless, eero, Google Nest, Ubiquiti AmpliFi. The buttons live in slightly different places on each router admin page, but every consumer router uses the same flow - cable to modem, log into the admin page, run Basic Setup, lock down Wi-Fi with WPA2 or WPA3.
If you are coming at this for the first time, the words router, modem, and gateway mean three different things. The modem is the box your internet provider gave you - it talks to the outside world. The router is the box you bought yourself - it talks to your laptops, phones, and TVs over Wi-Fi. A gateway is a combo unit that does both, and most ISPs lease one by default. If you have a gateway, you can still add your own router behind it for better Wi-Fi range and parental controls - skip ahead to the bridge-mode note in the troubleshooting section near the bottom of this page.
Three related guides worth bookmarking before you start: how to restart your router for when the internet acts up after setup, how to change your Wi-Fi password for when you have shared the default with too many house guests, and the troubleshooting H2 at the bottom of this page for the four issues that trip up most first-time setups (wrong IP, admin password rejected, Internet LED stays red, Wi-Fi name will not save).
How to Configure a Wireless Router Step by Step (Plain English)
Configure is the word the router manual uses for what most people call set up. The eight steps above are the configuration. If you walked through them in order - cable to modem, laptop on Ethernet, power on, find the admin IP, log in, Basic Setup wizard, Wi-Fi name and password, apply and reboot - the router is configured. The wizard handled connection type (DHCP for almost every home internet plan), time zone, and ISP detection in the background.
The only configuration choices that actually matter for a home setup are the four you make in steps 6 and 7: connection type (leave it on DHCP), Wi-Fi network name, Wi-Fi password, and security mode (WPA2-PSK or WPA3-Personal). Everything else - port forwarding, QoS, IPv6, guest networks, parental controls - is optional and lives deeper in the admin page under Advanced. You can come back and turn those on later. Most households never do, and the Wi-Fi works fine.
If you are configuring a router for a small business or a roommate-heavy apartment, two extra steps are worth doing the same day: turn on a Guest network with a separate password (under Wireless > Guest Network on most admin pages), and enable Automatic Firmware Updates (under Administration > Firmware Update). The guest network keeps work laptops and visitor phones on a separate logical network from your TVs and smart-home gear. The auto-updates close security holes without you having to remember.
How to Connect a Wireless Router to Your Modem and to Wi-Fi
Connecting a router happens in two places: the wired side (router-to-modem) and the wireless side (router-to-your-devices). Both have to work for the internet to reach a phone or laptop, and they fail for different reasons.
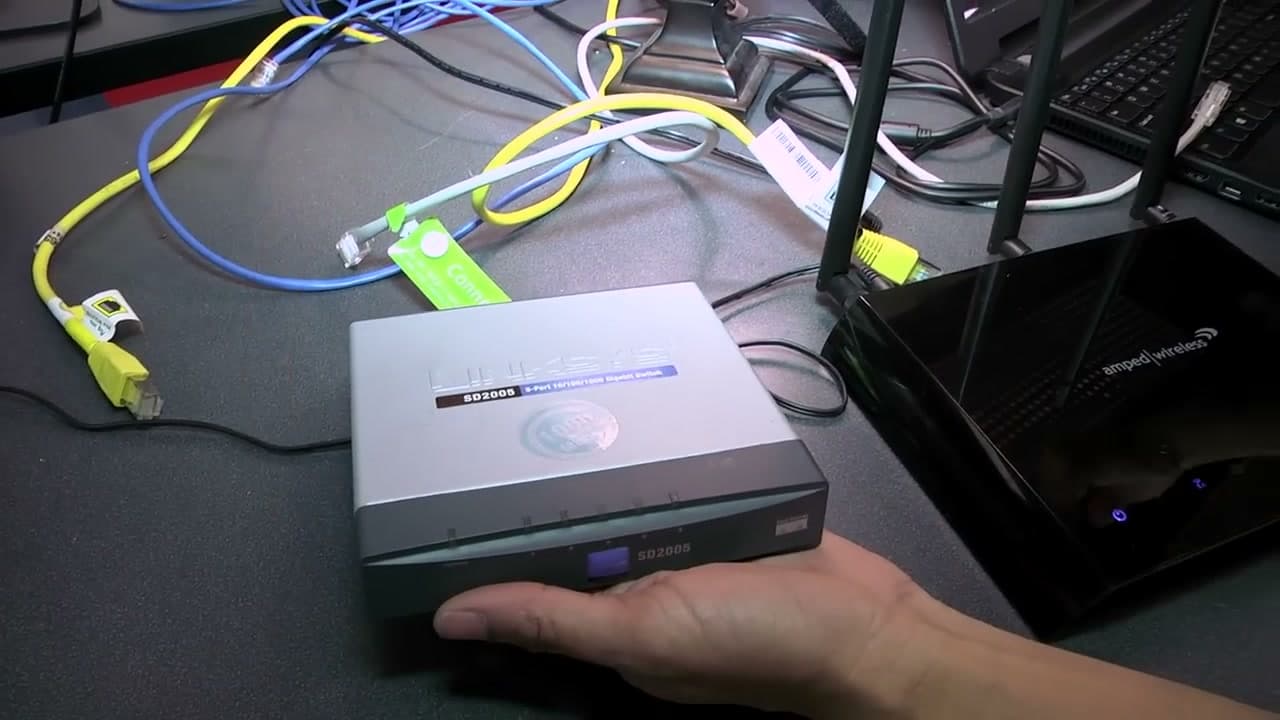
The wired side is one Ethernet cable, modem-side LAN port to router-side WAN/Internet port. That is it. The WAN port on a router is usually a different color - yellow or blue - and sits apart from the four LAN ports. If you cannot tell them apart, the port labeled Internet or WAN is the one. Plug the cable in until you hear the click. The link light on both the modem side and the router side should come on within a few seconds. If neither comes on, the cable is bad - swap it for any Ethernet cable from a desk drawer and try again. Cable failures are the single most common reason a new router seems dead.
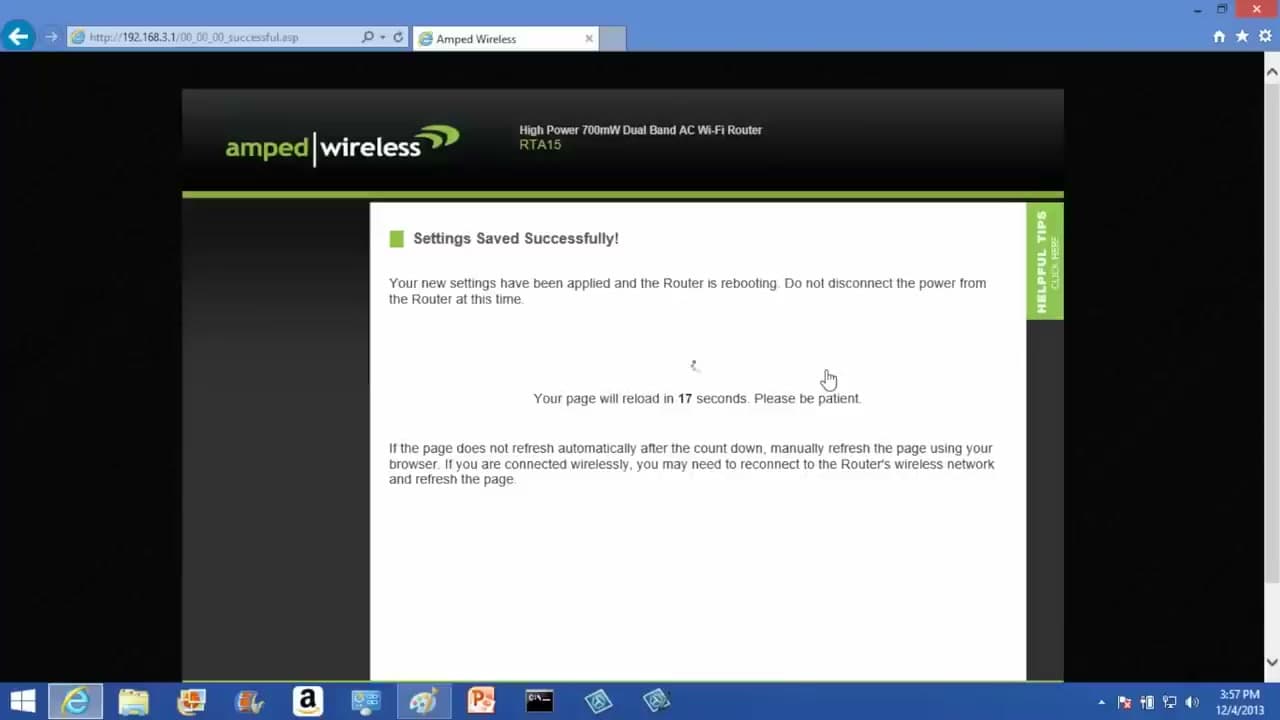
The wireless side is the SSID and password you set in step 7. After the router reboots in step 8, your phone or laptop will see the new network name in its Wi-Fi list. Tap it, enter the password from step 7, and the device connects within a few seconds. If the network name does not appear, walk closer to the router and try again - a brand-new 2.4 GHz radio sometimes takes 30 to 60 seconds to start broadcasting after the first reboot.
Two connection patterns worth knowing: router behind an ISP gateway (plug your router WAN into one of the gateway LAN ports - works but creates a double-NAT that breaks some games and VPNs; the fix is bridge mode on the gateway), and mesh kits like eero or Google Nest Wifi (the primary node plugs into the modem with one Ethernet cable; the satellite nodes connect wirelessly during the app-based setup and need no cables). Mesh setup uses a phone app instead of a browser admin page, but the underlying eight-step flow is identical.
How to Hook Up a New Wi-Fi Router (Cables, Ports, and Power Order)
Hook up is the same as set up, but the word usually means the physical-cable part: which cable goes where, and in what order to power everything on. Get the order right and the router negotiates a connection with your ISP automatically. Get it wrong and you spend 20 minutes wondering why the Internet light is red.
The order that works every time: 1) unplug the modem from power, 2) plug an Ethernet cable from the modem LAN port into the router WAN port, 3) plug a second Ethernet cable from a router LAN port into your laptop, 4) plug the modem back into power and wait 60 seconds for the Internet LED to go solid, 5) plug the router into power and wait another 60 seconds. This sequence forces the modem to re-handshake with the ISP and hand the new router a fresh IP address. Powering the router on before the modem has finished booting is the single most common reason the Internet LED stays red on first setup.
Three cables and three power outlets are all you need: one Ethernet from modem to router WAN, one Ethernet from router LAN to laptop (only during setup - you remove this in step 8), and two power cables, one for the modem and one for the router. If your modem has been running for years and the router still shows no internet after this sequence, call your ISP and ask them to release the old MAC address. That clears a five-minute lockout that some cable providers use to prevent unauthorized devices.
Router Admin Login: Default IP, Username, and Password Cheat Sheet
The admin page is where every configuration choice lives. Step 5 above covers the basics; this section is the reference card for the three things that go wrong most often: finding the right IP, knowing the default credentials, and recovering when the password sticker is missing.
Default admin IP addresses by brand:
- TP-Link: 192.168.0.1 or tplinkwifi.net
- Netgear: 192.168.1.1 or routerlogin.net
- Linksys: 192.168.1.1 or myrouter.local
- ASUS: 192.168.1.1 or router.asus.com
- D-Link: 192.168.0.1
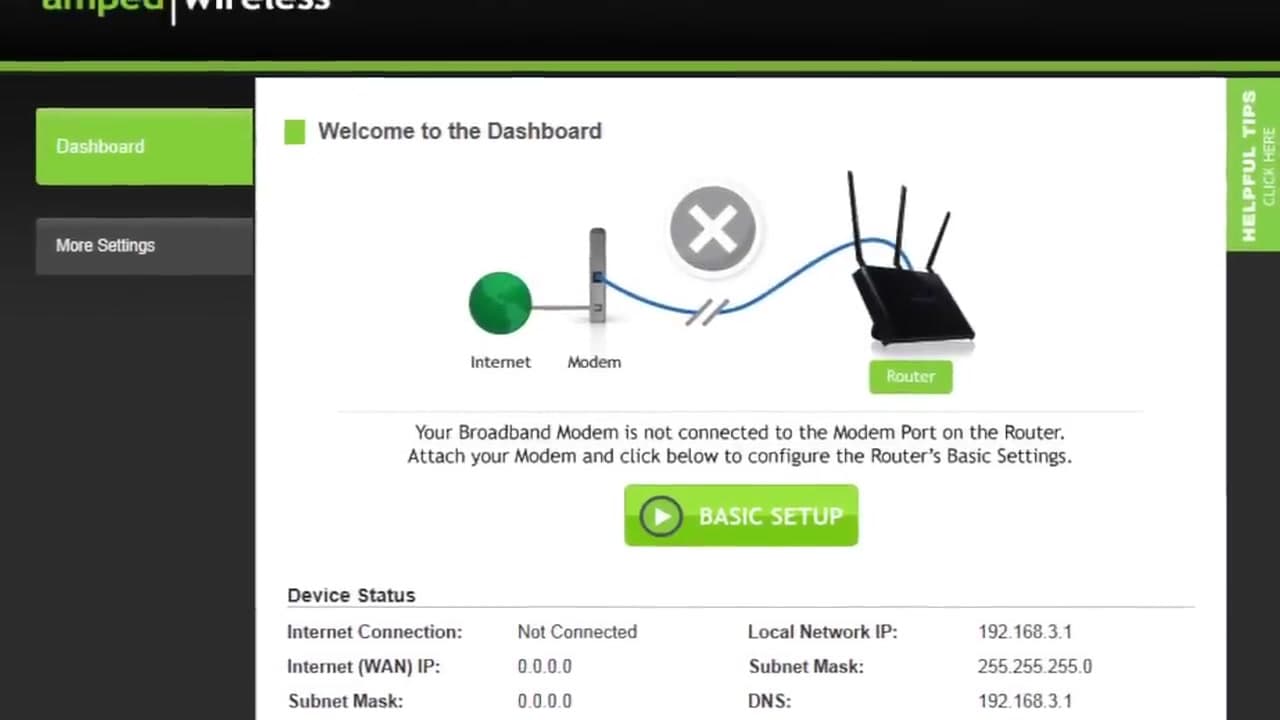
- Amped Wireless: 192.168.3.1
- eero / Google Nest Wifi: no admin IP - setup runs through the phone app instead
Default credentials on the sticker are almost always one of: admin / admin, admin / password, admin / 1234, or (blank) / admin. Newer routers (2022 onward) often ship with a unique per-device password printed on the sticker - if the sticker is missing or unreadable, hold the recessed Reset button on the back of the router with a paperclip for 10 seconds. The router factory-resets, and the credentials revert to the brand default in the list above.
If the laptop browser shows a security warning when you type the admin IP (Your connection is not private, ERR_CERT_AUTHORITY_INVALID), that is normal. Router admin pages use self-signed certificates because they have no public domain name. Click Advanced and then Proceed - the warning is not a real security issue on a LAN-only IP address.
Wi-Fi 5 vs Wi-Fi 6 vs Wi-Fi 6E: Which Setting to Pick
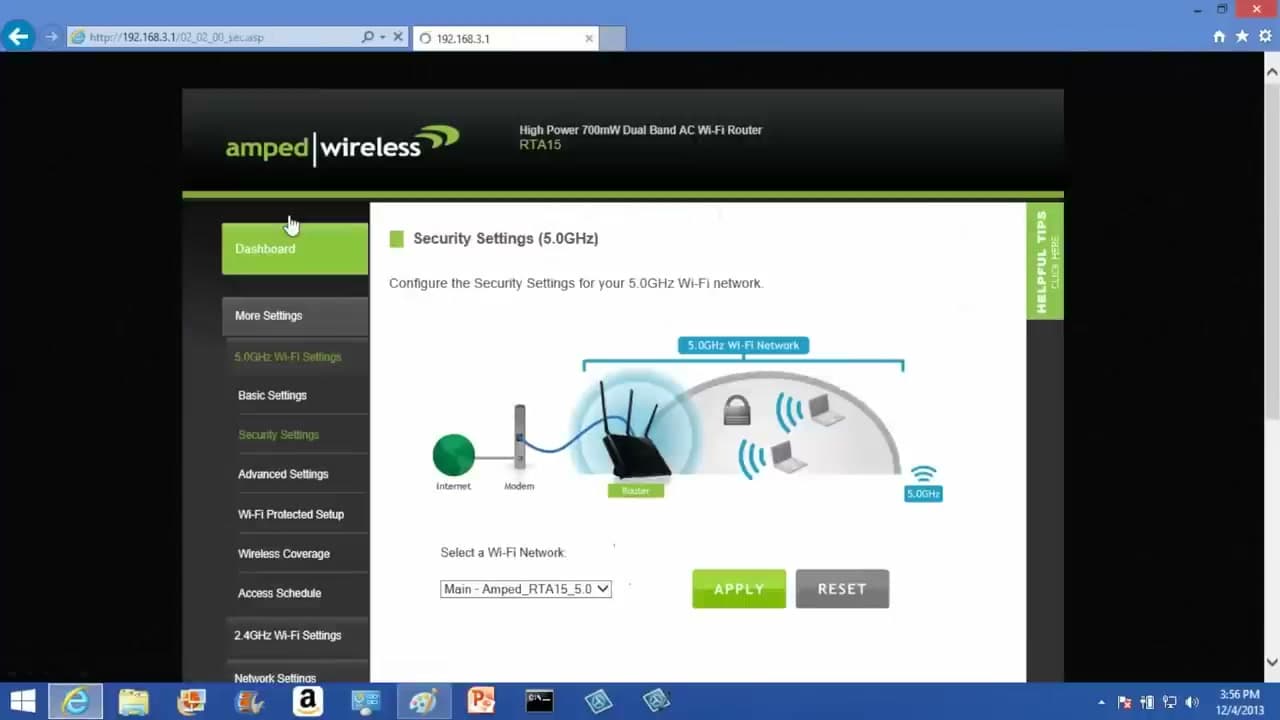
During step 7, some admin pages ask you to choose a Wi-Fi mode (also labeled 802.11 mode or wireless standard). This is the only spot where the router setup interacts with the spec on the box you bought. The right answer is almost always leave the default alone - the router auto-selects the highest standard that every connected device can use.
Quick reference for the three current standards:
- Wi-Fi 5 (802.11ac): 2014 spec. Tops out around 1.3 Gbps on 5 GHz. Every router sold since 2015 supports it. Good enough for almost any home with cable-internet speeds under 500 Mbps.
- Wi-Fi 6 (802.11ax): 2019 spec. Tops out around 9.6 Gbps theoretical, ~1.5 Gbps real-world. Adds OFDMA and Target Wake Time, which make crowded networks (apartment buildings, dorms) feel smoother. Worth the upgrade if your internet plan is over 500 Mbps or you have more than 15 connected devices.
- Wi-Fi 6E: Wi-Fi 6 plus the brand-new 6 GHz band. Massive headroom but only newer phones and laptops (iPhone 15+, Pixel 7+, recent MacBooks and Windows laptops) can use the 6 GHz band. Pick 6E only if you already own at least one 6E-capable device.
Wi-Fi 7 (802.11be) routers started shipping in late 2024. Skip them on a first-router purchase - the standard is not finalized in firmware on every brand, and almost no client devices support it yet. Wi-Fi 6 is the right sweet spot in 2026 for under $150.
Troubleshooting: Four Issues That Trip Up Most First-Time Setups
1. Internet LED stays red or amber after 60 seconds. The router cannot reach the ISP. Power-cycle in the right order: unplug both the modem and the router, wait 30 seconds, plug the modem in alone and wait until its lights go solid (about 60 seconds), then plug the router in. If the LED is still red, call the ISP and ask them to release the old MAC address - some cable providers lock the modem to the last connected device for 5 to 30 minutes.
2. Browser will not load the admin page at 192.168.x.x. Three causes. (a) The laptop is still on the old Wi-Fi network - disconnect from Wi-Fi entirely while the Ethernet cable is plugged in during setup. (b) The IP is wrong - check the sticker, or run ipconfig (Windows) / ifconfig (Mac) and use the Default Gateway address. (c) The router is in router-behind-router mode and lives at a different IP than the printed default - run ipconfig to find the real one.
3. Admin username or password rejected. The default printed on the sticker is the right one - try it once with no autocomplete, since a browser saved password from a previous router will overwrite the field. If it still rejects, hold the recessed Reset button on the back for 10 seconds with a paperclip. The router factory-resets, the credentials revert to admin / admin or admin / password, and you start over from step 4. Factory reset is harmless on a router with no config saved.
4. Wi-Fi network name will not save, or saves but does not broadcast. Two causes. (a) The SSID has a leading or trailing space - retype it without spaces. (b) The 5 GHz radio is disabled by default and the 2.4 GHz radio is enabled separately - check that both bands have the SSID set to the same name (or set 2.4 to NAME and 5 GHz to NAME_5G if you want to control which band each device joins). After clicking Save or Apply, give the router a full 60 seconds to restart its radios before declaring it broken.
Bonus: if you are running a router behind an ISP gateway (Xfinity, Spectrum, Verizon Fios), put the gateway into bridge mode from its own admin page. Bridge mode tells the gateway to stop acting as a router and pass the public IP directly to your router. This fixes the double-NAT issue that breaks online gaming, VPNs, and remote-desktop sessions. Bridge mode is in the gateway admin page under Advanced > Gateway > At-a-Glance > Bridge Mode on Xfinity, and under similar paths on other ISPs.