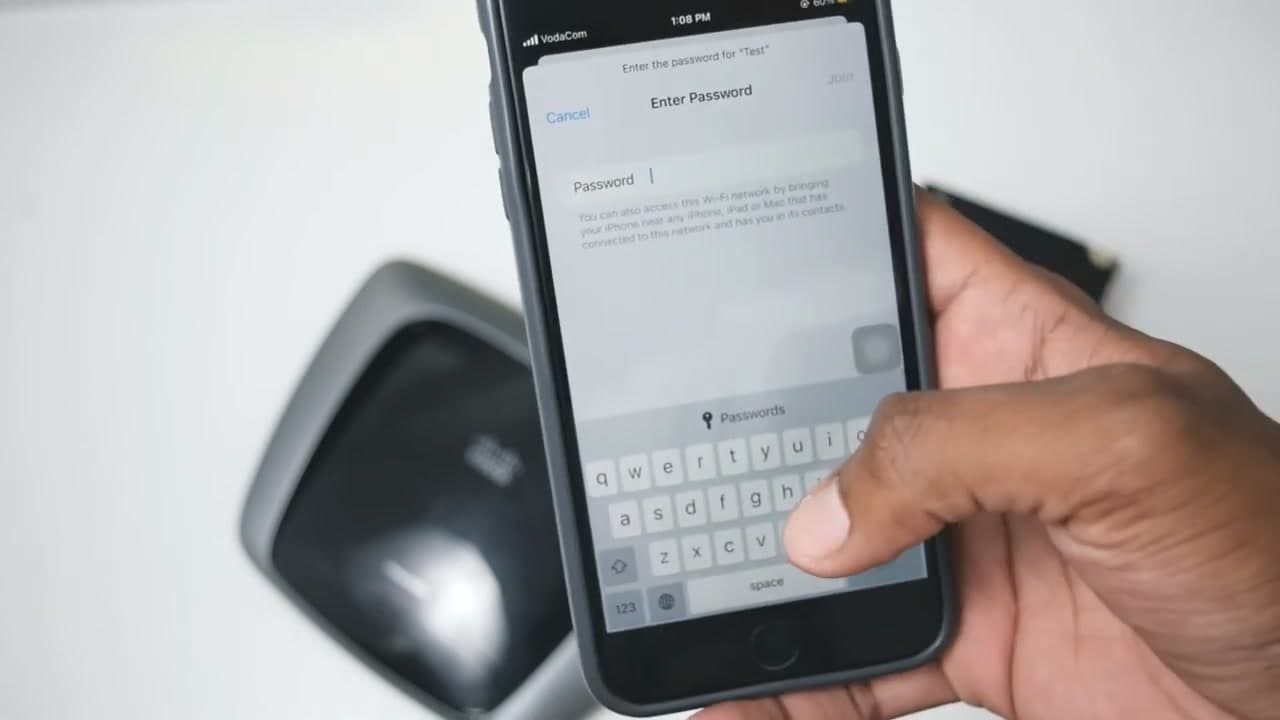
How to Change Your WiFi Password in 8 Steps

TechEasy12:058 stepsBrowse more →

By ShowMeStepByStepPublished Updated

Based on a video by Fixed by Chaq.

Changing your WiFi password is the single best thing you can do to lock down your home network. Old passwords get shared with house guests, plumbers, dog sitters, the kid down the street who came over for one birthday party four years ago. Every six months or so, swap it out. Takes five minutes if you know where to click.

This walkthrough is brand-agnostic. The buttons live in slightly different places on TP-Link, Spectrum, Xfinity, Verizon FiOS, AT&T, ASUS, and Netgear routers, but the eight steps below map cleanly to all of them. Once you have changed the password on the router, you'll need to update every device on your network - laptops, phones, smart TVs, doorbells, thermostats, smart plugs. Plan on about ten minutes of reconnecting after.

If you're new to managing your home tech, two related guides worth bookmarking: how to back up your iPhone before any major change, and how to set up an iPhone if you're handing one off to a family member.

Step-by-Step Guide

1

Step 1: Find Your Router's IP Address

3:35
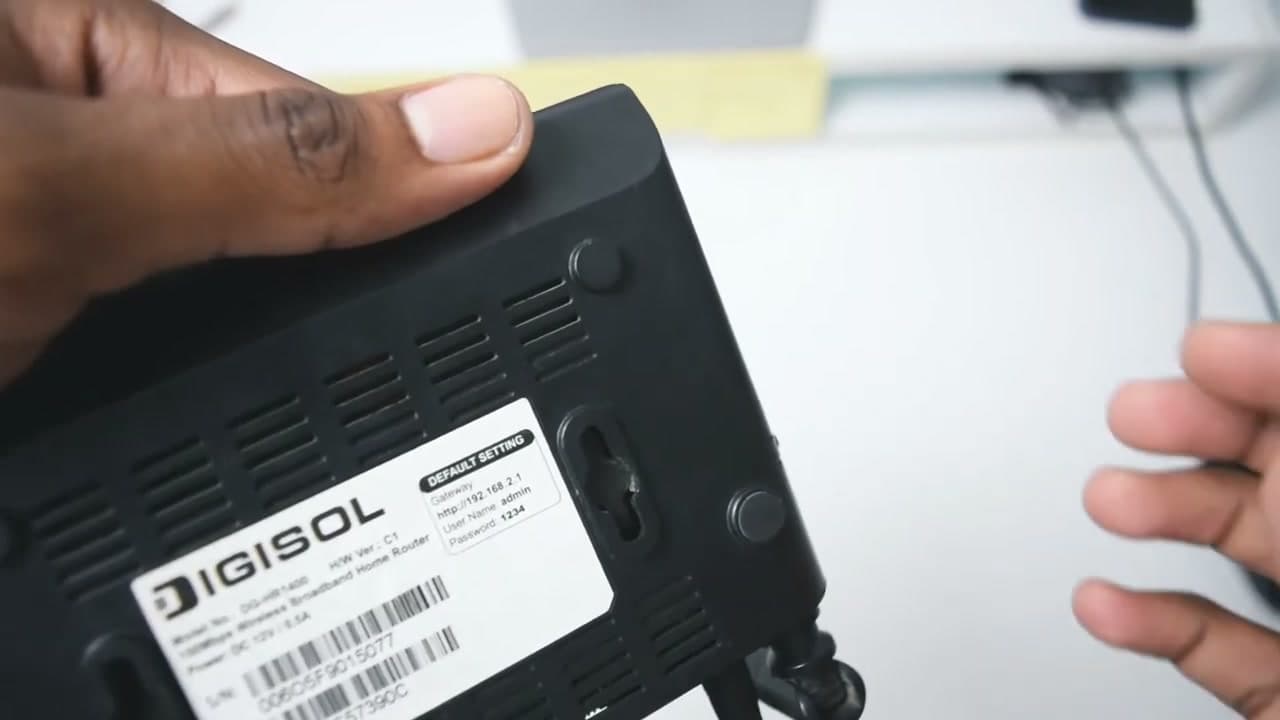
Step 1: Step 1: Find Your Router's IP Address

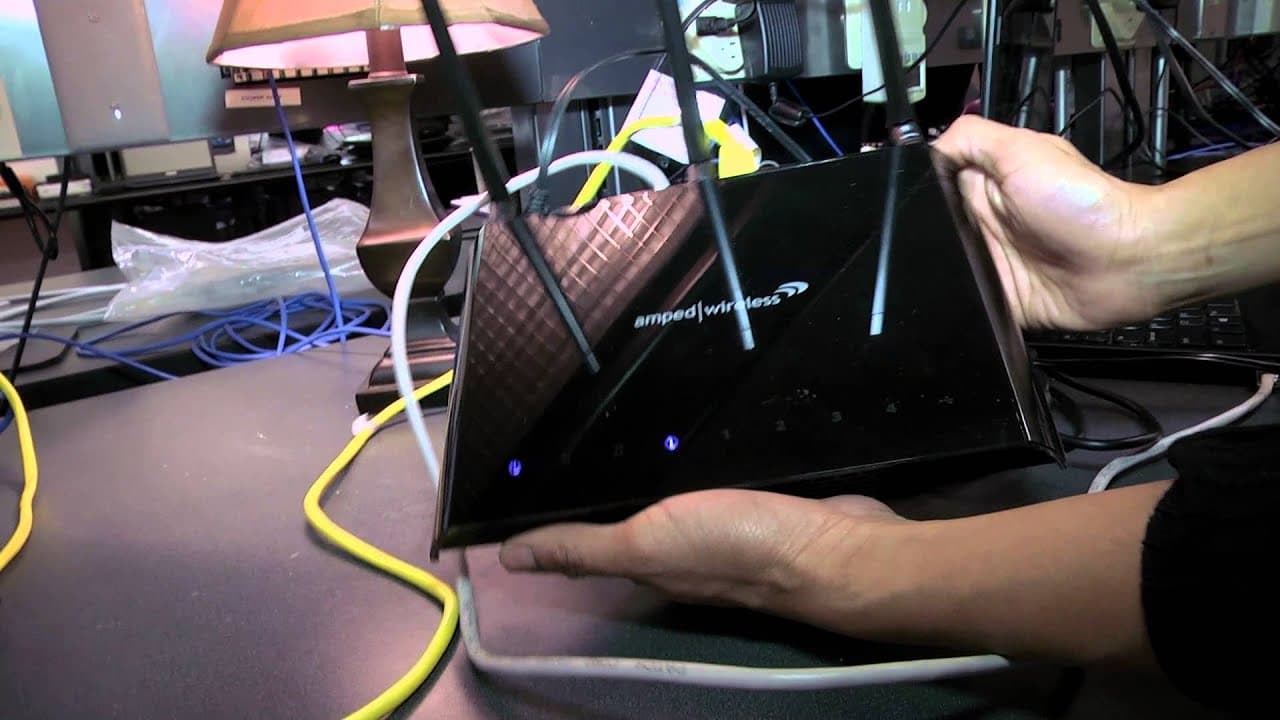
Flip your router over and look at the sticker on the back or bottom. You're looking for a number that looks like 192.168.1.1, 192.168.0.1, or 192.168.2.1. It's usually labeled Gateway, Default IP, or Router IP. While you're there, jot down the default username and password too - you'll need them in step 3.

If the sticker is faded or missing, the gateway IP also shows up in your computer's network settings. On Windows, open Command Prompt and type ipconfig. On Mac, hold Option and click the WiFi icon in the menu bar - the router IP appears under your network details.

Tip

Common defaults by brand: TP-Link uses 192.168.0.1, Linksys and ASUS use 192.168.1.1, Xfinity and Spectrum gateway boxes often use 10.0.0.1. If one doesn't load in your browser, try the next one.
2

Step 2: Open Your Browser and Enter the IP

3:50
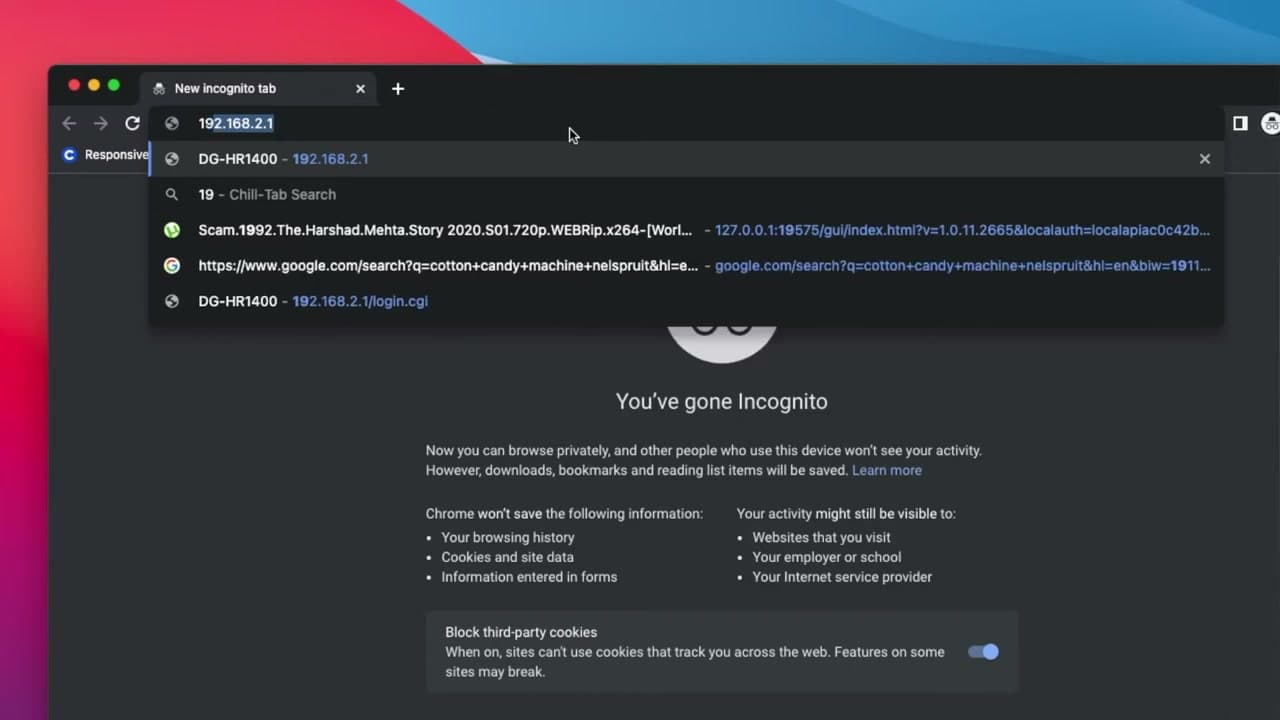
Step 2: Step 2: Open Your Browser and Enter the IP

Make sure you're on a device that's already connected to your WiFi - your laptop, phone, or tablet. Open any browser (Chrome, Safari, Edge, Firefox - they all work) and type the IP address into the URL bar at the top, not the Google search box. Press Enter.

The router's login page should load within a second or two. If you get a security warning about "not secure" or "connection not private," that's normal for router admin pages because they don't use HTTPS internally. Click Advanced then Proceed to continue.

Tip

If the page won't load at all, double-check you're connected to your own WiFi (not a neighbor's or a cellular hotspot). The router only answers to devices on its own network.

3

Step 3: Log In to the Admin Panel

4:20
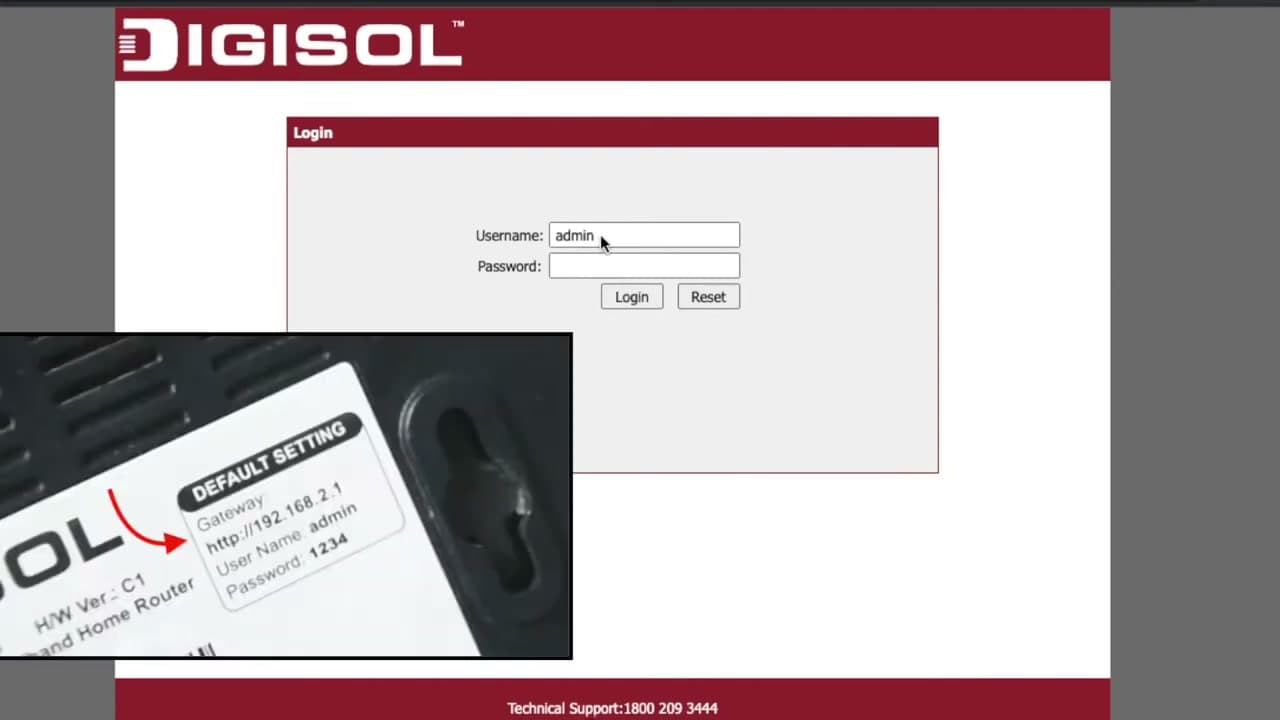
Step 3: Step 3: Log In to the Admin Panel

Type the default username and password from the router sticker. The most common combos are admin / admin, admin / password, and admin / 1234. Click Login.

If none of the defaults work, someone (you, your ISP, a previous tenant) already changed the admin password. Your only option is a factory reset: find the small recessed reset button on the back of the router, push it with a paperclip or toothpick for 10-15 seconds until the lights blink. The router will reboot with the factory defaults restored, including the original admin password from the sticker.

Tip

A factory reset also wipes your WiFi name and password back to the sticker defaults. Anything else you've customized (port forwarding, parental controls, guest networks) is also gone, so only reset if you really can't remember the admin login.

4

Step 4: Open the Wireless or WiFi Tab

5:15
Step 4: Step 4: Open the Wireless or WiFi Tab

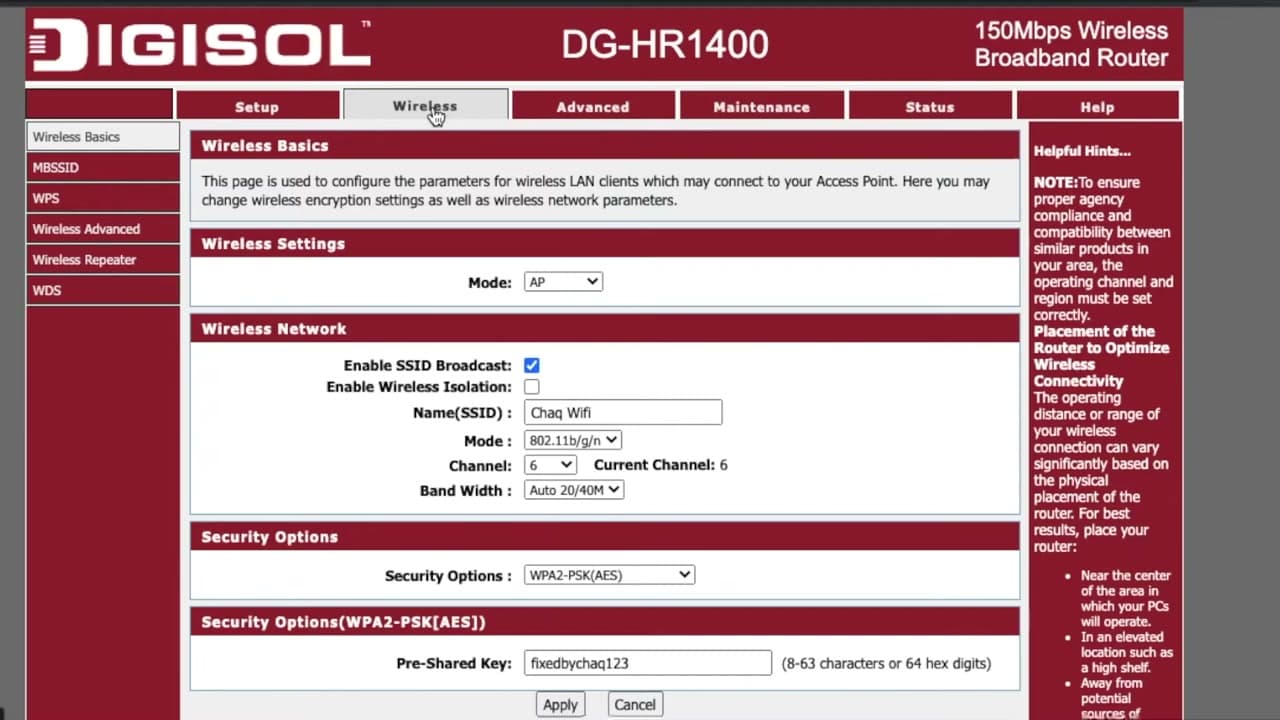
Once you're inside the admin panel, look for a tab or menu item labeled Wireless, WiFi, Wireless Settings, or Basic. Click it. This is the page that holds your network name (SSID) and the password field.

Brand cheat sheet: TP-Link calls it Wireless under Basic. Spectrum and Xfinity gateway routers label it WiFi or Connect. ASUS shows Wireless General. Netgear puts it under Wireless. Verizon FiOS uses My Network > Network Connections. The labels differ but the controls underneath are nearly identical.

Tip

If your router runs separate 2.4 GHz and 5 GHz networks, you'll see two sets of password fields. Change both, ideally to the same password so your devices roam between bands without re-entering credentials.

5

Step 5: Confirm Security Mode Is WPA2 or WPA3

5:40
Step 5: Step 5: Confirm Security Mode Is WPA2 or WPA3

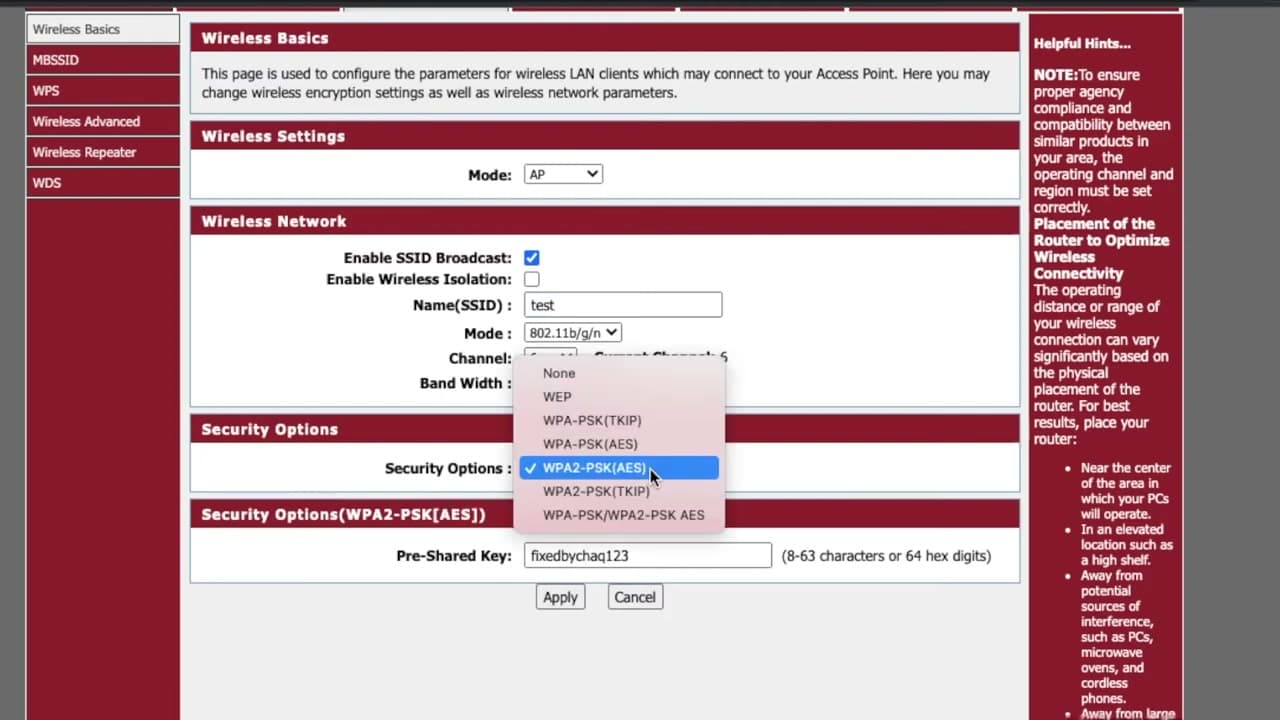
Look for a dropdown labeled Security, Encryption, or Authentication. The safest options are WPA3-Personal (newer routers) and WPA2-PSK (AES). Pick one of those.

If your only options are WEP or WPA, the router is old enough that the encryption can be cracked in minutes by anyone with a YouTube tutorial and free software. That's a security risk worth fixing - a current-generation WiFi 6 router runs under $80 and patches the problem permanently. WPA2-PSK is the floor for any 2026 home network.

Tip

Skip the "WPA/WPA2 Mixed" mode if you can. Pure WPA2-PSK (AES) is faster and more secure. Mixed mode exists to support 15-year-old laptops you almost certainly don't own anymore.

6

Step 6: Type a Strong New Password

6:05
Step 6: Step 6: Type a Strong New Password

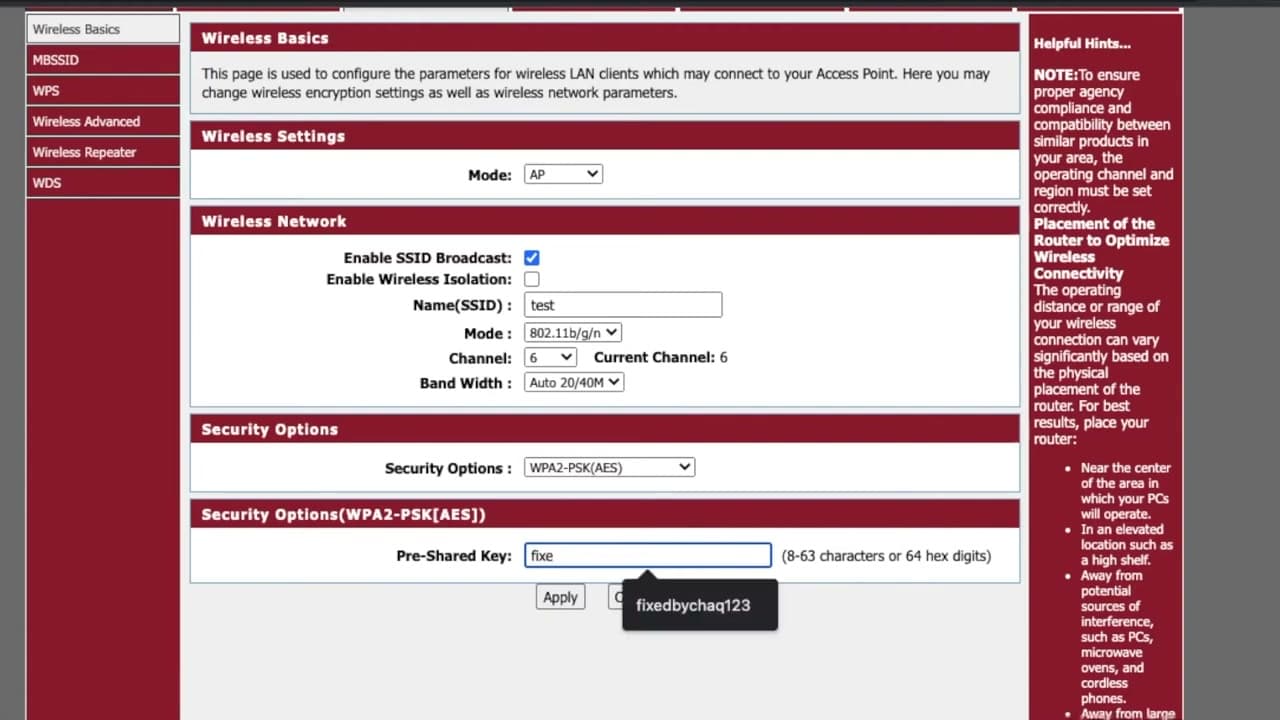
Find the password field. Depending on your router it's labeled Pre-Shared Key, WPA Key, Network Key, Password, or Passphrase. Clear the old value and type the new one.

Aim for 12 characters minimum, ideally 16-20. Mix uppercase, lowercase, numbers, and at least one symbol. Avoid pet names, your street address, your kids' birth years, or anything else written on a sticky note within ten feet of the router. A phrase like Pancakes!Sunday22 is far stronger than P@ssw0rd and much easier to remember.

Tip

Write the new password on the inside of a cabinet or drawer near the router - somewhere a casual visitor won't see it but you can find it when a new guest needs it.

7

Step 7: Click Apply or Save

6:25
Step 7: Step 7: Click Apply or Save

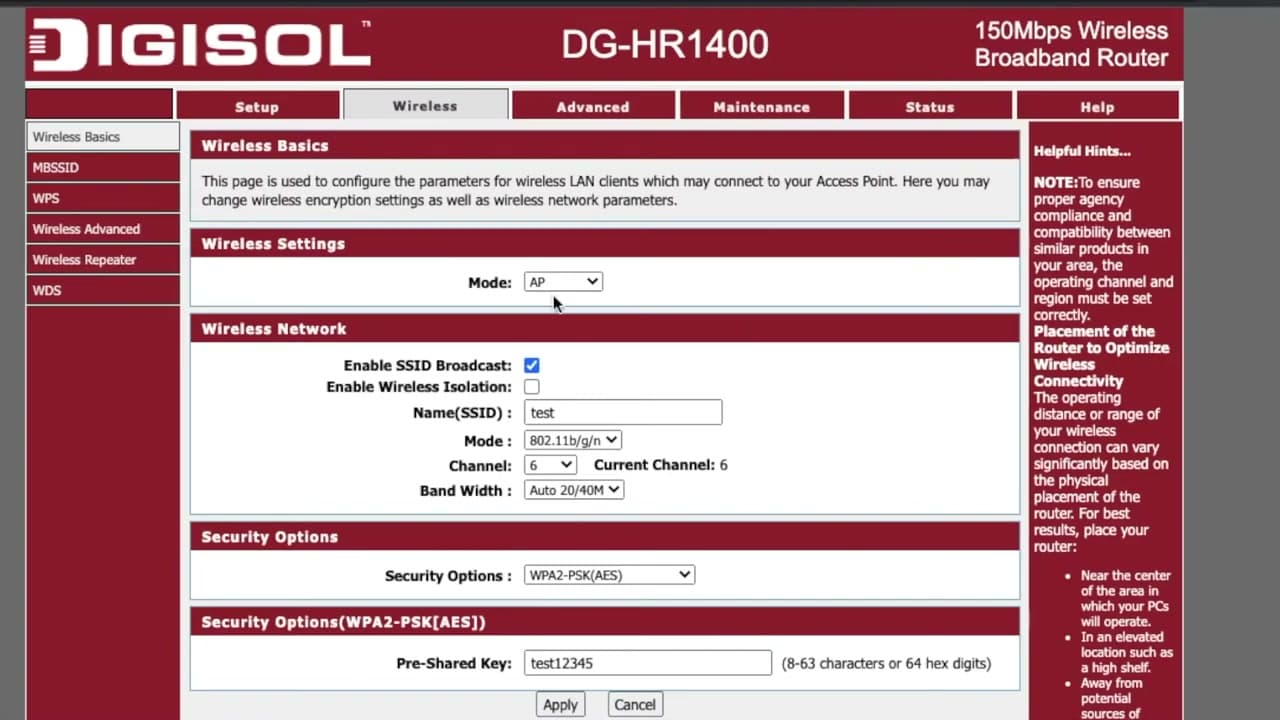
Scroll down and click Apply, Save, or Save Changes. Some routers show a confirmation popup - click OK. The router commits the new settings and restarts the wireless radio, which kicks every device off the network for 5-30 seconds. The admin page may go blank or show a loading spinner during the reboot.

That's normal. Don't unplug the router or refresh the page repeatedly. Wait for the WiFi LED on the front of the router to go back to its steady green or blue state.

Tip

If the page never finishes loading after the reboot, close the browser tab and re-open the IP address. Log back in with the same admin credentials and confirm the new password sticks.

8

Step 8: Reconnect Every Device

10:05
Step 8: Step 8: Reconnect Every Device

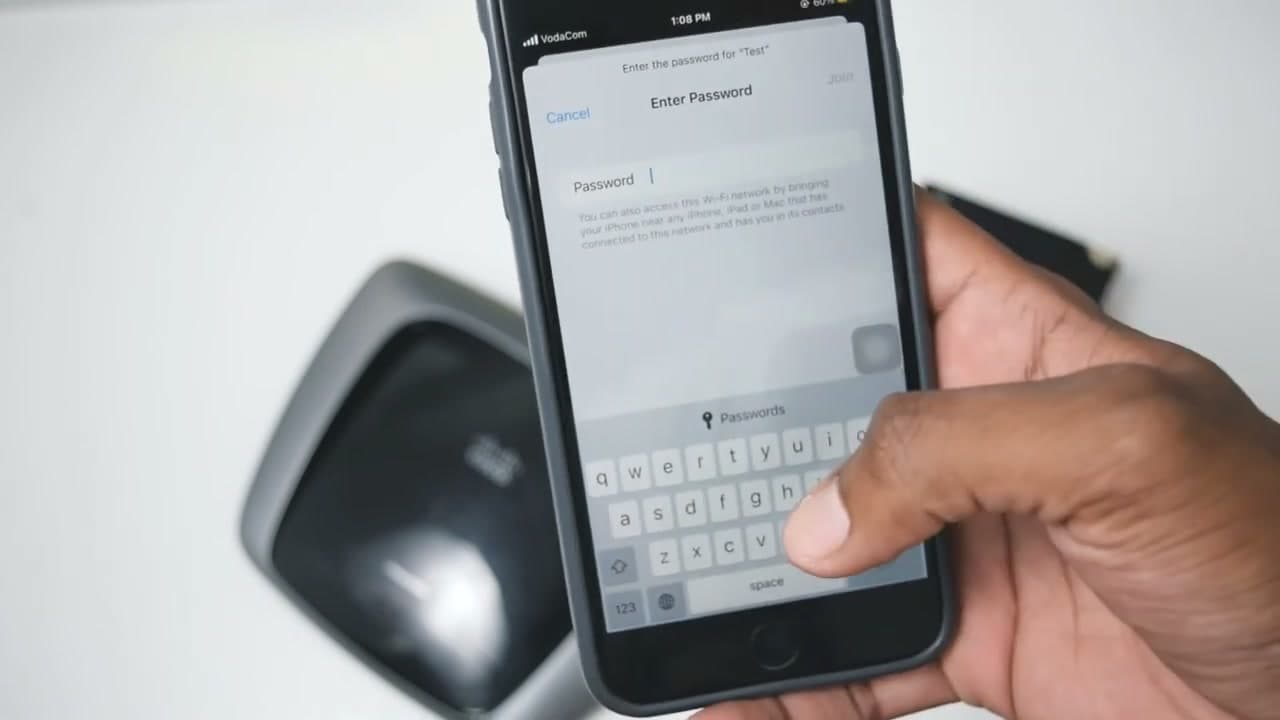
On each device, tap the network name in WiFi settings, choose Forget This Network, then reconnect with the new password. On iPhones and iPads: Settings > WiFi > tap the (i) next to the network > Forget. On Android: Settings > Network & Internet > WiFi > tap the network > Forget.

Walk through every device that talks to your WiFi: laptops, tablets, smart TVs, streaming sticks (Roku, Fire TV, Apple TV), gaming consoles, smart speakers, video doorbells, thermostats, smart plugs, robot vacuums, baby monitors, printers. Anything you forget will keep trying the old password and may show up as "offline" in its companion app. Tedious but worth it - this is the moment your network is actually secure.

Tip

Devices without a screen (smart plugs, some smart bulbs) usually need to be put back into pairing mode and re-added through their companion app. Keep the new password handy because each one will ask for it.

Products Used

Your Guide

Fixed by Chaq

As an Amazon Associate we earn from qualifying purchases. Links on this page may be affiliate links - clicking them and buying doesn't change your price, but helps support ShowMeStepByStep.

Tags

What's next

Related collections

Curated theme pages that include this tutorial.

Weekly Digest

Liked this tech tutorial?

Pick the categories you want to hear about. Weekly digest of new step-by-step tutorials. No spam, easy unsubscribe.

Send me tutorials about

We only email about new tutorials. Easy unsubscribe anytime.