How to Factory Reset a Mac in 7 Steps

TechEasy5:217 stepsBrowse more →
Also in:Adulting

By ShowMeStepByStepPublished Updated

Based on a video by Apple Support.

Selling a MacBook, handing one down to a kid, troubleshooting a glitch the App Store cannot fix - all roads end at the same place. You wipe the machine back to the day it came out of the box. Apple built a dedicated tool for this called Erase Assistant, and on any Mac with Apple Silicon or a T2 chip it does the whole job in under fifteen minutes.

Read this before you click anything. A factory reset is irreversible. Whatever is on the drive is gone - photos, downloads, browser passwords, that Logic project you never finished. Back up to Time Machine on an external SSD or sync the must-keeps to iCloud first. And do not skip signing out of iCloud, iMessage, and Find My during the erase. If you forget, the Mac stays paired to your Apple ID forever and the next owner gets a paperweight they cannot activate.

This walkthrough follows the official Apple Support video step by step for Macs running macOS Ventura or later. If you are still on macOS Monterey, the path is almost identical but lives in System Preferences instead of System Settings - see the tips on step 2. If you have an older Intel Mac with no T2 chip, Erase Assistant is not available and you need to boot into Recovery mode instead - that method is in the tips on step 4.

Step-by-Step Guide

1

Step 1: Back Up Your Mac Before You Erase Anything

0:15
Step 1: Step 1: Back Up Your Mac Before You Erase Anything

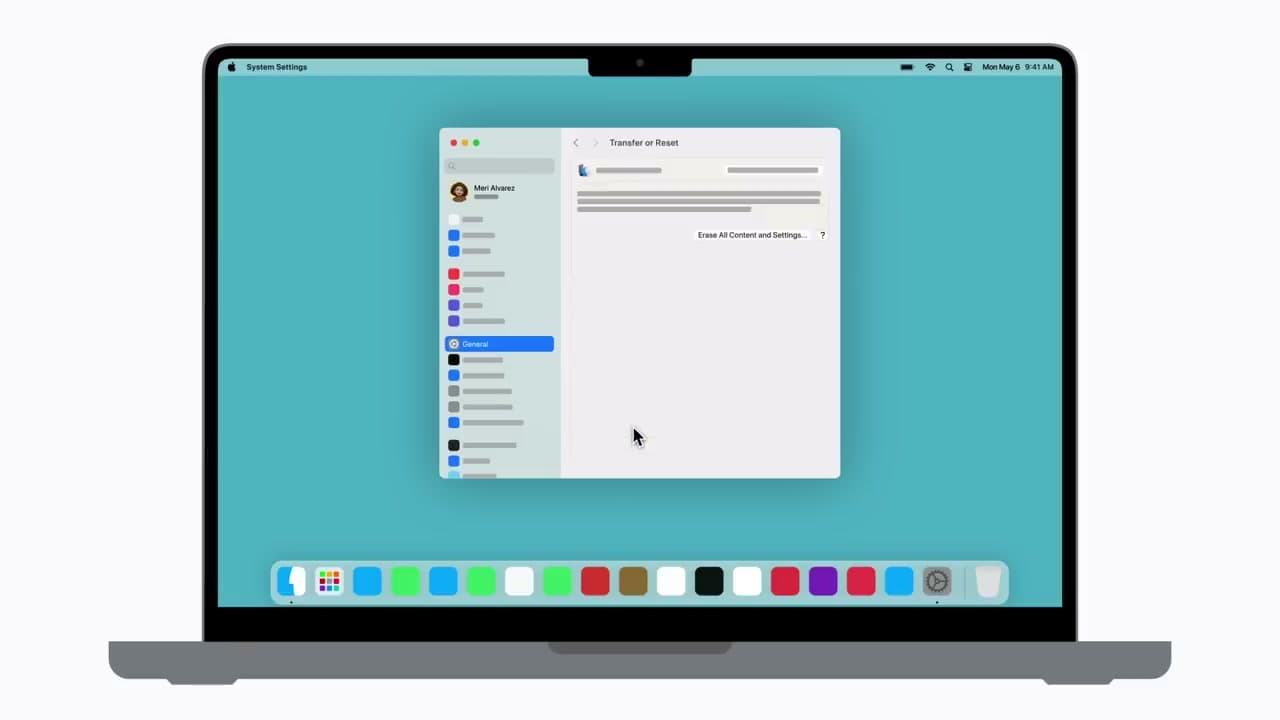
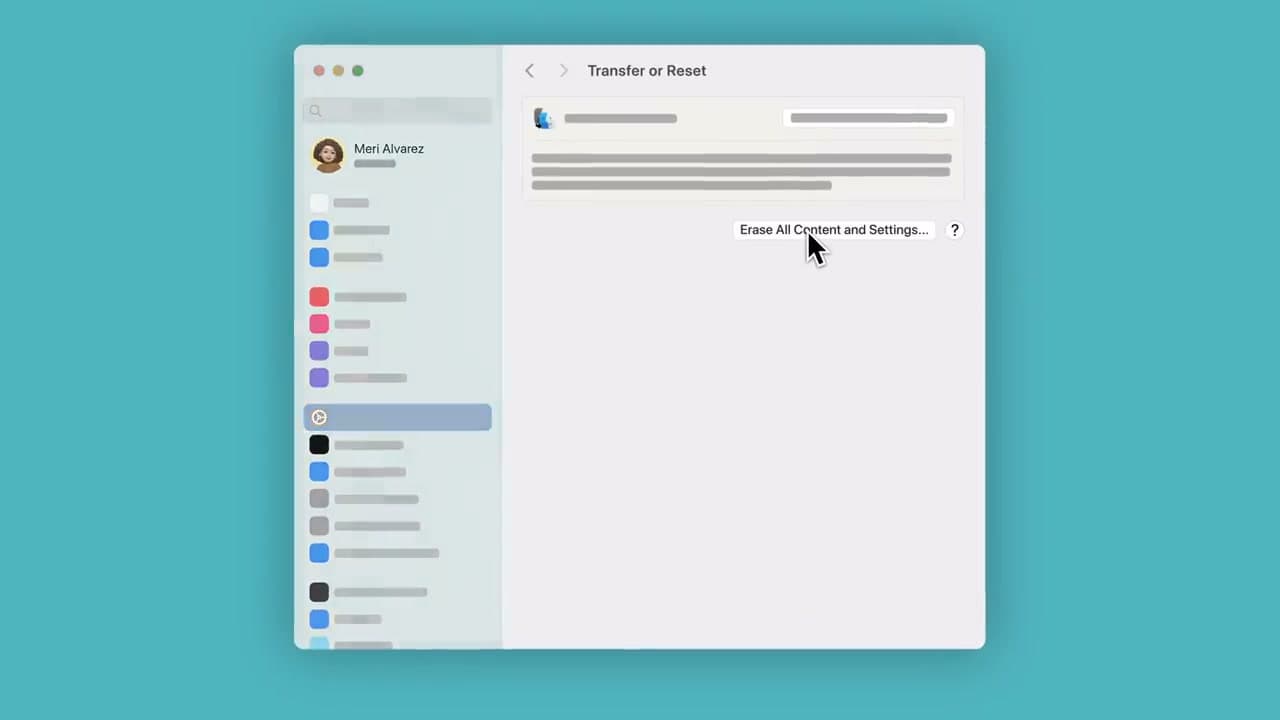
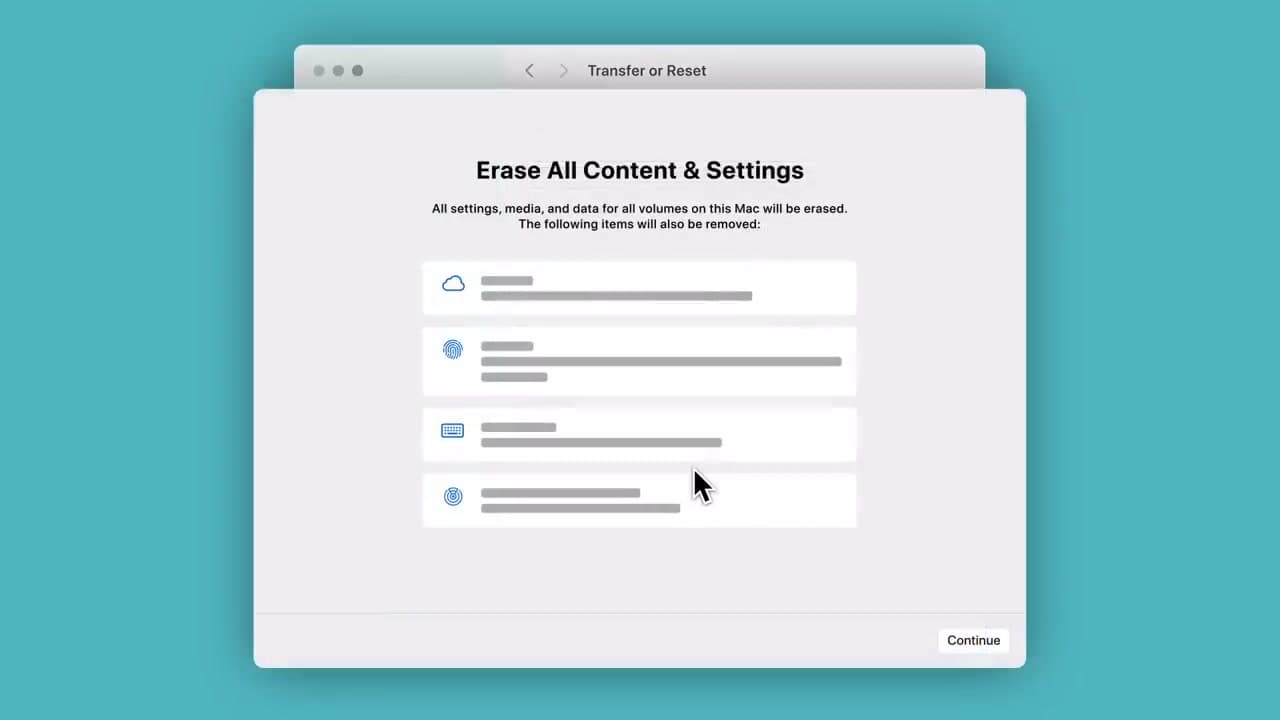
Plug an external SSD into your Mac and open Time Machine from System Settings. Pick the drive, let Time Machine run a full backup, and wait for it to finish. The erase is permanent. Anything that is not in a backup or in iCloud is gone the moment you confirm.

If you only want a few specific files, drag those folders to the external drive separately so you can grab them quickly on the new Mac or after setup. Watch at 0:13 for Apple's own warning on this.

Tip

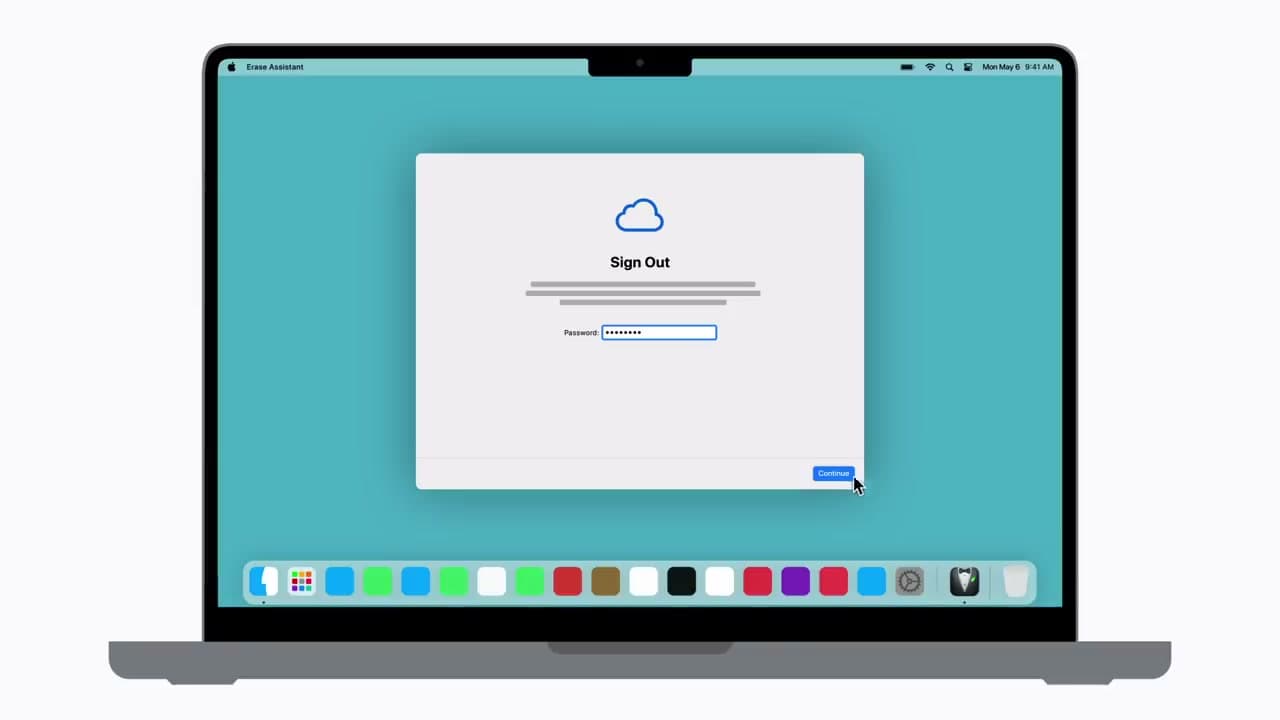
No external drive handy? Sign into iCloud Drive in System Settings and tick the boxes for Desktop, Documents, and Photos. Anything in those folders syncs to iCloud and will be waiting on the next Mac you sign into.

Products used in this step

external SSD for Mac backup
Time Machine USB-C cable
2

Step 2: Open System Settings From the Apple Menu

1:00
Step 2: Step 2: Open System Settings From the Apple Menu

Click the Apple logo in the top-left corner of the screen and choose System Settings. This is the modern name in macOS Ventura and later. On older macOS Monterey it is called System Preferences. Either way it is the first item in the Apple menu, so you cannot miss it.

Keep the window open in front of you for the next few steps.

Tip

On macOS Monterey, click System Preferences in the Apple menu, then click System Preferences again in the top menu bar, and pick Erase All Content and Settings directly. The middle steps look different but the outcome is the same.

3

Step 3: Go to General, Then Transfer or Reset

1:15
Step 3: Step 3: Go to General, Then Transfer or Reset

In the System Settings sidebar on the left, click General. A list of options appears on the right side of the window. Scroll down a little and click Transfer or Reset.

This panel is where Apple groups everything related to migrating to a new Mac, restoring from a backup, and wiping the machine. You only need the wipe option. Watch at 1:04 to see exactly where Transfer or Reset sits.

Products used in this step

USB-C hub for MacBook
4

Step 4: Click Erase All Content and Settings

1:20
Step 4: Step 4: Click Erase All Content and Settings

Click the blue Erase All Content and Settings button on the right side of the panel. A new window pops open and asks for your administrator password. Type the password you use to log into the Mac and click Unlock.

If the button is grayed out or missing entirely, your Mac is too old for Erase Assistant. See the tips below for the Recovery mode method that works on older Intel Macs.

Tip

No Erase Assistant on an Intel Mac without a T2 chip? Shut the Mac down, hold Command + R while powering it back on to boot into Recovery mode, sign in to your account, open Disk Utility, erase the Macintosh HD volume (APFS format), quit, then choose Reinstall macOS. It takes about an hour but does the same job.

Products used in this step

MacBook stand
5

Step 5: Review the Erase Assistant Summary

1:35
Step 5: Step 5: Review the Erase Assistant Summary

Erase Assistant shows a summary of what is about to be wiped: your Apple ID, all your apps, every file on the drive, Touch ID prints, accessories paired over Bluetooth, and Find My. Read the list before you continue.

If anything on it matters and is not backed up yet, cancel out and back up first. When you are sure, click Continue at the bottom of the window.

6

Step 6: Sign Out of Apple Services and Find My

1:50
Step 6: Step 6: Sign Out of Apple Services and Find My

Enter your Apple ID password when Erase Assistant prompts you. This signs the Mac out of iCloud, Find My, iMessage, and Activation Lock so the next person can pair the machine to their own account.

Skip this step and the Mac stays locked to you forever - the next owner cannot get past the setup screen. If you forgot the Apple ID password, stop and reset it at appleid.apple.com before going any further.

Tip

If you use two-factor authentication on your Apple ID, keep your iPhone or another trusted device nearby. Erase Assistant will ask for the six-digit code that pops up on one of them.

7

Step 7: Let the Mac Restart and Reset to Factory Settings

2:50
Step 7: Step 7: Let the Mac Restart and Reset to Factory Settings

The Mac restarts on its own and a progress bar appears on a black screen with the Apple logo. The wipe takes anywhere from one to fifteen minutes depending on the drive size and chip. Do not unplug or close the lid while it runs.

When it finishes you get the Hello setup screen. If you are selling or trading the Mac, hold the power button to shut it down here and box it up. If you are keeping it, follow the on-screen prompts to connect Wi-Fi and set it up fresh. Watch from 2:50 to see the restart and setup walkthrough.

Tip

If the Mac asks you to reconnect Bluetooth accessories at the setup screen, that is normal - the erase unpaired them. Your keyboard and mouse will need pairing again before you can finish setup.

Products used in this step

MacBook lap desk

Products Used

external SSD for Mac backupTime Machine USB-C cableUSB-C hub for MacBookMacBook standMacBook lap desk

Your Guide

Apple Support

As an Amazon Associate we earn from qualifying purchases. Links on this page may be affiliate links - clicking them and buying doesn't change your price, but helps support ShowMeStepByStep.

Tags

What's next

Weekly Digest

Liked this tech tutorial?

Pick the categories you want to hear about. Weekly digest of new step-by-step tutorials. No spam, easy unsubscribe.

Send me tutorials about

We only email about new tutorials. Easy unsubscribe anytime.