How to Do Calligraphy and Hand Lettering for Beginners

CalligraphyEasy9:207 steps
Also in:Crafts

By ShowMeStepByStepPublished Updated

Based on a video by AmandaRachLee.

Modern calligraphy isn't traditional pointed-pen calligraphy. It's brush lettering - softer, more forgiving, and the look most people have in mind when they search for calligraphy these days. Brush pens like Tombow Dual Brush Pens replaced the dip pen and ink pot, which means the only thing standing between you and a clean script is practice.

The core technique is one rule: light pressure on every upstroke (thin line), heavy pressure on every downstroke (thick line). The thin/thick contrast is what makes the writing read as calligraphy instead of regular cursive. Everything else - typography rules, baseline variation, faux calligraphy with a fine liner - is a way of dressing up that one core principle.

Credit to AmandaRachLee for the source video.

Step-by-Step Guide

1

Step 1: Gather Your Supplies

2:10
Step 1: Step 1: Gather Your Supplies

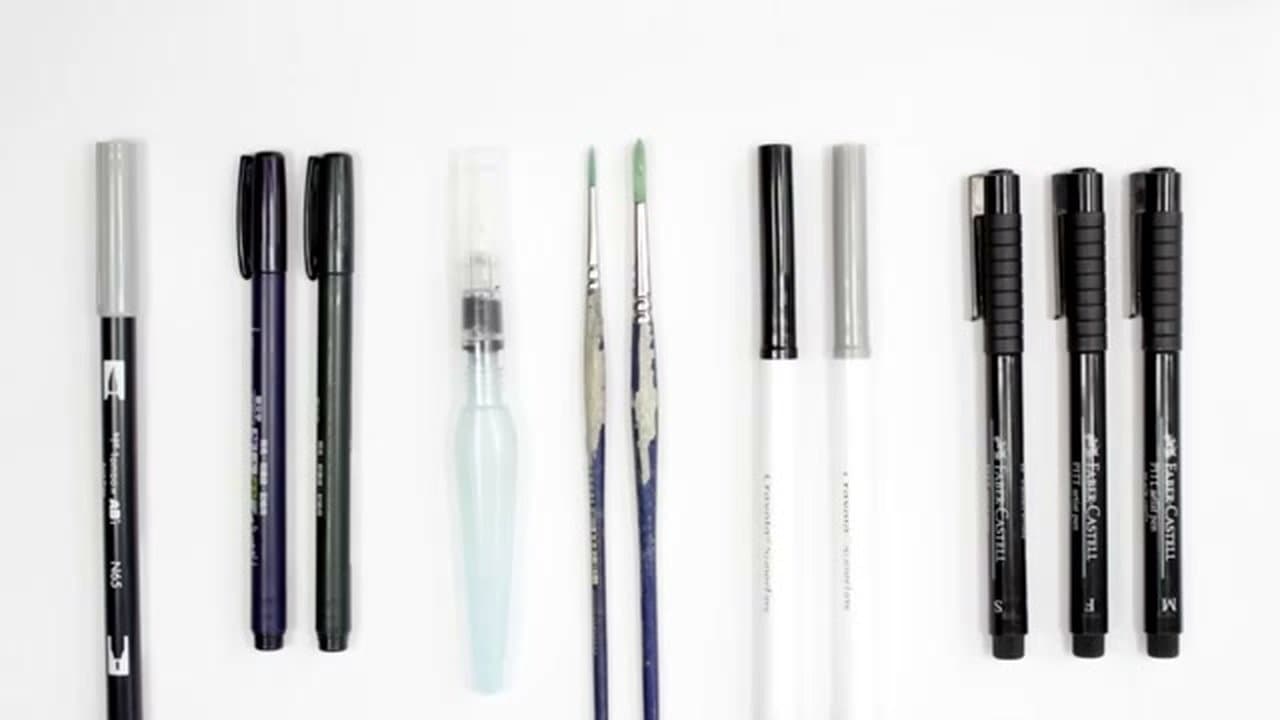
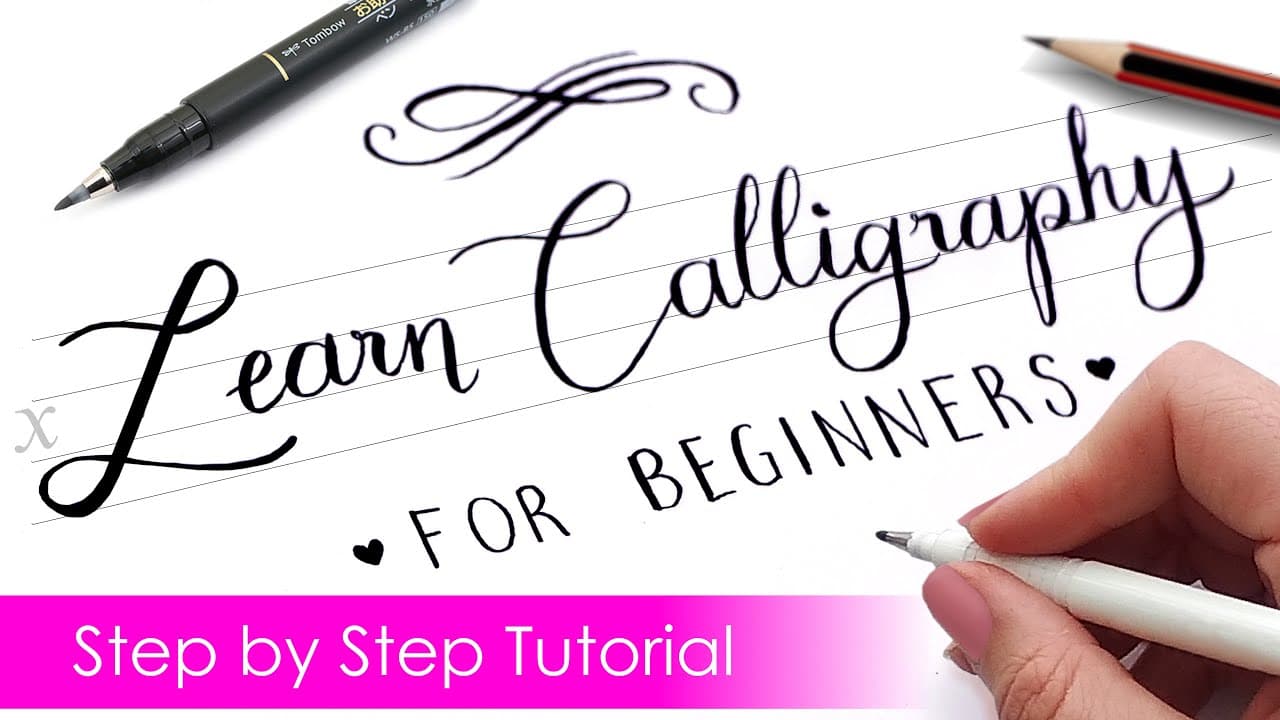
The most popular starter tool is Tombow Dual Brush Pens - one tip works as a brush pen, the other as a fine line marker. Tombow Fudenosuke pens are smaller and more precise, good for tighter writing. Crayola Super Tips markers are a cheap alternative that work surprisingly well. Watercolor brushes and Pentel water brushes work too if you already have them.

Whatever pen you pick, the paper has to be smooth. Any texture frays the marker tip after a few strokes and breaks up the line. Standard printer paper works for practice; smooth marker paper is the upgrade once you're ready to make finished pieces.

2

Step 2: Practice Upstrokes and Downstrokes

2:25
Step 2: Step 2: Practice Upstrokes and Downstrokes

Before any letters, practice the pressure mechanic on its own. Draw a wavy line that looks like a series of side-by-side U shapes. On every upstroke (the part going up), press lightly so the line is thin. On every downstroke (the part going down), press hard so the line gets thick.

Hold the pen at a diagonal, not perpendicular to the paper. The diagonal grip gives you control over the pressure transition - if you hold the pen straight up, you can't ease into a heavier stroke. Do this exercise across a full page before you ever try a letter.

Tip

The wavy line exercise is also where you find the right grip. If your wrist gets tired or your strokes are inconsistent, you're gripping too hard. Loosen up.

Products used in this step

3

Step 3: Learn the Typography Guidelines

2:55
Step 3: Step 3: Learn the Typography Guidelines

Draw four parallel horizontal lines like the ruled paper from kindergarten. From top to bottom: ascender line, top guide, baseline, descender line. The middle space (between top guide and baseline) is the x-height - that's where lowercase letters like a, n, o, x sit.

Letters with ascenders (h, t, l, b, k) climb up to the top line. Letters with descenders (p, j, q, g, y) drop down past the baseline to the descender line. Knowing where each letter belongs keeps your writing consistent across a whole word or page.

4

Step 4: Practice the Full Alphabet

3:50
Step 4: Step 4: Practice the Full Alphabet

Work through every lowercase letter with thin upstrokes and thick downstrokes. There's no single correct way to draw any letter in modern calligraphy - try several variations of S, R, F, K and pick what you like.

Repeat the alphabet many times. This is the bulk of the actual practice. By round three or four you'll start to feel which letter shapes feel natural to your hand and which need more work.

5

Step 5: Connect Letters Into Words

4:30
Step 5: Step 5: Connect Letters Into Words

Move at a steady pace through a whole word. Too fast and the strokes go sloppy; too slow and the line gets shaky. The thin upstroke at the end of one letter naturally feeds into the thick downstroke of the next, so the connections feel automatic once the alphabet practice is solid.

If you want consistent x-height across a word, pencil in the typography guidelines first and erase them after the ink dries. Practice short words first (cat, hello, calligraphy) before tackling phrases.

6

Step 6: Add Personality with Baseline and Spacing

5:05
Step 6: Step 6: Add Personality with Baseline and Spacing

Once a word is comfortable, start playing with the rules. Vary the baseline so each letter sits at a slightly different height - one letter dips low, another rises high. The result feels whimsical and hand-drawn rather than mechanical.

Or change the spacing. Squish the letters together for a tall, narrow look, or open them up for an italicized airy feel. There's no formula. Pick what fits the message and the mood.

7

Step 7: Fake Calligraphy with a Fine Liner

7:40
Step 7: Step 7: Fake Calligraphy with a Fine Liner

If you don't want to buy a brush pen, you can fake the look with any fine-tipped pen. Write a word in regular cursive at normal size. Then go back over each downstroke with a parallel line right next to it - hold the pen on the same side of the letter throughout so the thickening is consistent.

Fill in the gap between the two lines with the same pen and the letter looks just like brush calligraphy. Slower than a real brush pen but works with any pen you have, and it's a great gateway technique before committing to brush pen supplies.

Tip

Faux calligraphy is also useful when the pen you want isn't available - chalk markers, paint pens, gel pens. Anything that won't bleed when you double up the line works.

Products Used

☐ The Checklist

How to Do Calligraphy and Hand Lettering for Beginners

Tools
5
Materials
3
Steps
7
Video
9 min

Your Guide

AmandaRachLee

As an Amazon Associate we earn from qualifying purchases. Links on this page may be affiliate links - clicking them and buying doesn't change your price, but helps support ShowMeStepByStep.

Tags

Related Tutorials