How to Embroider Letters (Backstitch Script)

EmbroideryEasy9:007 steps
Also in:Crafts

By ShowMeStepByStepPublished Updated

Based on a video by Cutesy Crafts.

Script fonts with thick and thin strokes are everywhere on Pinterest right now - and they're easier to embroider than they look. The trick is one stitch (the backstitch) used three different ways: a single line for thin parts, two parallel lines that outline the thick parts, and a third row down the middle to fill them in.

Jessica from Cutesy Crafts demonstrates on a Choose Happy hoop with greenery already finished around the letters. She uses three strands of dark embroidery floss on natural linen, but the technique works with any color combination on any fabric weight you can hoop.

The lettering takes longer than the rest of the design - budget about an hour for a short word like Happy and double that for a longer phrase. Trace the letters lightly in pencil or use heat-erase pen so the marks disappear when you're done.

Step-by-Step Guide

1

Trace Your Letters and Hoop the Fabric

0:08
Step 1: Trace Your Letters and Hoop the Fabric

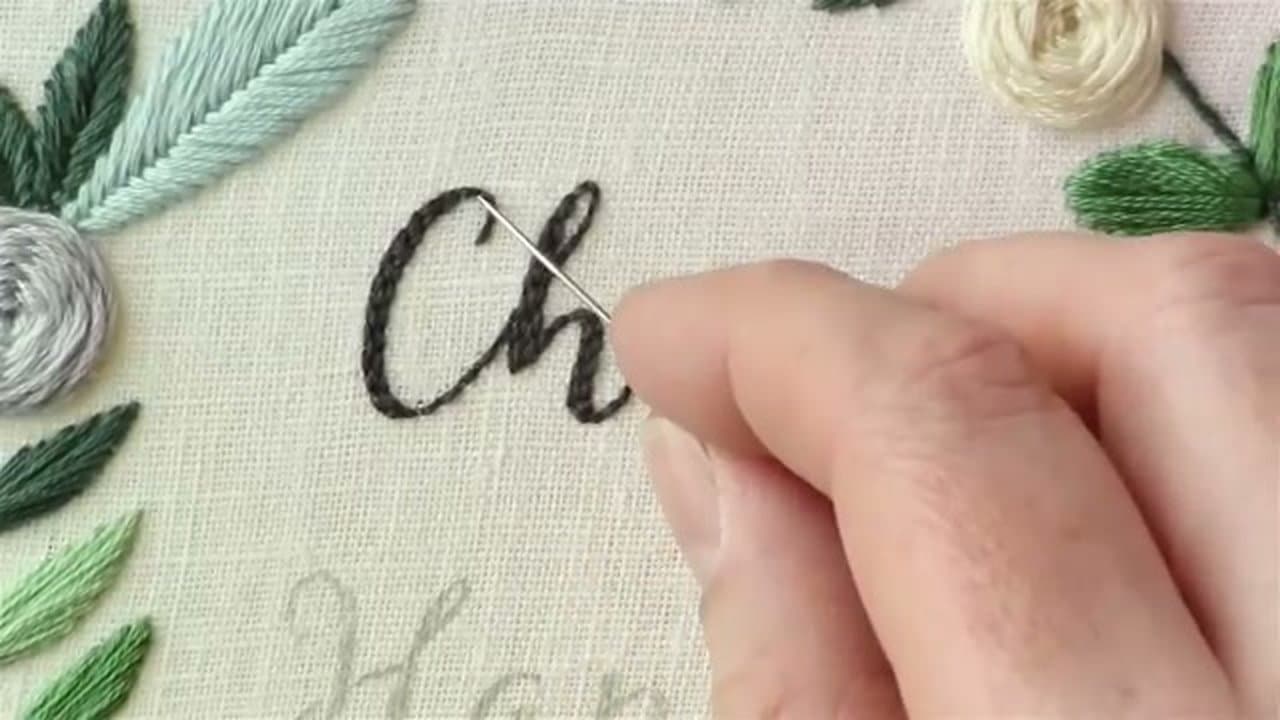
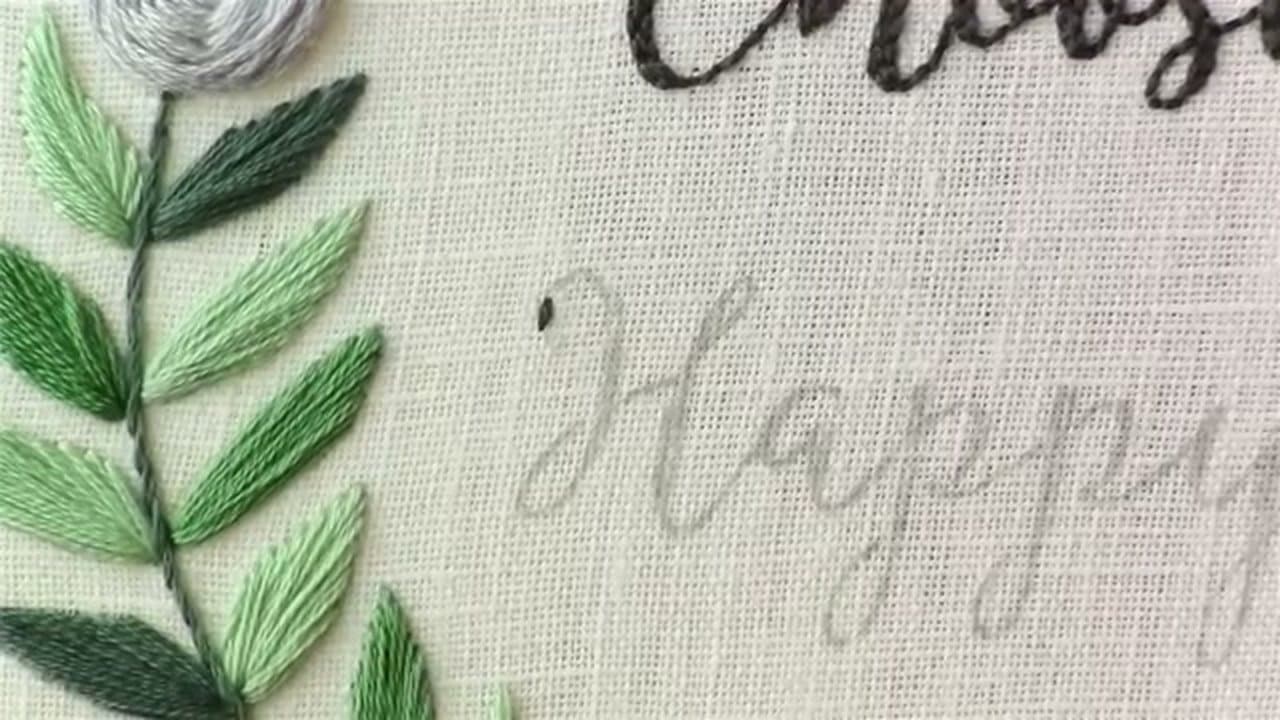
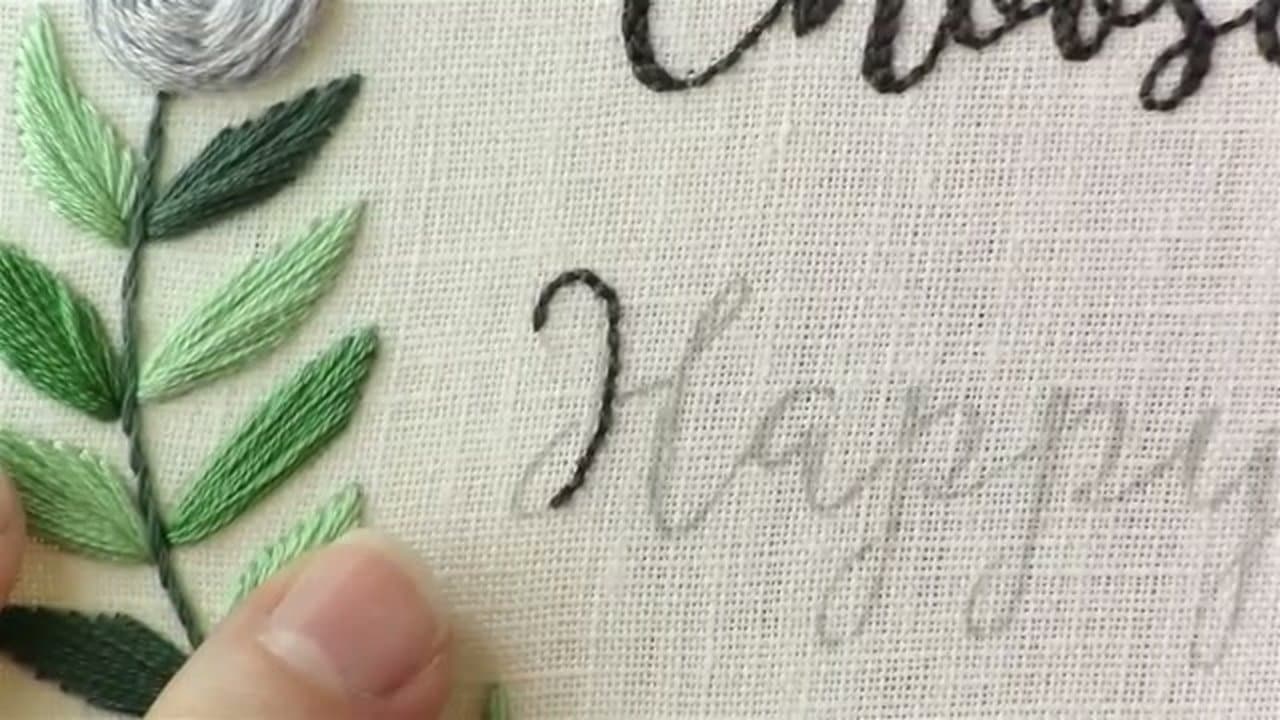
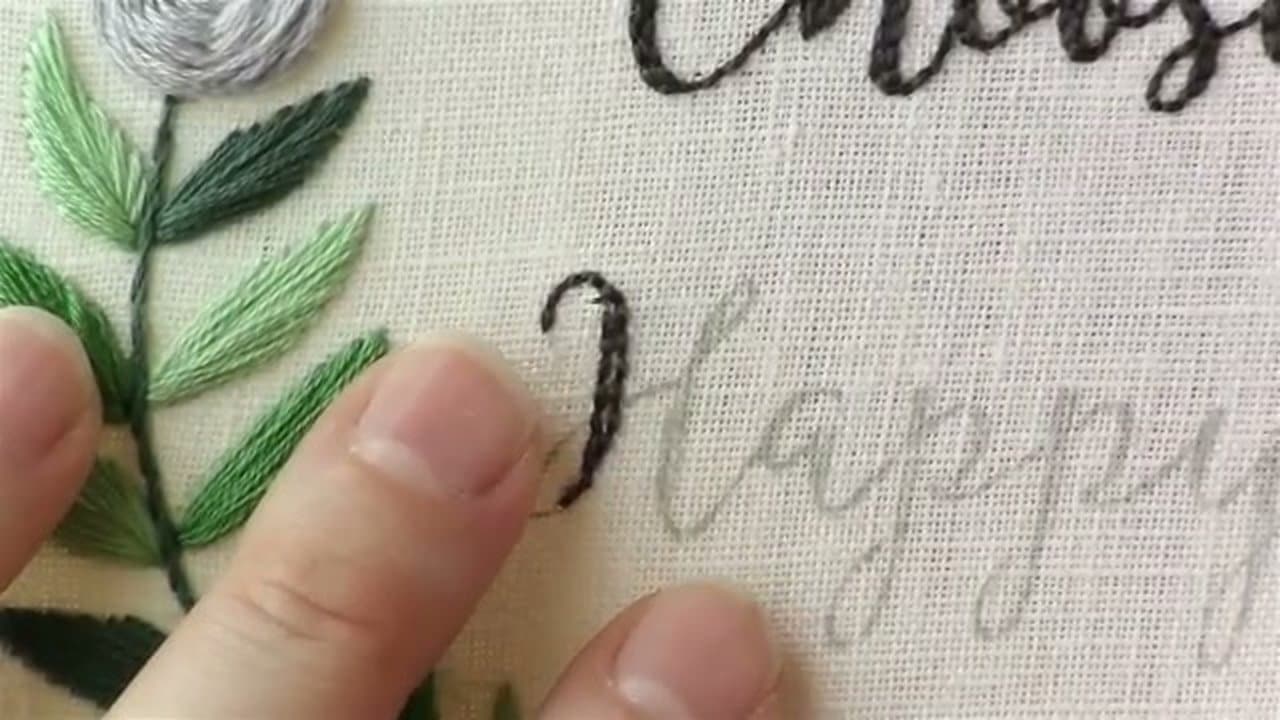
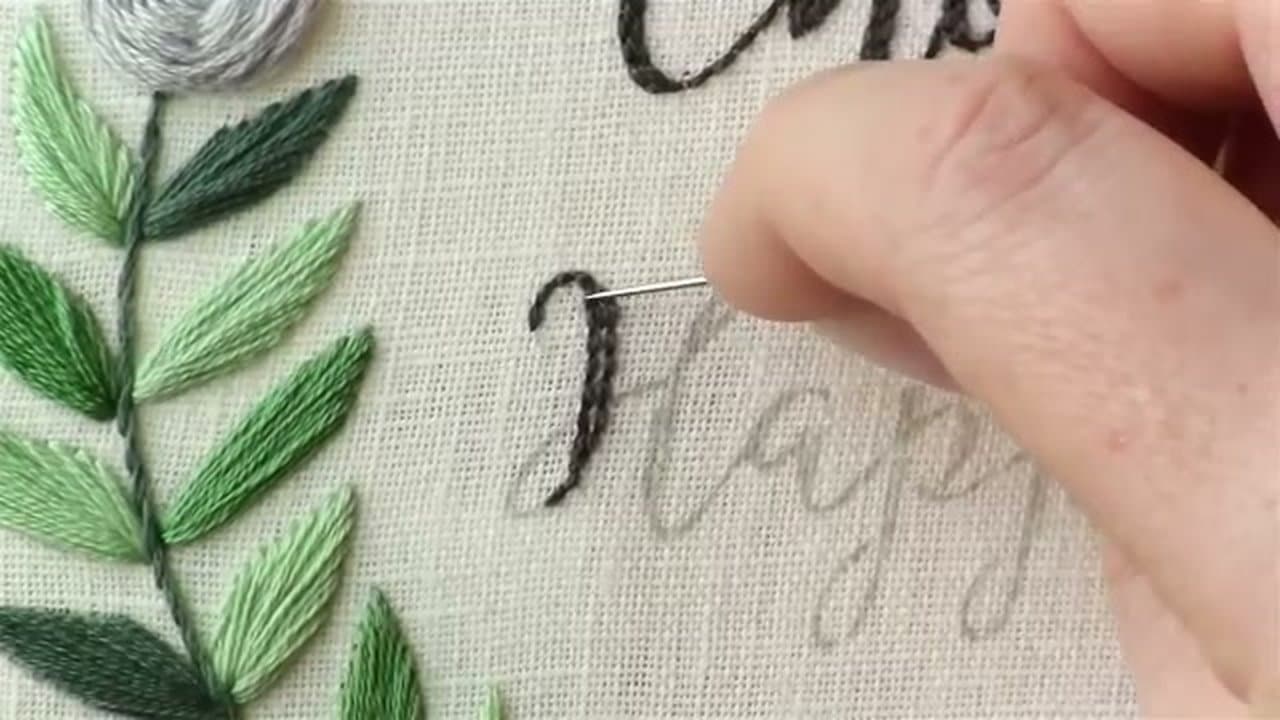
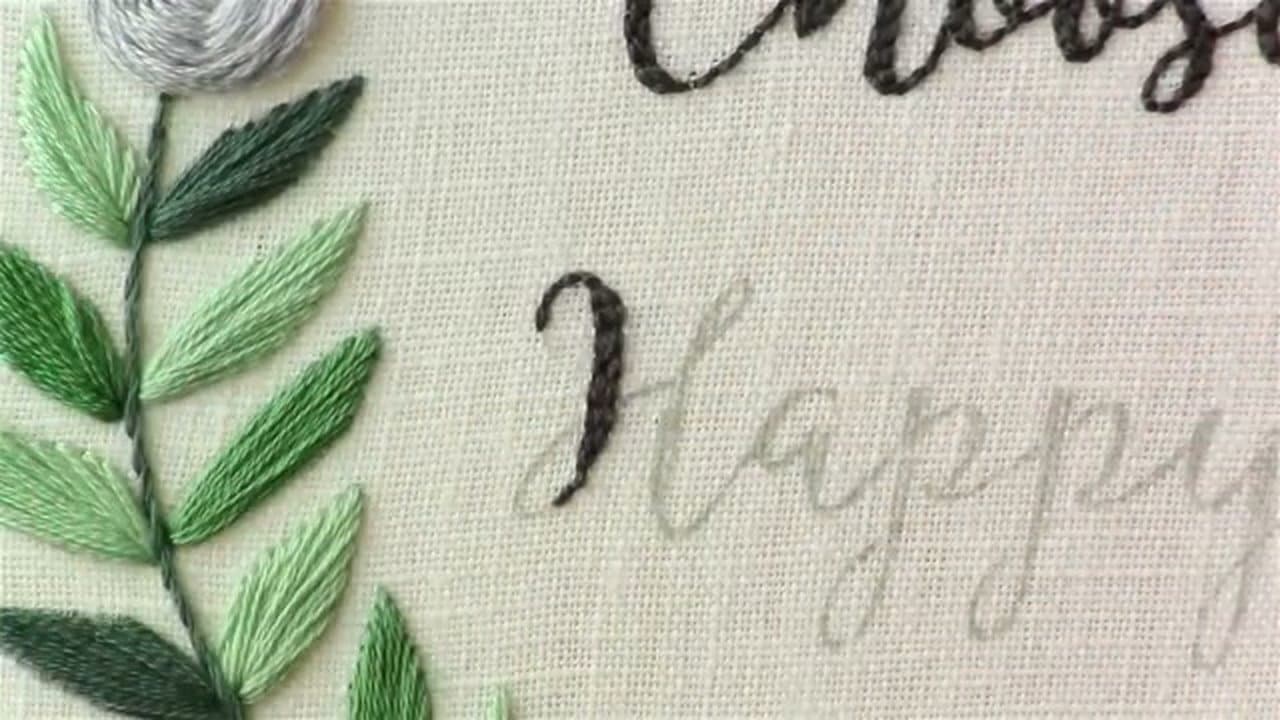
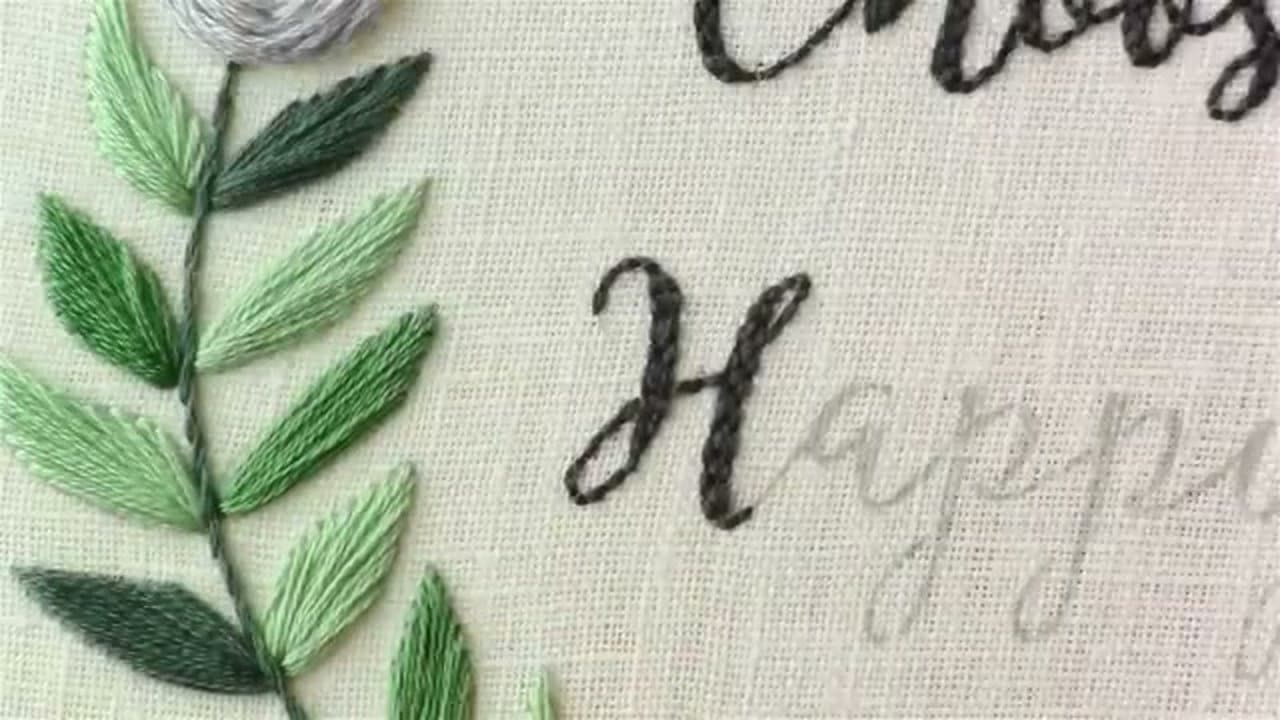
Pick a script font where the thick and thin parts are obvious - that's where this technique shines. Trace the letters lightly onto your fabric in pencil or heat-erase pen. Hoop the fabric tight so it's drum-tight against the rim.

Cut about 18 inches of embroidery floss and separate it down to three strands. Three strands gives you a clean line that fills cleanly - six strands looks chunky, one strand barely shows.

Tip

Heat-erase pens disappear with a hairdryer or iron when you're done. Pencil sometimes shows through light fabric, so test on a scrap first.

2

Backstitch the Thin Curved Parts

0:50
Step 2: Backstitch the Thin Curved Parts

Start anywhere a thin line is. Bring the needle up from the back of the fabric, take a small forward stitch, then come up further along the line and stitch back to meet the previous one. That's a backstitch - each new stitch ends where the previous one began.

On tight curves, shorten the stitches. Long stitches on a curve look angular and choppy. Short stitches keep the line smooth as it bends.

Tip

Stitch length on curves should be about half what you'd use on a straight line. The tighter the curve, the smaller the stitch.

3

Switch to Outlining at the Thick Parts

1:50
Step 3: Switch to Outlining at the Thick Parts

When the letter widens into a thick stroke, don't keep stitching down the middle. Instead, run a single backstitch line down ONE side of the thick area. Stop at the top of the thick part and continue.

This outline is just the first of three rows that'll fill the thick stroke. The other two rows come next, but you need this side line in place first to set the boundary.

Tip

The outline doesn't need to be perfectly parallel to the line you traced - aim for the edge of the thick stroke and let the eye smooth out the rest.

4

Outline the Other Side of the Thick Stroke

2:35
Step 4: Outline the Other Side of the Thick Stroke

Bring the needle up close to where the first thick line started, on the other side of the stroke. Run another row of backstitches parallel to the first one, all the way down to where the thick part ends.

Now you have two outline rows framing the thick stroke. The space between them is what you'll fill in next. The two rows should be just barely close enough together that one more row fits between them.

Tip

If your two outline rows ended up too far apart, you can fit two fill rows in the middle. Three or four rows works fine on really thick strokes - it's only when they look loose and stripey that you need to go back and tighten up.

5

Fill the Thick Stroke With a Middle Row

3:15
Step 5: Fill the Thick Stroke With a Middle Row

Run a third row of backstitches right down the middle between your two outline rows. Stagger the stitch lengths so they don't all start and stop in the same spot as the outline rows.

If every row stops in the same place, the thick stroke looks segmented and bumpy. Mixing up where the stitches break makes the fill look smooth and continuous.

Tip

Tiny gaps between stitches usually fill themselves - poke at the threads with the tip of your needle and they spread out to cover the fabric.

6

Travel Cleanly Through the Back

4:50
Step 6: Travel Cleanly Through the Back

When you finish a section and need to move to the next part of the letter, don't pull the thread loose across the back of the fabric. Instead, run the needle UNDER existing stitches on the back to travel from one spot to another.

Loose threads carried across the back show through on light fabric and snag on the back of finished pieces. Threading under existing stitches keeps everything neat and invisible.

Tip

If you're skipping less than a quarter inch and the fabric is dark, just run the thread across - it won't show. Save the under-existing-stitches travel trick for longer jumps and lighter fabrics.

7

Repeat for Each Letter

8:00
Step 7: Repeat for Each Letter

Apply the same pattern to every letter. Always start at the TOP of a letter when possible - working downward keeps the stitches lying flat. When you reach a point where two thick strokes meet, skip over rather than stitching across the join. The visible junction looks more natural without the extra stitches.

When the whole word is done, tie off the floss by running it back through three or four existing stitches on the back. Snip the tail close. The hoop is now ready to display, frame, or finish into something else.

Tip

For a wall-ready piece, trim excess fabric to about an inch outside the hoop and stitch a running line around the edge. Pull the thread to gather the fabric tight against the back of the hoop, then knot.

Products used in this step

Products Used

☐ The Checklist

How to Embroider Letters (Backstitch Script)

Tools
3
Materials
2
Steps
7
Video
9 min

Your Guide

Cutesy Crafts

As an Amazon Associate we earn from qualifying purchases. Links on this page may be affiliate links - clicking them and buying doesn't change your price, but helps support ShowMeStepByStep.

Tags

Related Tutorials