Cross stitch is one of the easiest needlework techniques to start. Each stitch is a tiny X that fits exactly inside one square of the woven aida cloth - no measuring, no marking, just count the squares and stitch. Once you can make one X, you can make a thousand and they all match.
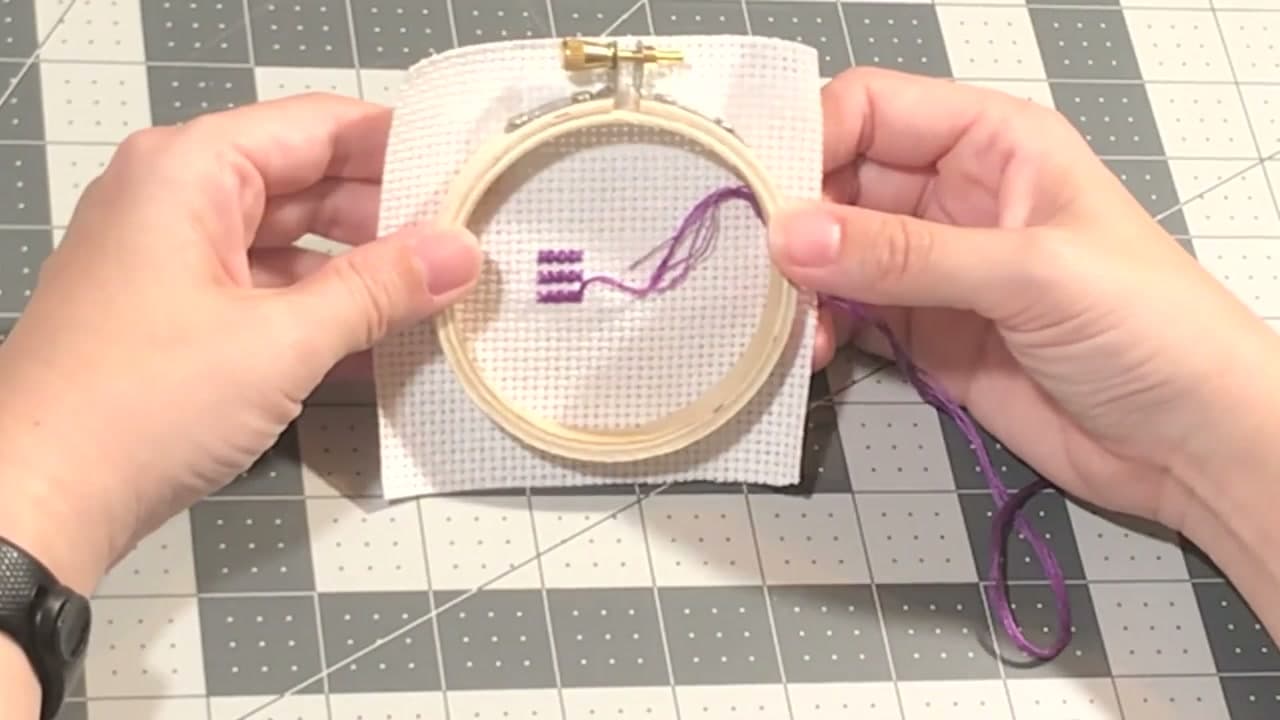
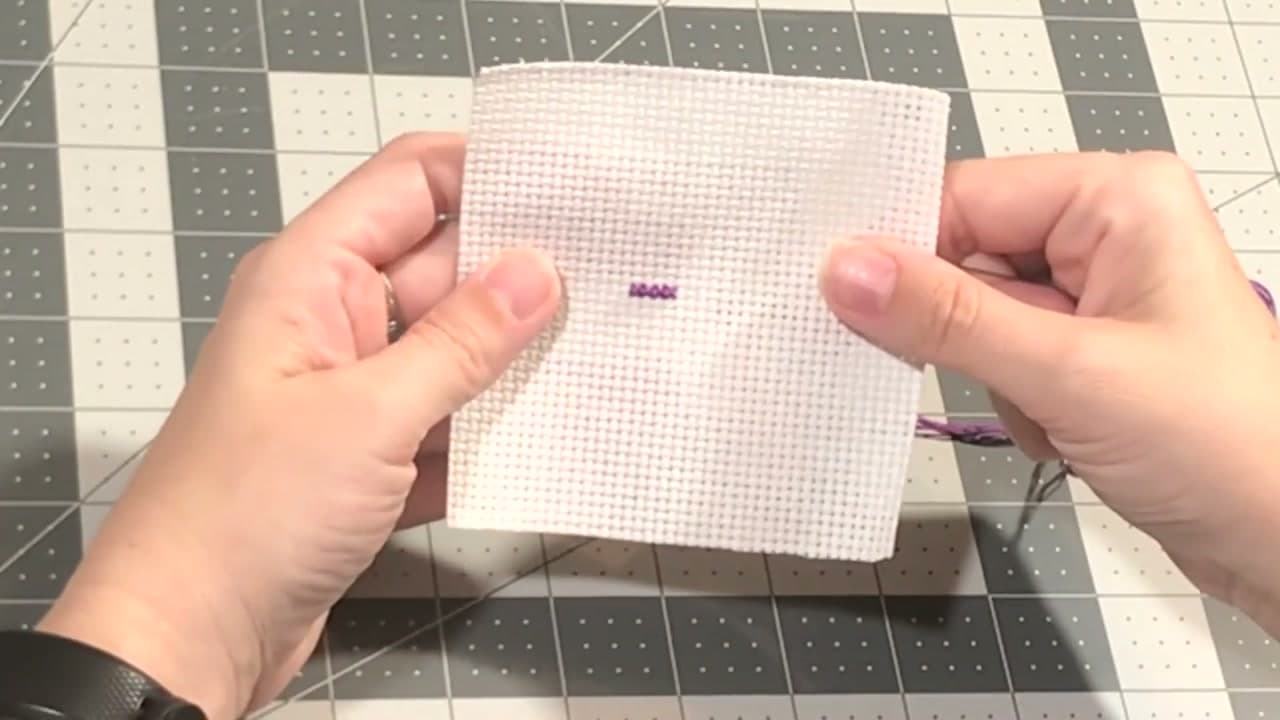
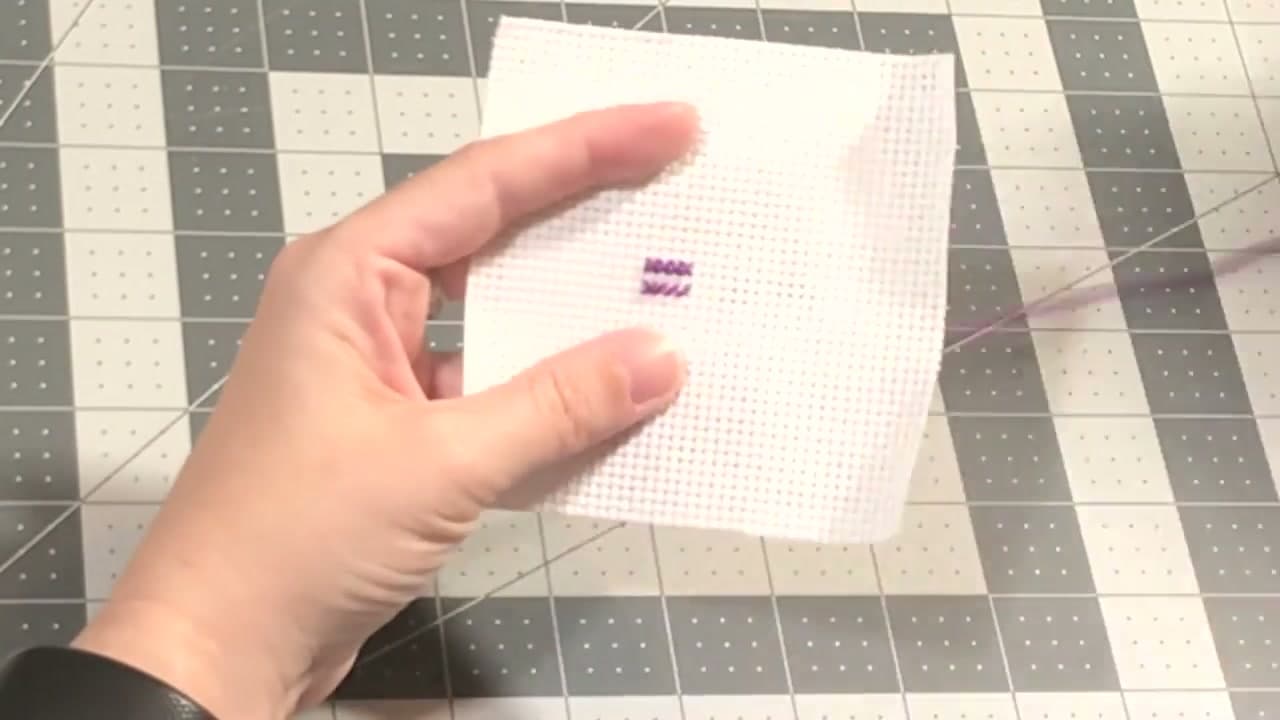
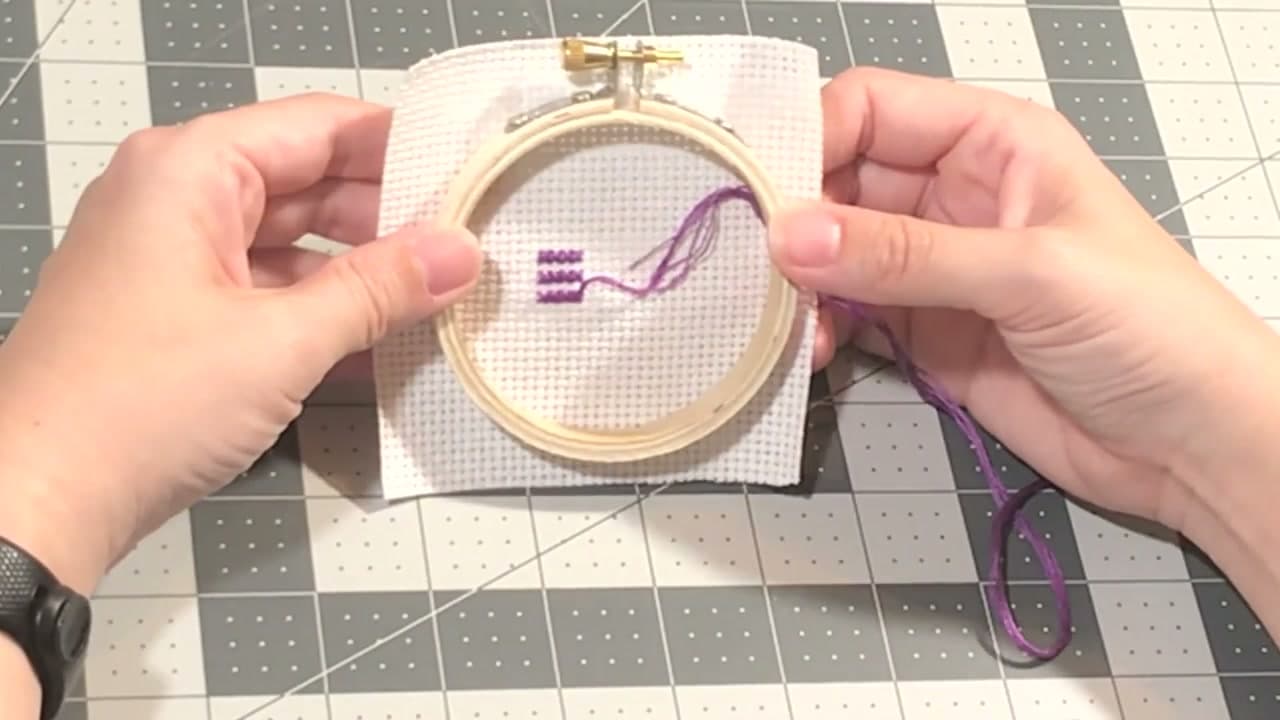
This walkthrough from Sarah at Notorious Needle covers the two main techniques: the English method (one full X at a time, easiest for beginners) and the Danish method (slashes one direction across, then back to complete) which gives a cleaner back. Plus the two-handed hoop technique that makes long projects move twice as fast.
Cross stitch supplies explained
- Aida cloth. The count is squares per inch. The video uses 11-count because the holes are big and easy to see. 14-count is what most beginner kits and patterns use, and it is the one to buy once you have your first few rows down.
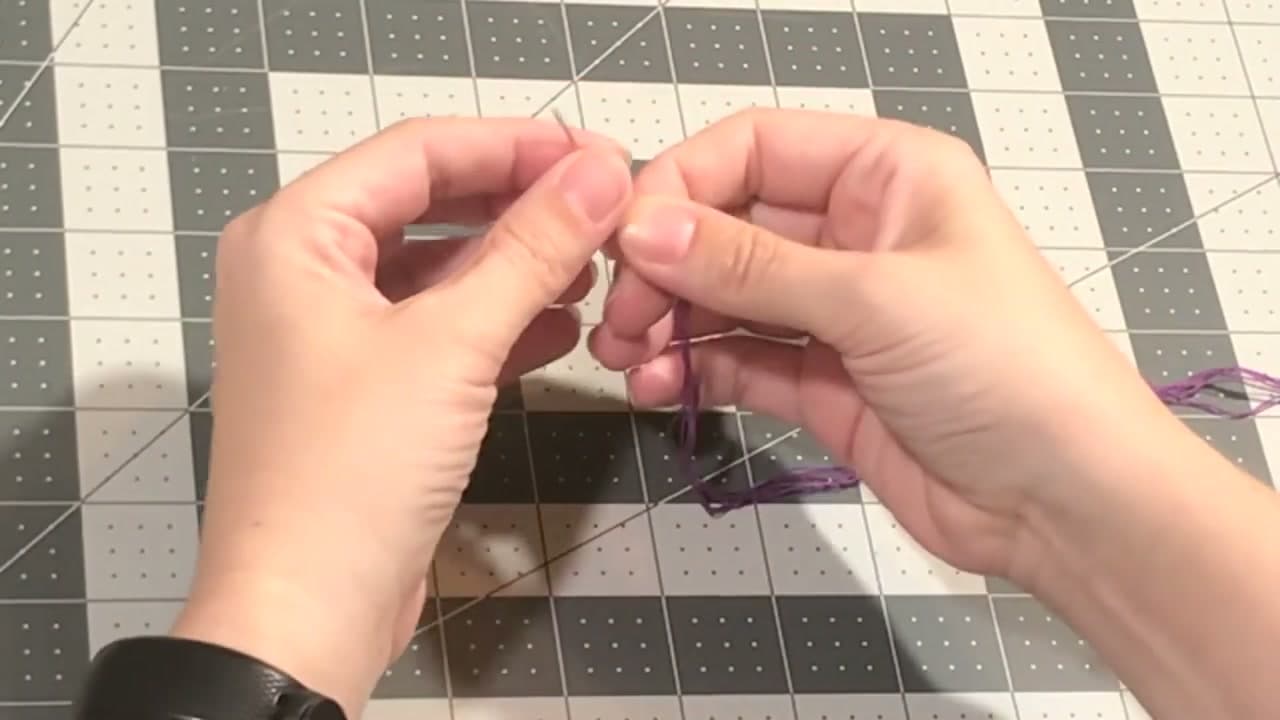
- Embroidery floss. DMC is the standard, and nearly every pattern lists DMC color numbers. Each length of floss is six thin strands twisted together. Separate them and stitch with 2 strands on 14-count, 2 or 3 on 11-count.
- Tapestry needle. Blunt tip, big eye. Size 24 for 11-count, size 24 or 26 for 14-count.
- Hoop or frame. A 5 to 6 inch hoop holds a small project taut. Not required, but your stitches come out more even.
Reading a chart and finding the center
A cross stitch chart is a grid. One square on the chart is one X on your fabric, and each symbol or color matches a floss number in the key. Heavier lines every 10 squares help you count.
Start in the middle so the design lands centered on the fabric. Fold the aida in half, then in half again - where the creases cross is your center. The chart marks its center with arrows on the edges. Work outward from there. For a full walkthrough of symbols and keys, see how to read a cross stitch pattern.
One X at a time, or a row of halves
Both methods on this page make the same X on the front. The English way finishes each cross before moving on, which is easiest to follow for scattered stitches and single squares of color. The Danish way stitches a row of half stitches, then comes back along the same row to close them. It is faster on big blocks of one color and uses less floss.
Keep every top leg going the same way
This is the rule that makes finished work look even. Every top stitch should slant the same direction. It doesn't matter which way you pick. It matters that you never switch. Mixed directions catch the light differently and show up as a rough patch.
Starting and ending without knots
Knots make lumps under the fabric once it is framed, and they can pull through. Two knot-free starts cover almost everything:
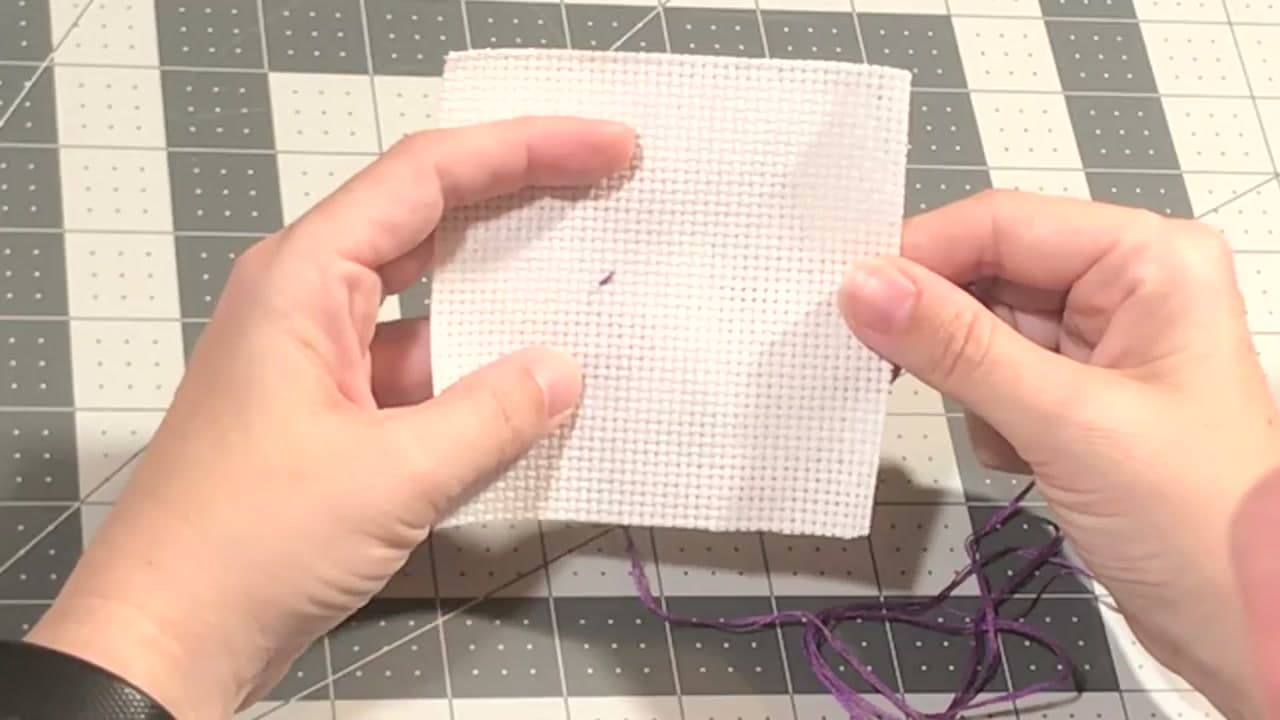
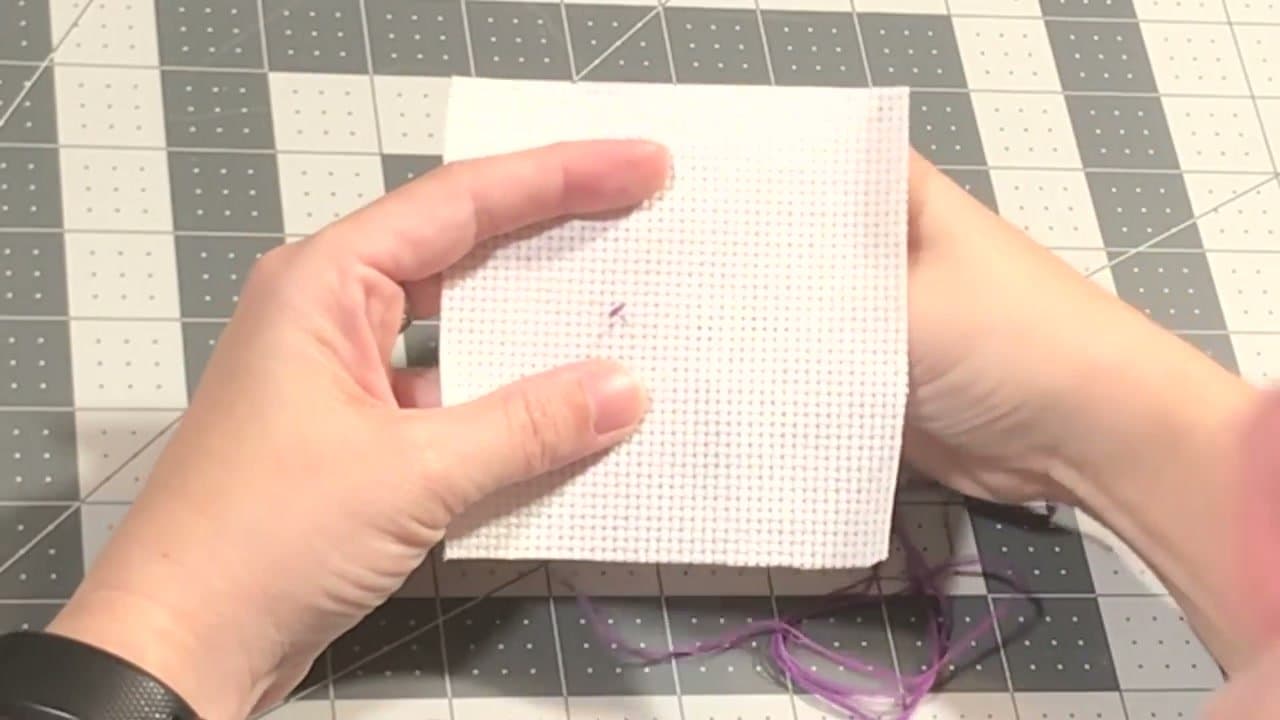
- Loop start. Take one strand of floss twice as long as you need and fold it in half, so you are stitching with 2 strands. Come up from the back, go down to make your first half stitch, and pass the needle through the loop waiting on the back. Pull snug. It locks with no knot at all.
- Tail start. Hold a short tail against the back and cover it with your first few stitches.
To finish, slide the needle under 4 or 5 stitches on the back and trim close.
Common cross stitch mistakes
- Knots on the back. Use a loop start or tail start instead.
- Twisted floss. The needle spins as you stitch and the strands twist into a thin rope that covers less. Let the needle dangle every few stitches so it unwinds.
- Crosses facing different directions. Decide your top leg and stick to it.
Once you are comfortable, add outlines with backstitch, stitch names with the cross stitch alphabet, and frame the piece with a finished hoop.