How to Backstitch: 3 Ways for Hand Embroidery

Also in:Crafts

By ShowMeStepByStepPublished Updated

Based on a video by Elin Petronella.

The backstitch is the workhorse of hand embroidery. It's the line you reach for when you want a clean, continuous outline - lettering, contours, anything that needs to read as a real drawn line on fabric. And there isn't just one way to do it. There are three, and each has a tradeoff: how much floss you use, what the back of your work looks like, and how fast you can cover ground.

Elin from the Charles and Elin Academy walks through all three on a single hoop, with two strands of DMC floss, in about 9 minutes. By the end you'll know which version to grab when you're outlining a small architectural piece versus filling in long lines on a bigger project.

Step-by-Step Guide

1

Step 1: Make Your First Stitch in the Direction You're Going

0:30
Step 1: Step 1: Make Your First Stitch in the Direction You're Going

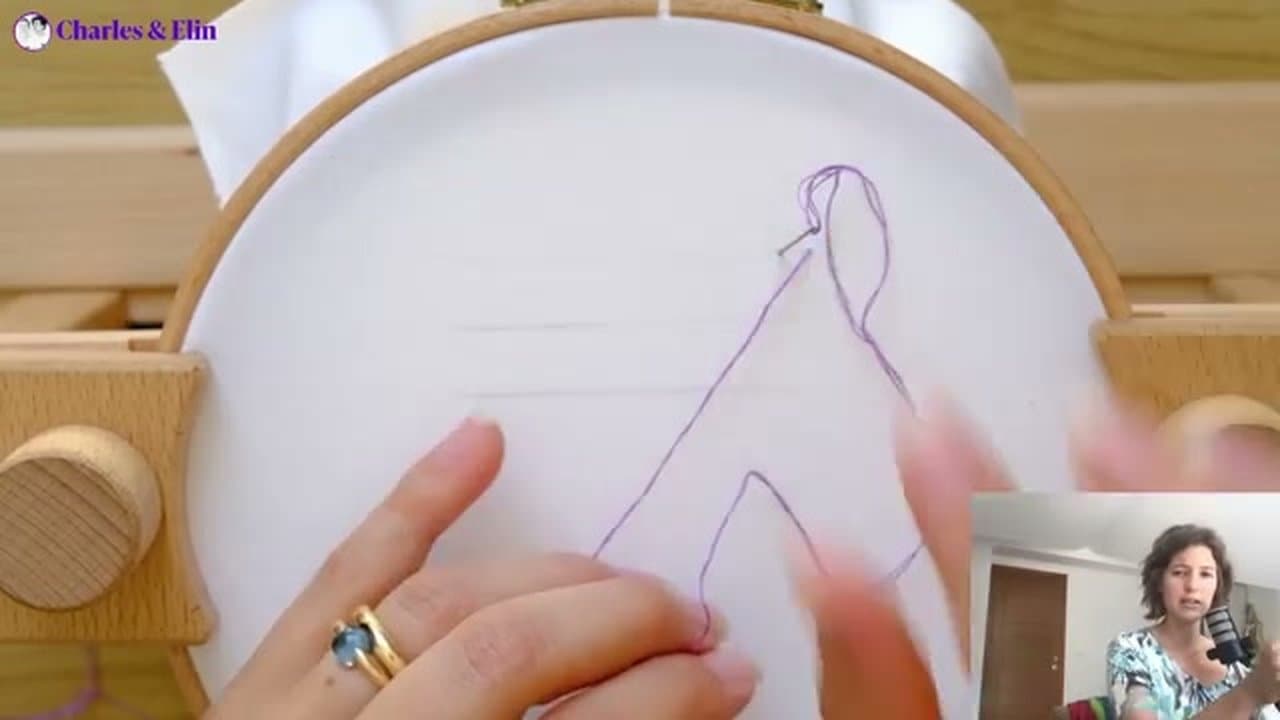
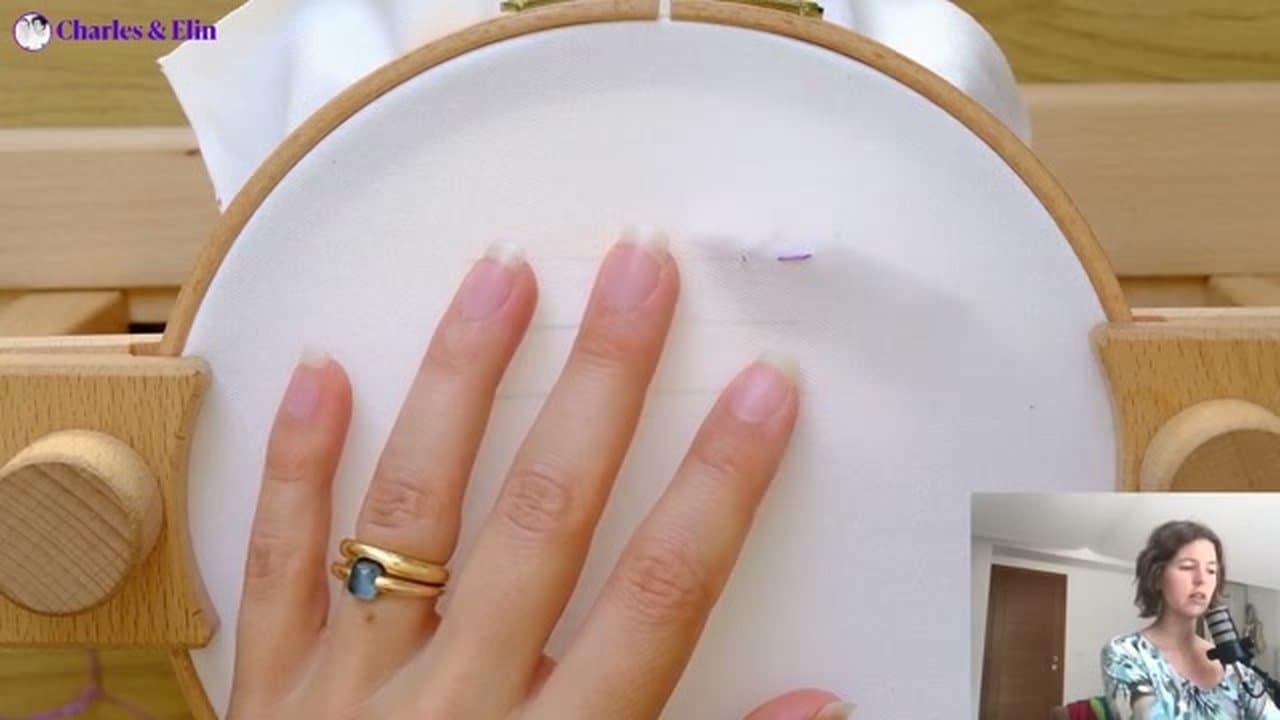
Bring the needle up at the start of your line. Take it down a stitch length ahead, in the direction you want to travel. A good stitch length is roughly half the width of your fingernail - any longer and the line starts to look gappy on tight curves.

Pull the floss all the way through. That single stitch is your anchor. Every backstitch row starts with this same forward stitch, no matter which of the three methods you pick.

Tip

Two strands of six-strand DMC floss is the sweet spot for most outlining. One strand looks wispy. Three or more starts to feel ropey on fine details.

2

Step 2: Bring the Needle Up One Stitch Length Ahead

0:50
Step 2: Step 2: Bring the Needle Up One Stitch Length Ahead

Come up through the fabric one stitch length ahead of where the previous stitch ended. You're now sitting ahead of your last stitch with a small gap behind you - that gap is what you're about to fill.

This is the move that makes backstitch a backstitch. You always travel forward on the back, then sew backward on the front to close the gap.

3

Step 3: Go Back Down Into the Previous Hole

1:05
Step 3: Step 3: Go Back Down Into the Previous Hole

Take the needle back down into the same hole where your previous stitch ended. Pull through. You now have two stitches butted up against each other on the front, with no gap between them.

That clean meeting point - no overlap, no space - is the whole reason backstitch makes such a good outline. Each new stitch closes the gap behind it.

Tip

If you see a tiny gap between stitches, you came up too far ahead. Pull a bit harder when you're going back down to draw the line tight, or shorten your next forward leap.

4

Step 4: Repeat for the Single-Sided Version

2:25
Step 4: Step 4: Repeat for the Single-Sided Version

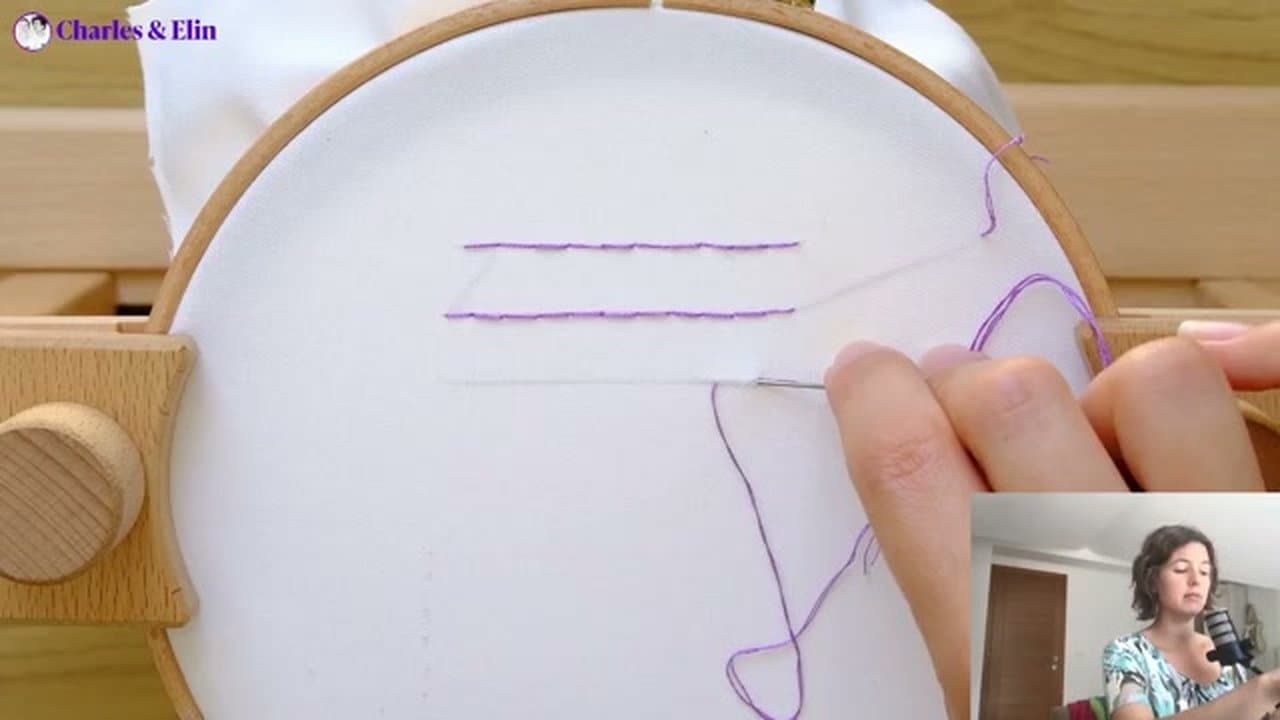
Keep repeating: come up one stitch length ahead, go back down into the previous hole, pull through. This is the single-sided backstitch. The front looks clean and continuous. The back has small jumps between holes, not a covered line.

This is Elin's preferred version because it saves floss. The Charles and Elin architectural patterns are all worked this way. You get more meters of stitching out of every skein.

Tip

The back doesn't have to look pretty for most projects. Save the double-sided versions for table linens, bookmarks, or anything where both sides will be seen.

5

Step 5: Double-Sided Full-Loop Backstitch

2:45
Step 5: Step 5: Double-Sided Full-Loop Backstitch

Same start - one forward stitch in the direction of travel. Now come up a stitch length ahead and go back down into the previous hole, exactly like the single-sided version. Here's the difference. Instead of jumping ahead under the fabric, take the needle back up a full stitch length ahead on the BACK side, then come back down to close the next gap.

You're going the full loop on the underside every time. The result is a covered line on both faces of the fabric. Flip the hoop over and the back looks almost as clean as the front.

6

Step 6: One-Pass Time-Saving Method

6:00
Step 6: Step 6: One-Pass Time-Saving Method

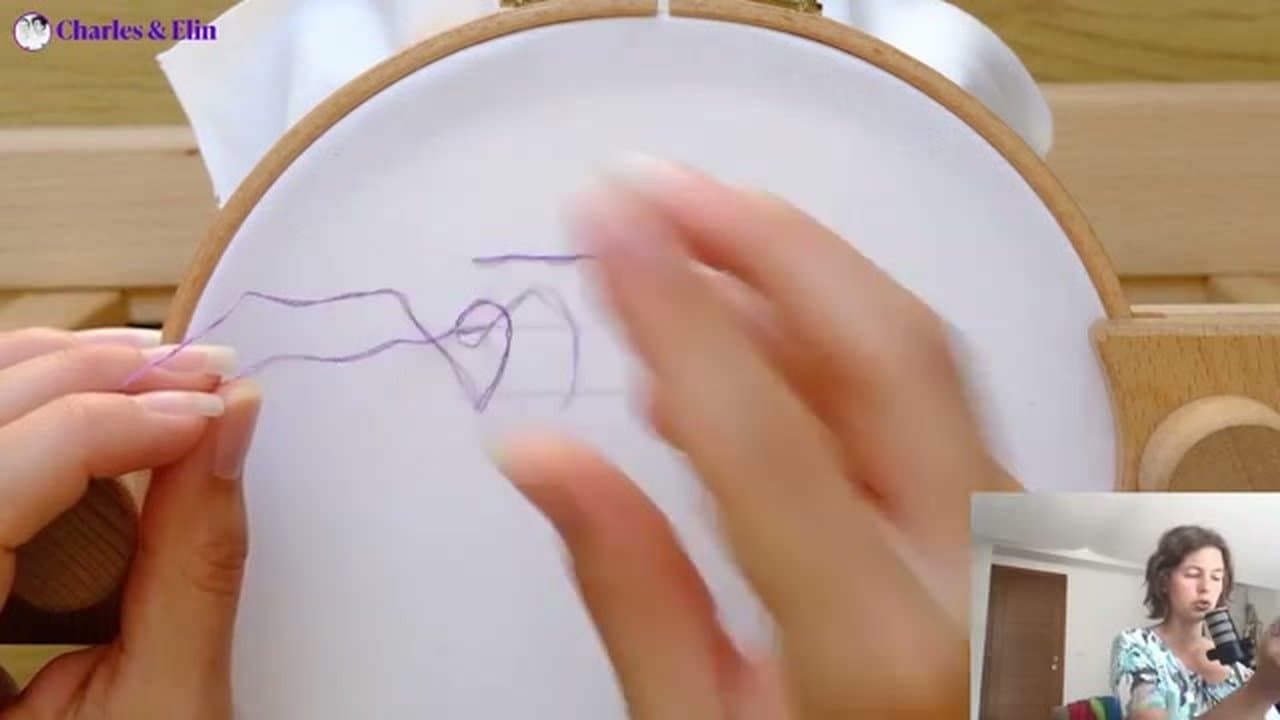
This third version gets you the same double-sided coverage as Step 5, but in a single needle motion. Make your first stitch as normal. For each following stitch, scoop the needle: go down into the previous hole, then in the same pass, push the tip up through the fabric a stitch length ahead on the back side.

Pull through once. You've made the back leg and the front position in one motion instead of two. The placement of stitches is identical to the full-loop version - it's just faster because you're not pulling the floss all the way out between each step.

Tip

This works best with a hoop on a stand so both hands stay free. Trying to scoop one-handed while holding the hoop is awkward.

7

Step 7: Pick the Right Version for the Project

7:40
Step 7: Step 7: Pick the Right Version for the Project

Big piece, lots of long lines, back won't be seen? Use the one-pass method. You'll cover ground twice as fast. Detailed architectural piece with tight contours? Use the single-sided version. Pulling through every stitch gives you more control over the line and saves floss on small work.

Linens, towels, or anything reversible? Use the full-loop or one-pass double-sided version so the back reads cleanly. The front looks the same in all three. The choice is about speed, control, and what the back has to look like.

Tip

Stitch a small sampler of all three on scrap fabric and label them. Next time you start a project you'll know exactly which one to pick without thinking about it.

Products Used

☐ The Checklist

How to Backstitch: 3 Ways for Hand Embroidery

Tools
4
Materials
3
Steps
7
Video
9 min

Your Guide

Elin Petronella

As an Amazon Associate we earn from qualifying purchases. Links on this page may be affiliate links - clicking them and buying doesn't change your price, but helps support ShowMeStepByStep.

Tags

What's next

Weekly Digest

Liked this embroidery tutorial?

Pick the categories you want to hear about. Weekly digest of new step-by-step tutorials. No spam, easy unsubscribe.

Send me tutorials about

We only email about new tutorials. Easy unsubscribe anytime.