1
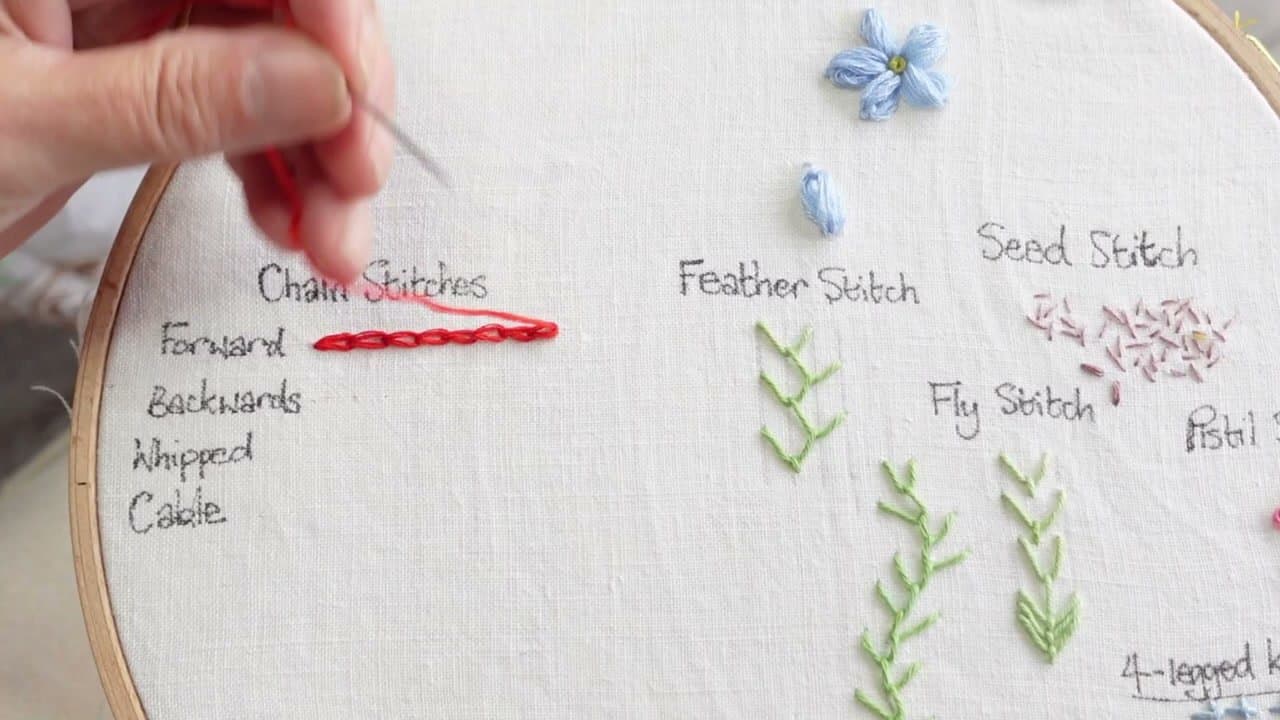
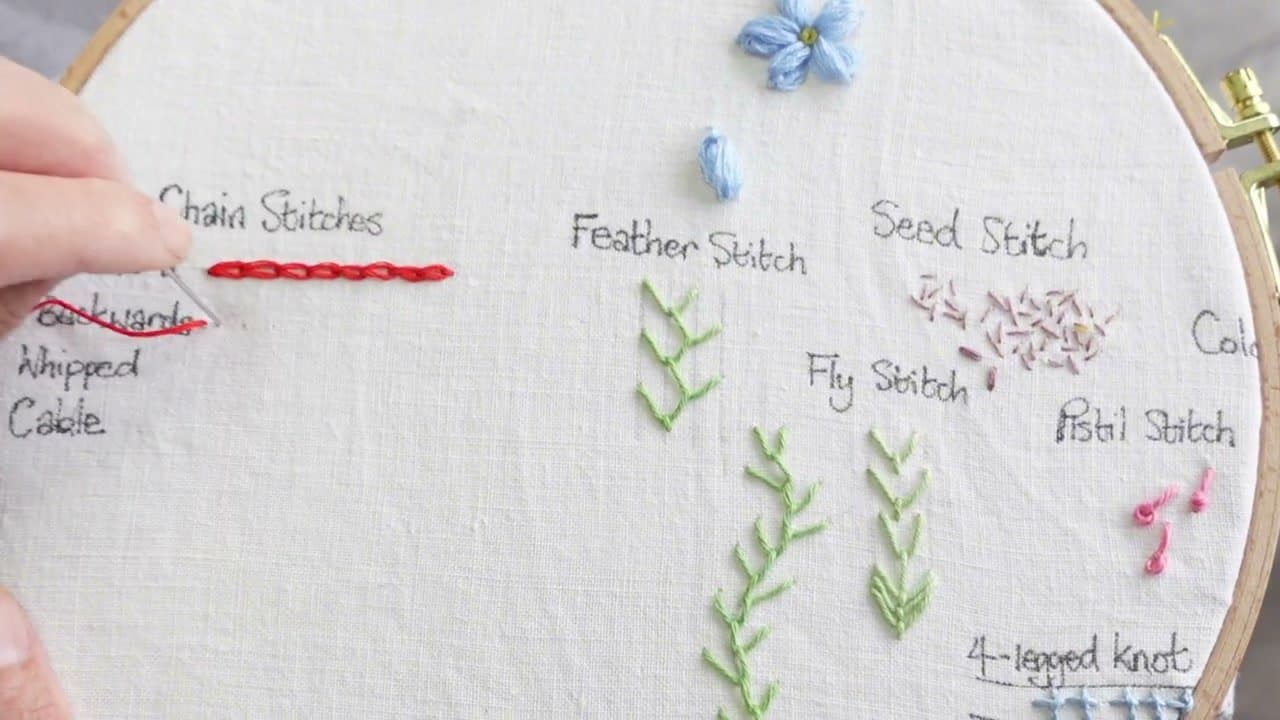
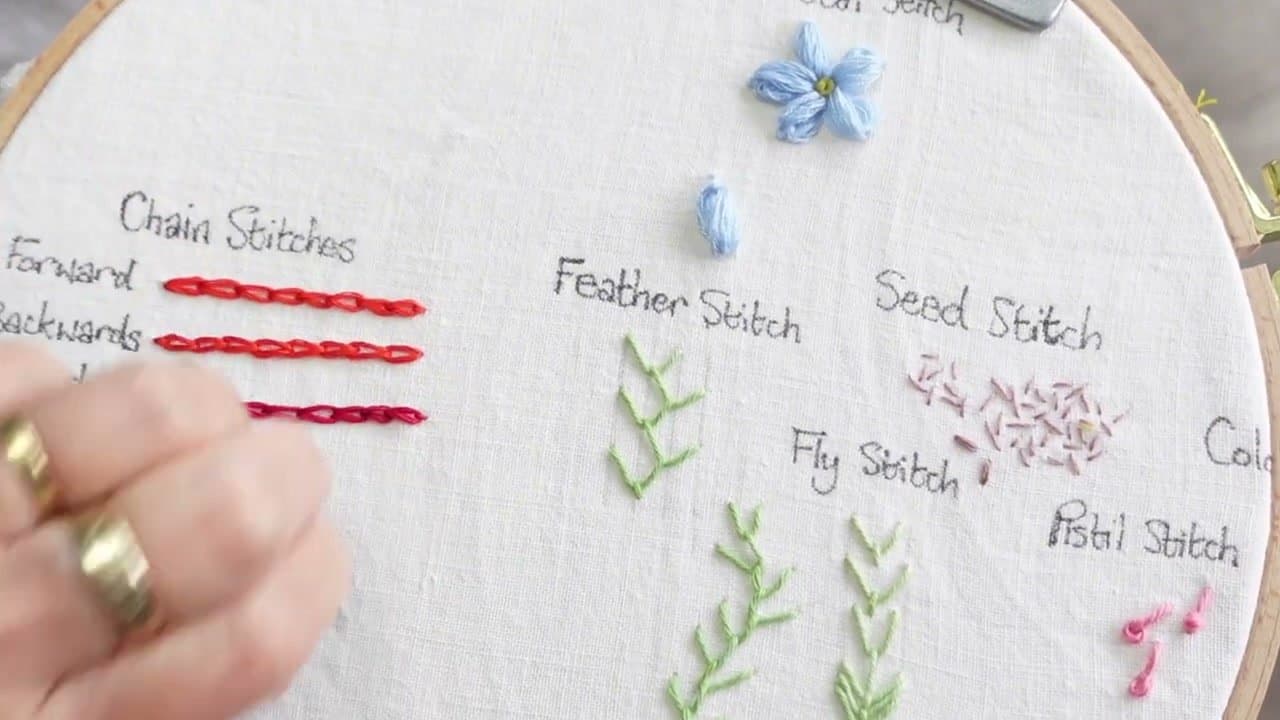
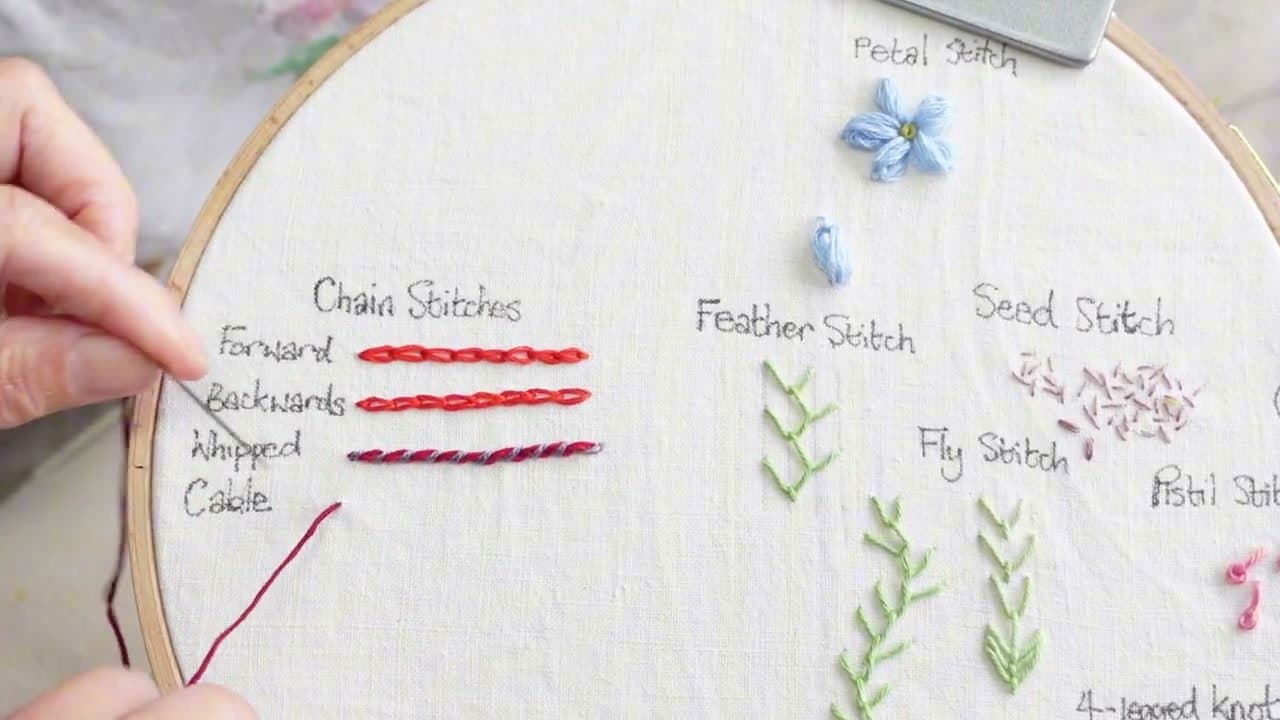
Step 1: Forward Chain Stitch (the Basic)
0:25
Bring your needle up at the start of your line. Go BACK DOWN in the same hole, then take a stitch the length you want each chain link to be. Don't pull the thread tight - leave a loop on top.
Bring the needle up INSIDE that loop. As you pull through, pull in the direction of travel (not up or back). That makes a clean rounded chain link instead of a flat line.
Tip
The number one beginner mistake is pulling the thread up instead of forward. If your chain looks like a straight line, you're pulling wrong. Always pull in the direction of travel.