1
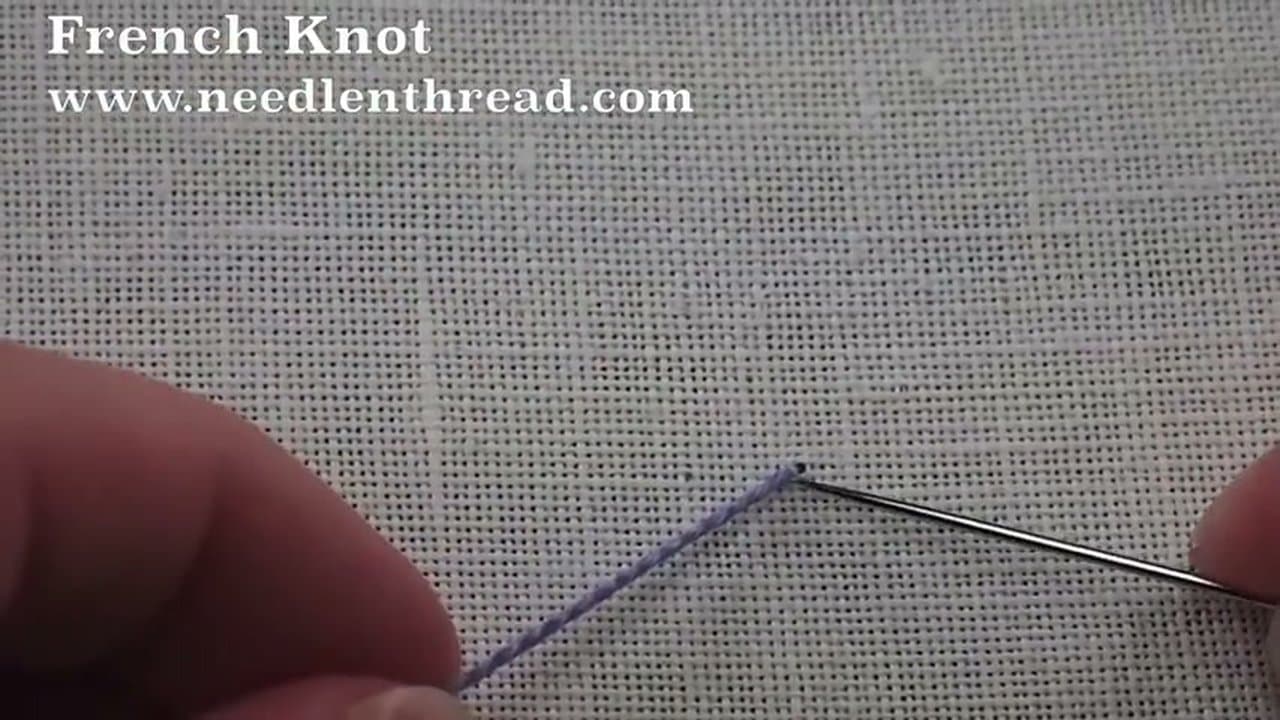
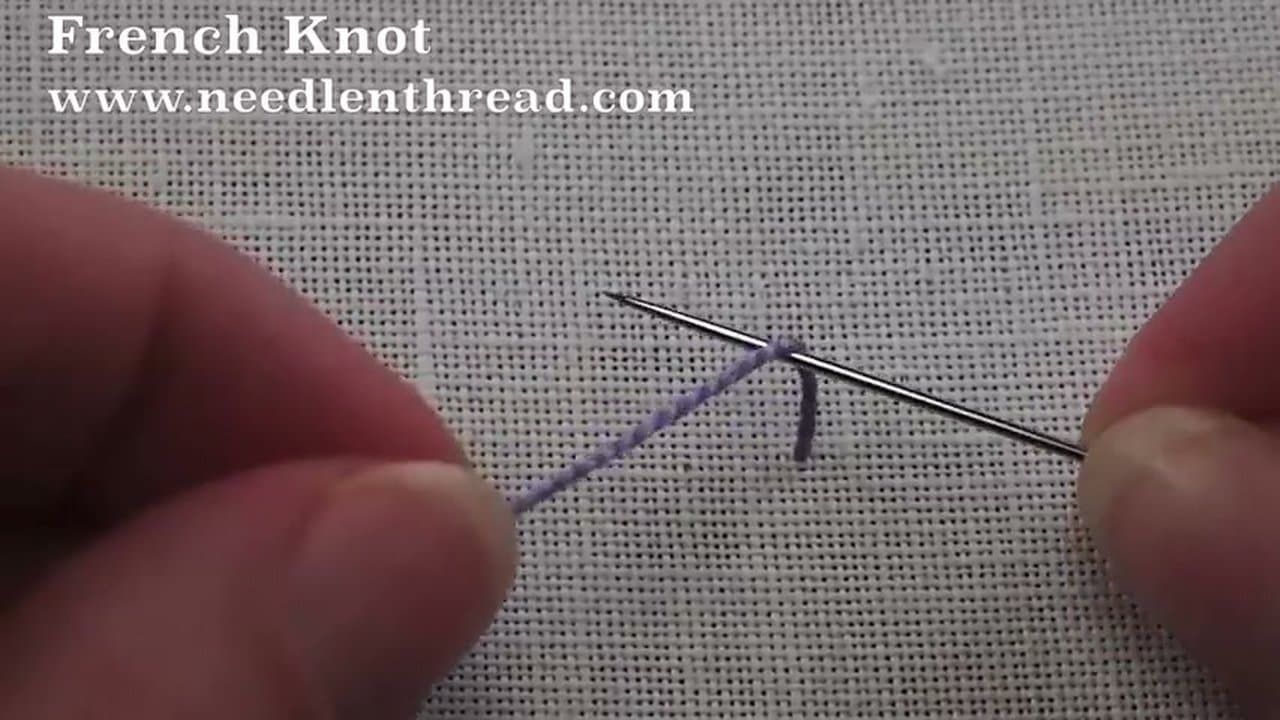
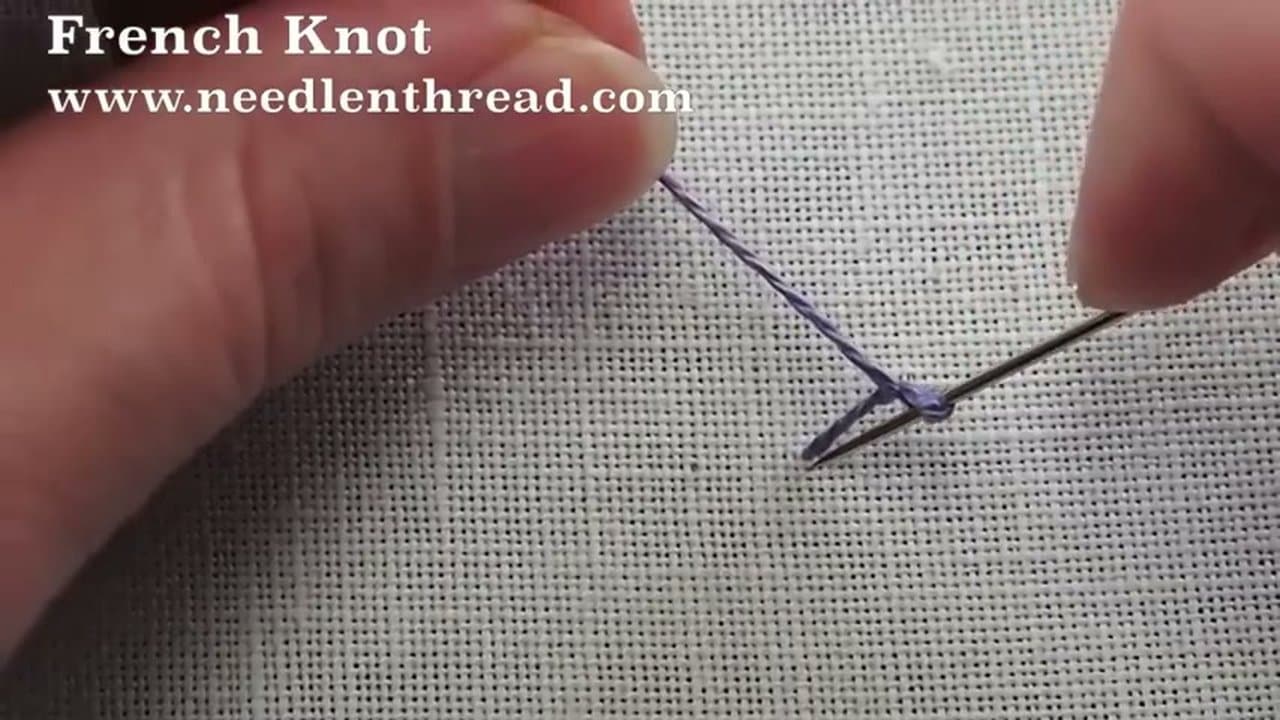
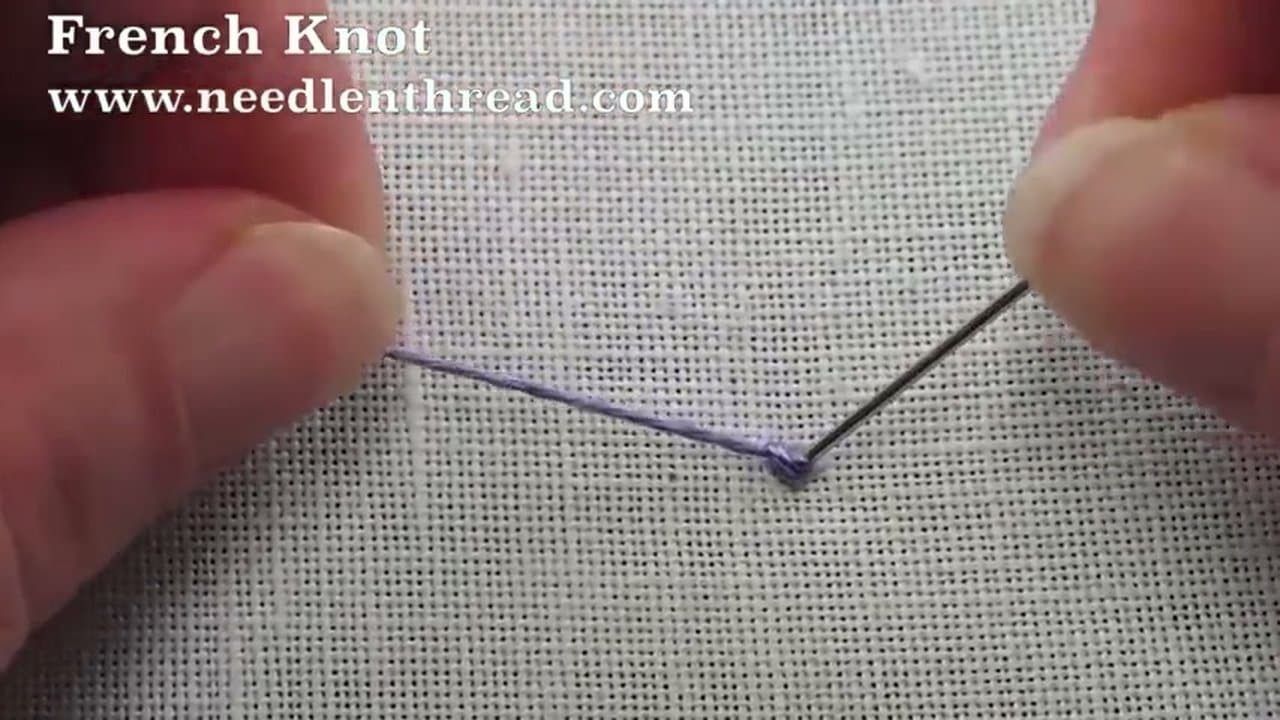
Step 1: Use a Milliner Needle, Not an Embroidery Needle
0:14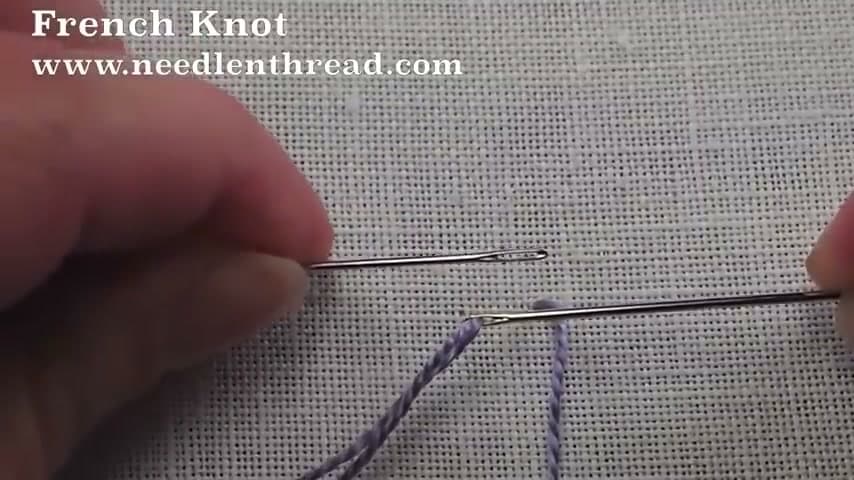
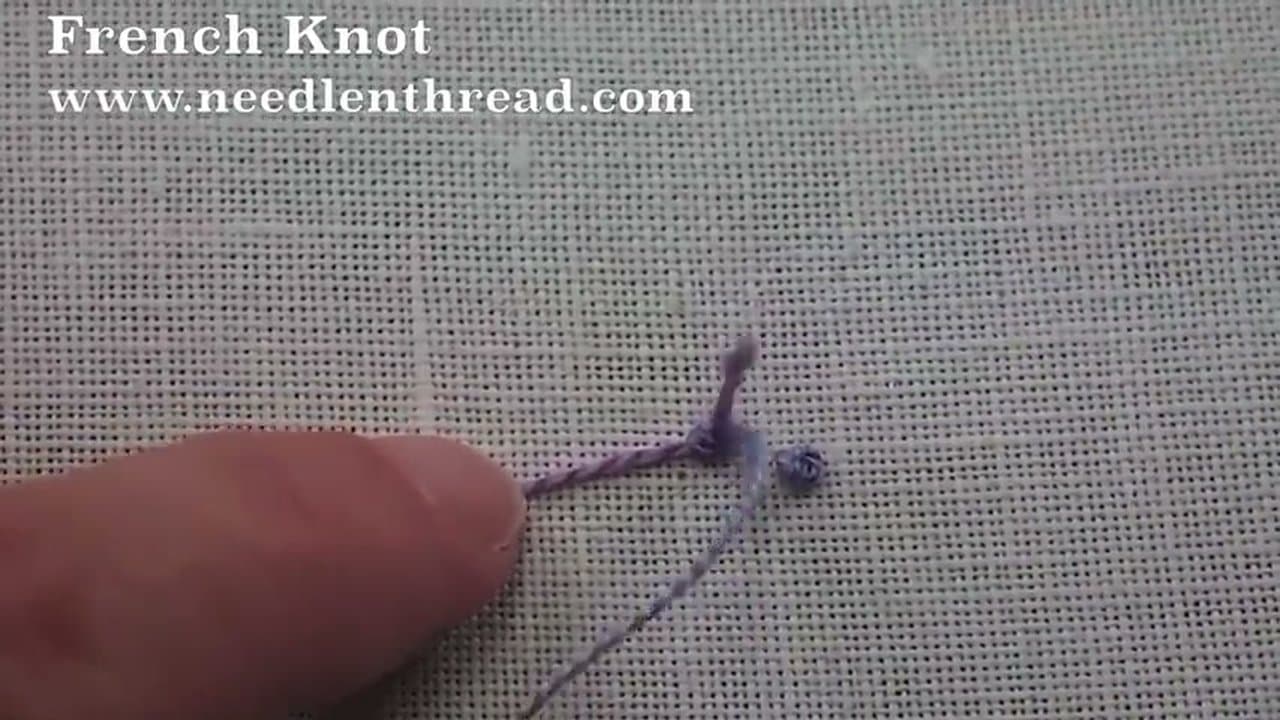
The needle matters more than any other tool for French knots. Use a milliner needle (also sold as a straw needle) - the shaft is the same width as the eye, so the needle slides through the wrapped thread without catching.
A regular embroidery needle has a longer, wider eye that bulges out from the shaft. That bulge snags on the wraps when you try to pull through, which is why beginners' knots fall apart or never form. Milliner needles solve the problem in one step.