1
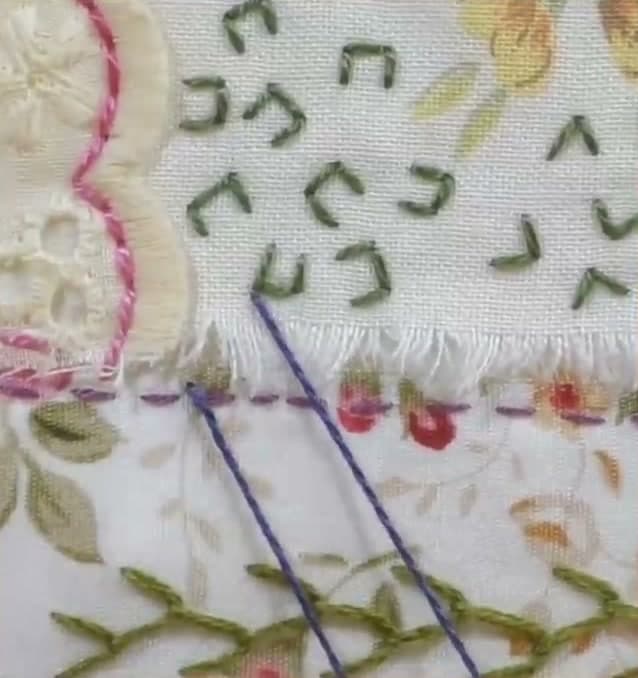
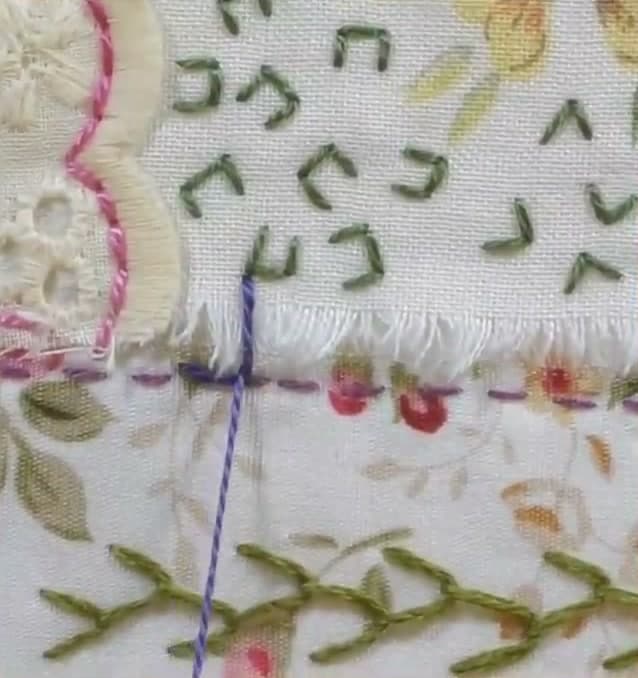
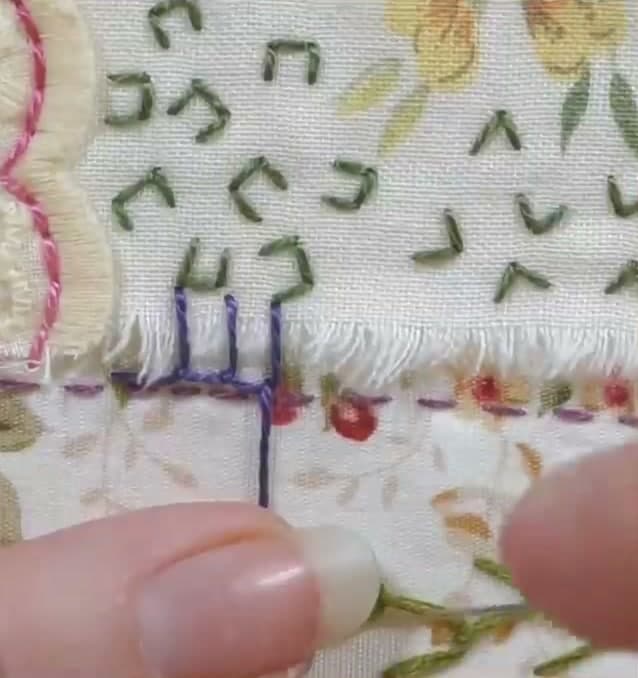
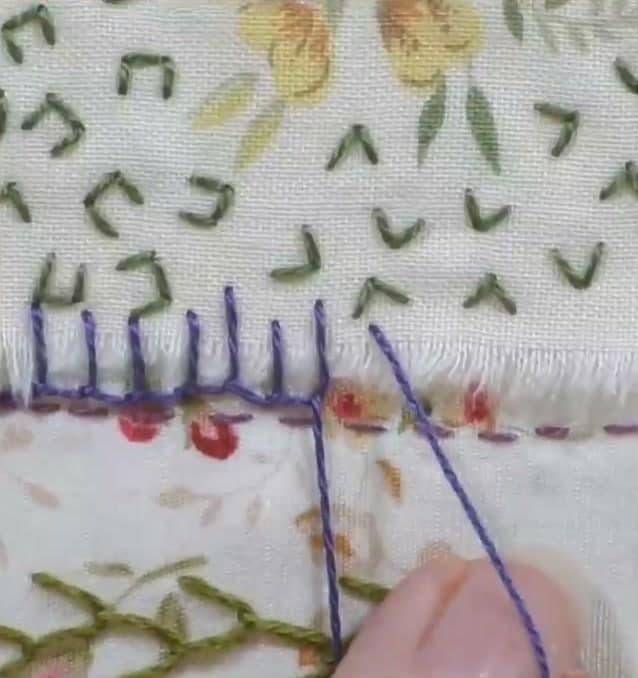
Step 1: Start at the Bottom of the Stitch
0:47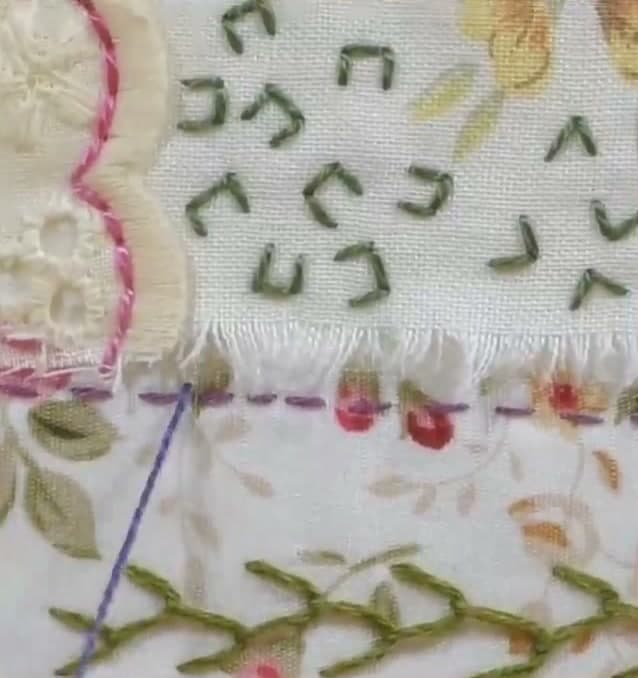
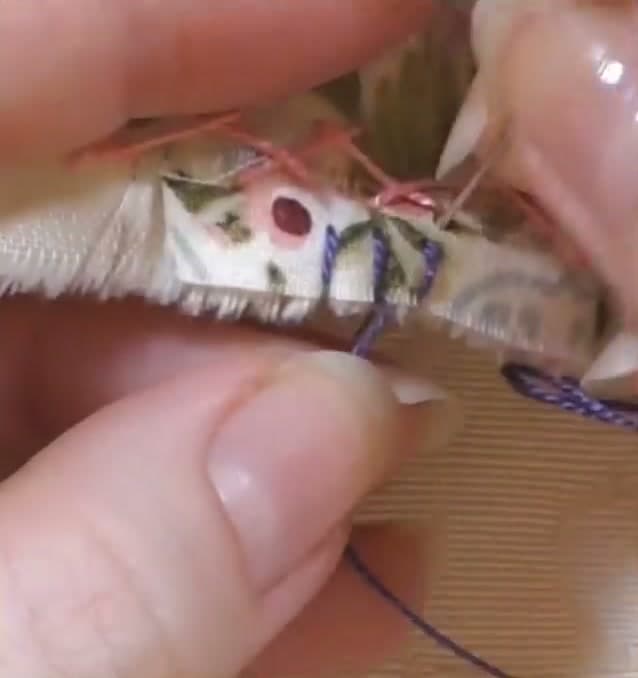
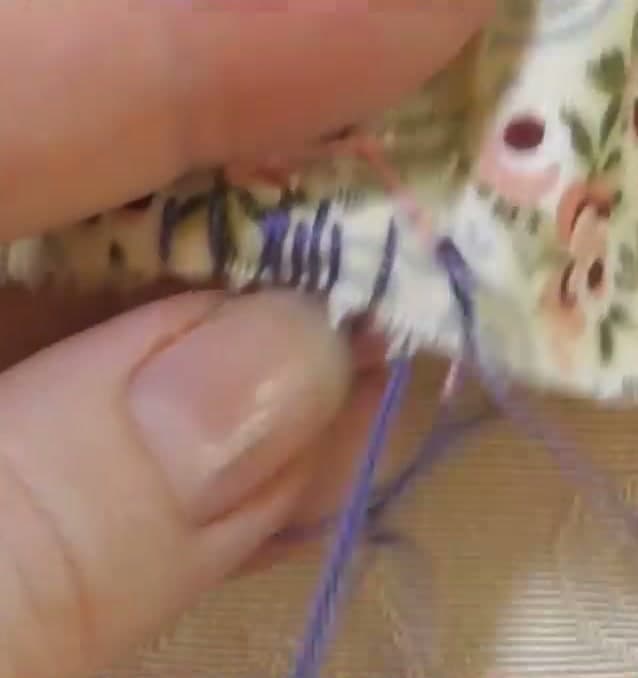
Blanket stitch builds along a baseline with little arms standing up from it, so you start at the bottom of where that row will sit. Bring your needle up at the baseline, then stab back down a short diagonal distance away, like reaching for the opposite corner of a small square.
The trickiest part of this whole stitch is getting going. Once the first one is set, the rest follow the same rhythm. Keep your spacing relaxed for now and worry about evenness after a stitch or two.
Tip
Watch this step Mark a faint guideline with a water-soluble pen if you want your baseline dead straight. It wipes away with a damp cloth when you are done.