How to Do Stem Stitch - Embroidery for Beginners

The finished result: How to Do Stem Stitch - Embroidery for Beginners

By Show Me Step by StepPublished

Based on a video by Sarah Homfray Embroidery.

Stem stitch is one of the most useful stitches in hand embroidery. It creates a smooth, rope-like line that works well for outlines, stems, and curved shapes. Once you have it, you'll reach for it constantly.

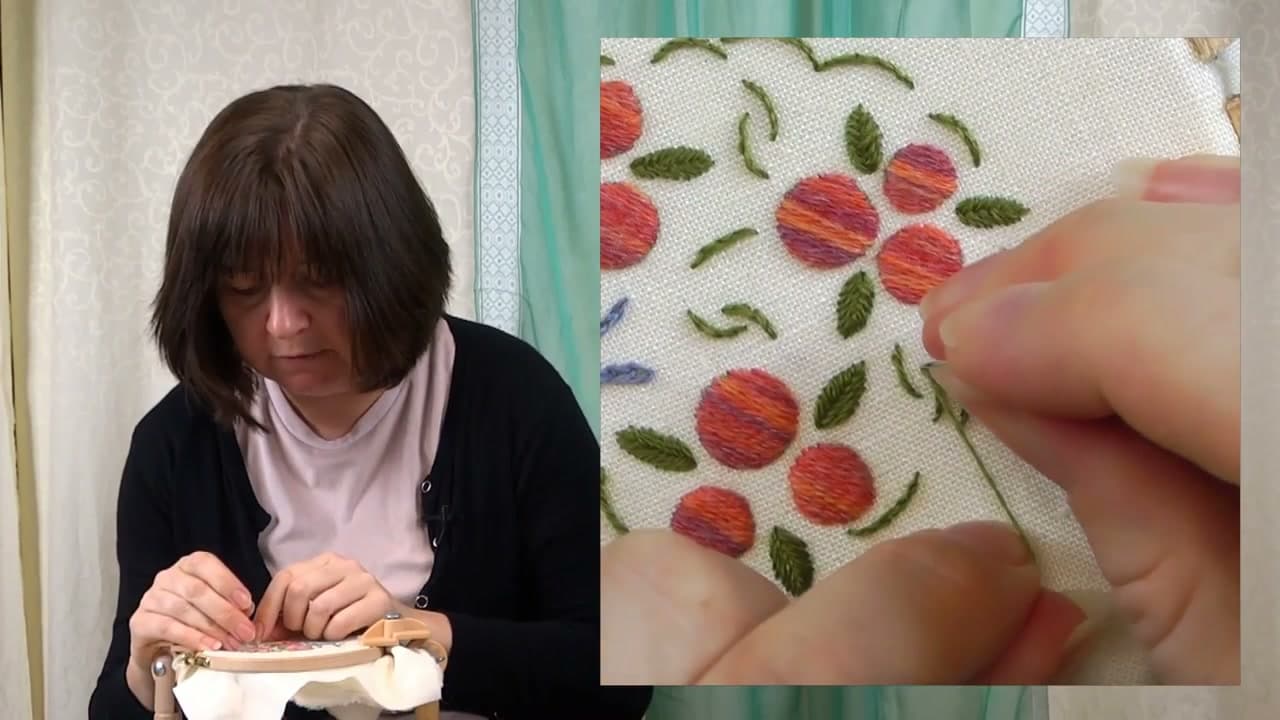
Sarah Homfray is a Royal School of Needlework graduate and professional hand embroiderer. In this tutorial she teaches stem stitch and its sister stitch, outline stitch - and explains exactly when to use each one.

The two stitches are almost identical. The only difference is which side the loop falls on. That single detail controls how the stitch behaves around curves. By the end you'll have both in your toolkit.

What stem stitch is for

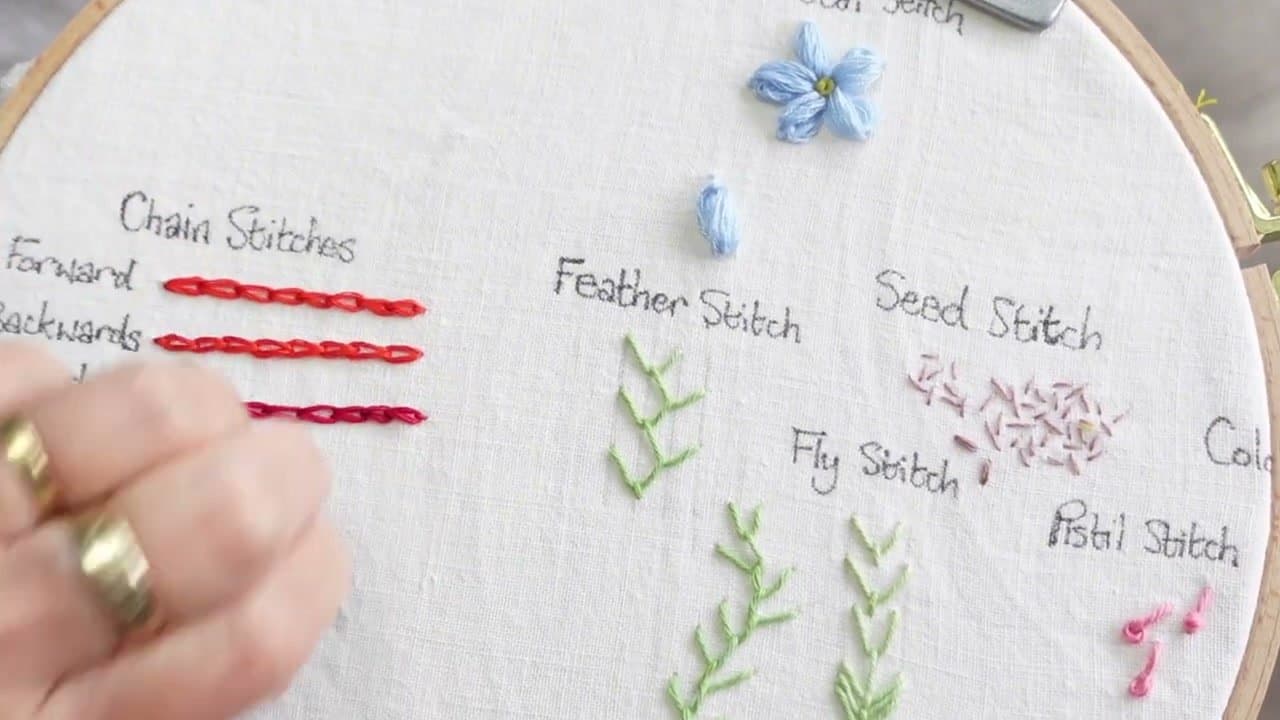
Each stitch overlaps the one before by about half its length, so the line reads as a twisted cord instead of a row of dashes. That twist is why it is the go-to for flower stems, trailing vines, curved outlines and cursive lettering. It bends around a curve without the corners you get from straight stitches. Work several rows side by side and it even becomes a fill, which is how a lot of traditional crewel leaves are shaded.

Keep the thread on the same side, every stitch

This is the one rule. In the video the loop falls to the right and the working thread comes out on the left. Hold that for the whole line. If the thread swaps sides halfway along, the twist reverses and that section turns into outline stitch. Up close it looks fine. At arm's length you see a kink where the rope changes direction.

Make it a habit: before each stitch, check where the thread is and tuck it to the same side with your thumb.

Stitch length on curves

On a straight line, 2-3mm stitches give a tidy rope. On a curve, halve them. Long stitches cut across the bend and turn a smooth arc into a string of flat chords. The tighter the curve, the shorter the stitch. In lettering, that small stitch is what keeps the bowl of an "a" or "e" round.

Stem vs split vs backstitch

StitchLookBest for
StemTwisted rope, slightly raisedStems, vines, flowing curves
Split stitchSolid line, fine braided texture, flatterOutlines, edges under satin stitch
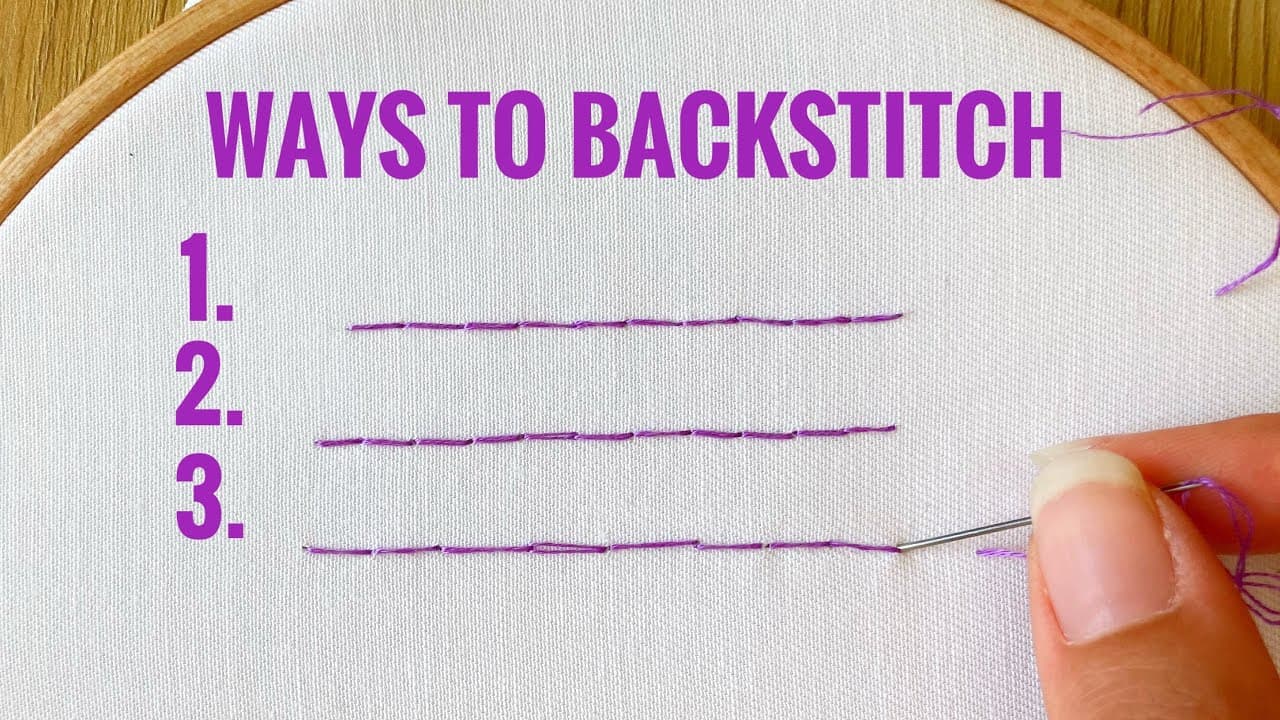
BackstitchClean row of separate dashesSmall lettering, sharp corners

Whipped stem stitch for a smoother line

Work a normal line of stem stitch. Then take a second thread, same color or a contrast, and wrap it over each stitch without going into the fabric. Slide the needle under each stitch from the same side every time. The wrap fills the tiny gaps and leaves a smooth raised cord, which is a nice finish for embroidered lettering you want to stand out.

Common mistakes

  • Thread flipping sides. The twist reverses. Unpick back to the switch and carry on with the thread on the original side.
  • Stitches too long on curves. The line goes angular. Shorten them on every bend.
  • Pulling tight. The fabric puckers and the rope flattens. Snug, not strained, with the fabric drum-tight in the hoop.
  • Random entry points. Coming up anywhere along the last stitch makes a lumpy cord. Aim for the midpoint every time.

Once the stems are in, add leaves and petals with the lazy daisy stitch. The two together cover most simple floral designs.
What you'll need

Step-by-Step Guide

6 steps · about 8 minutes.Check off each step as you go and your progress saves automatically.

1

Set Up Your Hoop and Anchor the Thread

0:17
Step 1: Set Up Your Hoop and Anchor the Thread - How to Do Stem Stitch - Embroidery for Beginners

Stretch your fabric in the hoop and thread your needle. Before you start the stem stitch pattern, make two tiny stitches right on the design line to anchor your thread. You'll stitch right over them as you go, so they disappear.

Orient the fabric so the area you're stitching points away from you. Working vertically makes it much easier to keep a consistent rhythm with this stitch.

Tip

Keep the anchor stitches small and right on the line - you want them covered by the stem stitch, not poking out at the edge.

2

Make Your First Forward Stitch and Leave a Loop

1:07
Step 2: Make Your First Forward Stitch and Leave a Loop - How to Do Stem Stitch - Embroidery for Beginners

Bring your needle up at the starting point on the design line. Take a forward stitch of about 2-3mm and stop before pulling the thread all the way through. Leave a small loop of thread above the fabric.

That loop is the heart of stem stitch. Where it falls - left or right - determines whether you're doing stem stitch or outline stitch. Don't rush it through yet.

Tip

Keep your stitches 2-3mm long. Too long and the rope effect won't form properly - too short and the work becomes fiddly.

3

Place the Loop Right and Come Up Between the Points

1:26
Step 3: Place the Loop Right and Come Up Between the Points - How to Do Stem Stitch - Embroidery for Beginners

For stem stitch, let the loop fall to the right. Holding it there, bring your needle back up through the fabric at the midpoint - roughly halfway between where you started and where the stitch went down.

Pull the thread through and then gently tension it from the back. Your thread should be coming out to the left of the stitch. That's the correct position.

Tip

Pulling tension from the back (rather than the front) helps protect the thread and keeps the stitch even. Make it a habit from the start.

4

Repeat to Build the Rope Effect

2:10
Step 4: Repeat to Build the Rope Effect - How to Do Stem Stitch - Embroidery for Beginners

Take another forward stitch the same length as the first. Loop to the right again, come up at the center of the previous stitch. Repeat this all the way along your line.

As the stitches build, they overlap each other and start to look like a twisted rope or cord. That's stem stitch working exactly as it should. Each stitch feeds right into the last one.

Tip

Try to keep each stitch the same length throughout. Consistent stitch length is what makes the rope effect look neat and even.

5

Navigate Curves by Shortening Your Stitches

2:56
Step 5: Navigate Curves by Shortening Your Stitches - How to Do Stem Stitch - Embroidery for Beginners

Around tight curves, shorten each stitch slightly - roughly half the normal length. More stitches means more contact points with the curve, and the line follows it cleanly without puckering or jumping across.

For a sharp point, take the thread through to the back at the tip and start again from that same point going up the other side. One small stitch back into the point gives you a clean, crisp corner.

Tip

Stem stitch works best on curves that bend anticlockwise (curving to your left as you stitch upward). Save outline stitch for the opposite direction.

6

Try Outline Stitch by Flipping the Loop Left

4:10
Step 6: Try Outline Stitch by Flipping the Loop Left - How to Do Stem Stitch - Embroidery for Beginners

Outline stitch is the same technique with one change: the loop goes to the left instead of the right. Everything else - stitch length, midpoint entry, back tension - stays identical.

This reverses the twist of the rope and works better on curves bending clockwise. Use stem stitch for anticlockwise curves, outline stitch for clockwise. If you can't remember which is which, just pick one and don't switch direction mid-line.

Tip

A useful trick for remembering: if you're going 'up' a shape, stem stitch loop goes to the right (stem stands up, loop goes up-right). Going the other way - loop left, outline stitch.

How to Punch Needle for Beginners

Keep going

How to Punch Needle for Beginners

Products Used

The Checklist

How to Do Stem Stitch - Embroidery for Beginners

Tools
3
Materials
2
Steps
6
Video
8 min

Tools we recommend

Your Guide

Sarah Homfray Embroidery

As an Amazon Associate we earn from qualifying purchases. Links on this page may be affiliate links - clicking them and buying doesn't change your price, but helps support Show Me Step by Step.

Tags

Sunday How-To

New embroidery tutorials, every Sunday

One short email with the week's best step-by-step guides. Free, no spam, unsubscribe anytime.

Test your knowledge

Did the lesson stick? Start with this one.

5 questions covering what you just read. No signup, no score saved, and you can stop after this one.

Question 1 of 5

How do you secure the thread before you start stitching?

Quick reference

Key takeaways from How to Do Stem Stitch - Embroidery for Beginners

5 questions, answers, and one-line explanations. Tap to expand.

  1. 1.How do you secure the thread before you start stitching?

    Answer: Two tiny stitches on the design line

    Small anchor stitches on the line vanish under the stitching as you go.

  2. 2.For stem stitch, which way should the loop fall?

    Answer: To the right

    Letting the loop sit to the right gives stem stitch its signature twist.

  3. 3.Where do you bring the needle back up on each stitch?

    Answer: At the midpoint of the previous stitch

    Coming up at the midpoint overlaps the stitches into a rope.

  4. 4.How should you handle a tight curve?

    Answer: Shorten each stitch

    Shorter stitches make more contact points so the line follows the curve.

  5. 5.What single change turns stem stitch into outline stitch?

    Answer: The loop falls to the left instead

    Flipping the loop to the left reverses the twist of the rope.

Did this work for you?

What's next

Weekly Digest

Liked this embroidery tutorial?

Pick the categories you want to hear about. Weekly digest of new step-by-step tutorials. No spam, easy unsubscribe.

Send me tutorials about

We only email about new tutorials. Easy unsubscribe anytime.