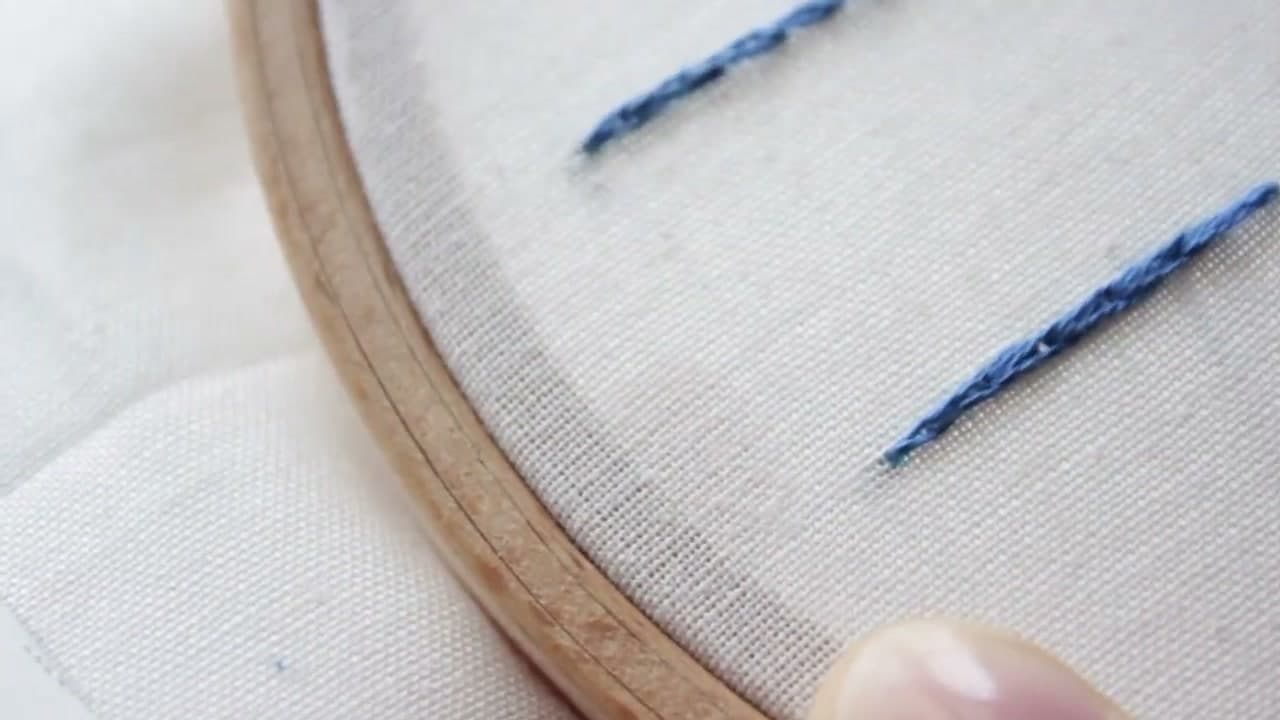
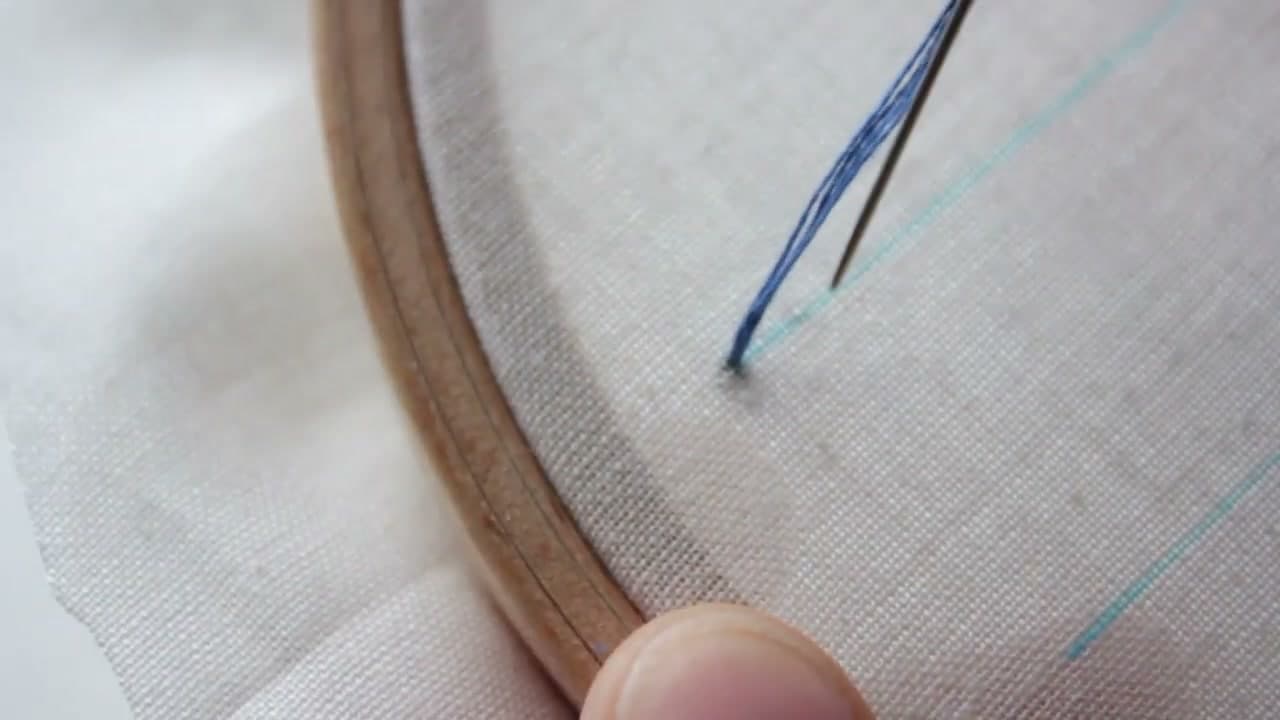
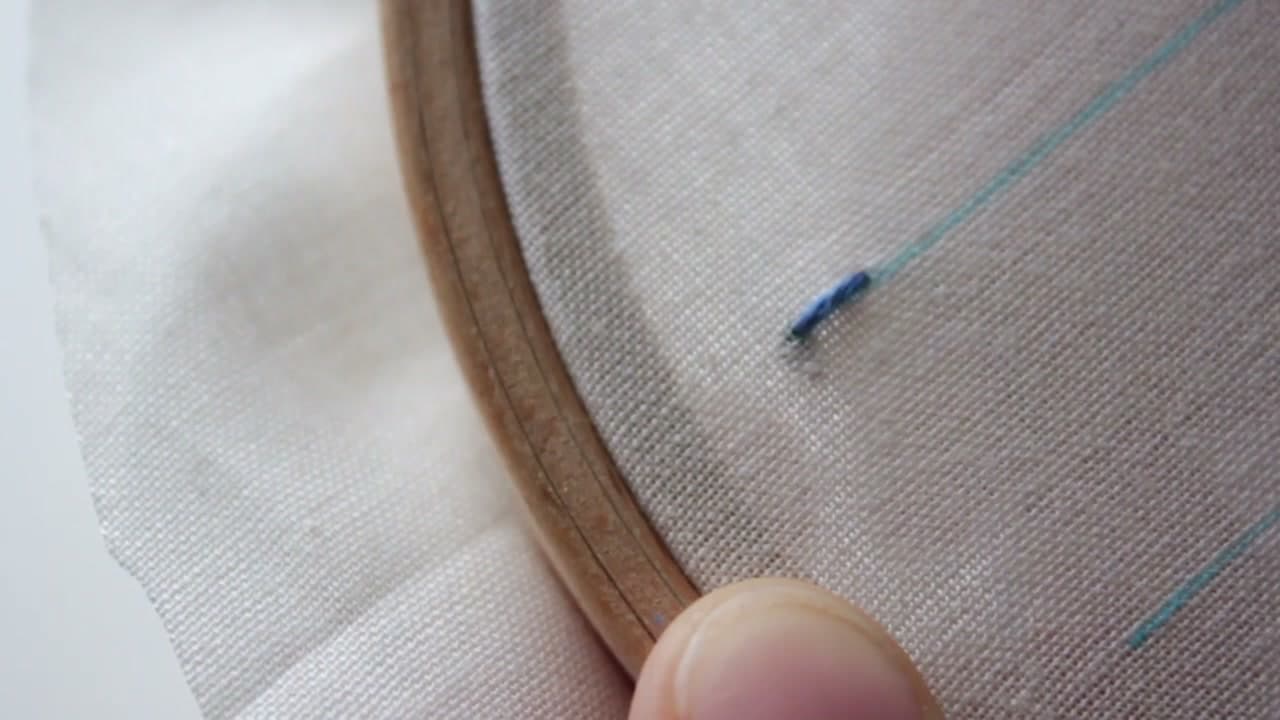
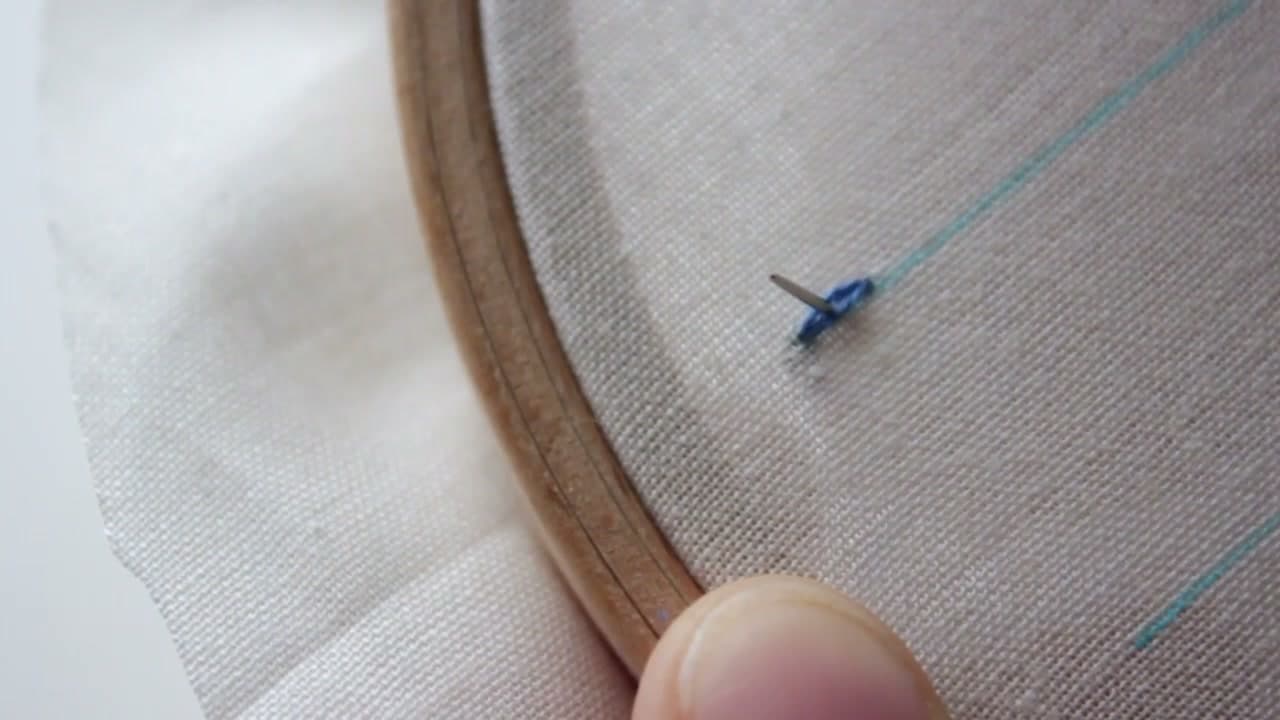
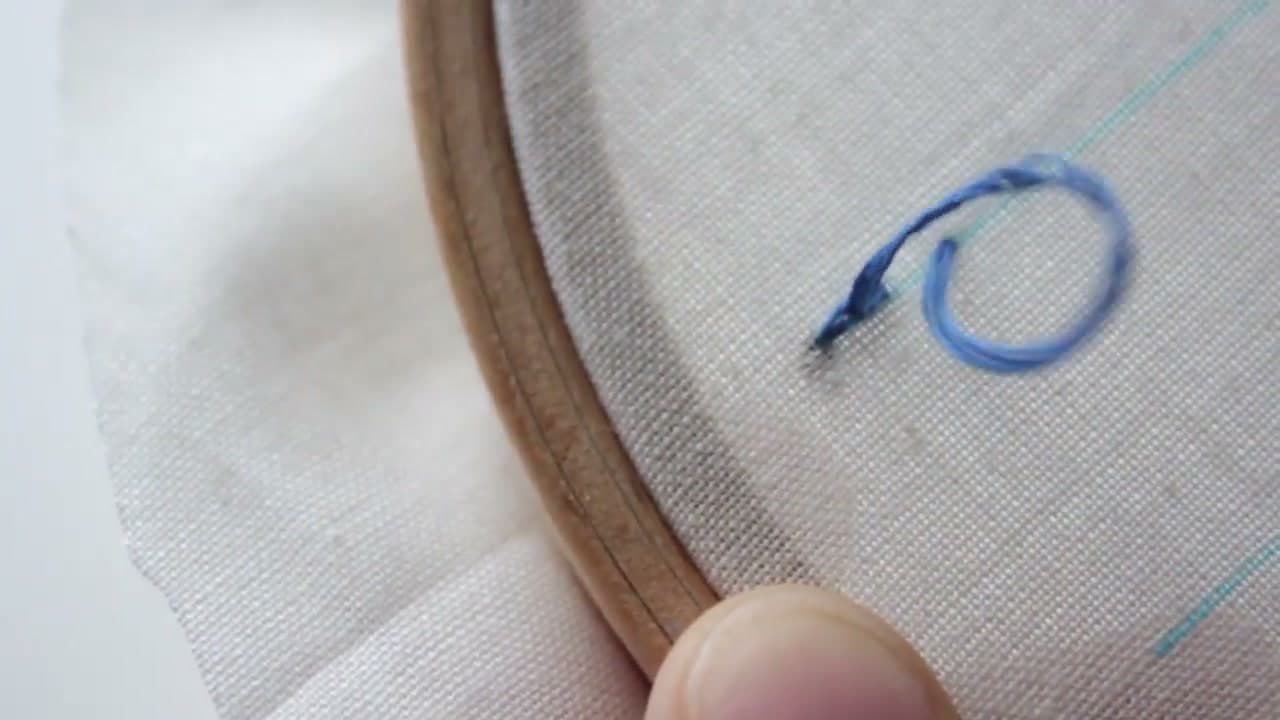
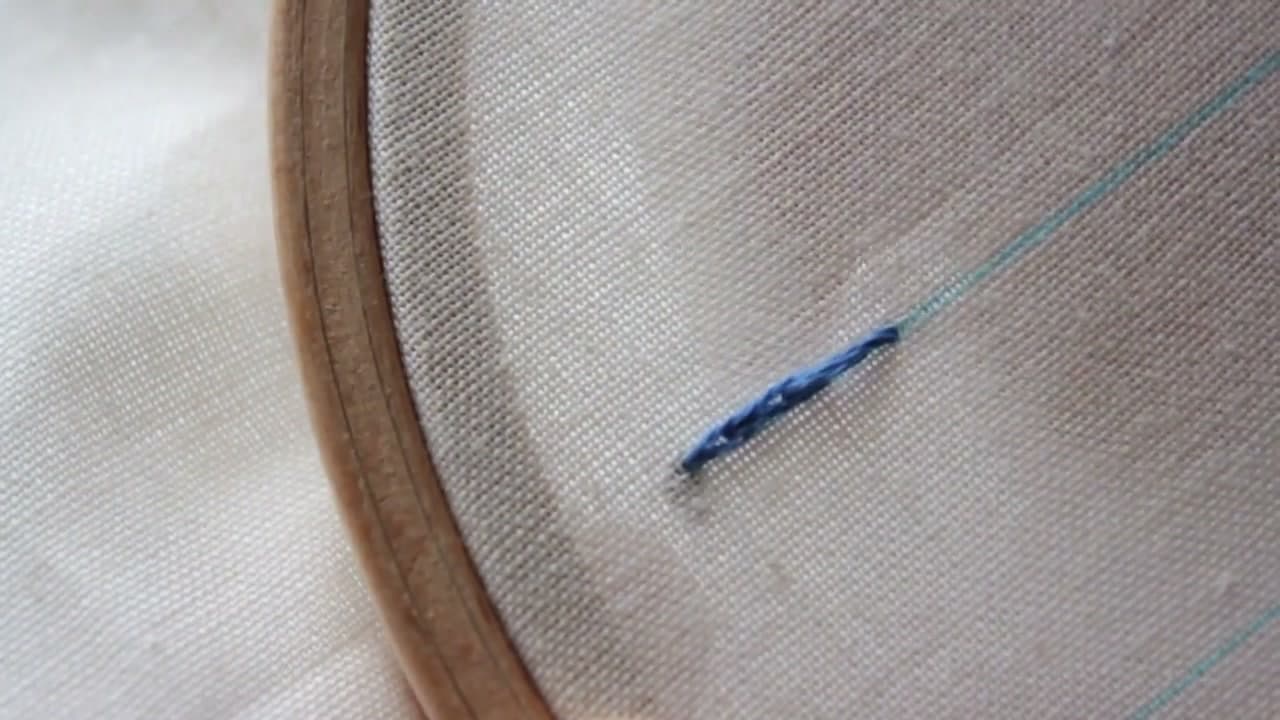
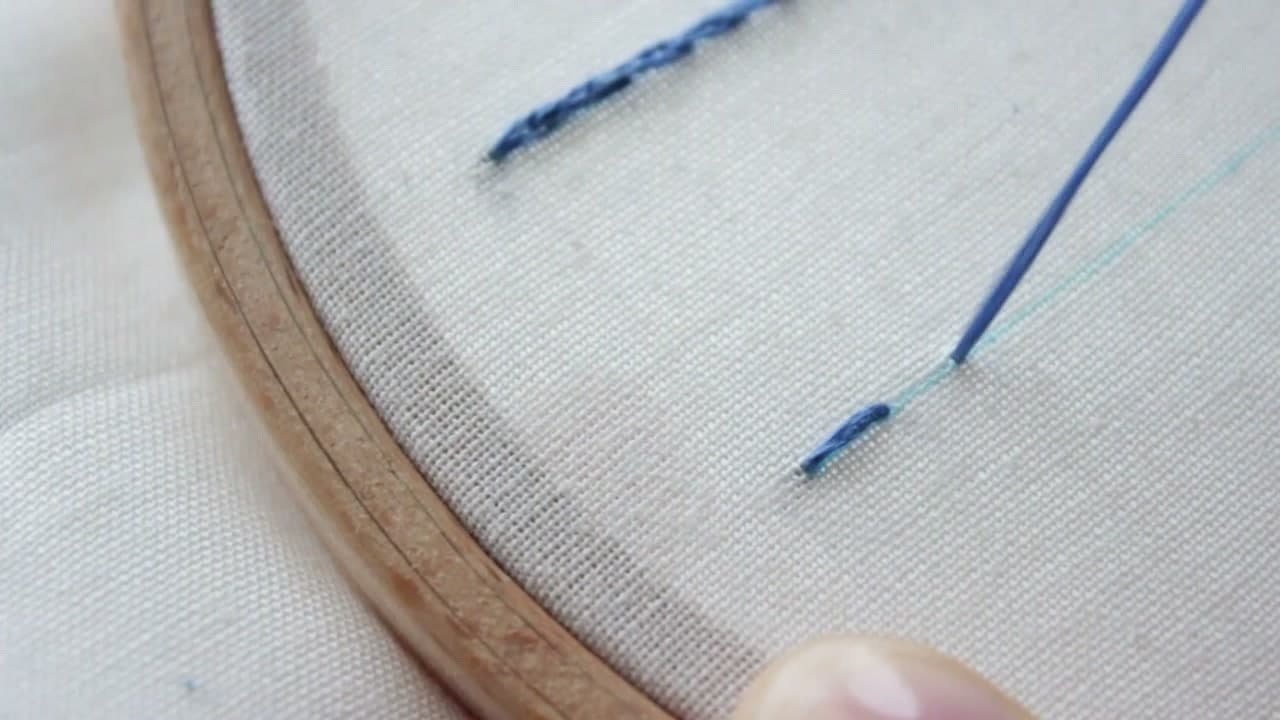
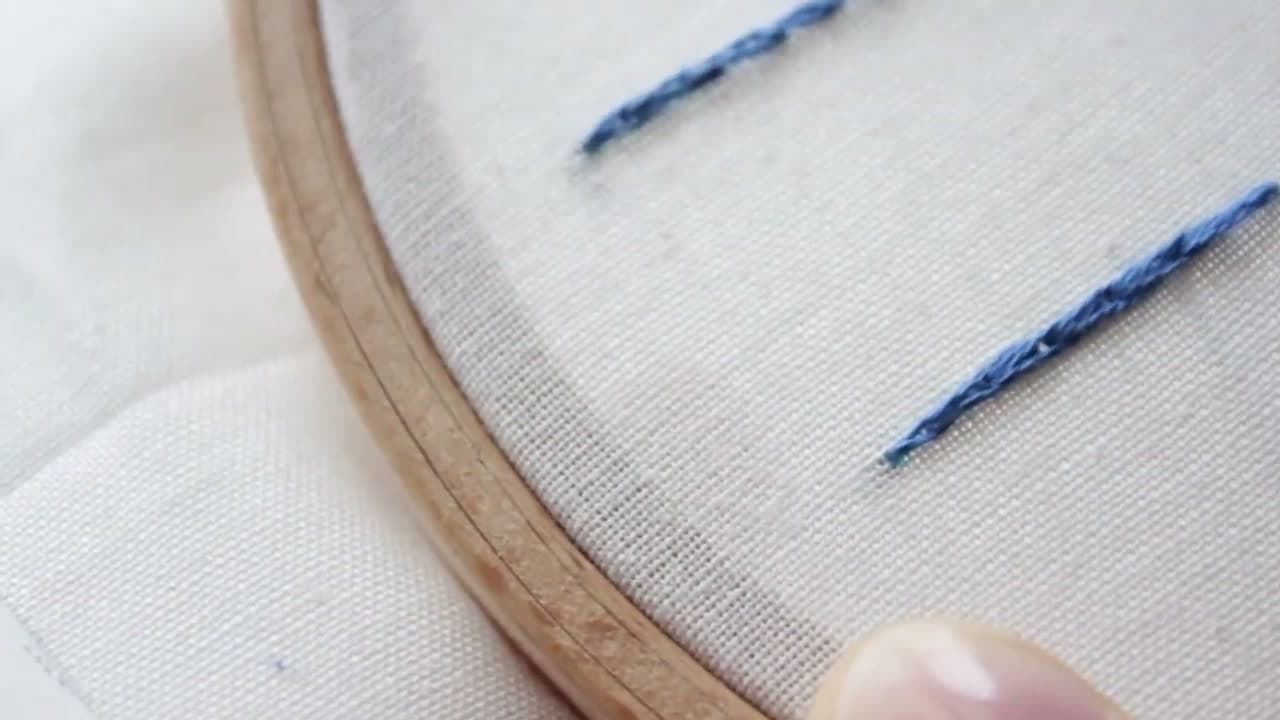
The split stitch is one of the few outline stitches that looks like a tiny rope. Each new stitch comes up through the middle of the one before it, so the line has a twisted texture down its length instead of the flat segments you get from a running stitch. It follows curves without breaking up, which is why it turns up constantly in lettering and in the outlines of flowers and leaves.
Stitchonomy shows two ways of working it. The first comes up from underneath, splitting the previous stitch from behind. The second is the split back stitch, where you come up ahead of your line and push the needle back down into the middle of the last stitch. On the front they are almost indistinguishable. On the back they are not, and that difference decides which one you should be using.
Worth knowing alongside its neighbours: the backstitch is the more common outline, stem stitch gives the other twisted line, and satin stitch is what you fill with. Split stitch also makes an excellent foundation under satin stitch. If you are just getting set up, transferring a pattern comes first.
When split stitch beats backstitch
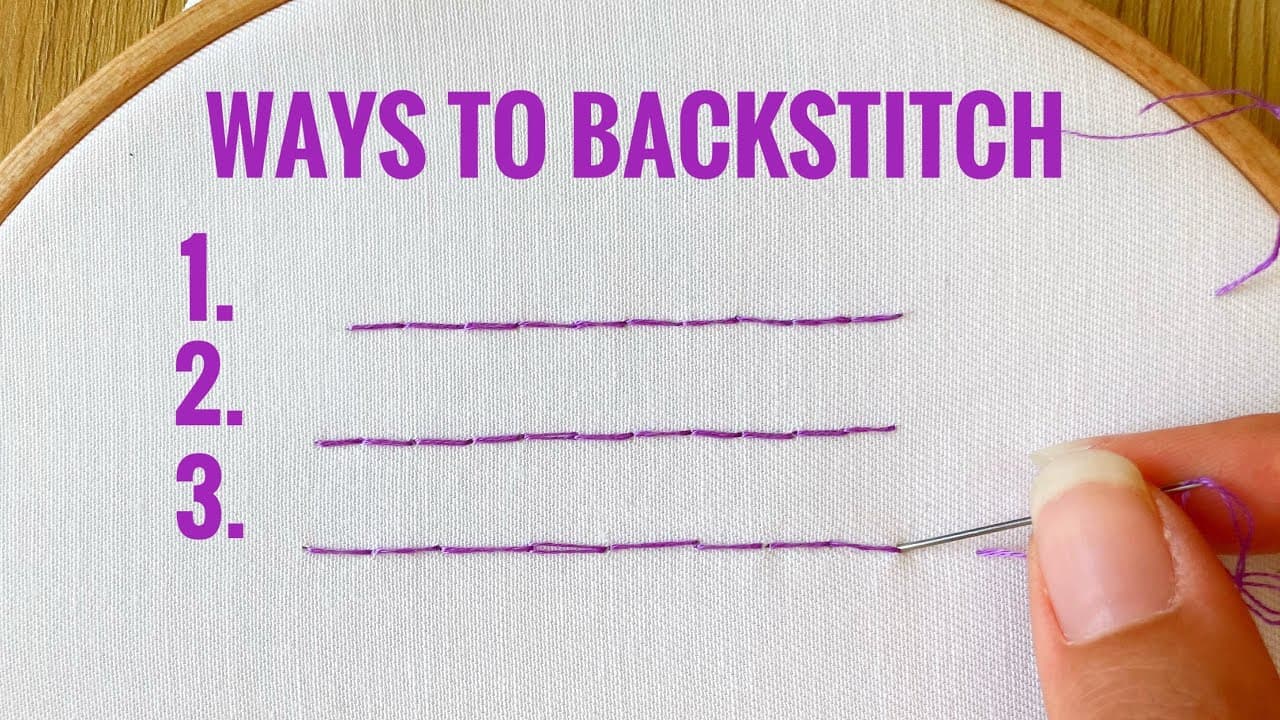
Backstitch is a row of separate dashes. Split stitch closes those gaps, so you get one solid line with a fine braided texture. Reach for it when the outline should look like a continuous cord, when the line is a smooth curve, or when satin stitch will be worked over the edge. Backstitch still wins for tiny lettering and sharp corners, where crisp separate stitches read better.
Which method to use when
- Method one, splitting from below, uses far less floss and leaves a tidy back. Use it on tea towels, napkins and anything unframed, and on big pieces where floss adds up.
- Method two, the split back stitch, lets you see exactly where the needle lands. Use it while you are learning, on tight curves, and on small details where accuracy matters more than thread.
Strand counts
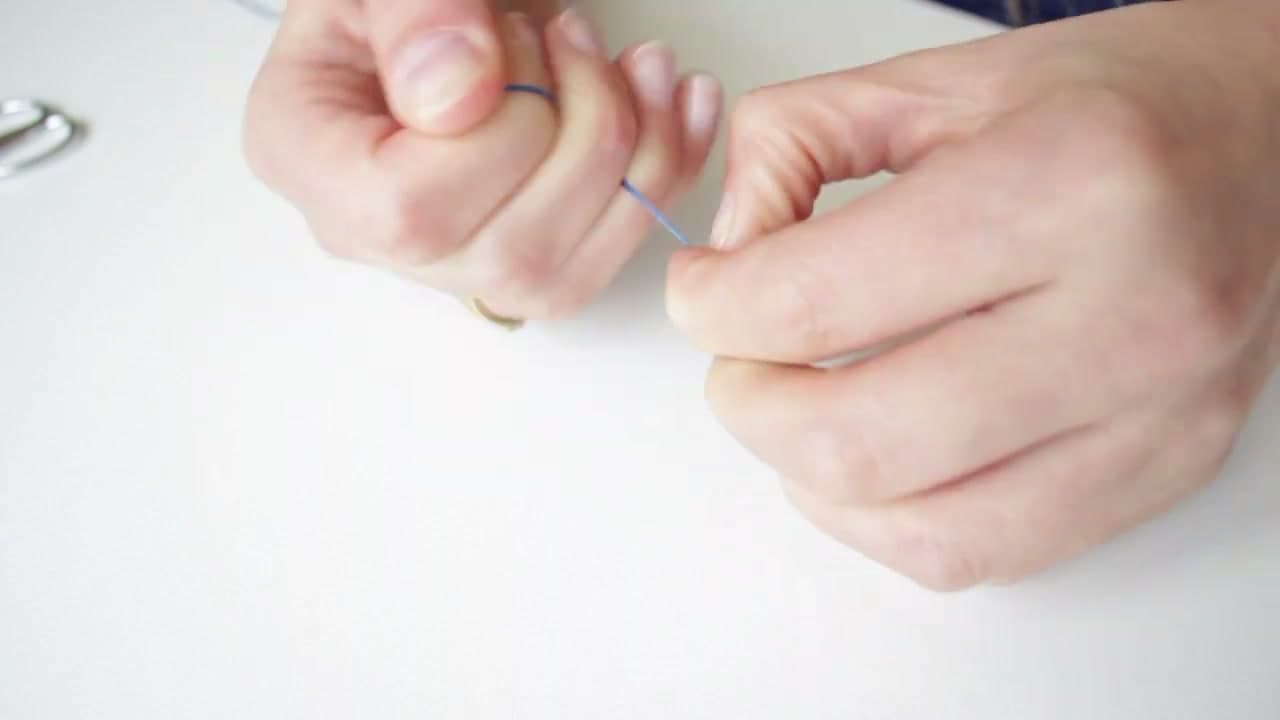
Stick to even numbers. Two strands give a fine line for faces and small lettering. Four is the everyday outline. Six is bold but harder to split cleanly, so keep those stitches short. Need a weight in between? Change thread rather than using three strands. Perle cotton and other twisted single threads will not split at all, so this stitch wants stranded floss or wool.
Split stitch as an underlay for padded satin stitch
Outline the shape in split stitch, then work satin stitch over it, bringing the needle up and down just outside the outline. The split stitch acts like a low wall. The satin stitches roll over it and the edge stays crisp instead of jagged. For a raised, padded shape, fill the inside with rows of split stitch before the satin goes on, and lay the satin at a different angle from the padding so it does not sink between the rows.
Common mistakes
- Missing the split. The needle comes up beside the stitch, not through it, and leaves a gap. Wiggle the tip until you feel it slip between the strands.
- Stitches too long. They sag and flatten curves. Keep to 3-5mm, shorter on bends.
- Splitting off-center. One side fat, one thin, and the line wobbles. Even strands and a slow needle fix it.
Pair a split stitch stem with lazy daisy leaves for a quick floral sprig.