How to Transfer an Embroidery Pattern (4 Easy Methods)

EmbroideryEasy12:317 stepsBrowse more →

By ShowMeStepByStepPublished

Based on a video by The Authentic Embroiderer.

The hardest part of starting a hand-embroidery project is often just getting the design onto the fabric. The Authentic Embroiderer walks through four transfer methods he has actually used, so you can pick the one that fits your fabric and your pattern.

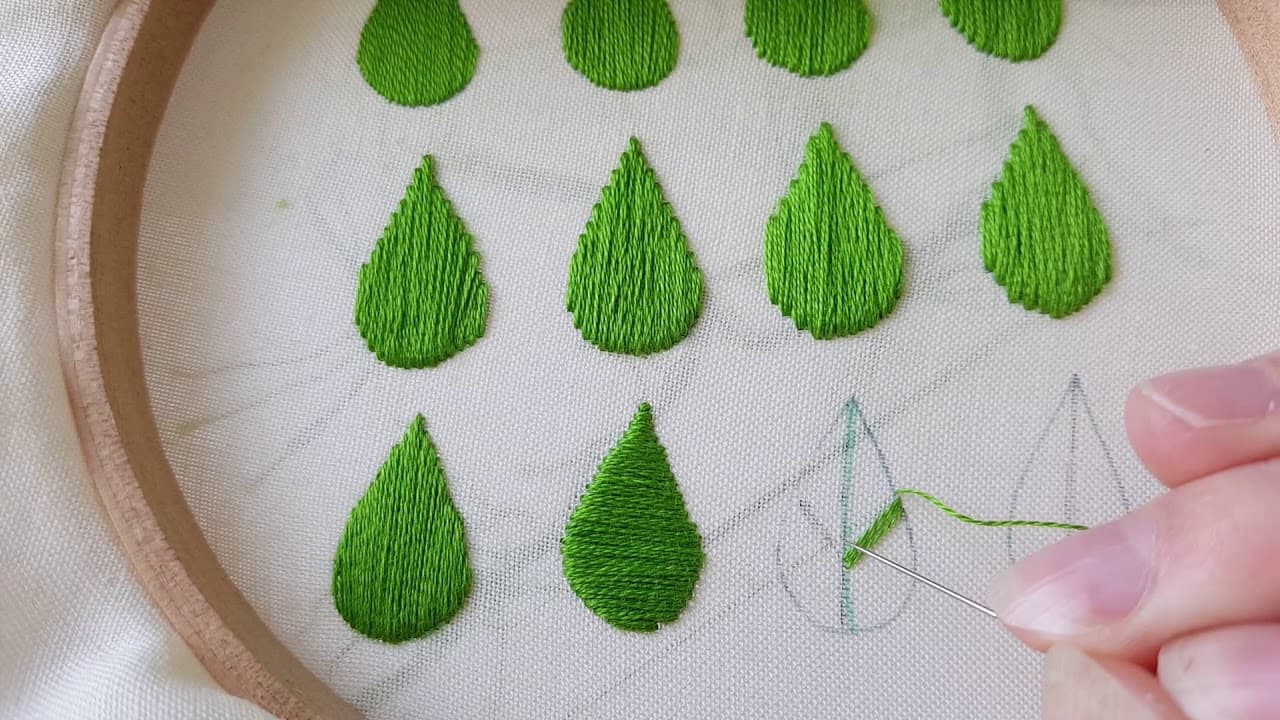
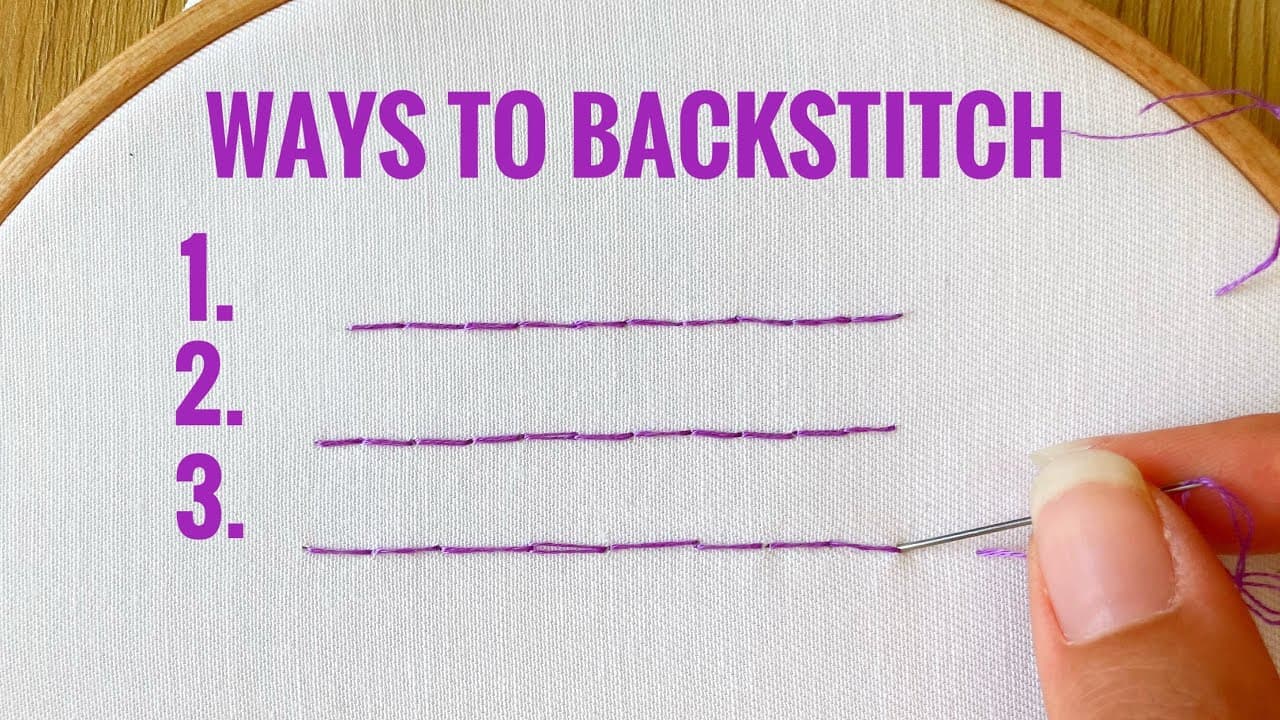
Each one suits a different situation. Inkjet printing gives razor-sharp lines on light cotton. Sticky Fabri-Solvy handles dark cloth, linen and felt that will not take print. Carbon paper and pattern tracing fabric are the low-tech options for when you want to copy a drawing by hand. Once your outline is down, you are ready to stitch it with a backstitch or fill it in.

These transfers work for any design, from a simple monogram to a rose or a butterfly. When the stitching is done, learn how to finish an embroidery hoop so it hangs clean on the wall.

Step-by-Step Guide

7 steps · about 13 minutes.Check off each step as you go and your progress saves automatically.

1

Step 1: Iron Freezer Paper to Your Fabric (Method 1)

3:04
Step 1: Step 1: Iron Freezer Paper to Your Fabric (Method 1)

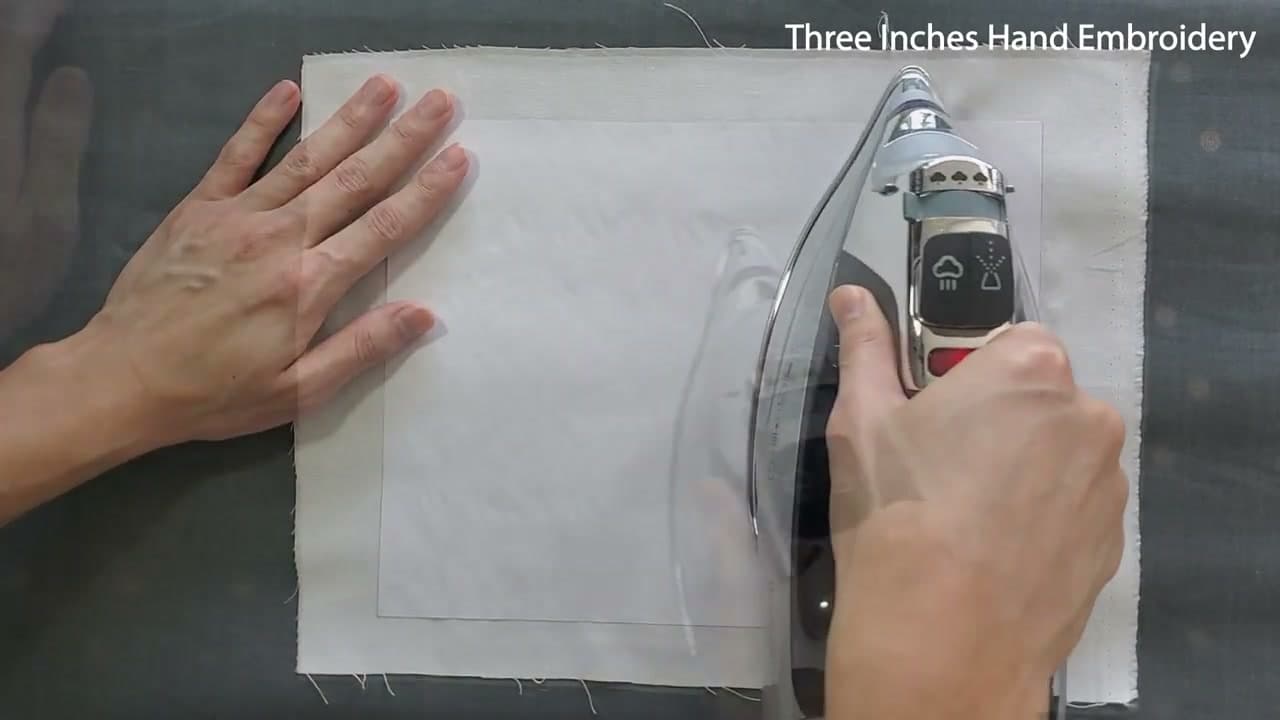
The first method prints your pattern straight onto fabric, and it starts with plastic-coated freezer paper. Iron your fabric flat, then lay the freezer paper shiny side down on top and press it with a hot iron for 15 to 20 seconds. The coating melts just enough to grip the cloth.

Run your finger around the edges to check the paper is stuck with no lifting corners. This backing stiffens the fabric so it can feed through a printer like an ordinary sheet of paper. Trim off any overhang with a rotary cutter.

Tip

Watch this step Make sure the shiny, coated side of the freezer paper faces the fabric, or it will not stick when you iron it.
2

Step 2: Print the Pattern Onto the Fabric

5:36
Step 2: Step 2: Print the Pattern Onto the Fabric

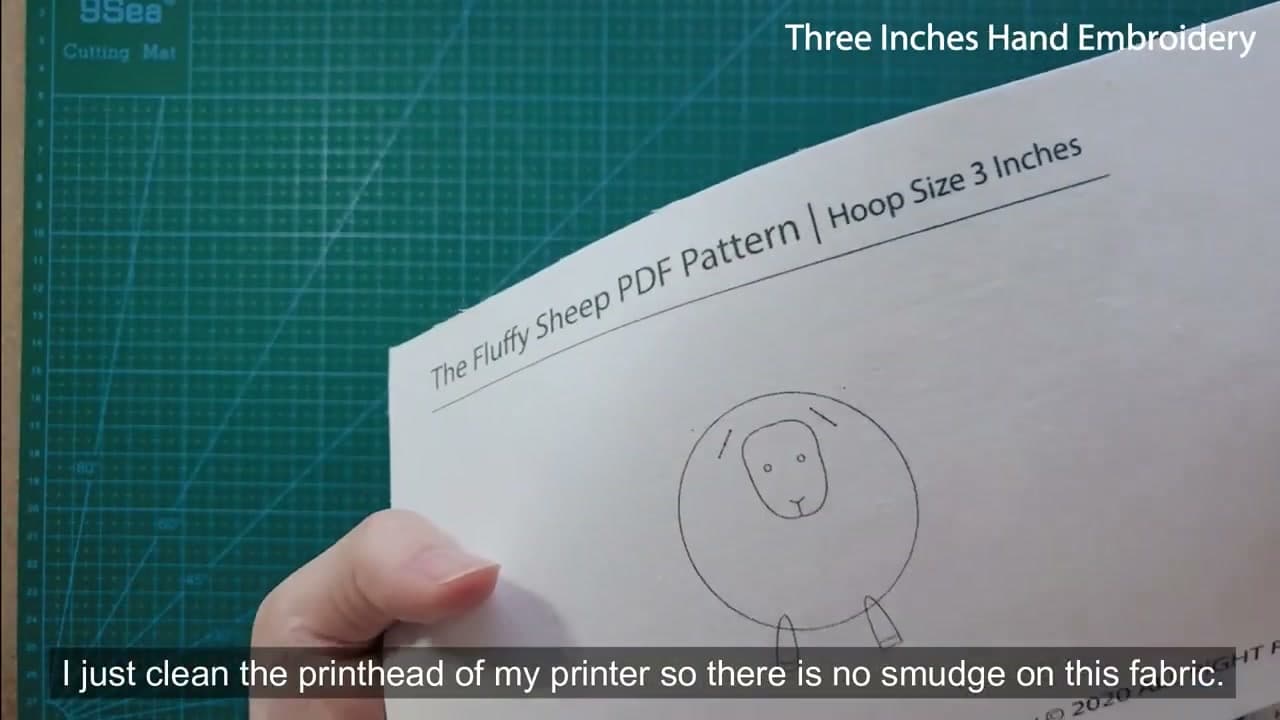
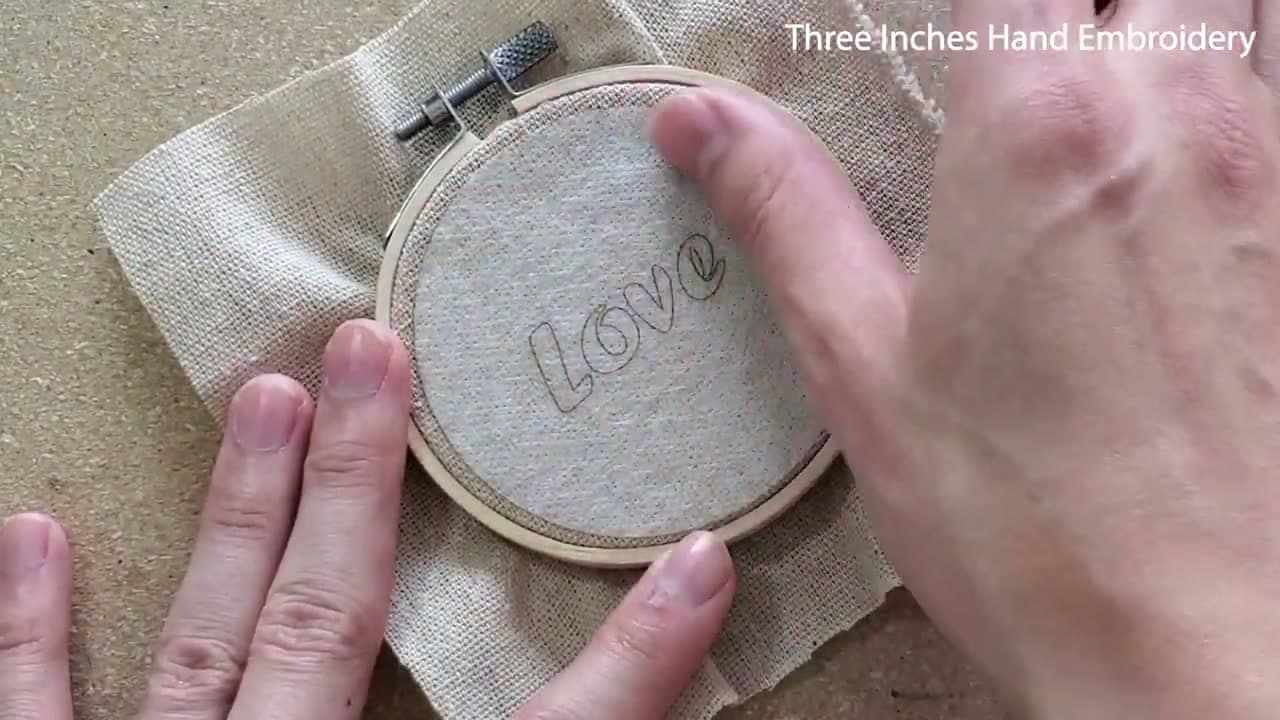
Load the stiffened fabric into an inkjet printer with the fabric side facing up, and print your design onto the cloth. The lines come out crisp and sized exactly to your pattern, which is why this is the most accurate of the four methods.

Peel the fabric off the freezer paper once the ink has dried. If you would rather skip the cutting and ironing, a letter-size fabric sticker sheet does the same job. Stick it to the fabric, smooth out the bubbles, and print.

Tip

Watch this step Clean your printer's printhead first so the ink lays down without smudging on the fabric.

3

Step 3: Stick Fabri-Solvy Onto Hooped Fabric (Method 2)

7:22
Step 3: Step 3: Stick Fabri-Solvy Onto Hooped Fabric (Method 2)

Sticky Fabri-Solvy is a printable, self-adhesive stabilizer that washes out with water. Print your design onto it, cut it to size, and set it aside. Put your fabric in the hoop first, then peel the backing off the stabilizer and smooth it down over the taut fabric.

Now you stitch right through both layers, following the printed outline. Reach for this method when your fabric will not take a print, such as dark cotton, linen or felt.

Tip

Watch this step Hoop the fabric before you apply the stabilizer, not after, so the surface stays smooth and drum-tight.

4

Step 4: Stitch, Then Rinse the Stabilizer Away

7:48
Step 4: Step 4: Stitch, Then Rinse the Stabilizer Away

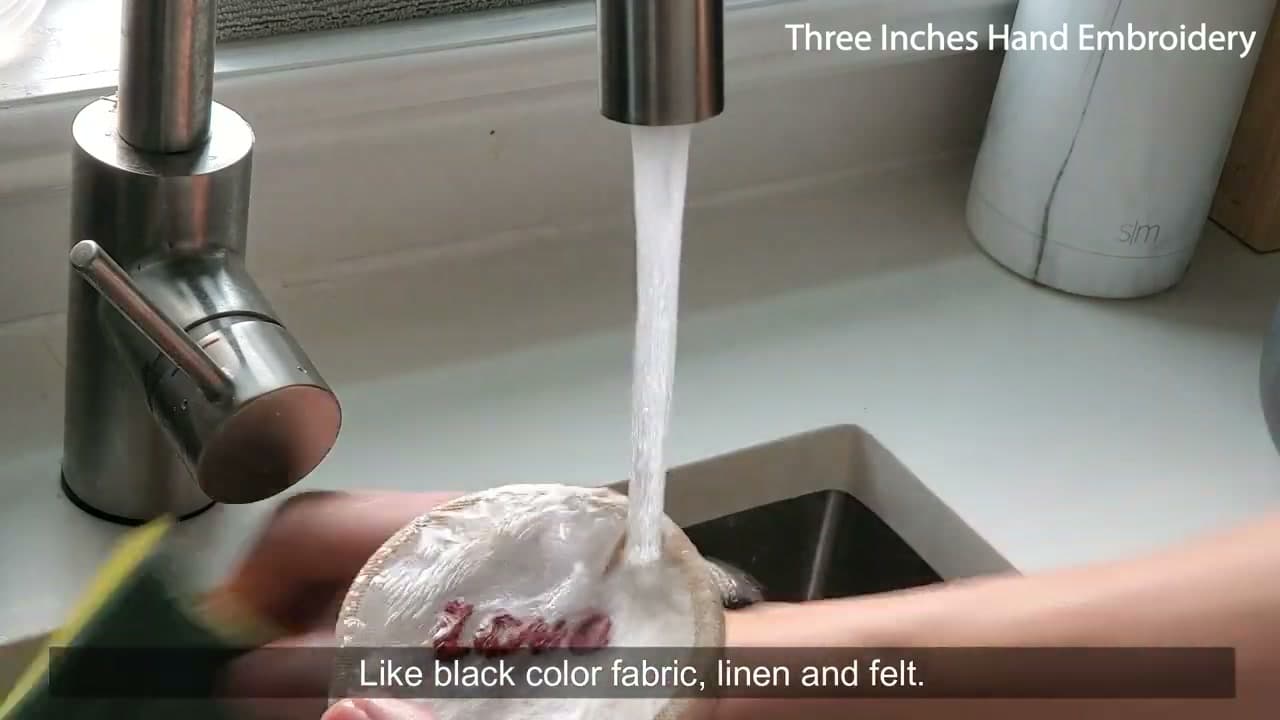
Once your design is stitched, hold the whole piece under running water. The Fabri-Solvy dissolves and rinses off, leaving your thread sitting on clean fabric with no residue. Rub it gently between your fingers to clear any last film.

Let the fabric dry flat before you put it back in the hoop or up on display. If you want to leave the work hooped while it dries, tie off the loose edges so they do not fray.

Tip

Watch this step Give it a good rinse for two to three minutes so no sticky residue is left to stiffen the fabric.

5

Step 5: Trace Through Carbon Paper (Method 3)

9:00
Step 5: Step 5: Trace Through Carbon Paper (Method 3)

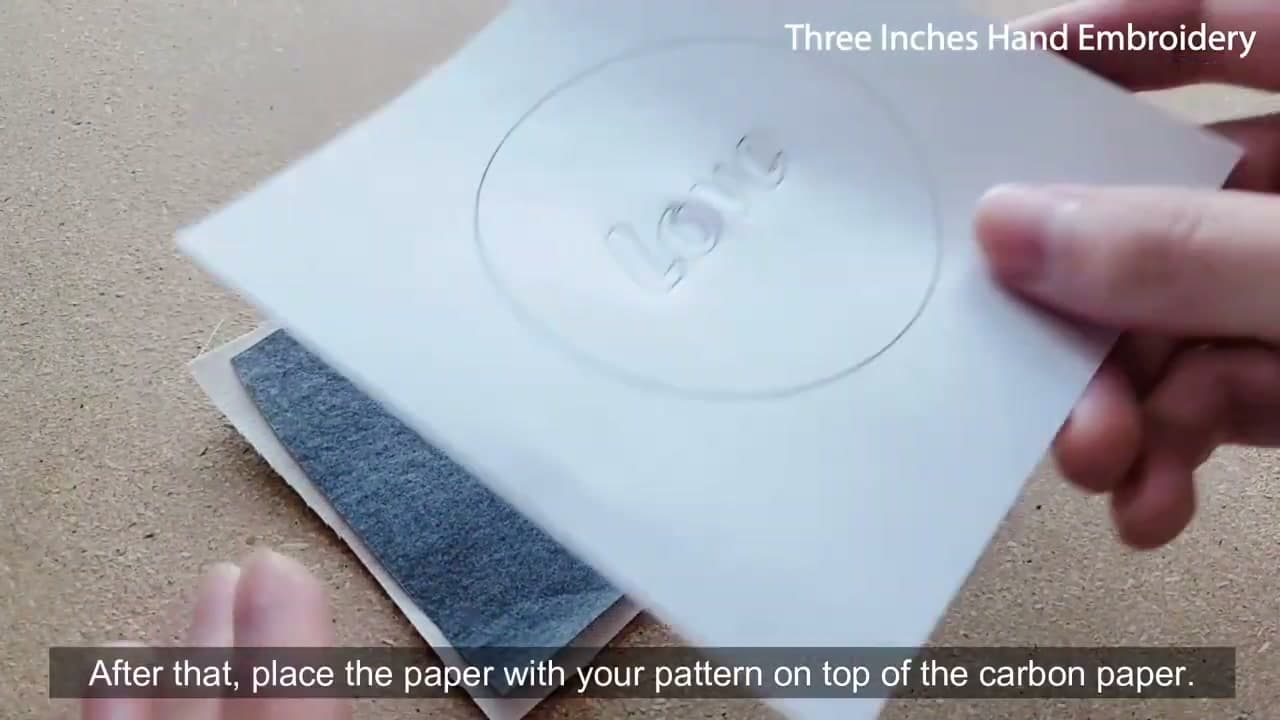
Carbon paper copies a drawing onto fabric with no printer at all. Lay a sheet of dressmaker's carbon on your fabric with the dark, waxy side facing down, then set your paper pattern on top of it.

Trace over every line with a stylus or an empty ballpoint pen. Press firmly, because the harder you push, the cleaner the transferred line comes out underneath. Lift the papers away and your outline sits on the fabric, ready to stitch.

Tip

Watch this step A dried-up ballpoint or a proper stylus both work; you just need a hard point that presses without tearing the paper.

6

Step 6: Trace Your Design Onto Pattern Tracing Fabric (Method 4)

10:00
Step 6: Step 6: Trace Your Design Onto Pattern Tracing Fabric (Method 4)

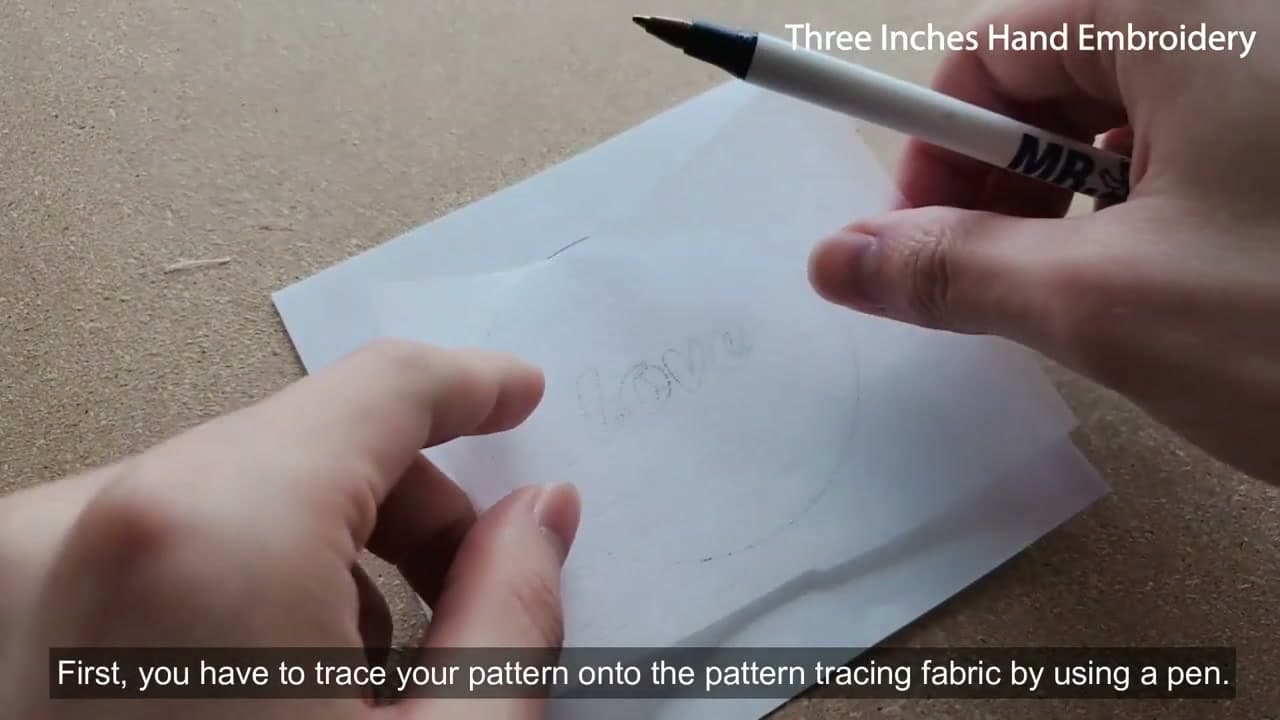
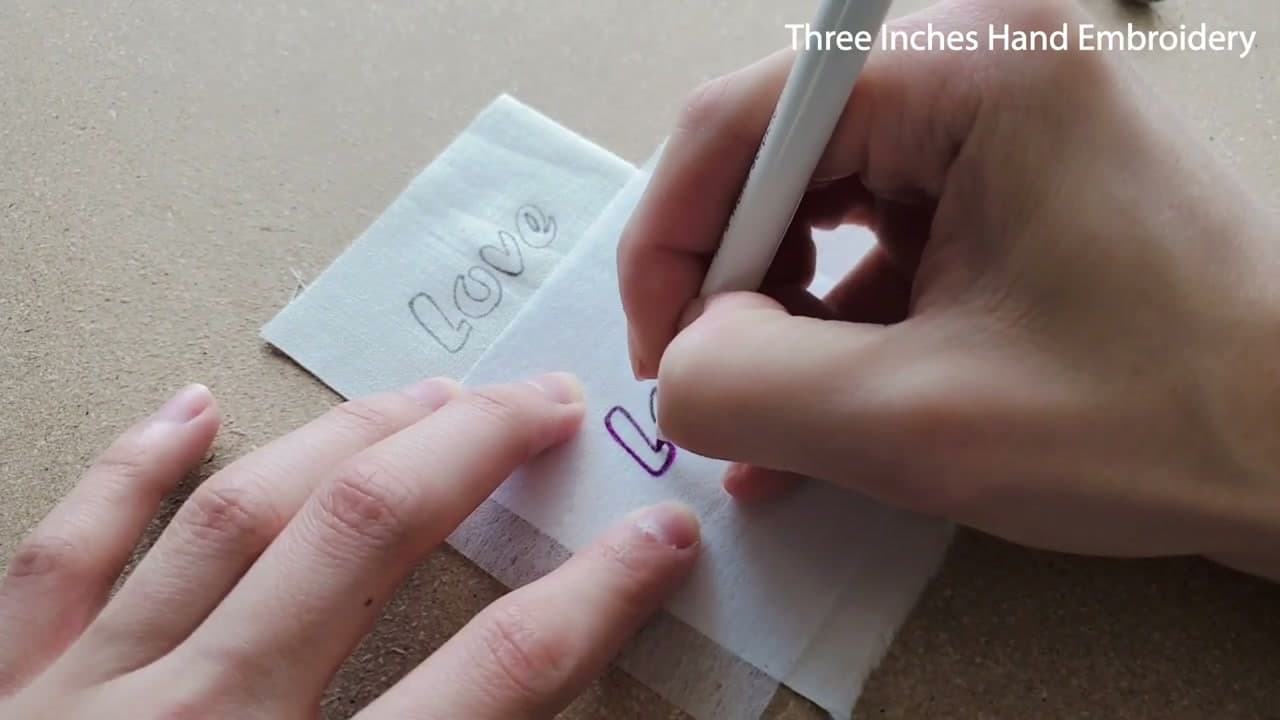
The last method uses pattern tracing fabric, a thin see-through non-woven sheet that sewers keep for copying patterns. Set it over your printed design and trace the outline onto it with any pen you have to hand.

Because the material is sheer, the lines below show right through, so your copy comes out accurate. This gives you a portable version of the design that you lay onto your real fabric in the next step.

Tip

Watch this step Any regular pen works for this first tracing, since it only goes onto the tracing fabric and not your project.

7

Step 7: Transfer the Outline With a Heat or Water Pen

11:44
Step 7: Step 7: Transfer the Outline With a Heat or Water Pen

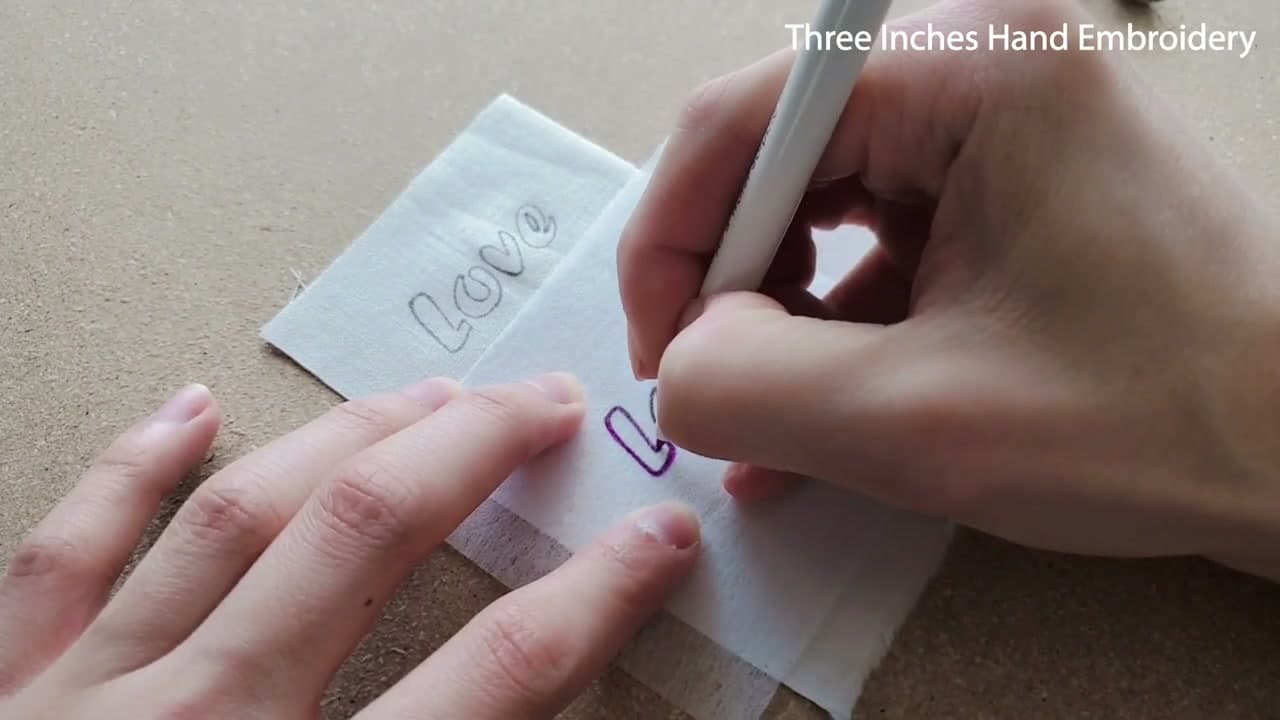
Lay the traced tracing fabric on top of your project fabric and go over the lines one more time. Use a heat-erasable pen or a water-soluble transfer pen so the marks vanish later with heat or a splash of water, leaving nothing on the finished piece.

The pen presses the mark down onto the fabric below. A heat pen has a firmer tip, so you can bear down and get a sharper line than the softer water pen leaves. Pick whichever method suited your fabric best and start stitching.

Tip

Watch this step The heat pen gives the sharpest line, but test either pen on a scrap first to be sure the marks fully disappear.

Products Used

☐ The Checklist

How to Transfer an Embroidery Pattern (4 Easy Methods)

Tools
8
Materials
6
Steps
7
Video
13 min

Tools we recommend

Your Guide

The Authentic Embroiderer

As an Amazon Associate we earn from qualifying purchases. Links on this page may be affiliate links - clicking them and buying doesn't change your price, but helps support ShowMeStepByStep.

Tags

Sunday How-To

New embroidery tutorials, every Sunday

One short email with the week's best step-by-step guides. Free, no spam, unsubscribe anytime.

Did this work for you?

What's next

Weekly Digest

Liked this embroidery tutorial?

Pick the categories you want to hear about. Weekly digest of new step-by-step tutorials. No spam, easy unsubscribe.

Send me tutorials about

We only email about new tutorials. Easy unsubscribe anytime.