How to Install Window Blinds (Inside Mount)

By ShowMeStepByStepPublished Updated

Based on a video by Everyday Home Repairs.

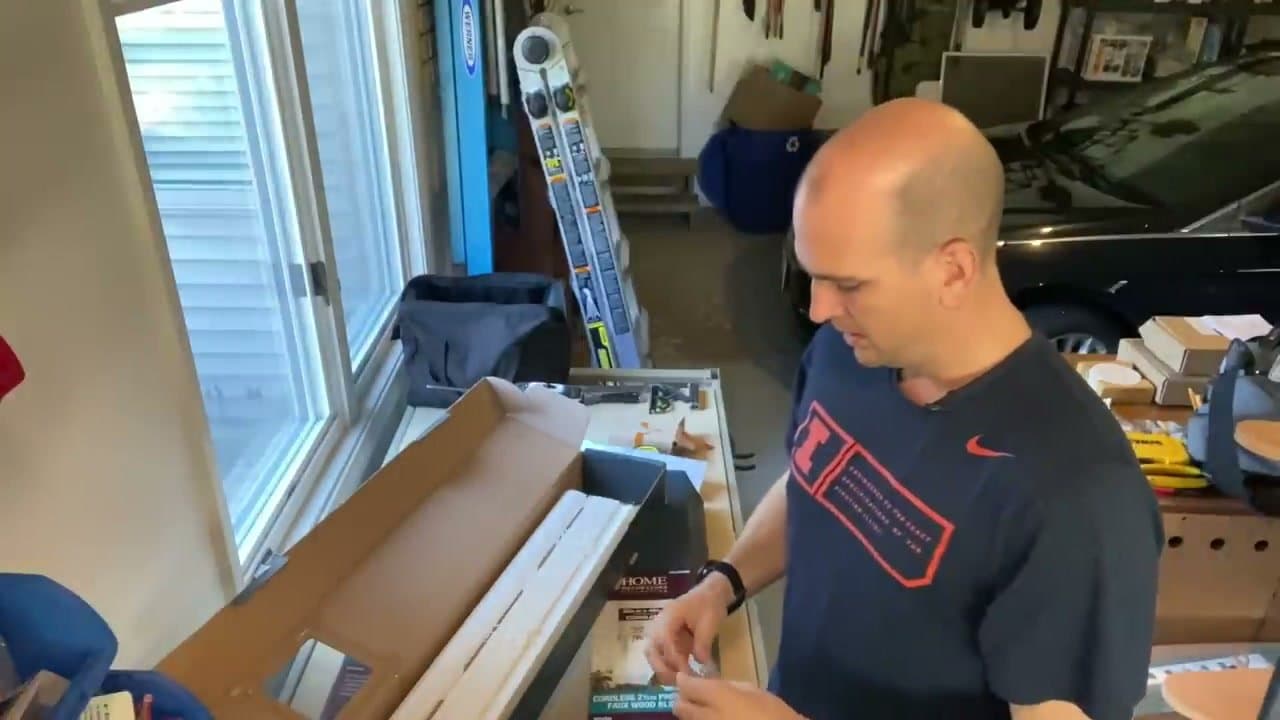
Blind installation is one of those jobs that looks intimidating but actually comes down to two screws per bracket and a tape measure. The whole thing takes about twenty minutes per window once you've done it once. Scott from Everyday Home Repairs did every window in his house this way and saved over four thousand dollars versus the quotes he got from blind companies.

This walkthrough covers an inside mount - the blinds sit inside the window frame instead of sticking out past it, which is the cleaner look and the more common choice. The only tools you really need are a cordless drill with a Phillips head bit and a tape measure. A torpedo level helps but isn't required if your window frame is already square.

Order your blinds sized to your window before you start. Home Depot and most big box stores will custom-cut faux wood blinds to your exact width in a couple of days. Measure the inside of your window frame to the nearest sixteenth of an inch and take the narrowest measurement if the frame isn't perfectly square. While you're refreshing the room, our painting guide covers every prep step the pros use, and floating shelves add storage above the window without bulky brackets.

Common questions about installing window blinds

The questions buyers ask before tackling their first window install. If you can answer these going in, the actual job is straightforward.

Do you screw blinds into the window frame or the wall?

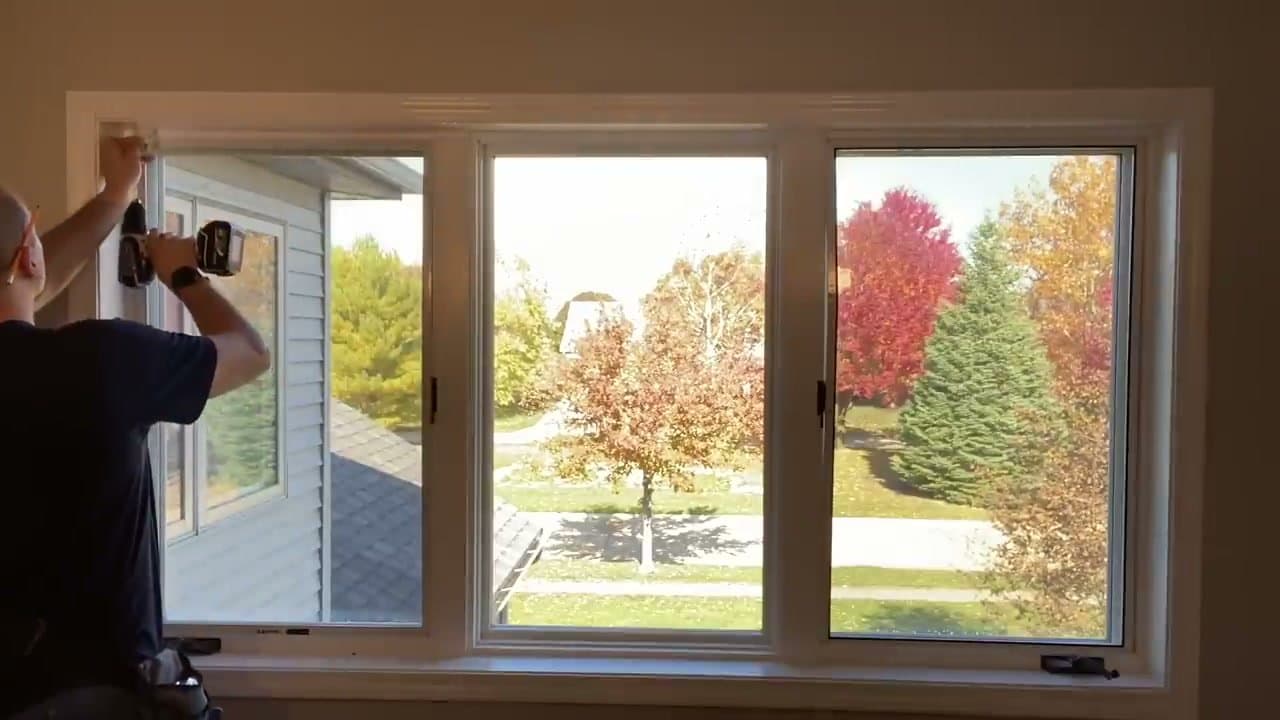
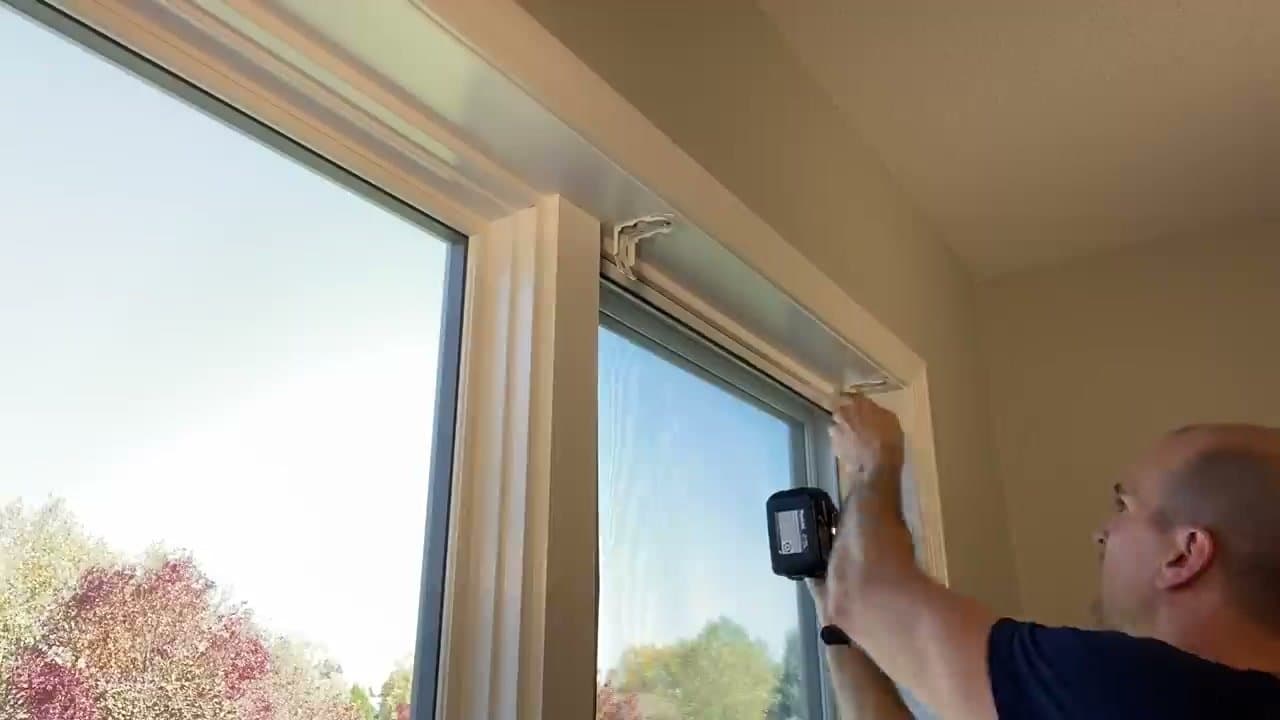
For an inside mount, the brackets screw into the top of the window frame itself. The screws bite into the wood or vinyl jamb so the headrail sits inside the recess. For an outside mount, the brackets screw into the wall above the trim or directly into the trim. Inside mount is the cleaner look but requires at least 2 inches of frame depth so the headrail clears the glass.

How do you measure for inside-mount blinds?

Measure the inside width of the frame at three places (top, middle, bottom) and use the narrowest reading. Round down to the nearest sixteenth of an inch — never round up, or the blinds won't fit. For height, measure from the top of the frame to the sill at three places and use the longest reading. Most retailers cut faux wood blinds to your exact width within an eighth-inch tolerance, so measuring matters.

Can you install window blinds without drilling?

Yes, but only with a different blind type. Tension rod blinds and some cordless cellular shades use spring pressure or adhesive strips to mount inside the frame, no screws required. Faux wood blinds like the ones in this guide do require drilling — they're heavier and need bracket support to stay level. If you rent and can't drill, switch product types rather than skipping the brackets.

What size drill bit do you use for window blind brackets?

A 3/32-inch bit is the right size for the pilot holes on the screws that ship with most faux wood and metal blinds. If you're going into vinyl or PVC window frames, drill a pilot hole every time so you don't crack the jamb. On wood frames you can sometimes drive the screw straight in, but a pilot hole still gives you a cleaner finish. Always set the drill on a low torque setting.

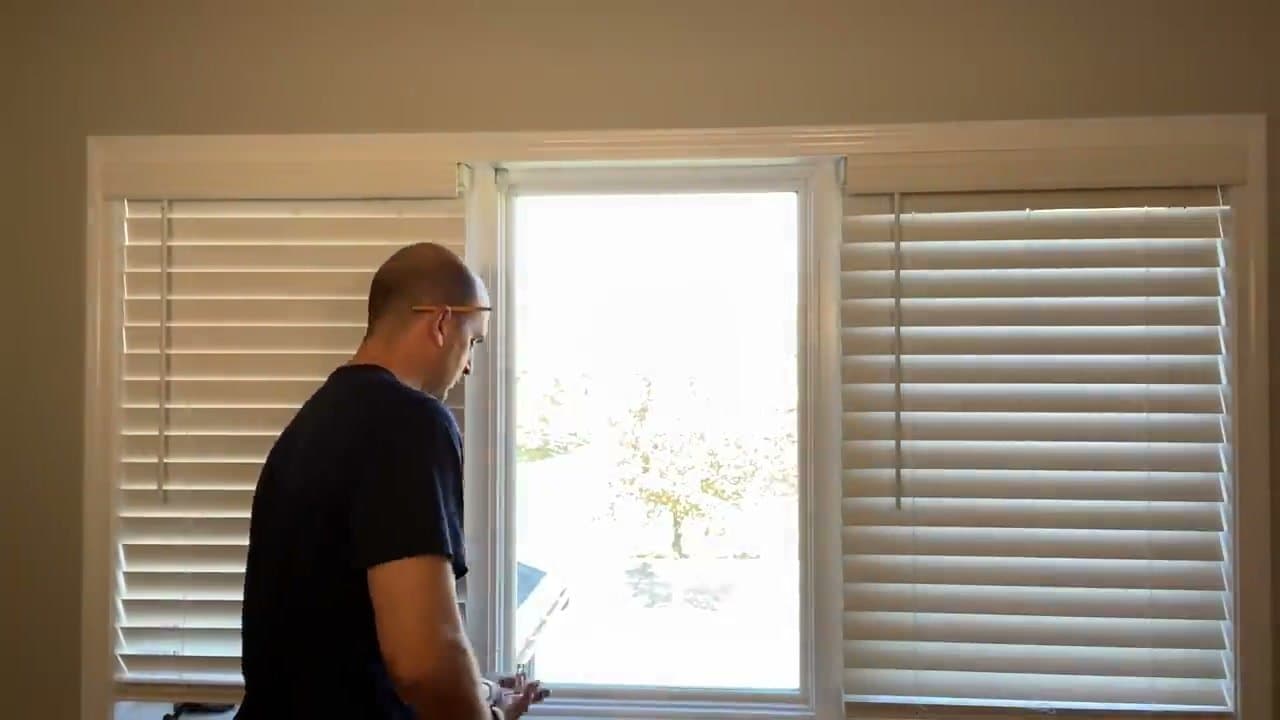
How long does it take to install window blinds?

About 20 to 30 minutes per window once you've done one. The first install runs longer because of unboxing and reading the directions. Bracket placement and pilot drilling take maybe 5 minutes per side; snapping the headrail in and clipping the valance is another 5. Multi-window jobs go fast: most homeowners can do five or six windows in a single afternoon.

Step-by-Step Guide

1

Unbox and Sort the Components

1:25
Step 1: Unbox and Sort the Components

Open the blind box and lay out the parts. Every blind ships with the headrail (the long metal track at the top), the valance (the wide decorative cover piece), corner plates, mounting brackets, end caps, valance clips, and screws in two lengths.

For an inside mount, you only need the two main mounting brackets, the valance, two valance clips, and the longer screws. Set aside the corner plates, side balance plates, and the short screws - those are only needed for outside mounts.

Tip

If the blind came with a tie-off piece for a cord, you can ignore it - this tutorial is for cordless blinds.

Products used in this step

2

Shake Out the Blind Before Bringing It Inside

3:45
Step 2: Shake Out the Blind Before Bringing It Inside

Faux wood blinds come custom cut at the factory, which leaves plastic shavings and dust in between the slats. Stand over a trash can or step outside and shake the whole blind hard, top to bottom.

If you skip this, that dust ends up on your carpet when you unpack it at the window, and it's a pain to clean up. Once it's clean, carry the blind, valance, and hardware to the window.

3

Mark and Install the First Bracket

4:45
Step 3: Mark and Install the First Bracket

Measure two and a half inches in from the left edge of the window frame and hold the first bracket against the inside-top of the frame at that mark. The bracket has two screw holes - a slot in front and a round hole in back.

Drive the slotted front screw first. Press the screw tip into the wood with your drill before you start driving - that helps it bite and keeps it from falling. Drive it partway so the bracket can still pivot. Level the bracket so it's square to the window, then drive the back screw fully home. Come back and tighten the front screw last.

Tip

The slot lets you nudge the bracket left or right after the screw is in. Use that slack to get both brackets exactly in line with each other.

4

Install the Second Bracket

6:50
Step 4: Install the Second Bracket

Measure two and a half inches in from the right edge of the window frame. Mount the second bracket the same way you did the first - slot screw first, then the back screw.

Before you tighten everything down, sight across from one bracket to the other. Both need to be at the same depth from the front of the window frame, or the headrail won't clip in flat on both sides. Adjust using the slack in the slot holes.

Tip

If the brackets are even a quarter inch off in depth, the headrail will feel like it won't seat. That's the fix - re-align them before you try forcing the clip.

5

Clip the Headrail into the Brackets

7:45
Step 5: Clip the Headrail into the Brackets

Lift the blind up to the window and slide the back edge of the headrail into both brackets at once. There's a hinged front door on each bracket that swings down over the front of the headrail.

Swing both doors closed until they click. Give the blind a gentle tug to confirm it's seated. If one side doesn't clip, the brackets are misaligned - loosen the bracket screws, slide into line, and retighten. Don't force it.

6

Attach the Valance

8:30
Step 6: Attach the Valance

Clip two valance clips onto the front of the headrail, one near each end. The clips snap on with just finger pressure.

Press the valance (the wide decorative front piece) into the clips so it covers the metal headrail. Pull the cordless lift cord up and down a couple of times to confirm the blind runs smoothly and the slats tilt correctly with the wand. That's the window done.

Tip

If you're installing multiple blinds on one wide window, the valances can look mismatched where they meet. Trim the middle section out of a leftover corner valance piece with side cutters and slide it into the middle track to bridge them.

Products Used

☐ The Checklist

How to Install Window Blinds (Inside Mount)

Tools
5
Materials
1
Steps
6
Video
11 min

Your Guide

Everyday Home Repairs

As an Amazon Associate we earn from qualifying purchases. Links on this page may be affiliate links - clicking them and buying doesn't change your price, but helps support ShowMeStepByStep.

Tags

Test your knowledge

Did the lesson stick? Find out in 2 minutes.

5 quick questions covering what you just read. No signup, no score saved — just a gut check.

Quick reference

Key takeaways from How to Install Window Blinds (Inside Mount)

5 questions, answers, and one-line explanations. Tap to expand.

  1. 1.Why shake the blind out before bringing it inside?

    Answer: Plastic shavings from factory cuts

    Faux wood blinds ship custom-cut with shavings between the slats. Shake them out outside or over a trash can to save your carpet later.

  2. 2.How far in from each window edge does each bracket go?

    Answer: Two and a half inches in

    Two and a half inches from each end of the window frame. The brackets need to clear the headrail's mounting clips on both sides.

  3. 3.Each bracket has a slotted front hole and a round back hole. Which screw goes first?

    Answer: Slotted front screw, then the back

    Drive the slotted front screw first. The slot lets you nudge the bracket left or right to align both brackets before you tighten the back.

  4. 4.The headrail won't clip in flat on both sides. What's the most likely cause?

    Answer: Brackets sit at different depths

    If the brackets sit at different depths from the front of the frame, the headrail can't seat on both sides. Loosen, re-align, retighten.

  5. 5.For an inside mount with cordless blinds, which parts can you leave in the box?

    Answer: The corner plates and tie-off

    Inside mount only needs the two brackets, the valance, two valance clips, and longer screws. Corner plates, side extensions, and the cord tie-off go back in the box.

What's next

Related collections

Curated theme pages that include this tutorial.

Weekly Digest

Liked this home improvement tutorial?

Pick the categories you want to hear about. Weekly digest of new step-by-step tutorials. No spam, easy unsubscribe.

Send me tutorials about

We only email about new tutorials. Easy unsubscribe anytime.