How to Install Baseboards (Step by Step)

Also in:Adulting

By ShowMeStepByStepPublished Updated

Based on a video by The Excellent Laborer.

Baseboards turn a finished floor into a finished room. Once you watch someone do a full installation, the job stops looking like trim-carpenter magic and starts looking like seven moves you can copy. Josh from The Excellent Laborer walks through a whole bedroom with paint-grade pine in this video, covering long runs, inside corners with a coped joint, and outside corners with a mitered seam.

Before you start, finish painting the walls and trim. Touching up afterward is much easier than cutting in around already-installed trim. Pull up a few related reads: how to paint a room like a pro, how to install a doorknob, and how to fix holes in drywall all pair nicely with a trim job.

Gather your tools first so you're not running to the garage with a 12-foot piece of base balanced on a sawhorse. You'll need a miter saw with a fine-tooth trim blade, a coping saw, a finish nailer with 2-inch nails, a tape measure, a stud finder (or a hammer and a nail for the tap-test method Josh uses), a pencil, a caulk gun, and a putty knife. Pick up baseboard trim sized to your room, brad nails for the nailer, a tube of paintable caulk, lightweight spackling for the nail holes, and a small can of trim paint for the touch-up at the end. Plan your starting wall so the visible joints face away from the door, then take your time on the cope. That joint is what separates a clean room from a room that looks like a rental.

Step-by-Step Guide

1

Step 1: Plan the Starting Wall and Find the First Stud

1:15
Step 1: Step 1: Plan the Starting Wall and Find the First Stud

Pick the back wall opposite the door as your starting point so the visible joints face away from anyone walking in. Once you know where to start, find the first stud near the corner. Josh uses the tap test - knock the hammer along the wall and listen for the solid sound. Confirm the stud center by tapping a small finish nail into the wall at baseboard height where the trim will cover the hole. Watch at 1:15. Pencil-mark the stud center on the wall so you know where to nail.

Tip

Keep that nail-test hole below the top edge of your baseboard so the trim hides it. If you go higher, you've got a wall to patch.

2

Step 2: Cut the First Piece on the Miter Saw

4:10
Step 2: Step 2: Cut the First Piece on the Miter Saw

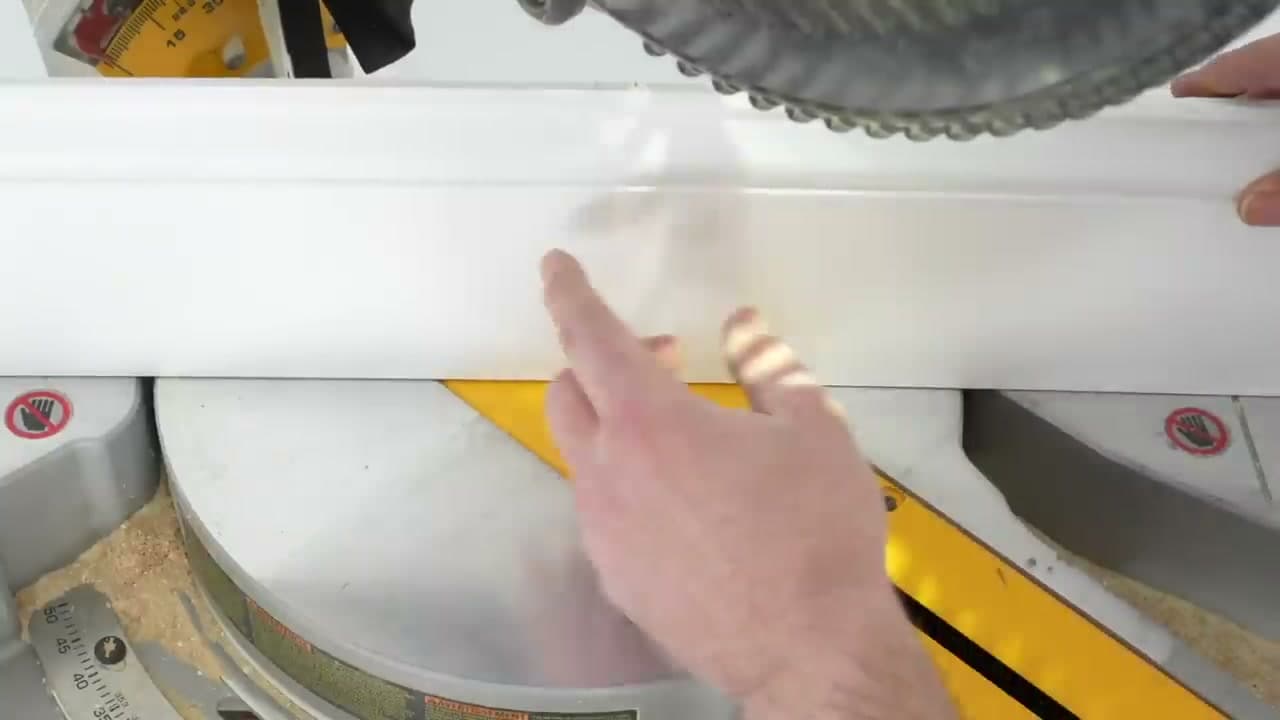
Baseboard usually comes in 12-foot lengths, so if your wall is longer you'll need to plan for a splice on a stud. Measure from the back corner along the wall to a stud center about 12 feet out and mark the top of the board there. Set the baseboard upright on the miter saw with the back against the fence. Leave the bevel at zero and swing the miter to 45 degrees. Watch at 4:10. Cut on the waste side of your mark so the joint lands cleanly on the stud.

Tip

A 100-tooth fine-tooth trim blade gives you a glass-smooth cut. Standard 40-tooth framing blades leave fuzz on the face and ruin your seam.

3

Step 3: Scarf-Join Two Pieces on a Stud

7:40
Step 3: Step 3: Scarf-Join Two Pieces on a Stud

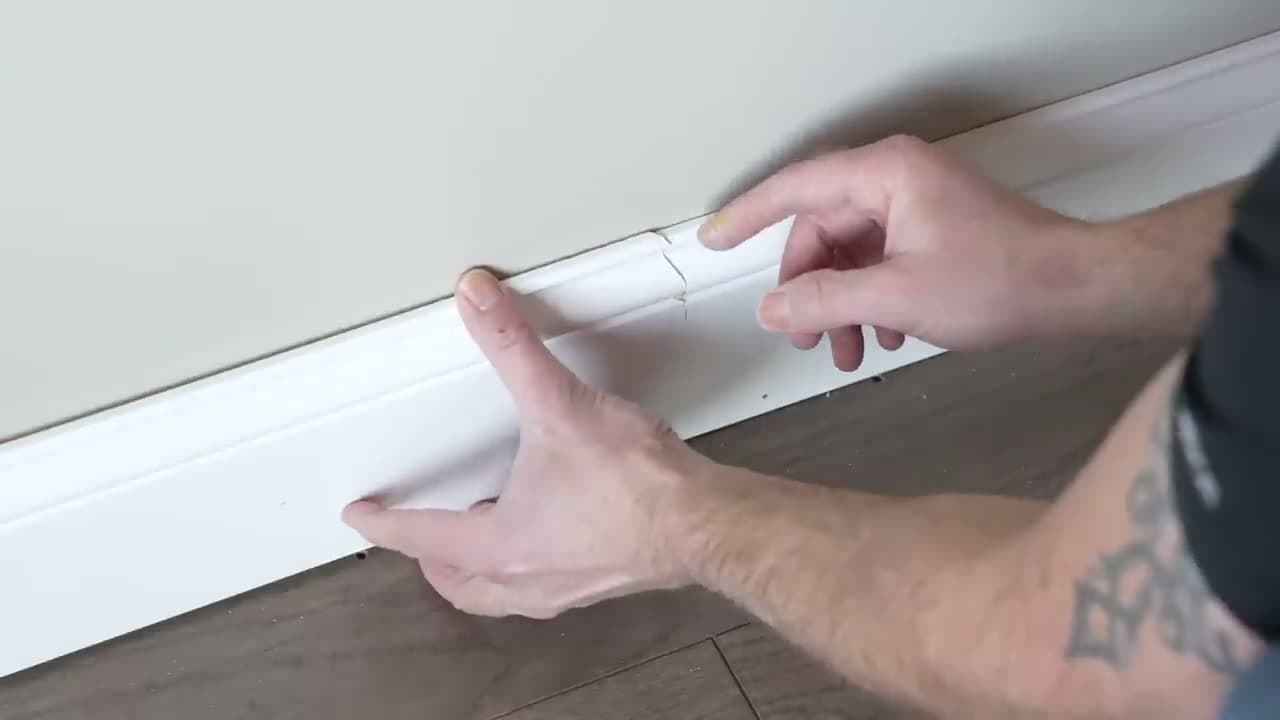
When your wall runs longer than 12 feet, splice two pieces with a scarf joint instead of a butt joint. Butt joints crack open as the wood moves with humidity. A scarf joint hides the seam. Cut the end of the first piece at 45 degrees, then cut the start of the second piece at 45 degrees the opposite way so the second piece overlaps the first. Watch at 7:40. Land the overlap on a stud, slide the pieces tight, and shoot one nail through both layers into the framing.

Tip

Sand the overlap flush with a quick pass of 220 grit before you caulk and paint. The joint disappears once the touch-up paint dries.

4

Step 4: Cope the Inside Corners

10:00
Step 4: Step 4: Cope the Inside Corners

Inside corners look terrible mitered because the framing is rarely a true 90 degrees. A coped joint hides any gap. Cut a 45 on the end of the second piece so the profile shows on the face. Then take a coping saw and follow that exposed profile, angling the blade back away from the face so the very edge touches first. Watch at 10:00. Sand the cope with a fine sanding sponge to clean up the edge. The coped end slides right over the square piece on the next wall.

Tip

Push the coping saw into the profile to start the cut, then pull as you would a normal saw. Pushing first is less aggressive on the teeth and keeps the blade from skating.

5

Step 5: Miter the Outside Corners

13:20
Step 5: Step 5: Miter the Outside Corners

Outside corners get a mitered joint because both faces are visible. Hold a long piece past the corner and pencil-mark on the back where the wall ends. Set the saw to about 46 degrees instead of a clean 45. The extra degree pulls the front faces tight at the show side and pushes any gap to the back where caulk can hide it. Watch at 13:20. Cut both pieces the same way in opposite directions, dry-fit, then nail them together at the tip of the corner before fastening to the wall.

Tip

Run a thin bead of wood glue on both miter faces before you nail. Glued miters stay closed for years even when the framing flexes.

6

Step 6: Nail Each Piece to the Studs

6:00
Step 6: Step 6: Nail Each Piece to the Studs

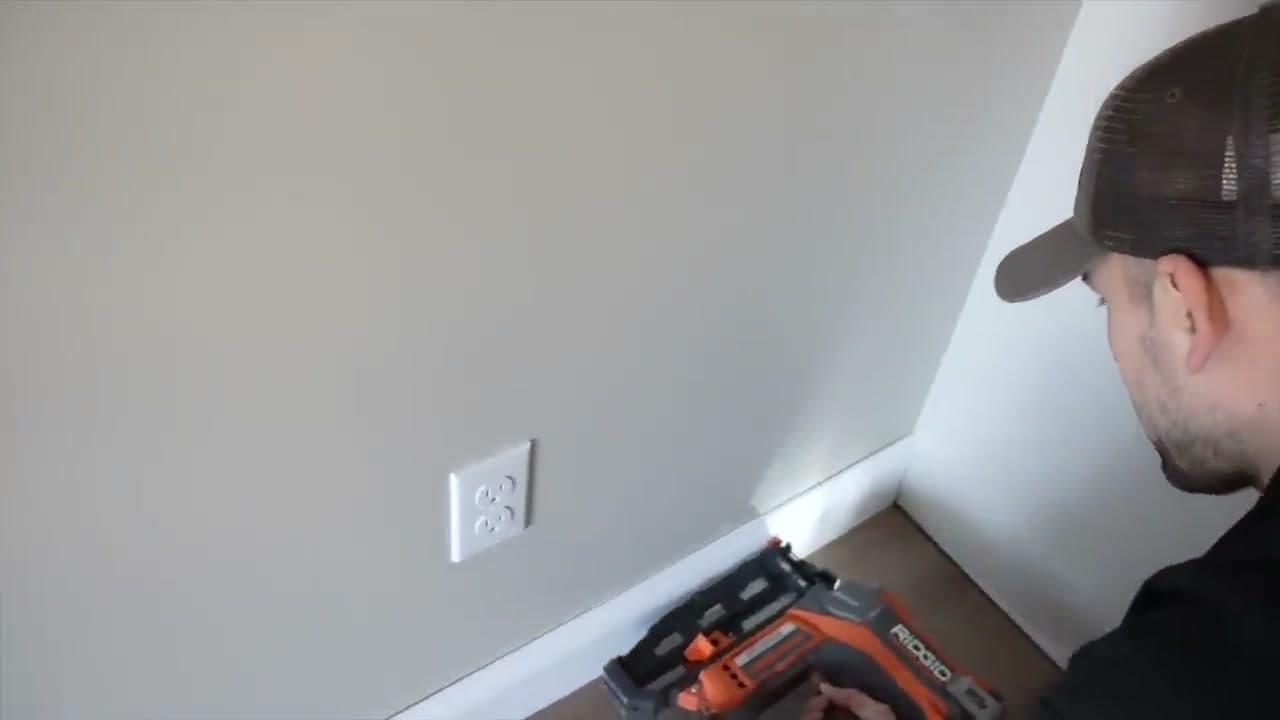
Use a finish nailer or brad nailer loaded with 2-inch nails. Longer nails risk hitting electrical wire inside the wall. Drive one nail near the top and one near the bottom of the baseboard at every stud. Most studs sit 16 inches on center, so transfer that spacing from the wall to the board with a pencil. Watch at 6:00. If you've got a gap along the floor, press the trim down with your free hand as you fire the nail. The bow pulls flat as the nail sets.

Tip

You'll feel resistance through the nailer when you actually hit a stud. If the nail sinks easily and the board doesn't pull tight, you missed the stud and just shot into drywall. Add another nail an inch over.

7

Step 7: Caulk Gaps, Fill Nail Holes, and Touch Up Paint

17:20
Step 7: Step 7: Caulk Gaps, Fill Nail Holes, and Touch Up Paint

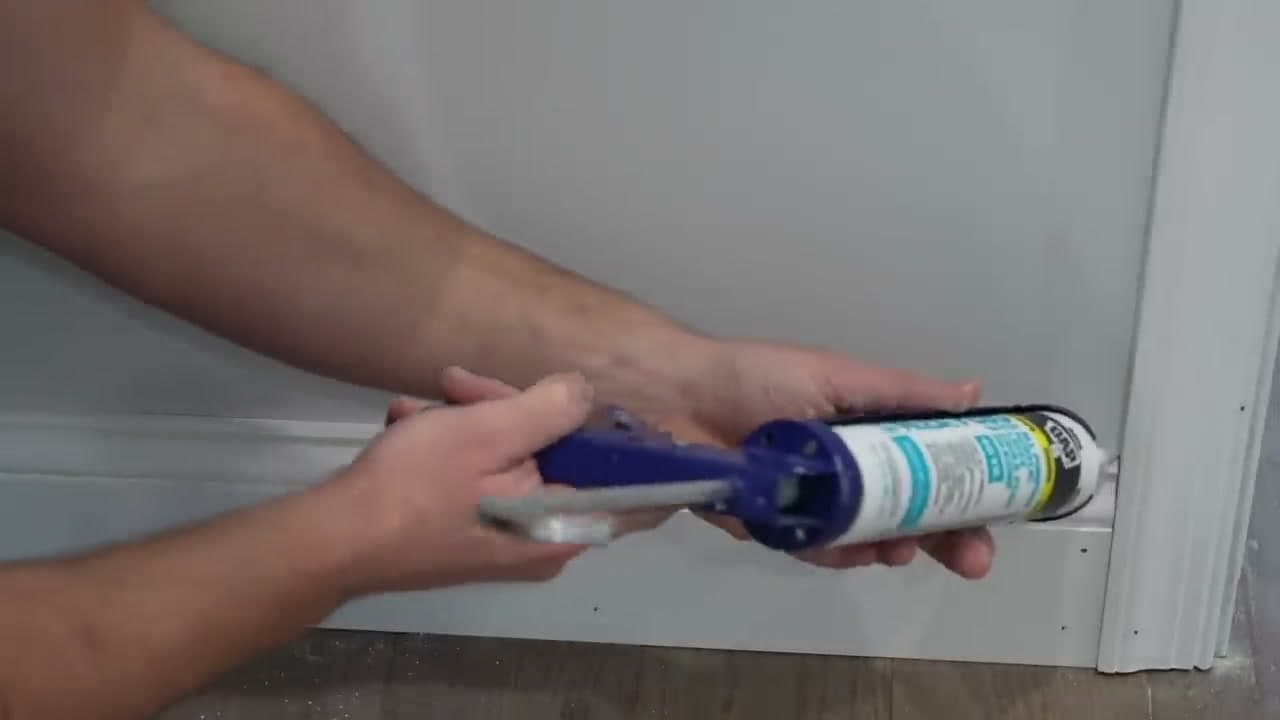
Cut the tip of the paintable caulk tube small, then crimp it with needle-nose pliers so only a tiny bead comes out. Run a light bead along the top seam where the baseboard meets the wall and smooth it with a damp finger. Watch at 17:20. Fill the nail holes with lightweight spackling instead of caulk because caulk shrinks and the holes will reappear. Smear, wipe flat with a putty knife, let it dry, then brush a touch of trim paint over each spot.

Tip

Run a fresh bead of caulk along every coped joint too. Even a perfect cope leaves a hairline gap that caulk closes invisibly under paint.

Products Used

☐ The Checklist

How to Install Baseboards (Step by Step)

Tools
9
Materials
6
Steps
7
Video
19 min

Your Guide

The Excellent Laborer

As an Amazon Associate we earn from qualifying purchases. Links on this page may be affiliate links - clicking them and buying doesn't change your price, but helps support ShowMeStepByStep.

Tags

What's next

Related collections

Curated theme pages that include this tutorial.

Weekly Digest

Liked this home improvement tutorial?

Pick the categories you want to hear about. Weekly digest of new step-by-step tutorials. No spam, easy unsubscribe.

Send me tutorials about

We only email about new tutorials. Easy unsubscribe anytime.