How to Set Up and Use Apple Pay

By ShowMeStepByStepPublished Updated

Based on a video by Apple Support.

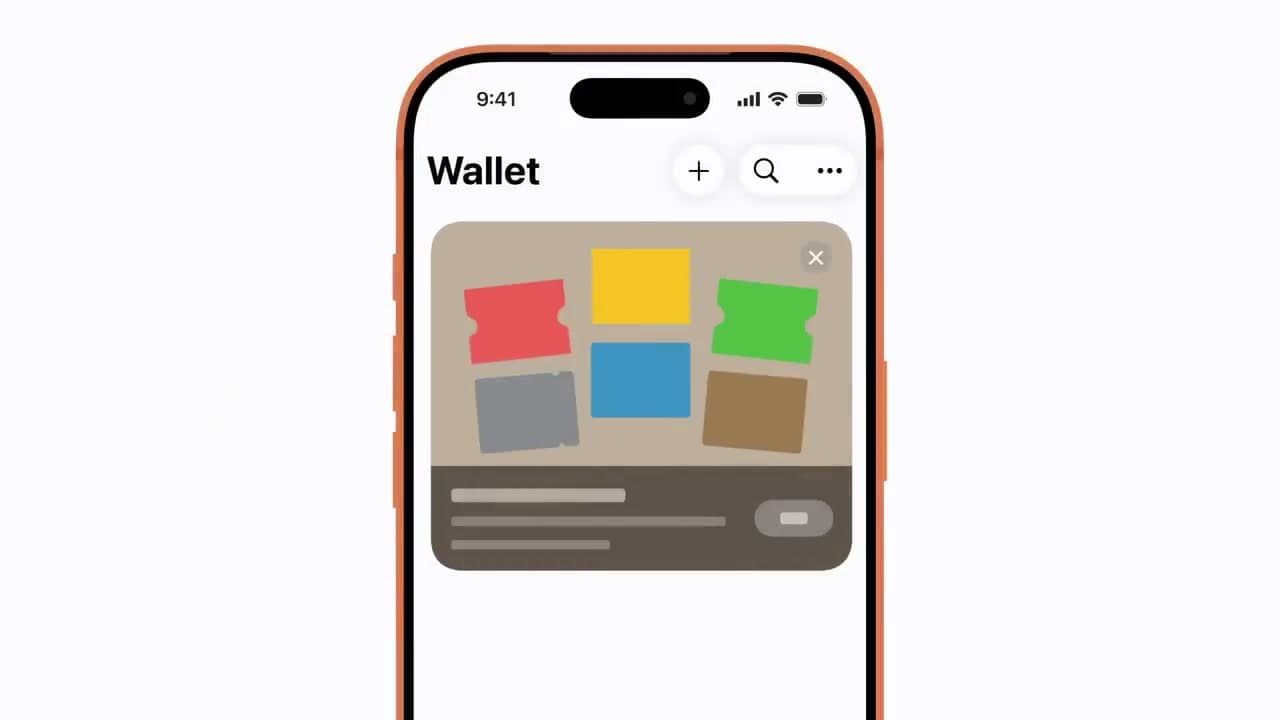
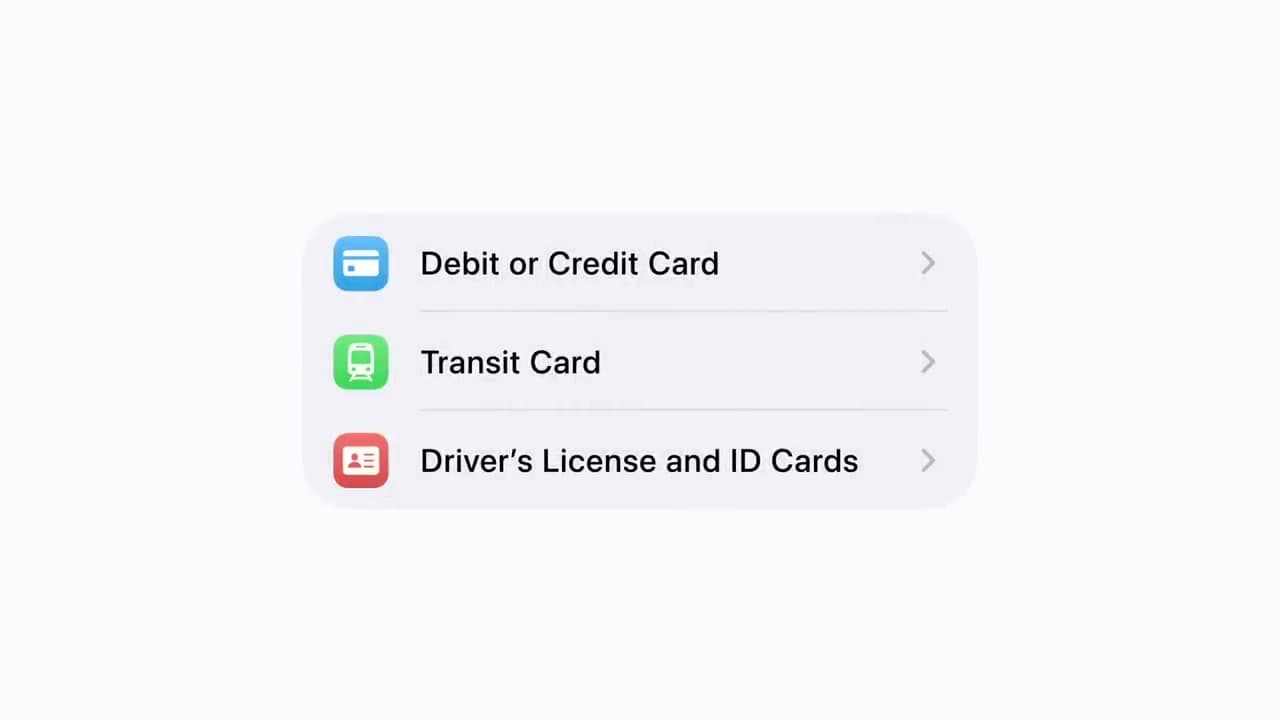
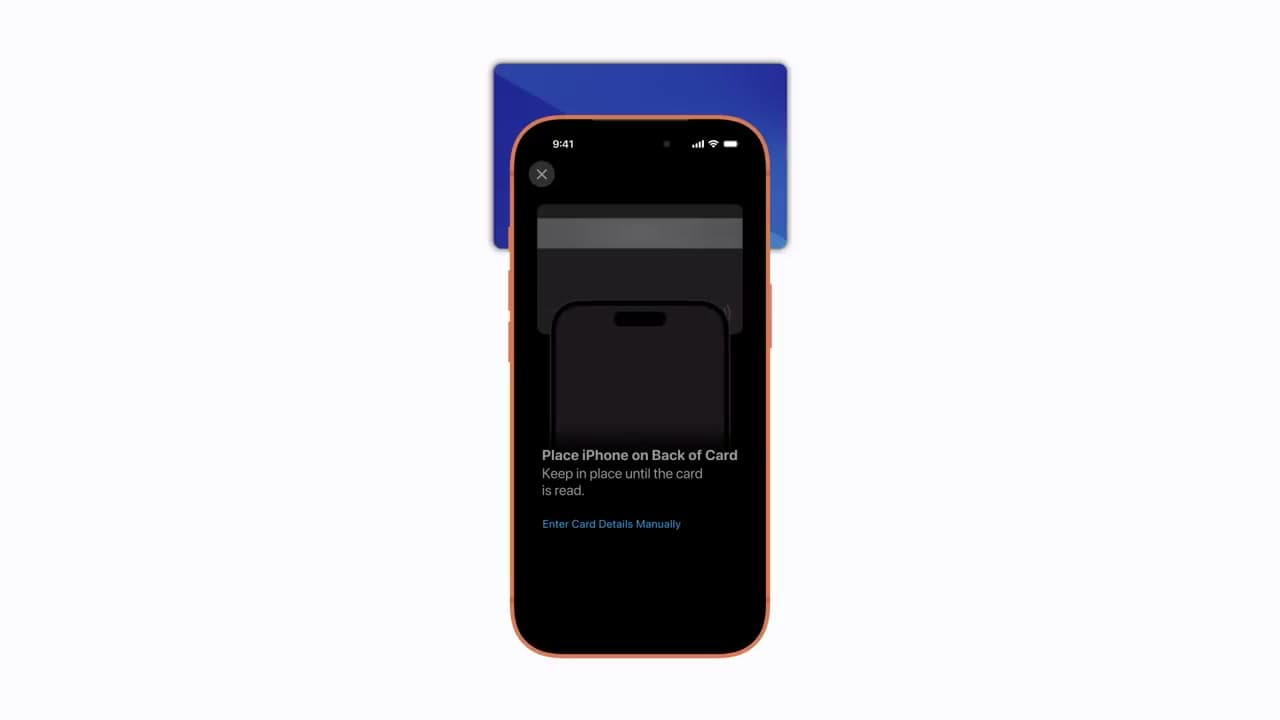
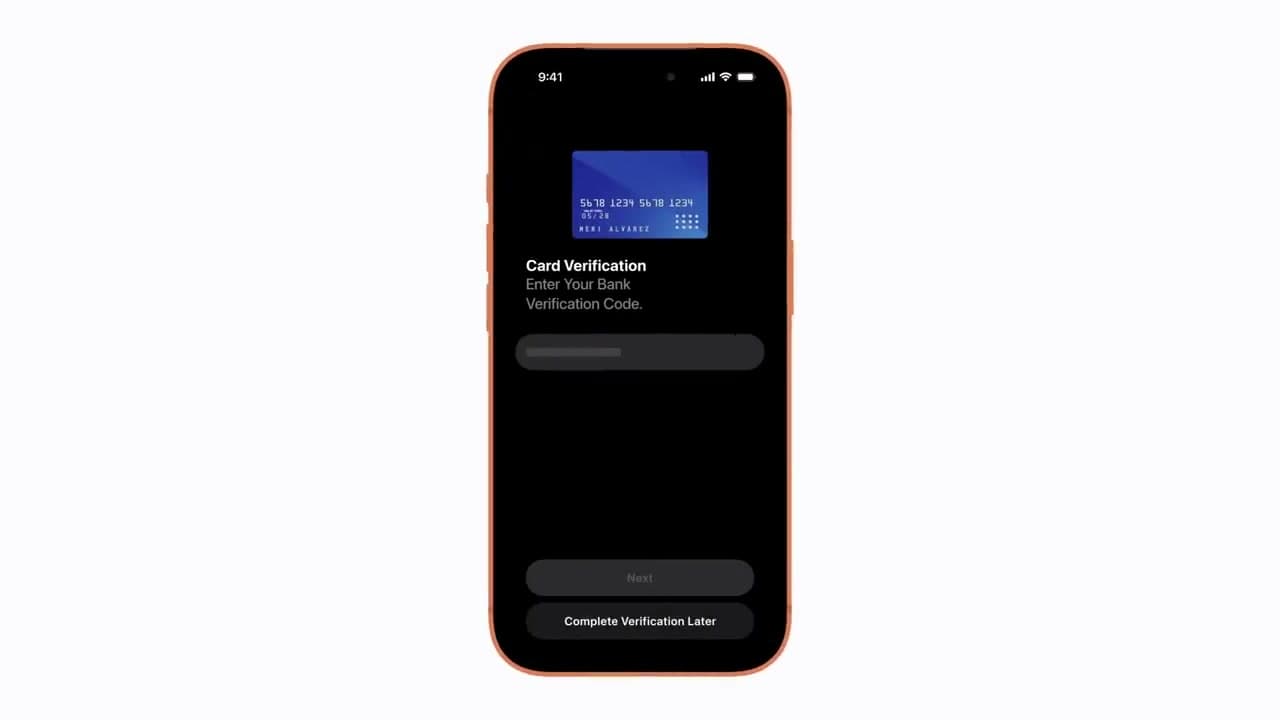
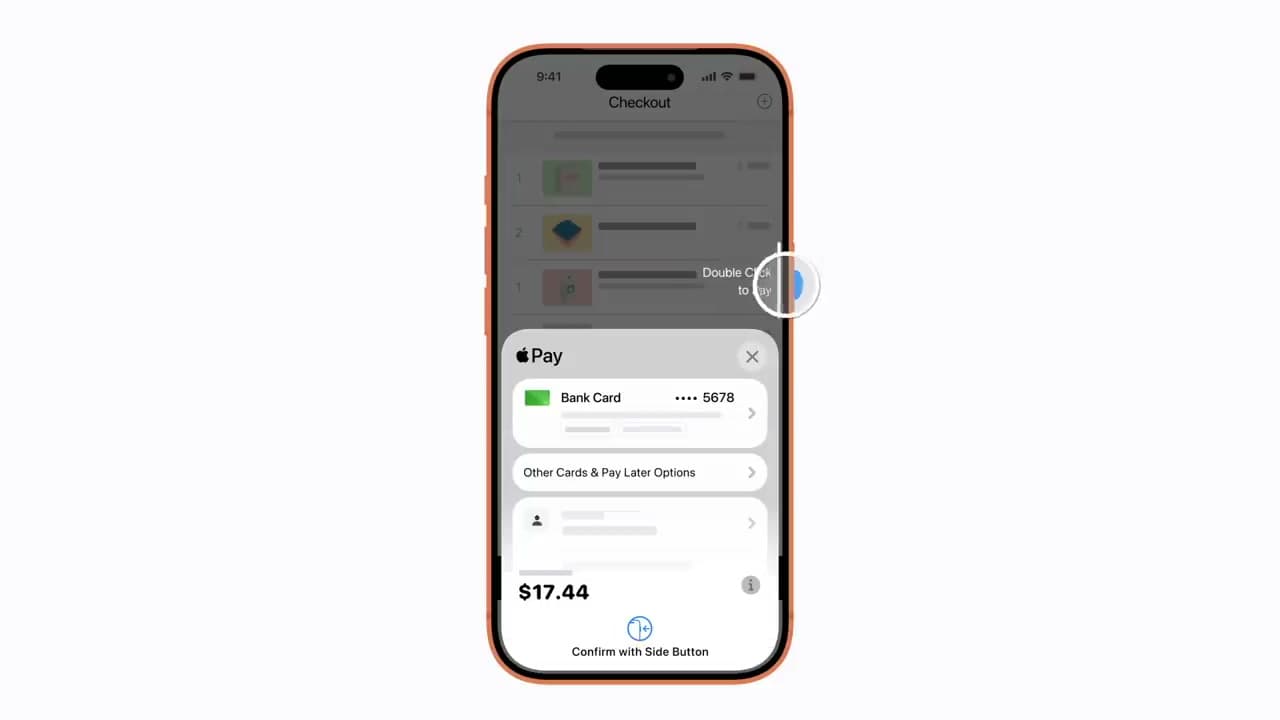
How do I set up Apple Pay? Open the Wallet app, tap the plus button, scan your card, and verify it with your bank - that's the short version. This walks through how to set up Apple Pay on iPhone in six steps so the first transaction goes smoothly. Once it's activated, paying is as fast as double-tapping the side button.

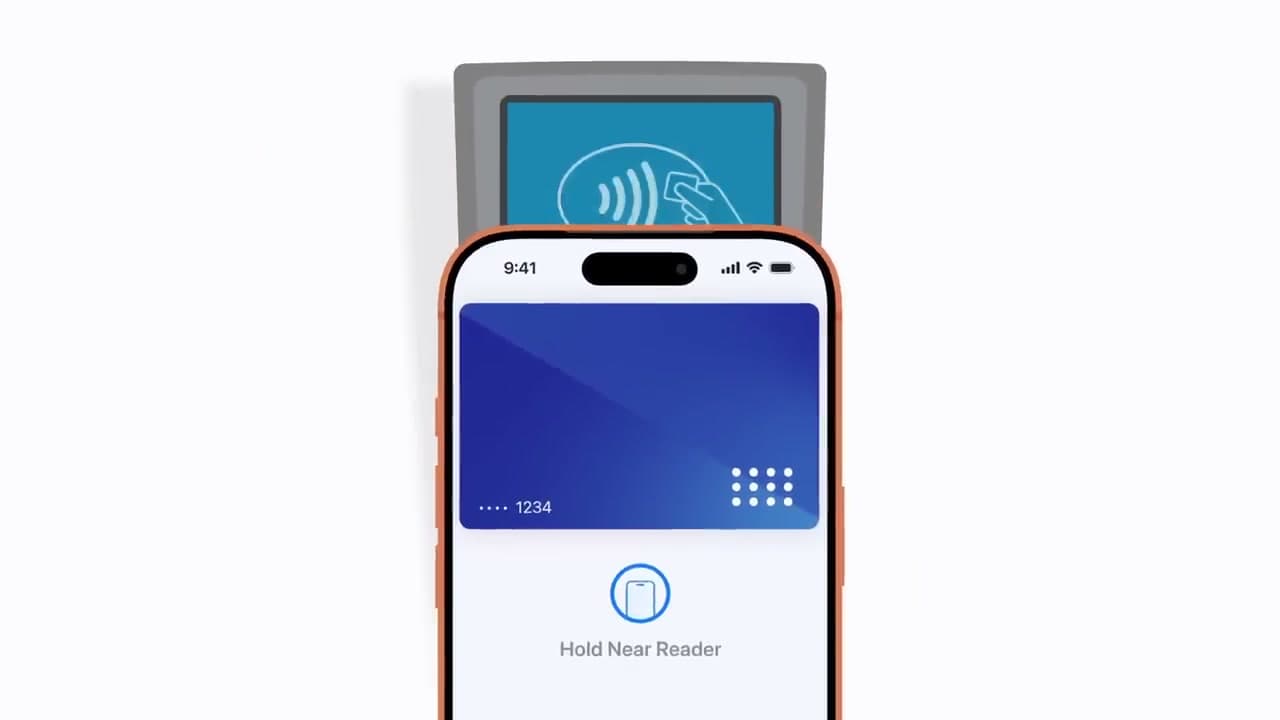
Apple Pay setup is a one-time task per device. Once a card is added you can tap to pay at any contactless terminal, pay inside apps, and check out faster on Safari. For the day-to-day side - where to tap, how to switch cards mid-transaction, what to do if a reader doesn't respond - see the companion how to use Apple Pay tutorial. For the rest of the iPhone cluster, see how to set up an iPhone, how to restart an iPhone, how to take a screenshot on iPhone, and transfer photos from iPhone to Mac.

Is Apple Pay free to set up?

Yes. There's no Apple Pay fee for you. Apple gets a small cut from the bank, not from your card or your purchase. The price you pay at the terminal is the same as swiping a physical card.

How long does it take to activate Apple Pay?

Two to five minutes per card. Most banks verify instantly through the Wallet app. A few smaller banks send a text or email code that you enter to finish activation.

Can I set up Apple Pay without a credit card?

Yes. Apple Pay accepts debit cards, prepaid cards, and most store-issued cards. As long as your card is contactless-eligible (look for the wave icon), it works in Apple Pay.

What do I do if my card won't add to Apple Pay?

Check three things: card is current (not expired), bank supports Apple Pay (most do), and iCloud is signed in. If all three are fine, call your bank's app support - some require enabling Apple Pay manually in their banking app.

Can I use Apple Pay before activation completes?

No. The card has to show 'Available for Apple Pay' in Wallet before any terminal accepts it. If your card is still 'pending verification', wait for the bank confirmation first.

Step-by-Step Guide

1

Step 1: Open the Wallet App and Tap the Plus Button

0:20
Step 1: Step 1: Open the Wallet App and Tap the Plus Button

Find the Wallet app on your iPhone home screen. The icon looks like a stack of colored cards. Open it, then look at the top-right corner of the screen for a plus (+) button. Tap it to start adding a new card.

If you can't find the Wallet app, swipe down on the home screen and type Wallet into the search bar. It comes pre-installed on every iPhone and can't be deleted, so it's there somewhere.

Tip

If the plus button is missing, your work or school may have restricted the Wallet app through device management. Check with your IT admin.

Products used in this step

2

Step 2: Choose Debit or Credit Card

0:26
Step 2: Step 2: Choose Debit or Credit Card

You'll see a list of card types you can add: Debit or Credit Card, Transit Card, Driver's License and ID Cards. For paying at stores and online, tap the top option - Debit or Credit Card. Then tap Continue on the next screen to confirm.

The transit and ID options are for separate features (subway passes, state-issued ID) and don't apply here. You can always come back later to add those.

3

Step 3: Scan Your Card or Enter the Details Manually

0:38
Step 3: Step 3: Scan Your Card or Enter the Details Manually

Your iPhone now wants to read the card. Hold the physical card flat against the back of your phone, lined up with the camera. The phone will pick up the number and expiration date in a few seconds.

If the scan won't catch (worn cards, dark lighting), tap Enter Card Details Manually at the bottom of the screen and type in the number, expiration date, and security code yourself. The result is the same either way.

Tip

Cards with raised, embossed numbers tend to scan faster than flat-printed ones. Good light on the card helps.

4

Step 4: Verify the Card With Your Bank

0:50
Step 4: Step 4: Verify the Card With Your Bank

Your bank or card issuer has to confirm it's really you adding the card. Most banks send a one-time code by text or email - check the number on file with your bank and type the code into the verification screen. Some banks ask you to call them or approve the request inside their own app.

Once approved, the card appears in your Wallet and is ready to use. If you have multiple cards, open Settings > Wallet & Apple Pay to pick which one is your default.

Tip

If verification fails, double-check that the phone number on file with your bank is current. Old numbers are the most common reason approval texts never arrive.

5

Step 5: Pay in Stores With a Double-Click and Face ID

2:10
Step 5: Step 5: Pay in Stores With a Double-Click and Face ID

At the checkout, look for the contactless symbol (four curved waves) or an Apple Pay logo on the card reader. Double-click the side button on your iPhone, glance at the screen to authenticate with Face ID, then hold the top of the phone near the reader. A chime and a checkmark mean the payment went through.

If your iPhone has a Home button instead, double-click that and rest your finger on the Touch ID sensor. On an Apple Watch, double-click the side button and hold the watch face near the reader.

6

Step 6: Use Apple Pay Online and in Apps

2:45
Step 6: Step 6: Use Apple Pay Online and in Apps

When you're shopping in Safari or in an app, look for an Apple Pay button at checkout - it's a black pill with the Apple Pay logo. Tap it to skip the usual form-filling. A sheet slides up showing the card, the shipping address, and the total. Review the details, then double-click the side button and authenticate with Face ID, Touch ID, or your passcode to confirm.

You can also tap the card row to switch to a different card on file, or tap Other Cards & Pay Later Options if your card supports it. No need to type a card number into a website ever again.

Tip

Apple Pay doesn't share your real card number with merchants. It sends a one-time device-specific token, which is why it's harder for stores to leak your card in a breach.

Products used in this step

Products Used

Your Guide

Apple Support

As an Amazon Associate we earn from qualifying purchases. Links on this page may be affiliate links - clicking them and buying doesn't change your price, but helps support ShowMeStepByStep.

Tags

Test your knowledge

Did the lesson stick? Find out in 2 minutes.

5 quick questions covering what you just read. No signup, no score saved — just a gut check.

Quick reference

Key takeaways from How to Set Up and Use Apple Pay

5 questions, answers, and one-line explanations. Tap to expand.

  1. 1.Pre-installed app that holds your cards?

    Answer: Wallet

    The Wallet app is the container. Apple Pay is the service that uses it.

  2. 2.Contactless payment symbol looks like?

    Answer: Four curved waves

    Four curved waves is the EMV contactless mark. Apple Pay rides on the same NFC standard.

  3. 3.How to authenticate in-store on Face ID iPhone?

    Answer: Double click + glance

    Double click prepares the wallet, Face ID confirms you, then hold the top of the phone near the reader.

  4. 4.Who verifies the card you added?

    Answer: The bank issuer

    The issuing bank confirms the card belongs to you, usually with a one-time code by text or in their app.

  5. 5.What does Apple Pay send the merchant?

    Answer: Encrypted token

    Tokenization. Your actual card number never leaves the device, which is why Apple Pay is harder to clone than swiping.

What's next

Related collections

Curated theme pages that include this tutorial.

Weekly Digest

Liked this tech tutorial?

Pick the categories you want to hear about. Weekly digest of new step-by-step tutorials. No spam, easy unsubscribe.

Send me tutorials about

We only email about new tutorials. Easy unsubscribe anytime.